Page 1
Page 2
Page 3
Page 4
Page 5
Page 6
Crescent moon wire-wrapping tutorial (page 5)
Prefer this tutorial in a PRINTABLE FORMAT?
Click here for the PDF version of Crescent Moon Wire-Wrap Tutorial
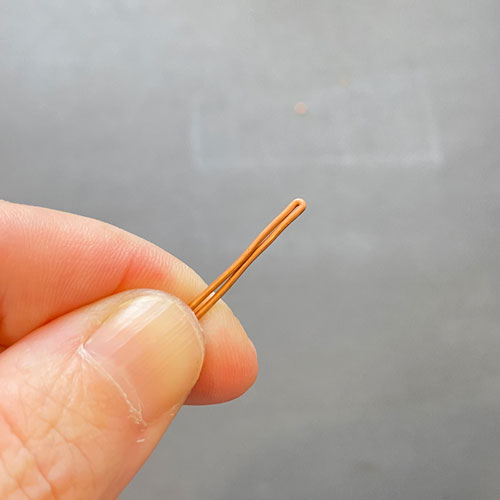
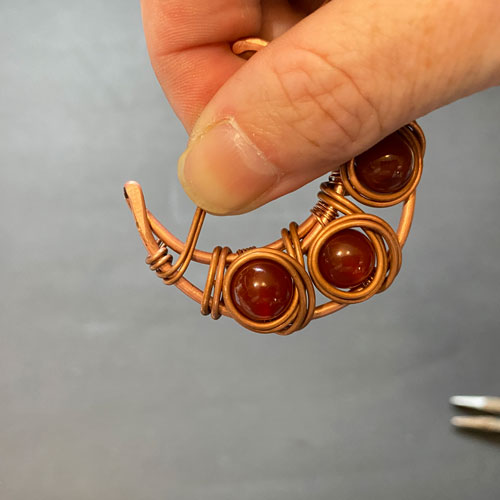
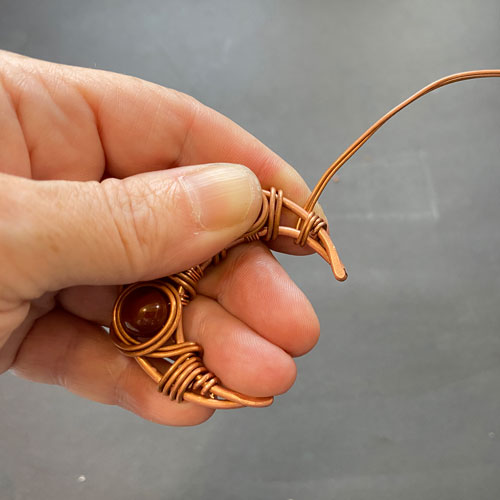
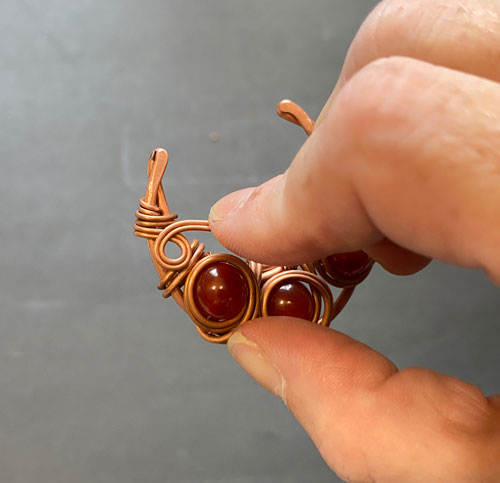
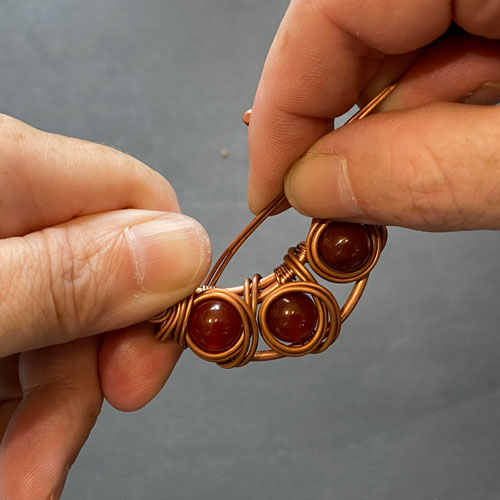
Step 15
Fold your 20 gauge wire in half as shown (fig. 15a). Make a bend about 1/2” down (fig. 15b) and hook on to frame (fig. 15c). Using your needle nose pliers, pull the end up and around the back (fig. 15d). Position wire for wrapping (fig. 15e).

FREE WIRE-WRAPPING GUIDE TO YOUR EMAIL!
JOIN NEWSLETTER
We respect your privacy. Unsubscribe at anytime.
Prefer this tutorial in a PRINTABLE FORMAT?
Click here for the PDF version of Crescent Moon Wire-Wrap Tutorial
RELATED CONTENT
- Wire-Wrapping Tutorial: 17 DIY Wire-Wrapped Earrings
- Beginner’s Guide to Jewelry Wire for Wire-Wrapping
- How to Use Liver of Sulfur as Patina
- How to Wire-Wrap Crystals: Wire-Wrapping Tutorial for Beginners
- How to Wire-Wrap Stones Without Holes: Wire-Wrapping Tutorial for Beginners
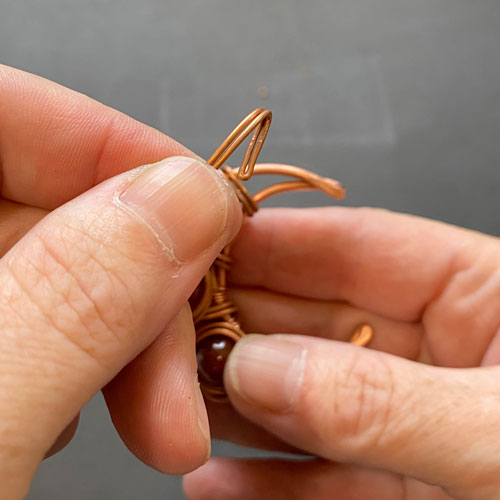
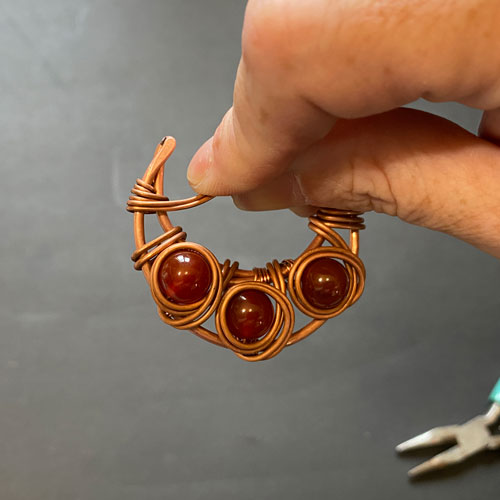
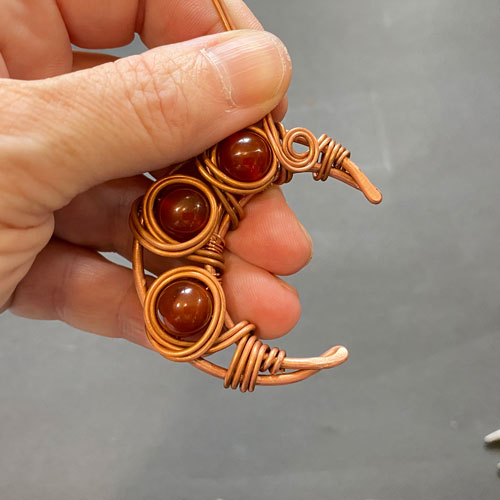
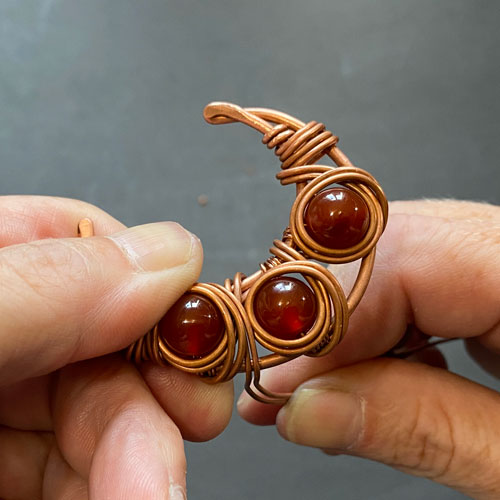
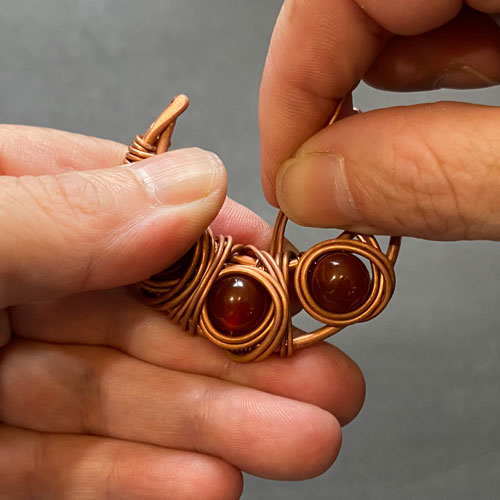
Step 16
After making a couple of wraps around the frame to secure the wire (fig. 16a, 16b), start making a tight swirl. Make sure your swirl is big enough for the jump ring, otherwise it will be difficult to make this a pendant (fig. 16c, 16d, 16e).
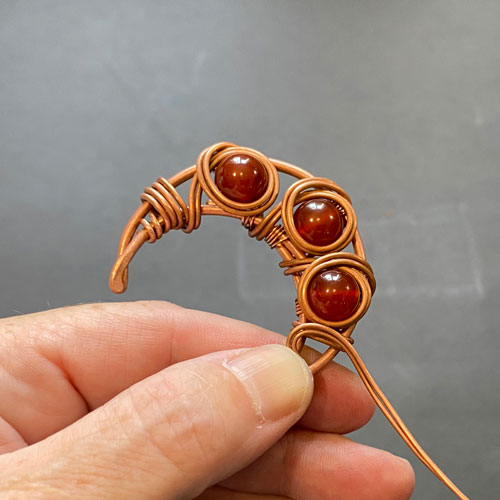
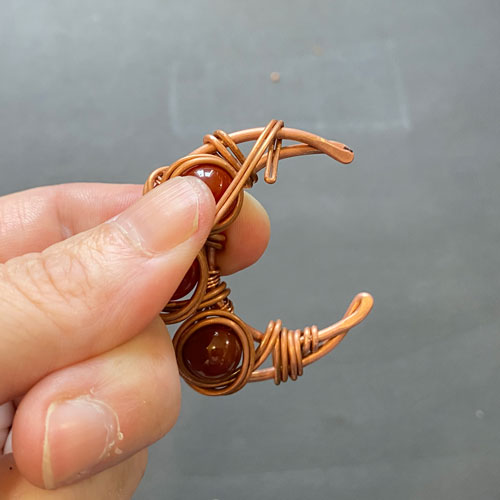
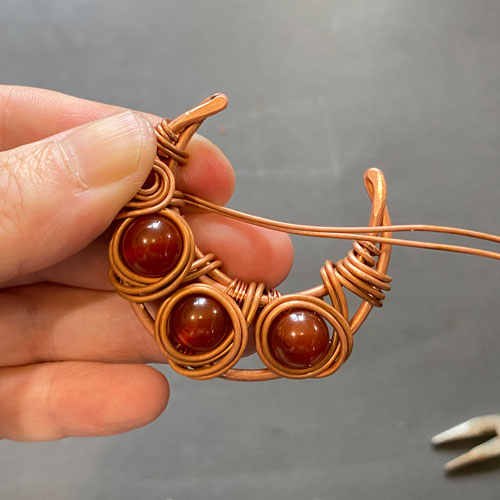
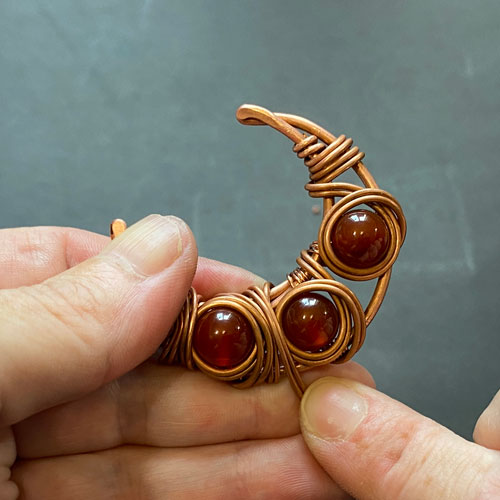
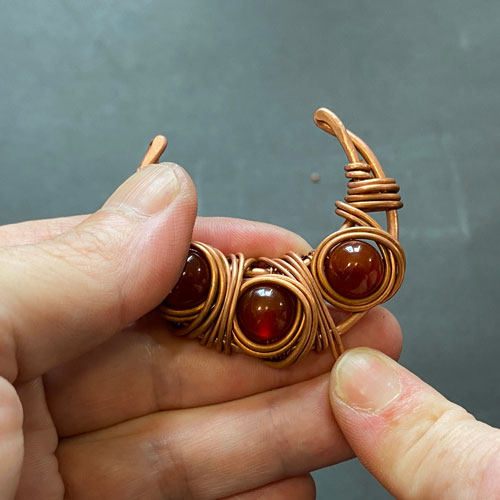
Step 17
Bring wire down back and start wrapping around the frame (fig. 17a, 17b). This part takes some practice and intuition in regards to finding the best placement for the wire. It basically boils down to how much room you have and how much you want to cover. In this case, I’m just going to keep wrapping around the frame, and will focus on filling any gaps between the beads (fig. 17c, 17d, 17e).
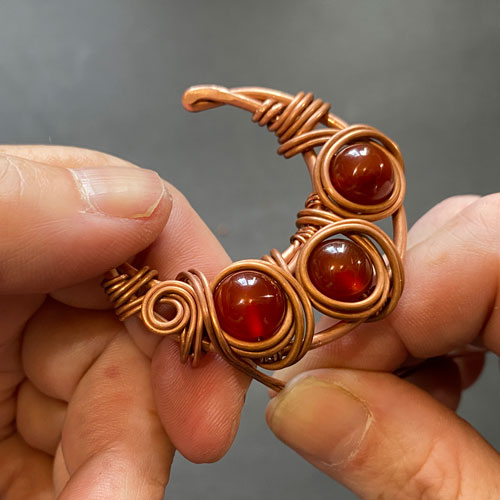

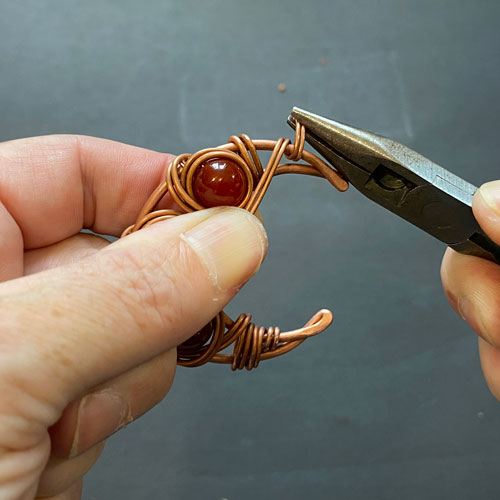
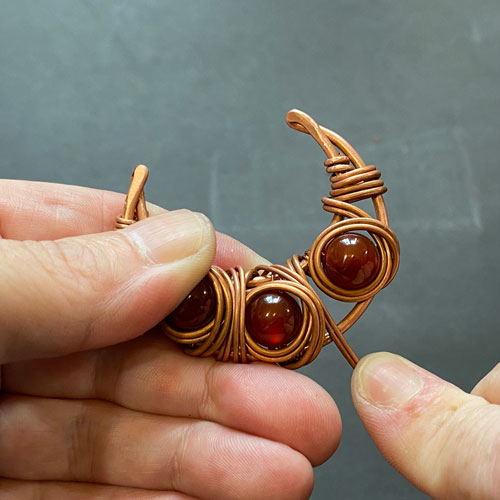
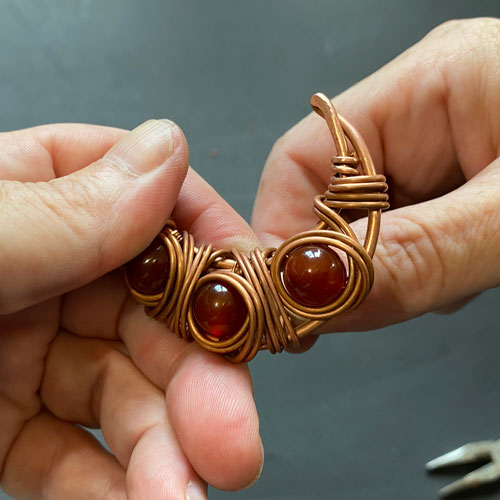
Step 18
If you have lots of room between your beads, you can add a couple of swirls (if it feels right). For the sake of simplicity, I’m just going to keep wrapping around the frame to fill in some gaps (fig. 18a, 18b, 18c, 18d, 18e).

KEEP READING…
Page 1 – Materials, Steps 1-2
Page 2 – Steps 3-6
Page 3 – Steps 7-10
Page 4 – Steps 11-14
Page 5 – Steps 15-18
Page 6 – Steps 19-21
RELATED CONTENT
- Wire-Wrapped Ring Tutorials – How to Wire-Wrap Rings
- How to Anneal Copper Wire
- How to Wire-Wrap Crystals: Wire-Wrapping Tutorial for Beginners
- Wire-Wrapping Tutorial DIY Jewelry Kits on Etsy
- How to Wire-Wrap a Bead Pendant
