Page 1
Page 2
Page 3
Page 4
Page 5
Page 6
Crescent moon wire-wrapping tutorial (page 6)
Prefer this tutorial in a PRINTABLE FORMAT?
Click here for the PDF version of Crescent Moon Wire-Wrap Tutorial
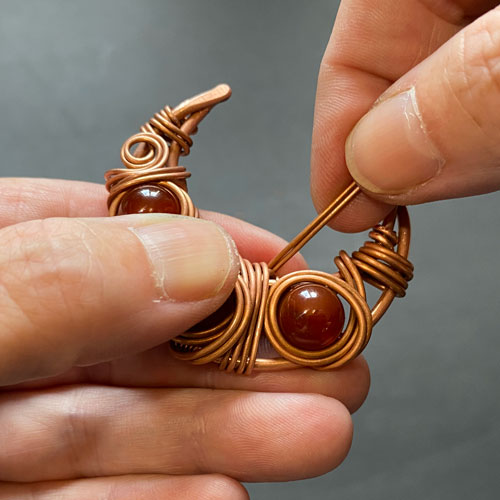
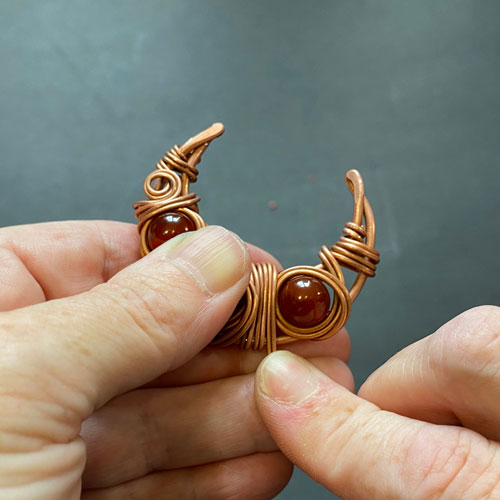
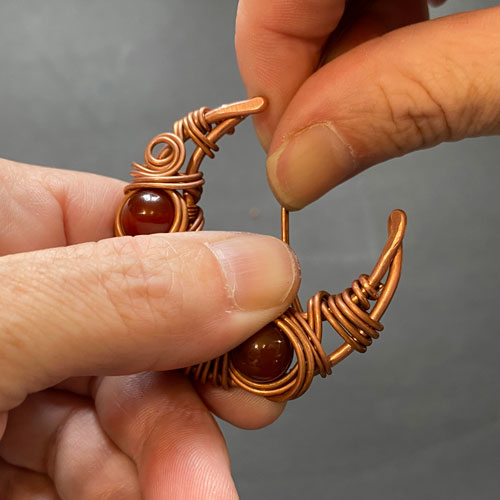
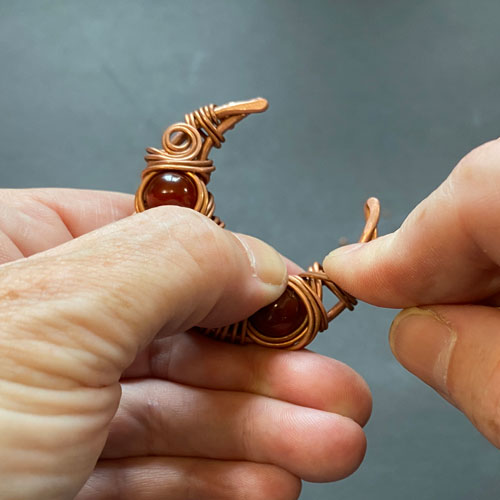
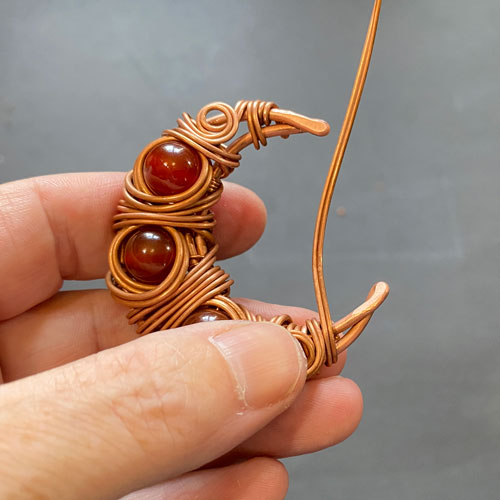
Step 19
I’m keeping my wraps as tight as possible (fig. 19a, 19b, 19c), and then move past the third bead (fig. 19d, 19e).

FREE WIRE-WRAPPING GUIDE TO YOUR EMAIL!
JOIN NEWSLETTER
We respect your privacy. Unsubscribe at anytime.
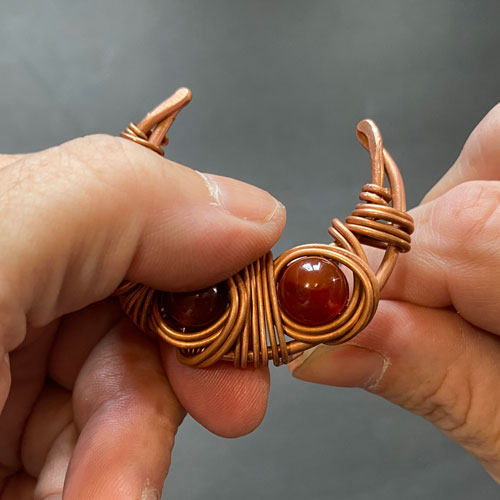


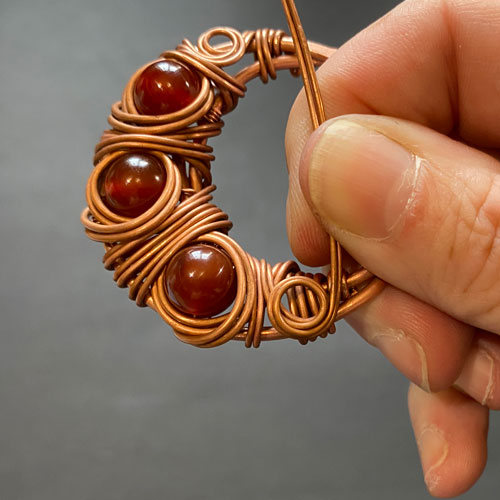
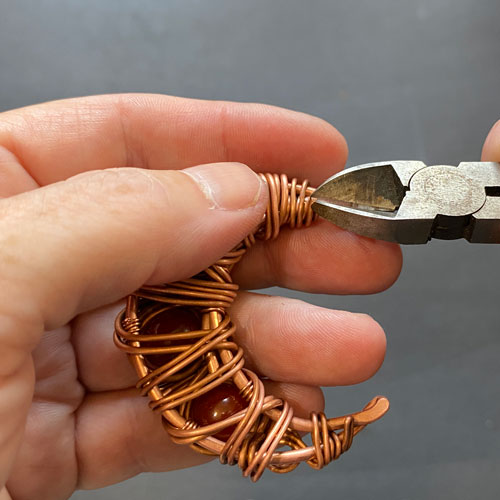
Step 20
Bring wire up the back and down (fig. 20a, 20b). Add a decorative swirl (fig. 20c, 20d) and bring wire down the back of the frame (fig. 20e).

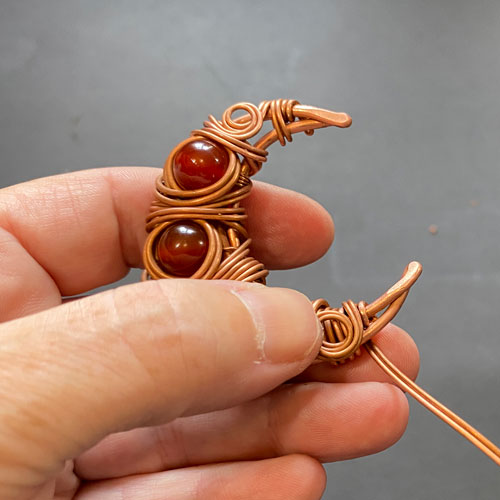
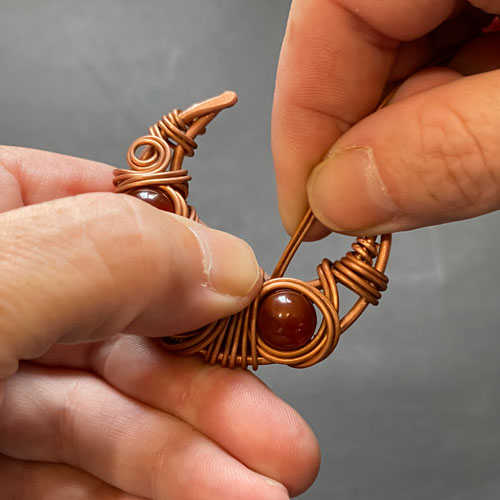
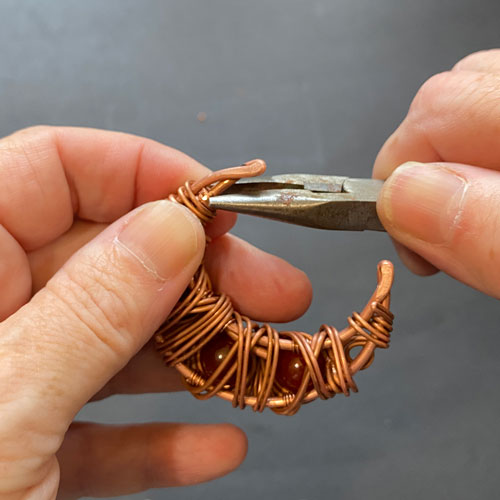
Step 21
Wrap a couple times then send wire to back. Cut excess wire and tuck ends in (fig. 21a, 21b, 21c).
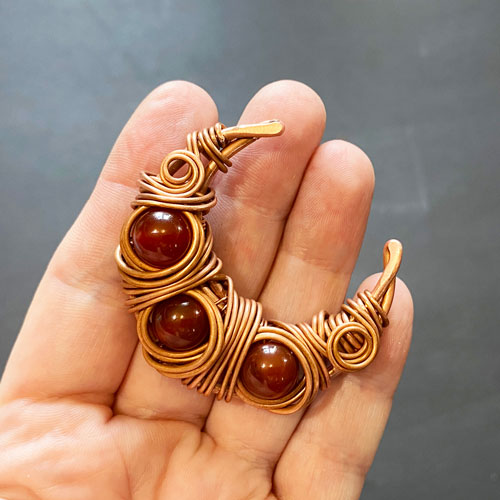
That’s it! – Your piece is complete!
At this point, you can add patina by using liver of sulfur – this REALLY brings out the detail!
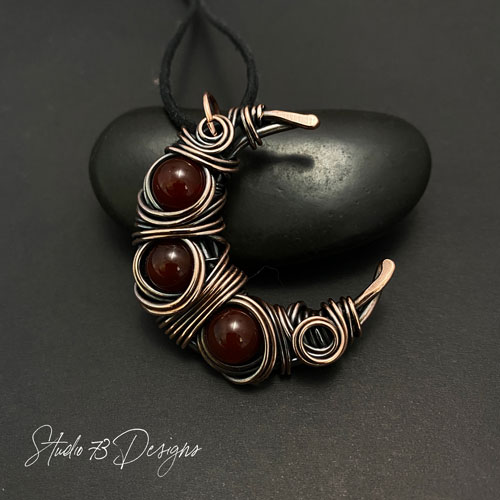
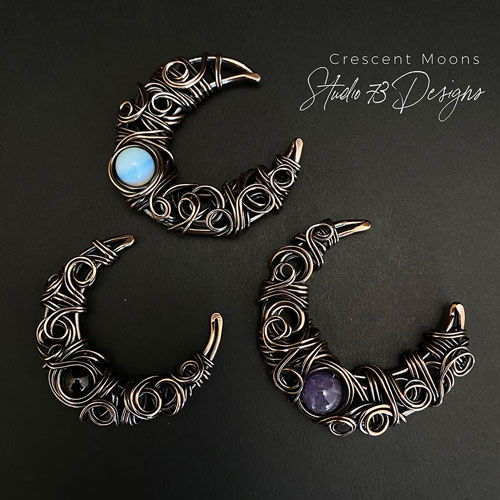
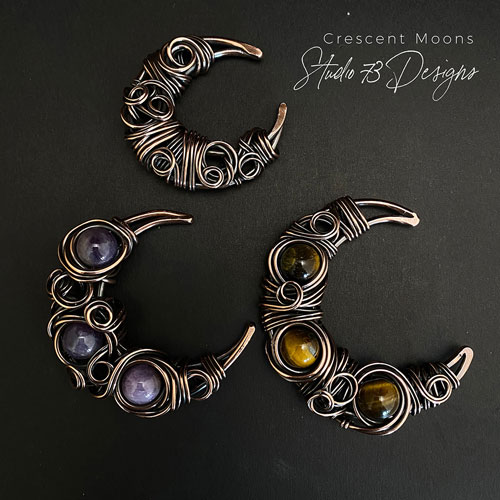
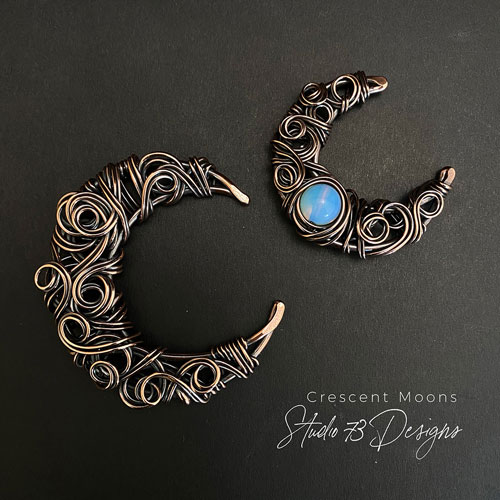
DESIGN INSPIRATION

RELATED CONTENT
- How to Wire-Wrap Stones Without Holes
- Wire-Wrapping Tools & Supplies for Beginners
- How to Make a Spiral Bead Cage Pendant
- Wire-Wrapping Tutorials: 13 DIY Wire-Wrapped Pendants
- Beginner’s Guide to Jewelry Wire for Wire-Wrapping
If you’d like to see my work and follow my wire journey, you can find me here:
Facebook
Instagram
Twitter
Pinterest
YouTube
Etsy

