Greetings my dear wire wrappers!
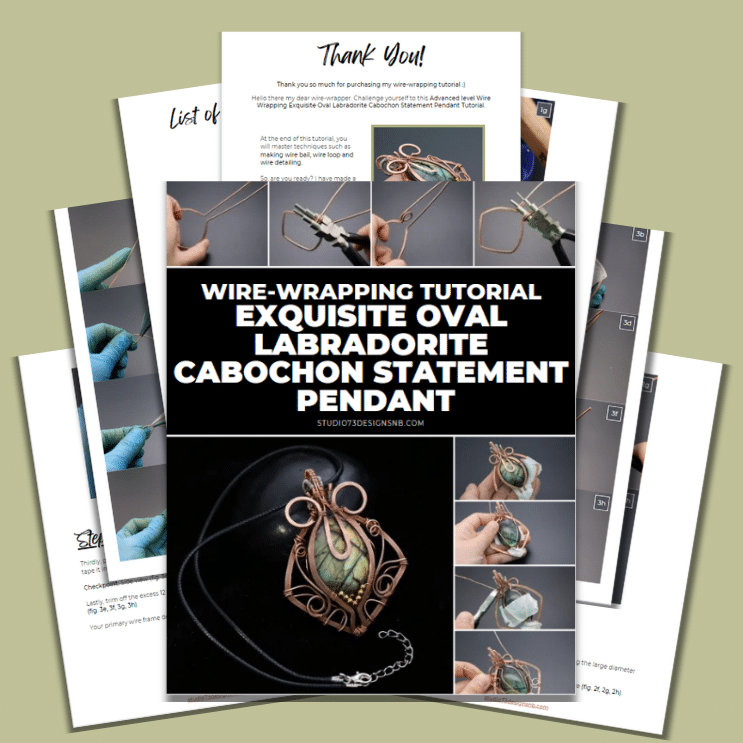
Challenge yourself to this Advanced level Wire Wrapping Exquisite Oval Labradorite Cabochon Statement Pendant Tutorial.
At the end of this tutorial, you will master techniques such as making wire bail, wire loop and wire detailing.
So, are you ready? I have made a step by step guide with pictures for you to follow and track your progress.

FREE WIRE-WRAPPING GUIDE TO YOUR EMAIL!
JOIN NEWSLETTER
We respect your privacy. Unsubscribe at anytime.
Happy wrapping!

LEVEL: ADVANCED
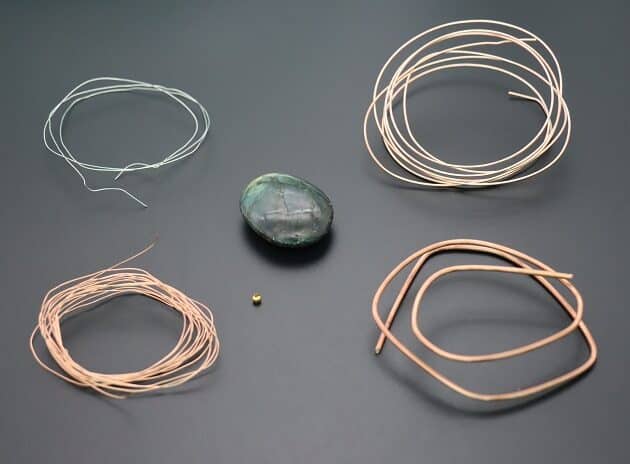
MATERIALS + TOOL
- Copper Wire (12 AWG)
- Gold Copper Wire (18 AWG)
- Gold Copper Wire (26 AWG)
- Silver Copper Wire (26 AWG)
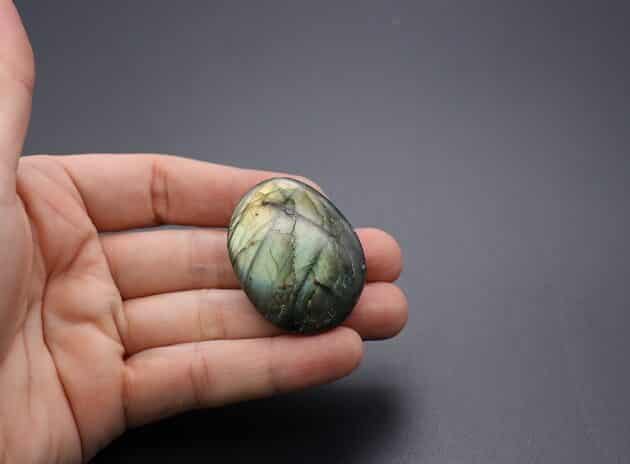
- Labradorite Stone
- Small Golden Round Spacer Beads (7 pcs)
- Wire Cutter (Small + Big)
- Nylon Jaw Pliers
- Stepped Bail-Making Pliers
- Mini Long Needle Nose Pliers
- Round Nose Pliers
- Small Hammer with Flat Mallet Head
- Ball Peen Hammer Two-sided Flat/ Round Head
- Triangle Needle Files
- Metal Base Plate
- Flat Nose Pliers
- Masking Tape
- Finest Steel Wire Wool
- Designed Template
- Pen/ Marker Pen
Prefer this wire-wrapping tutorial in a PRINTABLE FORMAT? (High Resolution Photos)
WIRE-WRAPPING EXQUISITE OVAL LABRADORITE CABOCHON STATEMENT PENDANT TUTORIAL
Step 1 of 27
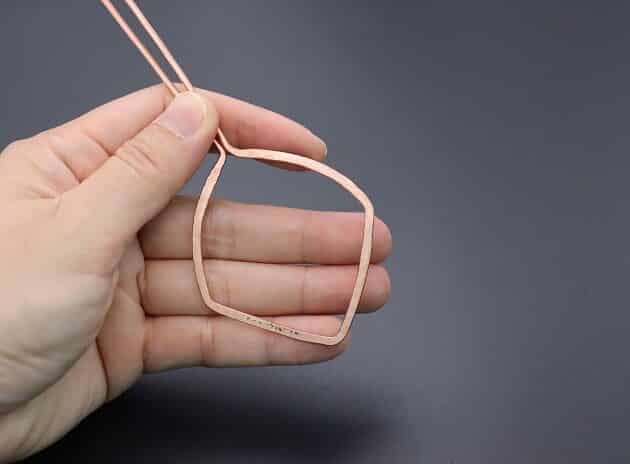
Firstly, prepare all items from the Material and Tools list (fig. 1a).
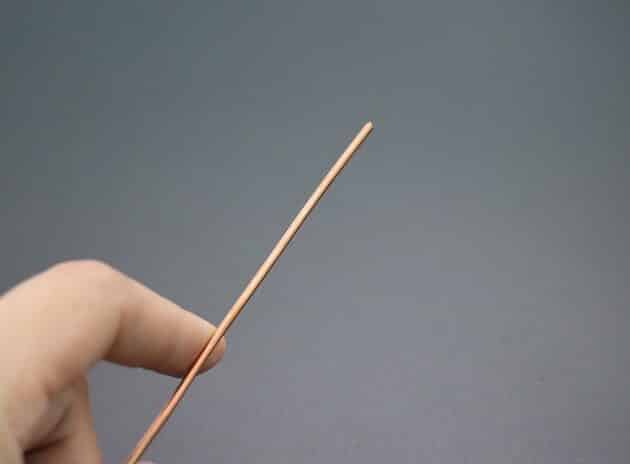
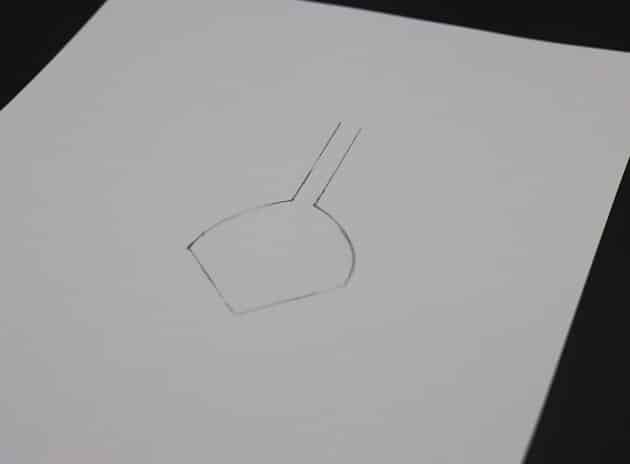
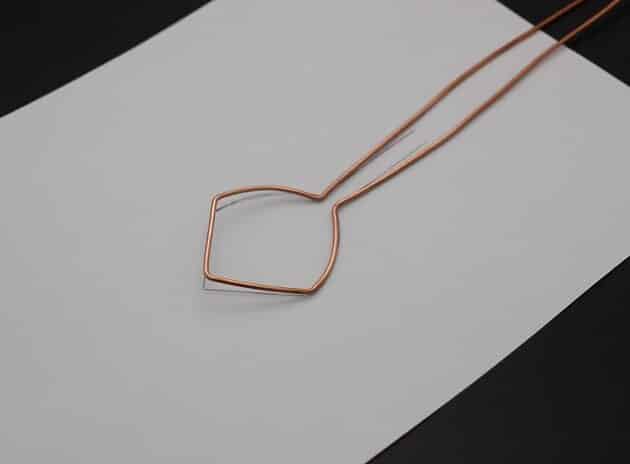
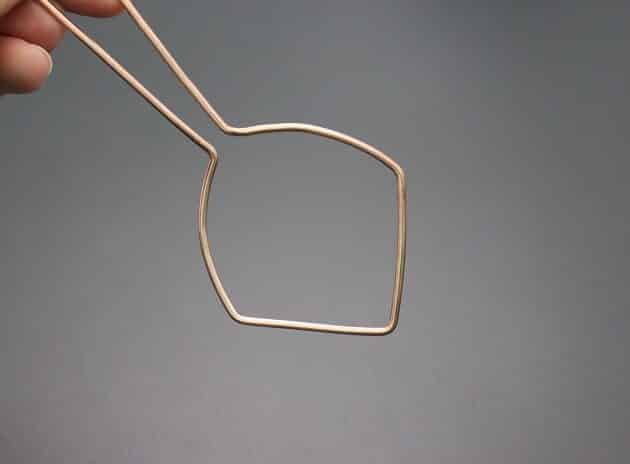
Next, make the primary wire frame for your pendant with a string of 12 gauge copper wire and a designed template (fig. 1b, 1c, 1d, 1e).
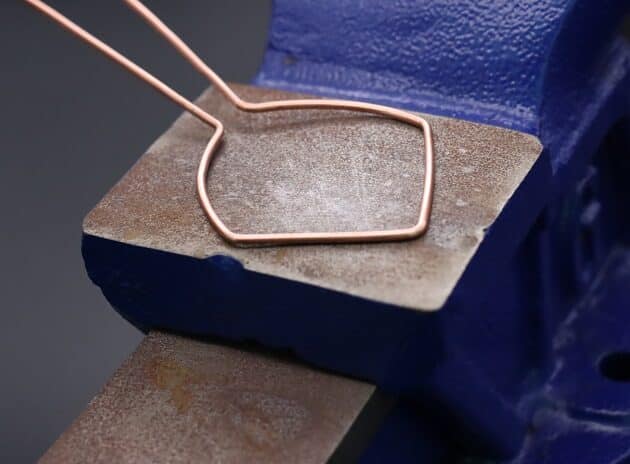
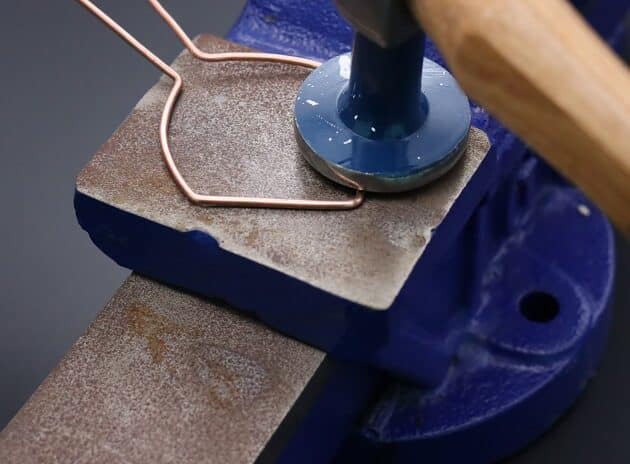
Then, flatten your wire frame by lightly hammering it on metal base plate or jewelry anvil (fig. 1f, 1g, 1h).
Step 2 of 27
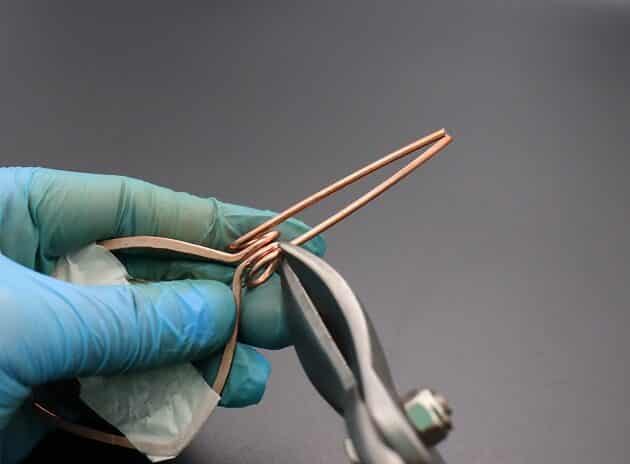
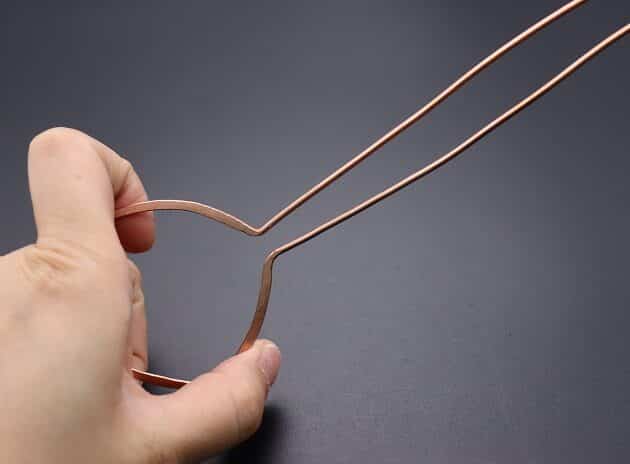
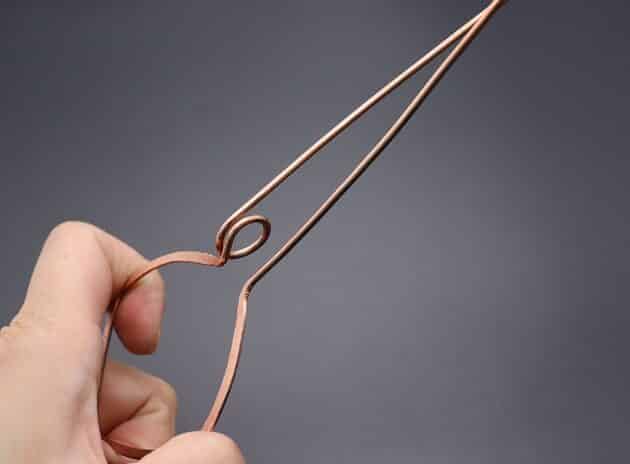
Secondly, widen the gap on your wire frame (fig. 2a, 2b).
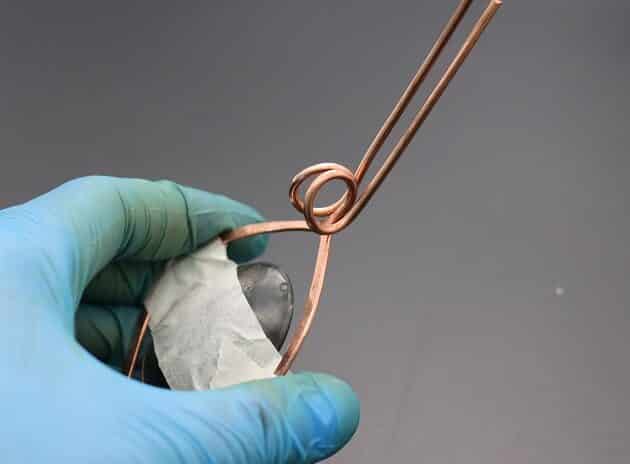
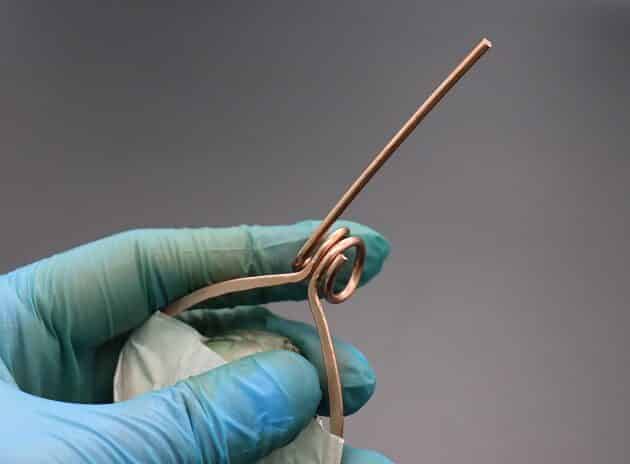
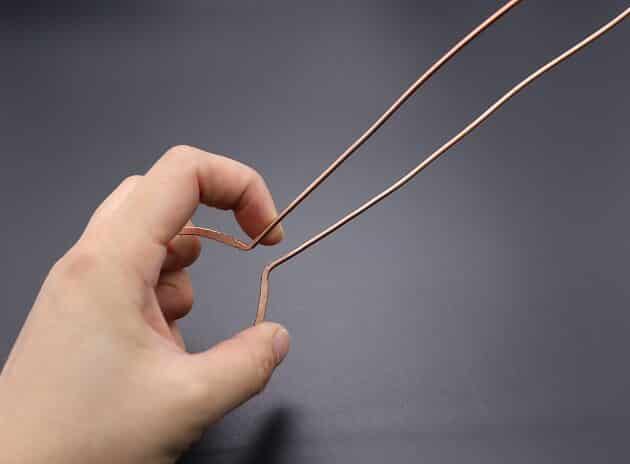
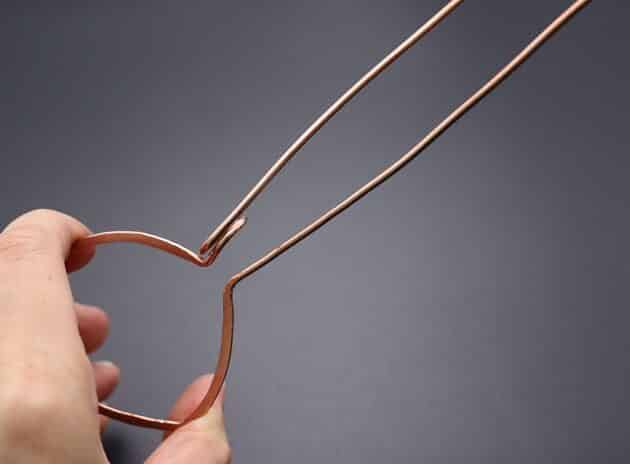
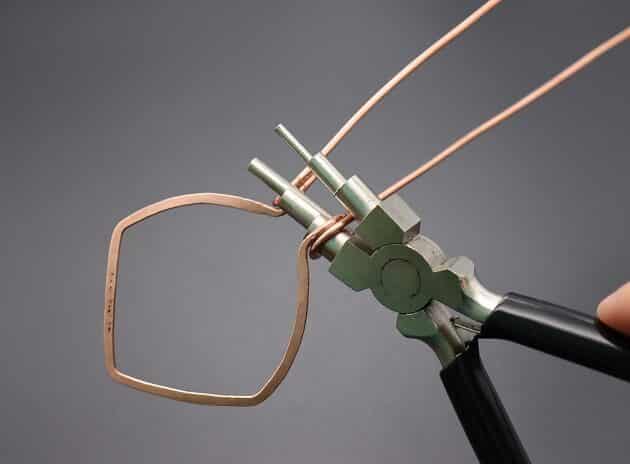
Then, make a wire loop on the left loose 12 gauge wire using the large diameter on your stepped bail making pliers (fig. 2c, 2d, 2e).
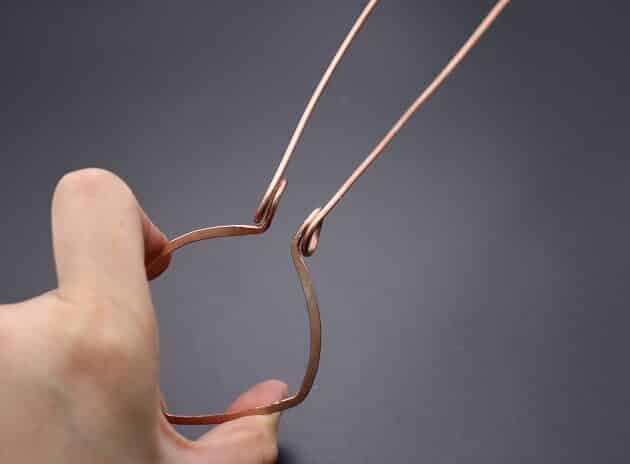
Repeat the same wire looping process on the right loose wire (fig. 2f, 2g, 2h).


Step 3 of 27
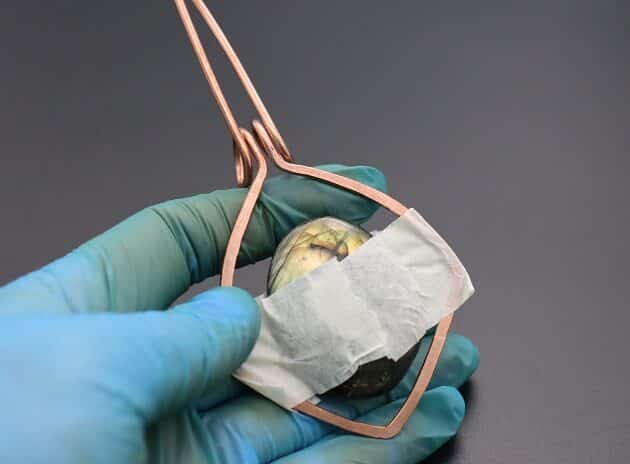
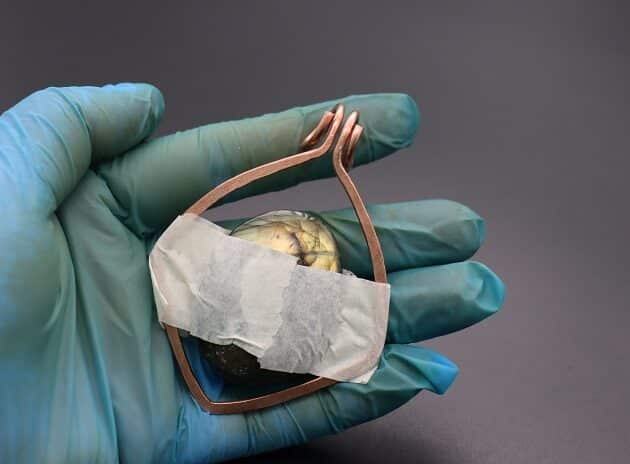
Thirdly, place your labradorite stone in the middle of the 12 gauge wire frame and tape it in position (fig. 3a, 3b).
Checkpoint: Side view (fig. 3c) and back view of your pendant (fig. 3d).
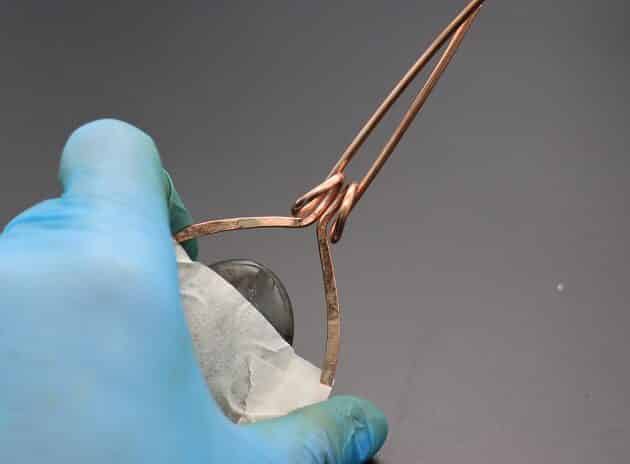
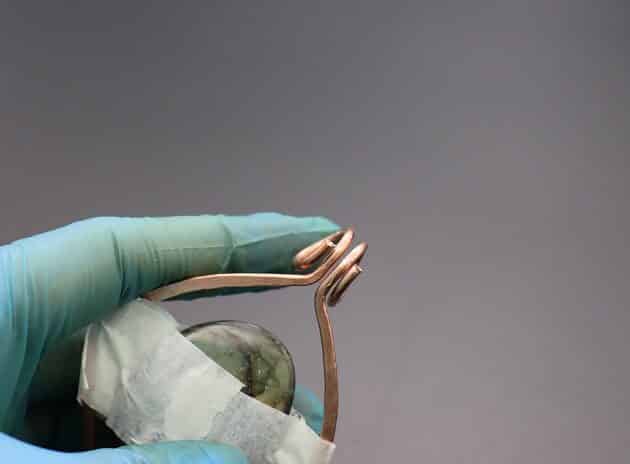
Lastly, trim off the excess 12 gauge copper wires with a wire cutter (fig. 3e, 3f, 3g, 3h).
Your primary wire frame design is complete (fig. 3i)!