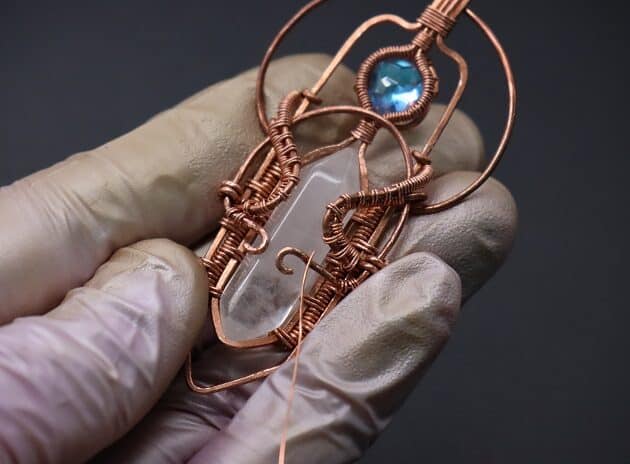
Step 15 of 21
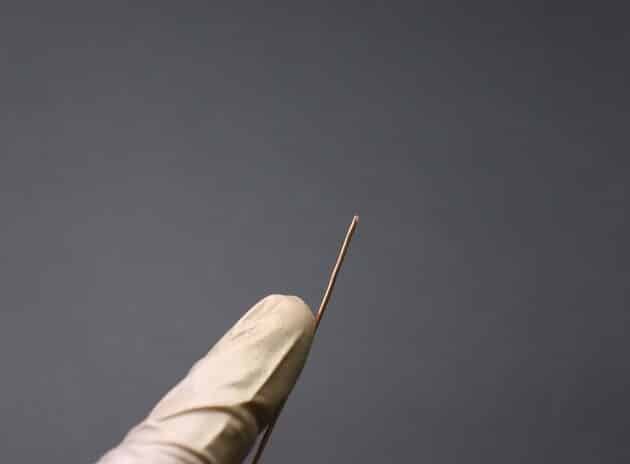
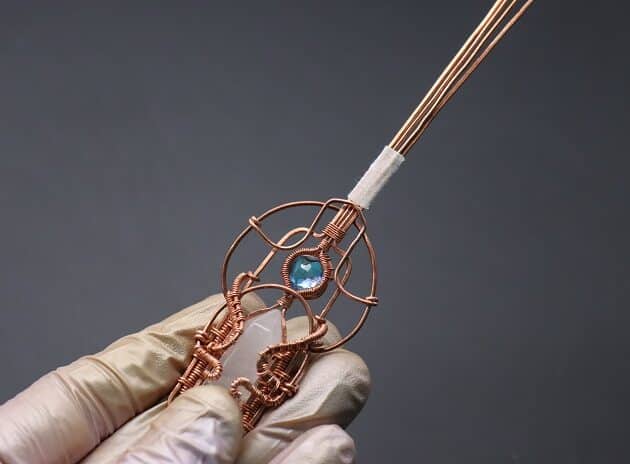
Now, let’s add a second layer of curled wires using a 18-gauge copper wire (fig. 15a).
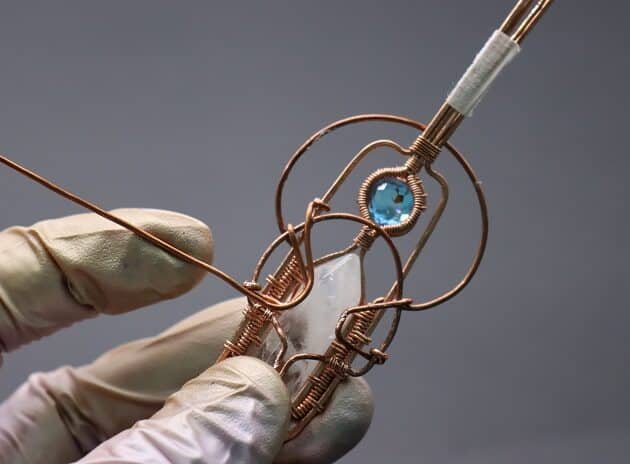
Anchor one end of the 18-gauge copper wire on the left side of your primary frame (fig. 15b, 15c).
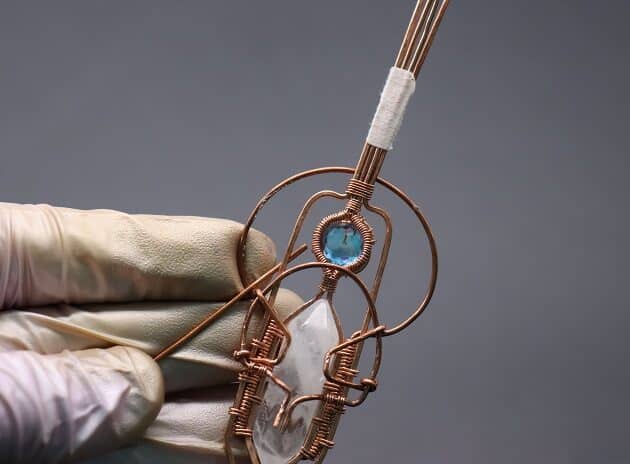
Then, make a S-shape curl and anchor on the bottom left of your second ring frame (fig. 15d, 15e).

FREE WIRE-WRAPPING GUIDE TO YOUR EMAIL!
JOIN NEWSLETTER
We respect your privacy. Unsubscribe at anytime.
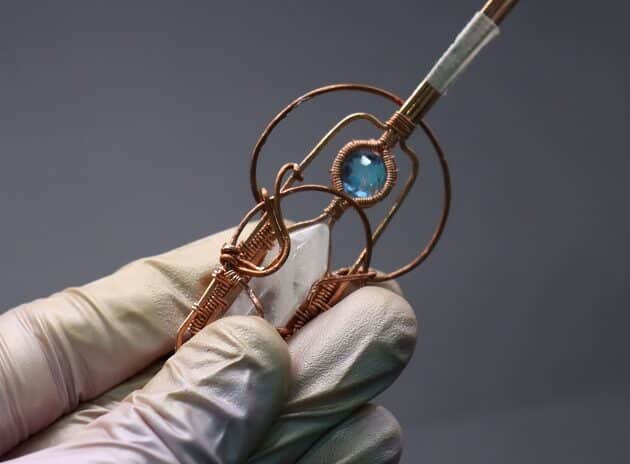
Repeat on the right side of your pendant (fig. 15f).
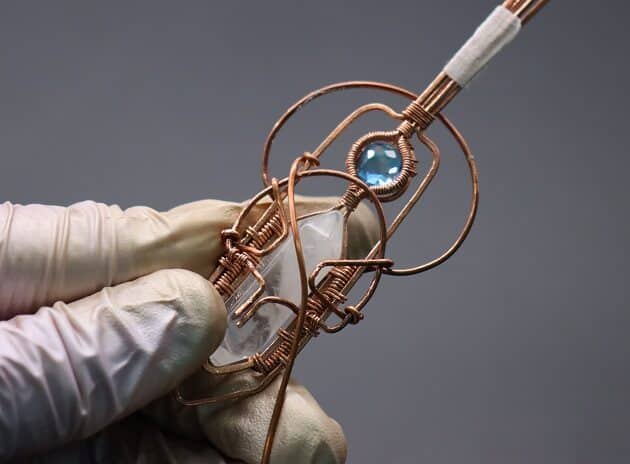
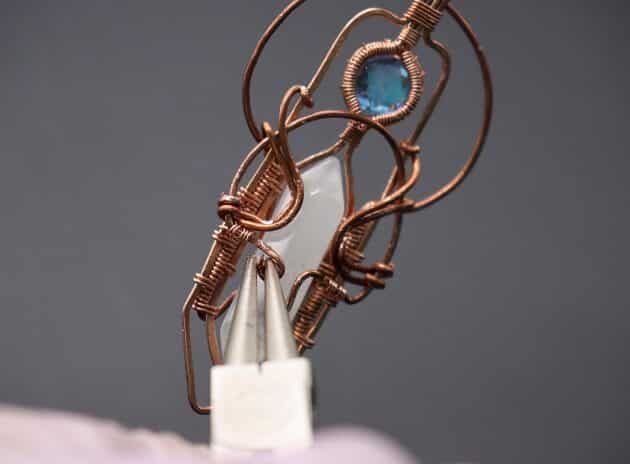
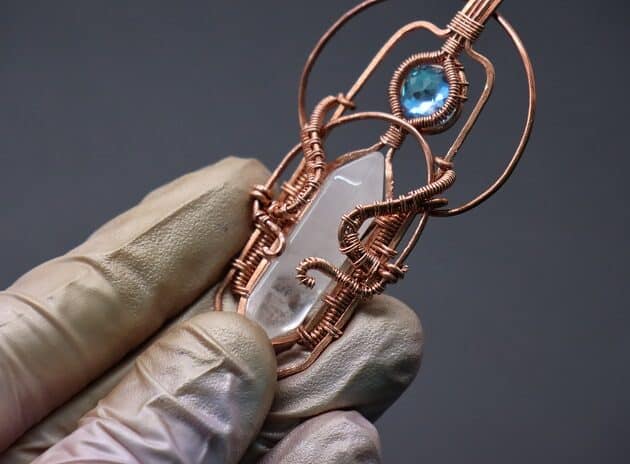
After that, use a round nose pliers to curl the wire ends on the front of your crystal point as shown (fig. 15g, 15h, 15i).
Prefer this wire-wrapping tutorial in a PRINTABLE FORMAT? (High Resolution Photos)
Click here for the PDF version of “Wire-Wrapping Beautiful Hexagonal Crystal Point Pendant Tutorial”
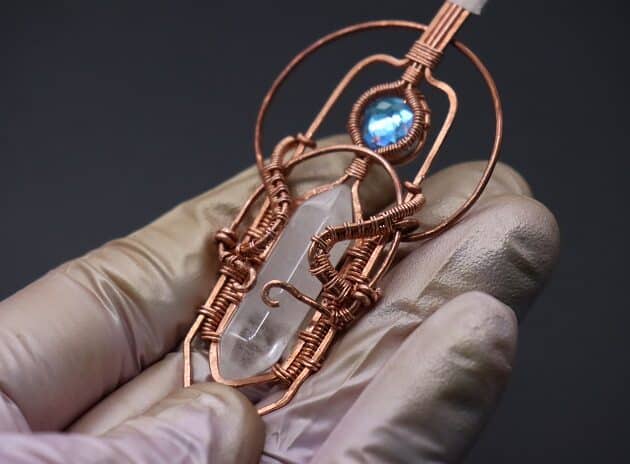
Step 16 of 21
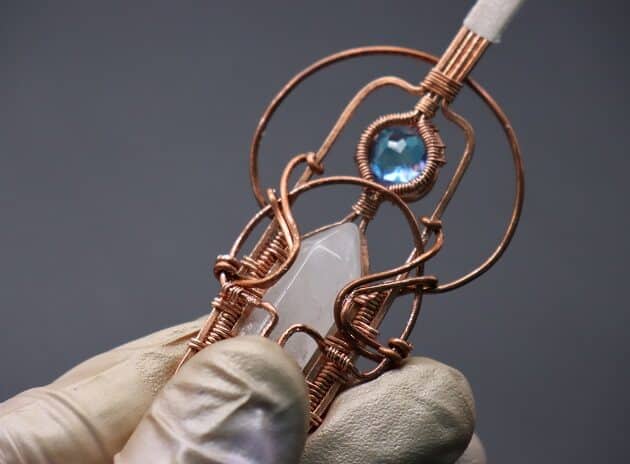
Next, let’s add coiling texture to the wires using a 26-gauge copper wire (fig. 16a).
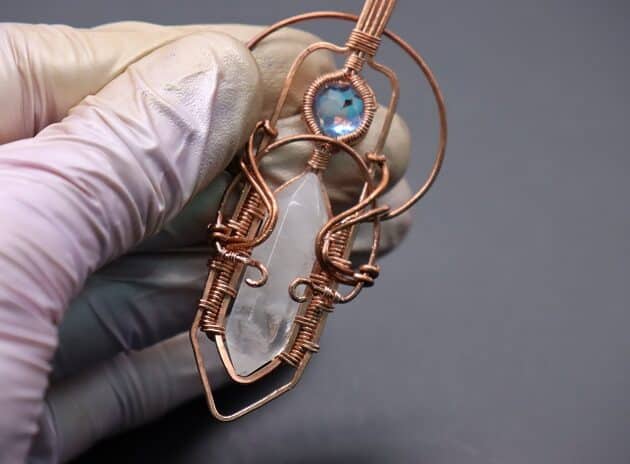
Firstly, coil the front half of the curled 18-gauge copper wire (fig. 16b).
Then, weave the 18-gauge and 22-gauge copper wires together with following combo:
- 2 big coils on both wires and 3 small coils on 22-gauge copper wire (fig. 16c, 16d).
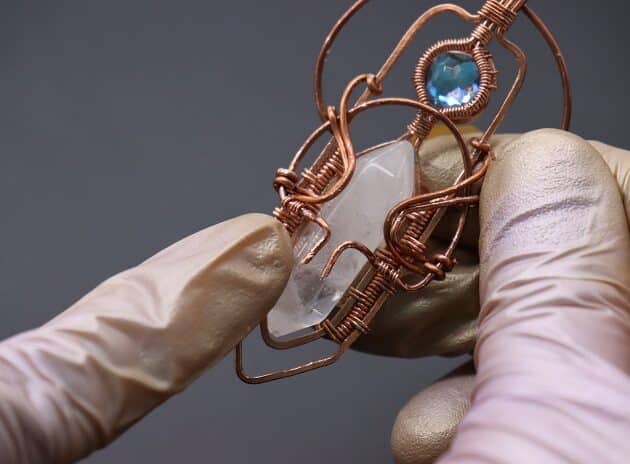
Repeat the coiling and weaving process on the left curled wires (fig. 16e).
Lastly, coil the front curled crystal point wires with 26-gauge copper wire as well (fig. 16f, 16g, 16h).
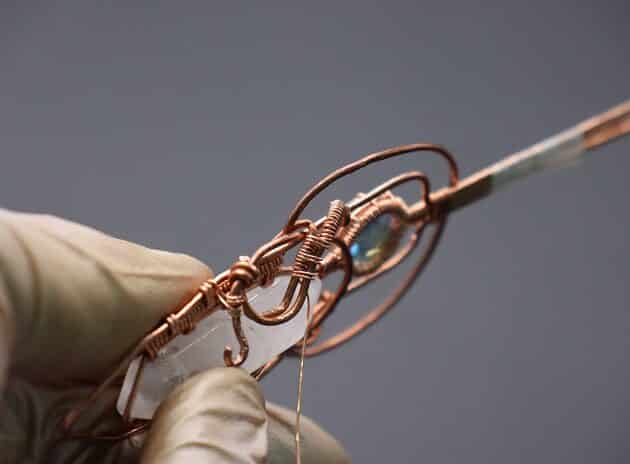
Step 17 of 21
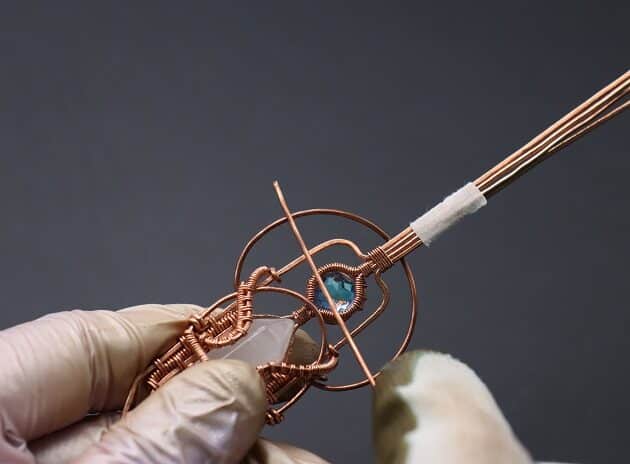
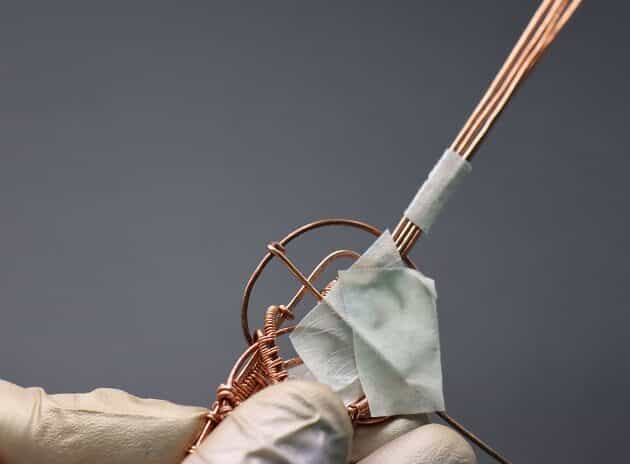
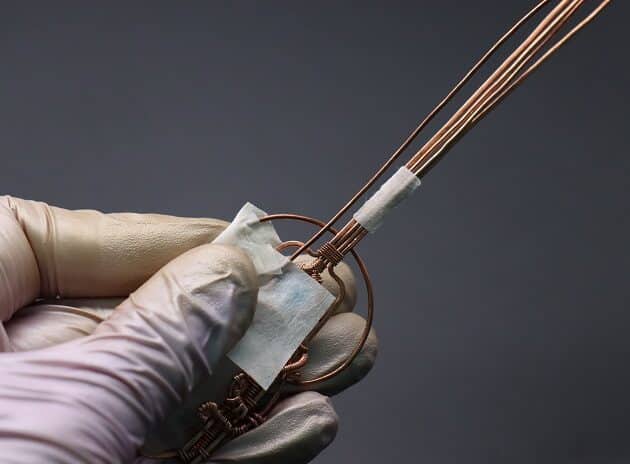
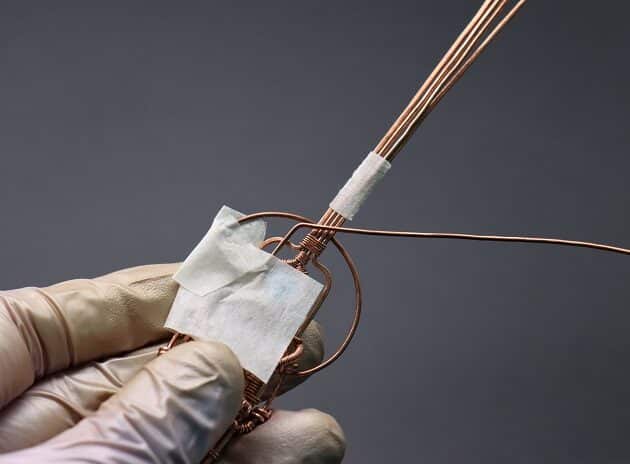
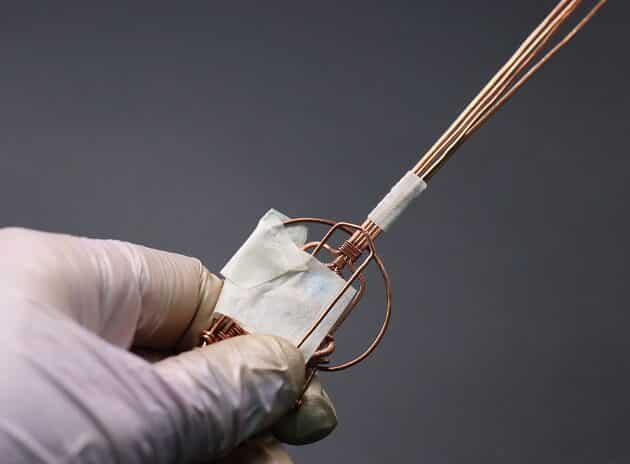
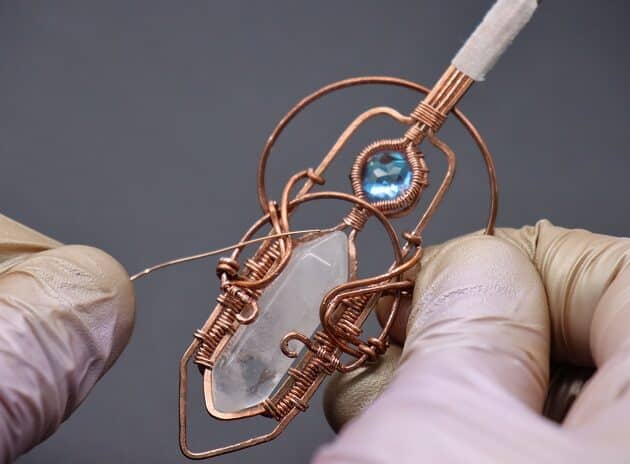
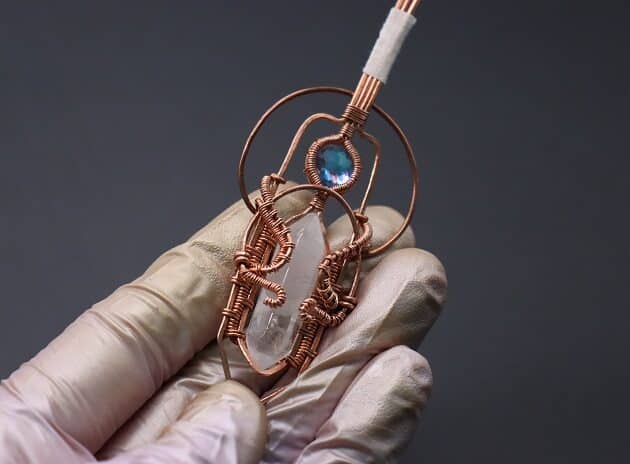
Moving on, let’s fill up the space of the top ring frame with a 22-gauge copper wire (fig. 17a).
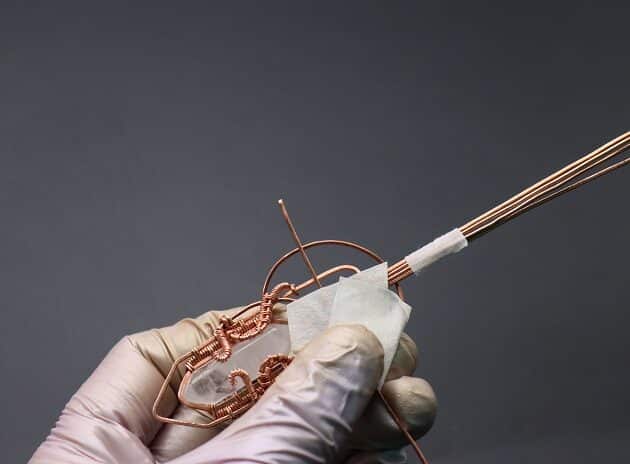
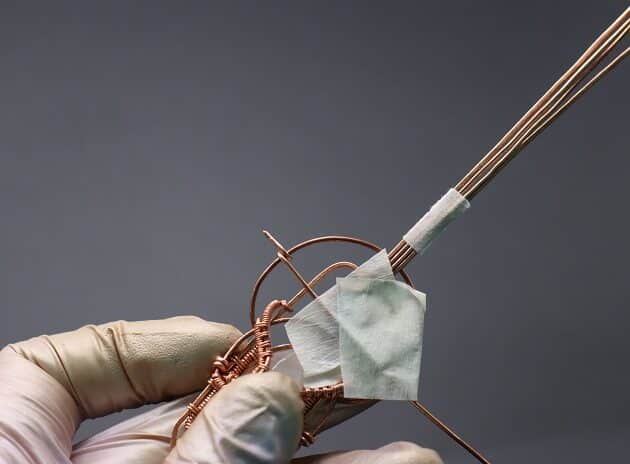
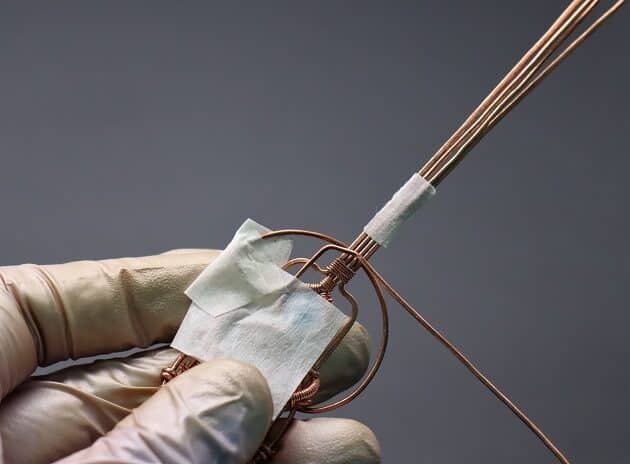
Line the 22-gauge copper wire horizontally across the middle of the ring frame and tape it (fig. 17b, 17c).
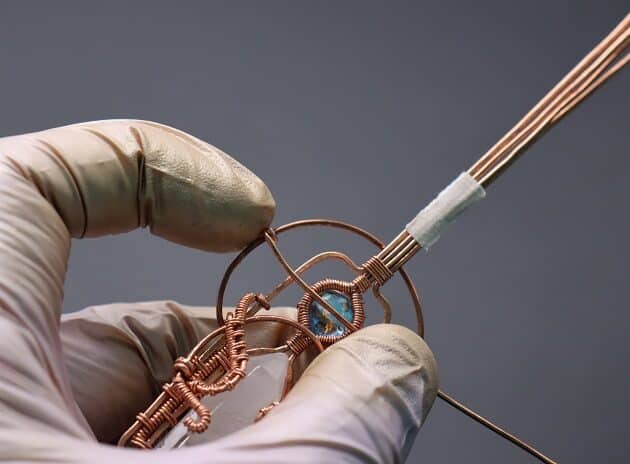
Then, anchor the wire on the left side of your ring frame (fig. 17d, 17e).
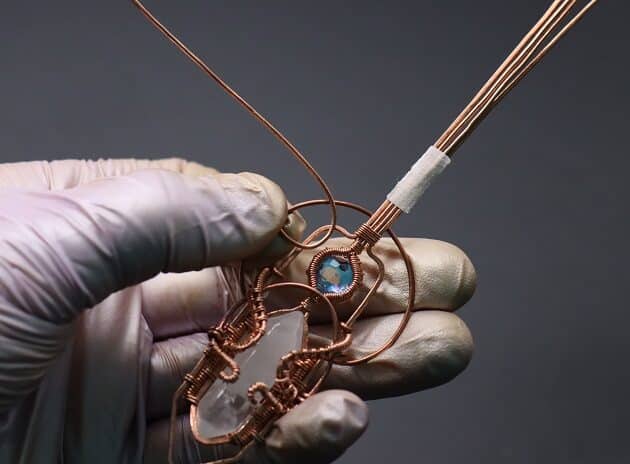
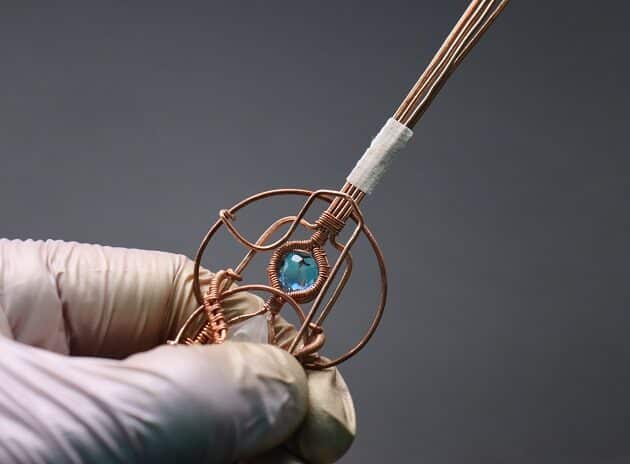
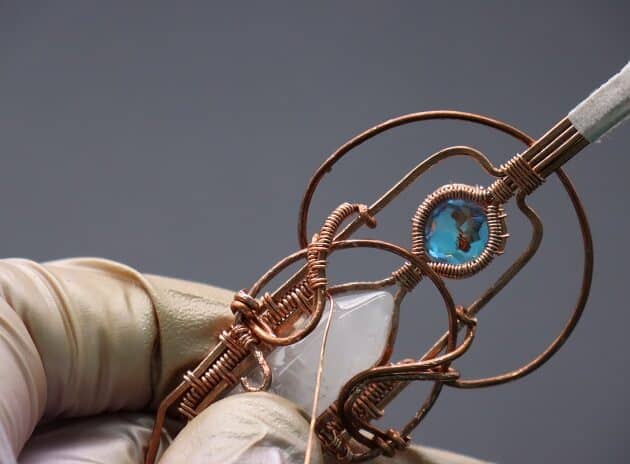
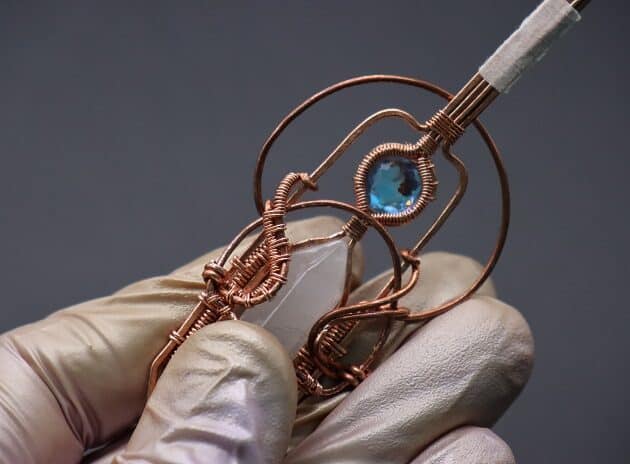
After that, curl and bend the following wire structure as shown:
- Left part (fig. 17f, 17g, 17h).
- Middle part (fig. 17i, 17j, 17k).
- Right part (fig. 17l, 17m).