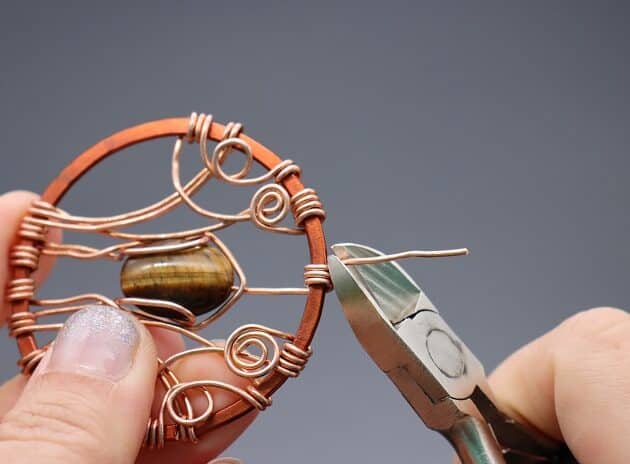
Step 10 of 15
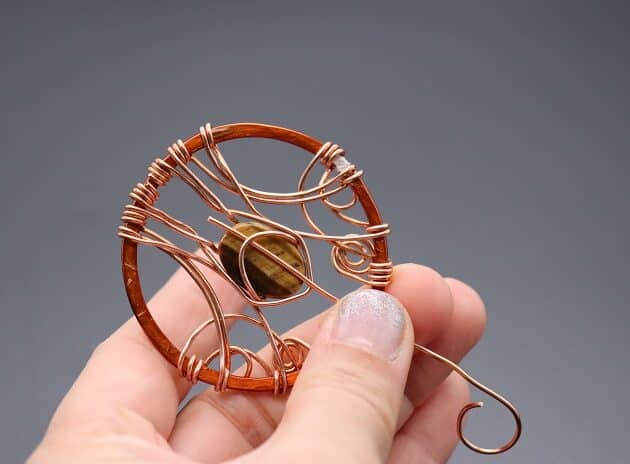
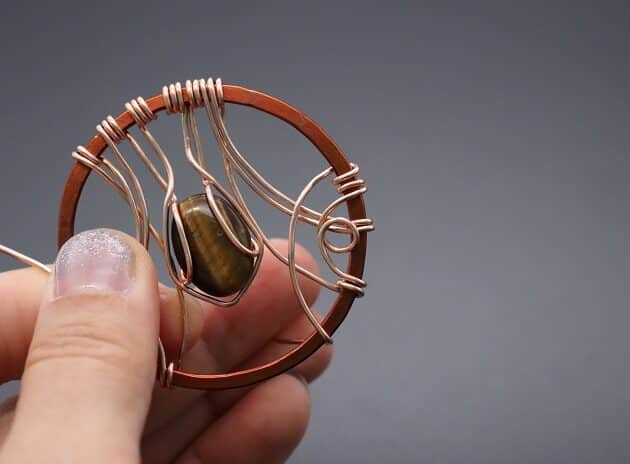
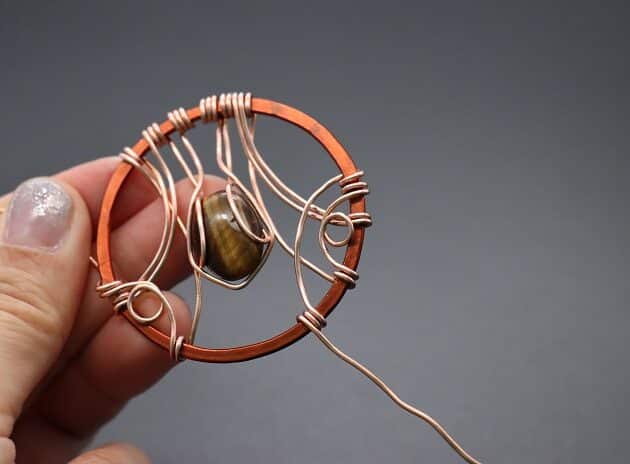
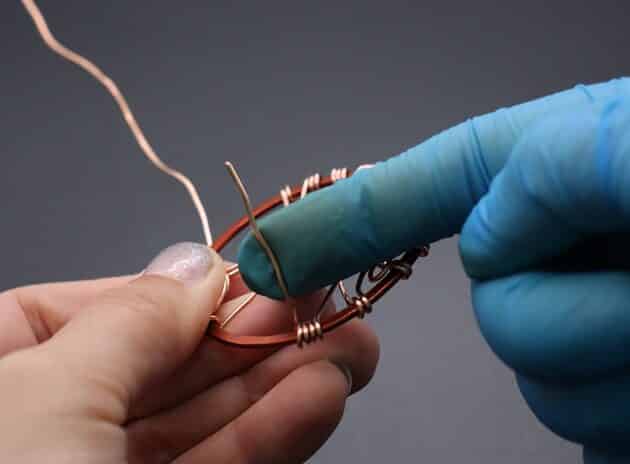
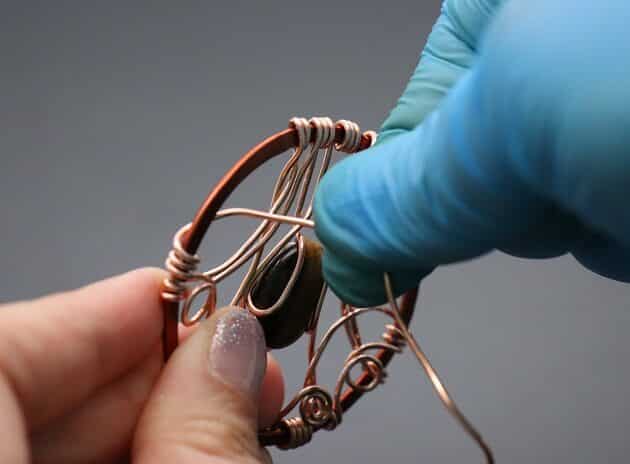
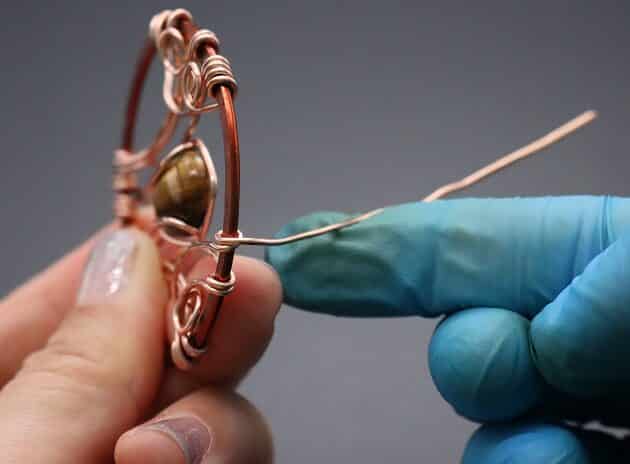
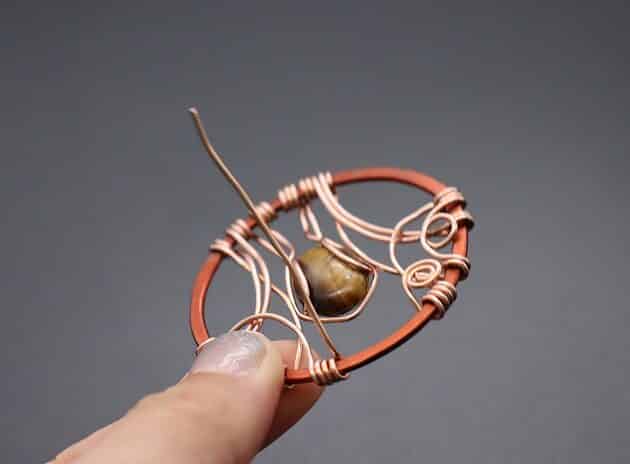
Back to the loose wire on the right side, make a wrap on the main frame and curve it to the bottom of the pendant (fig. 10a, 10b, 10c, 10d, 10e).
Then, make four coils on the main frame (fig. 10f, 10g, 10h, 10i, 10j, 10k).
Lastly, make a vine design with the remaining wire using a round nose pliers (fig. 10l, 10m, 10n).

FREE WIRE-WRAPPING GUIDE TO YOUR EMAIL!
JOIN NEWSLETTER
We respect your privacy. Unsubscribe at anytime.
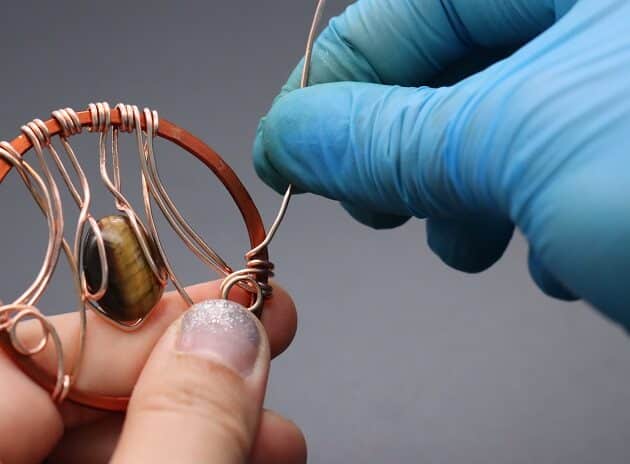
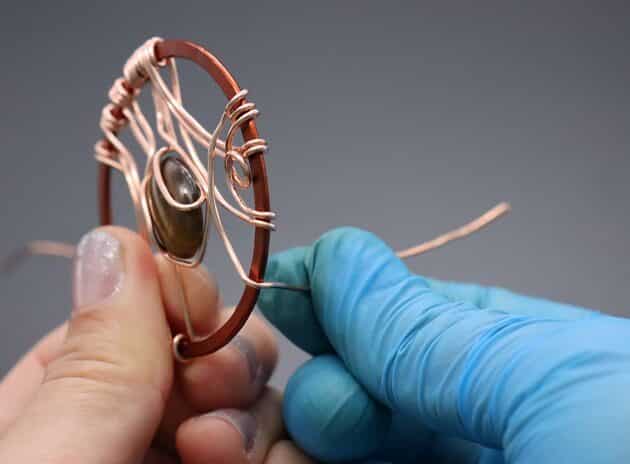

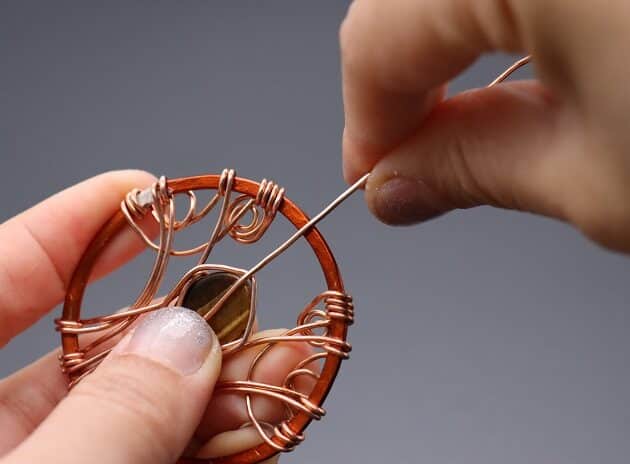
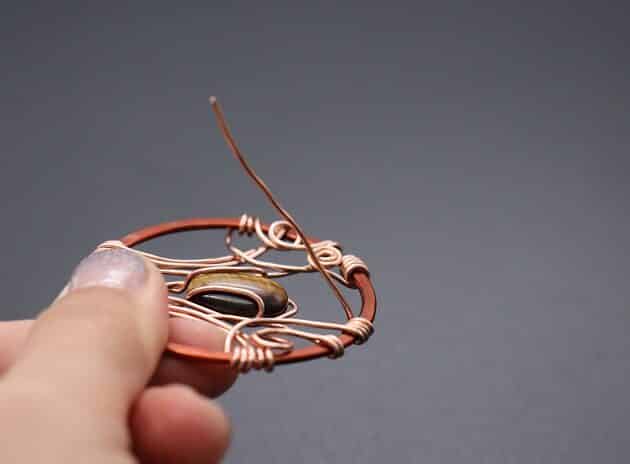
Step 11 of 15
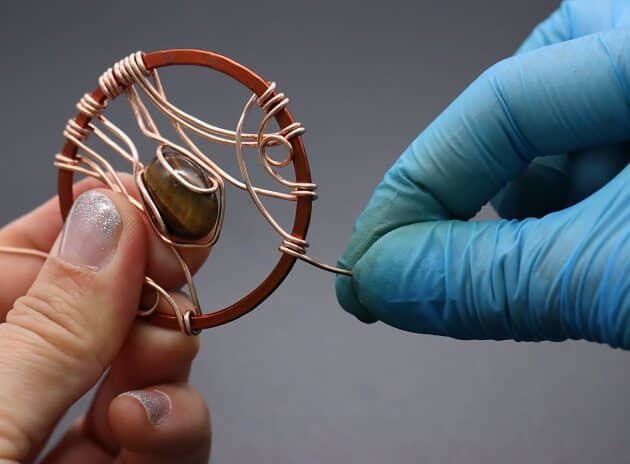
For the loose wire on the left side, repeat the wire structuring process from Step 10:
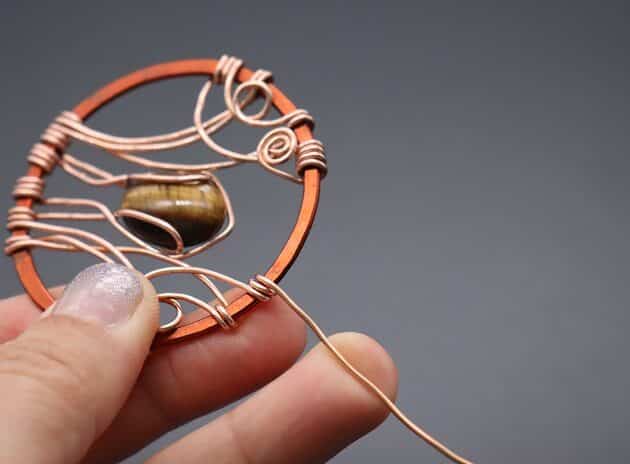
Make a wrap on the main frame and curve it to the bottom of the pendant (fig. 11a, 11b, 11c, 11d, 11e).
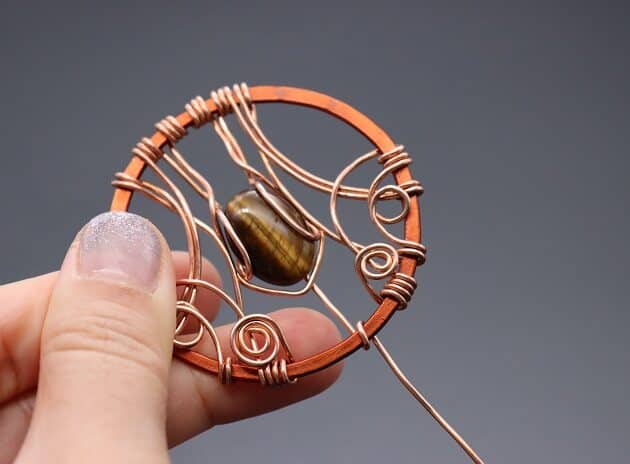
Make four coils on the bottom of the main frame (fig. 11f, 11g, 11h, 11i, 11j, 11k, 11l).
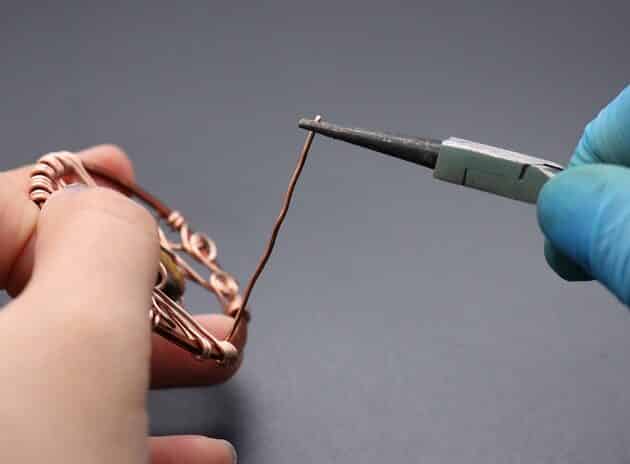
Lastly, make a vine design with the remaining wire using a round nose pliers (fig. 11m, 11n).
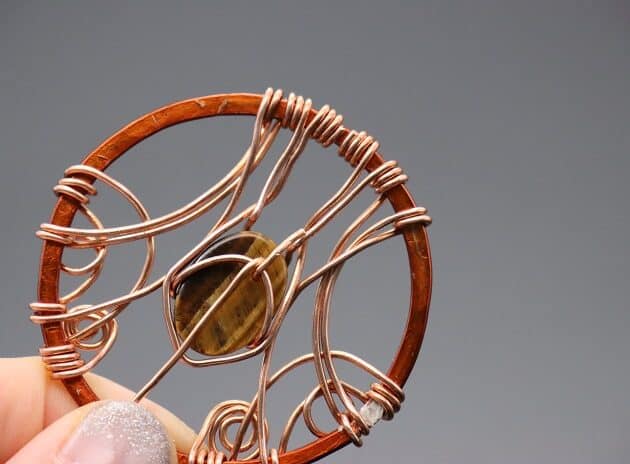
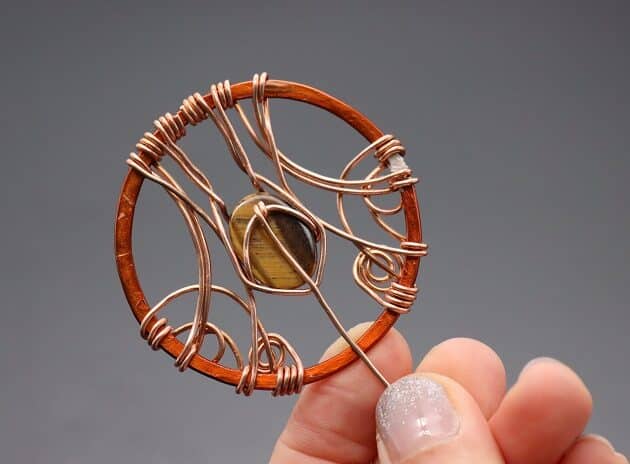
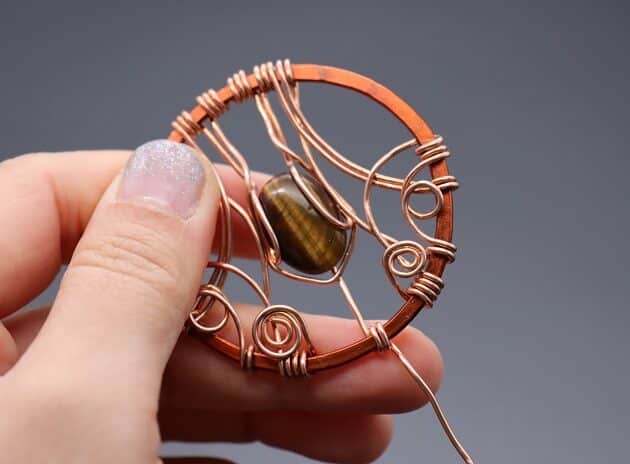
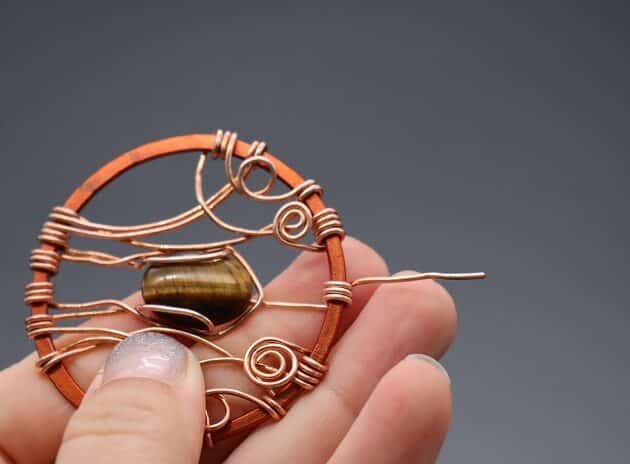
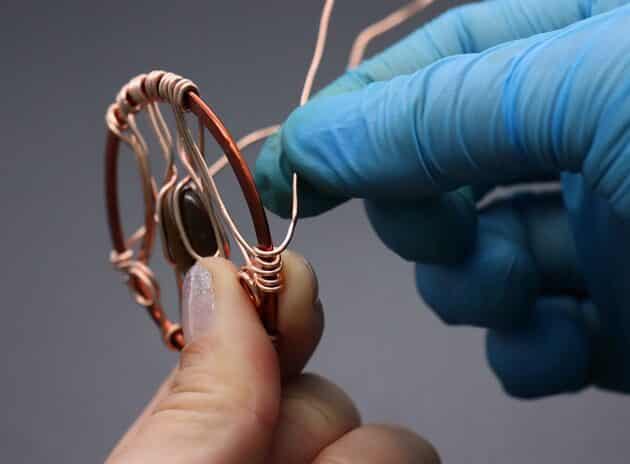
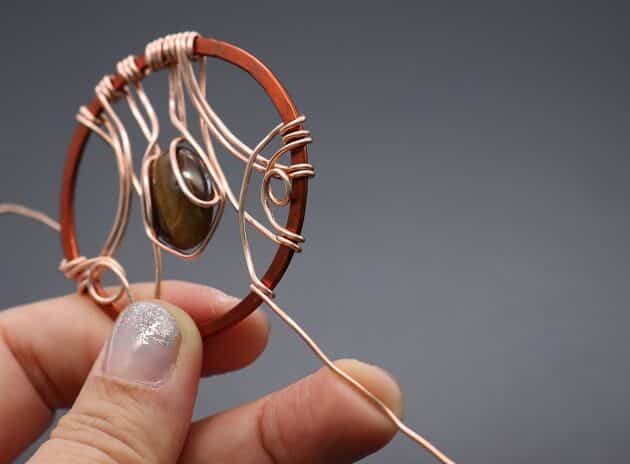
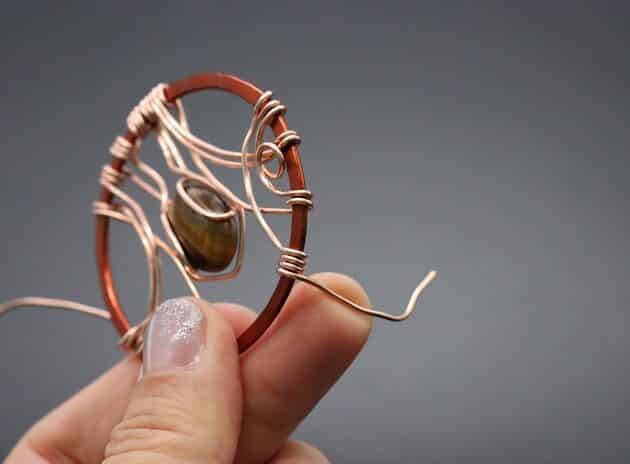
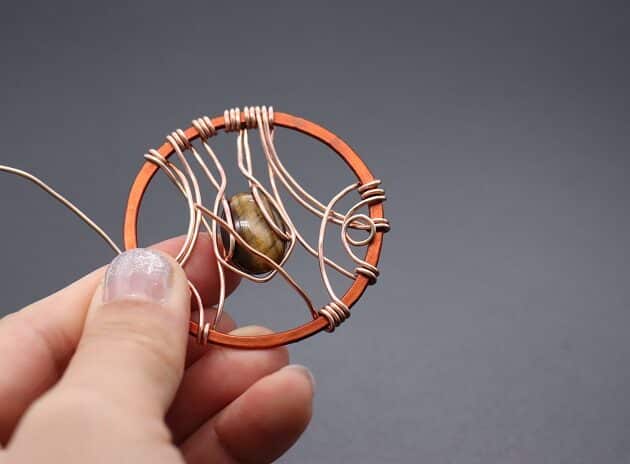
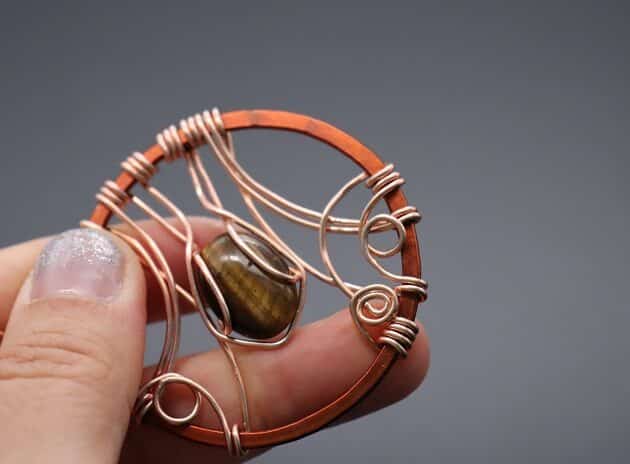
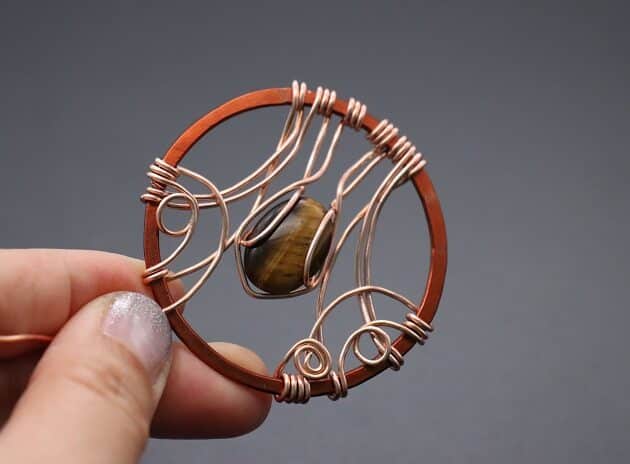
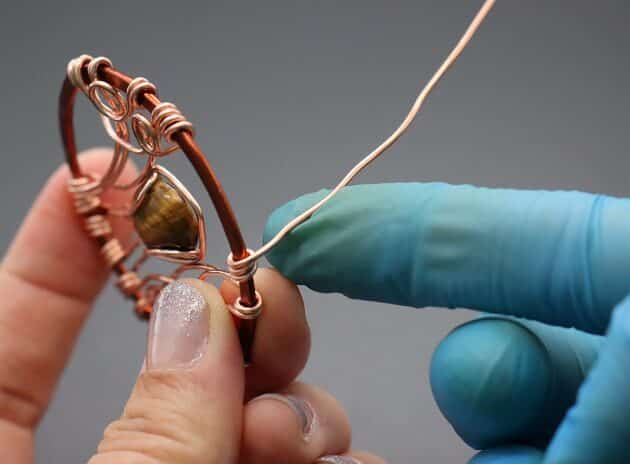
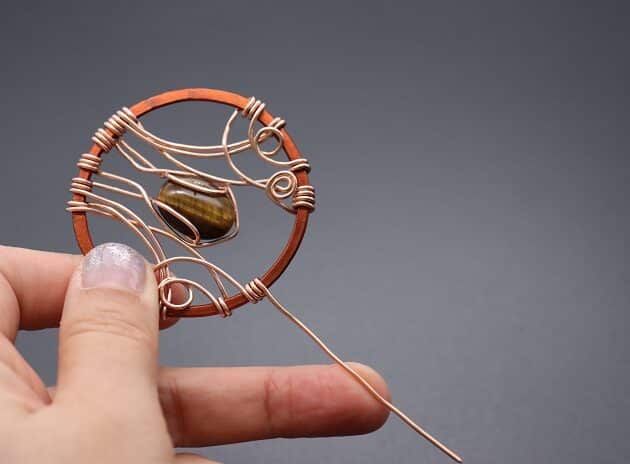
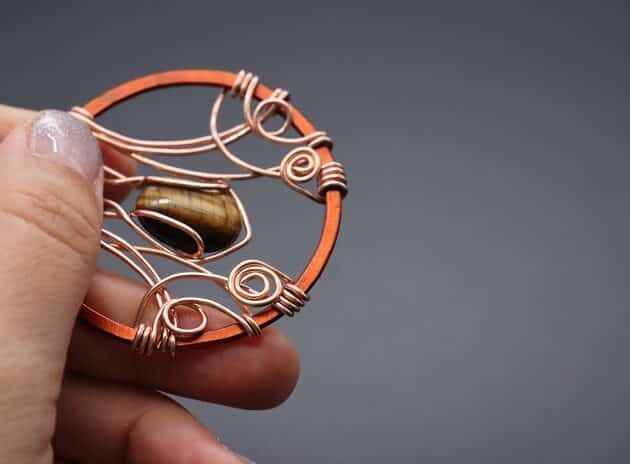
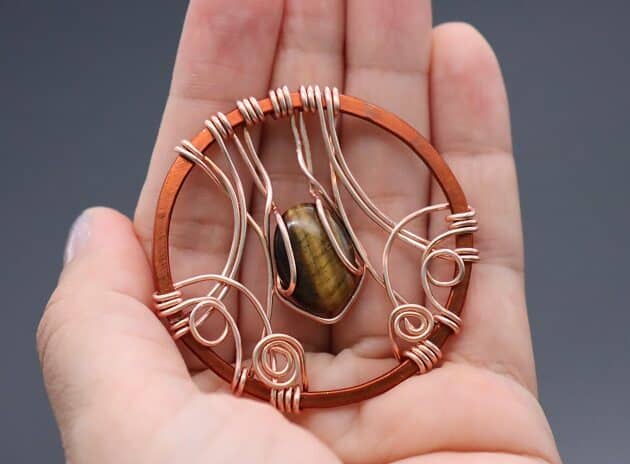
CHECKPOINT: The front of your Wire-Wrapping Circular Artisan Brown Gemstone Pendant should look like this (fig. 11o, 11p).
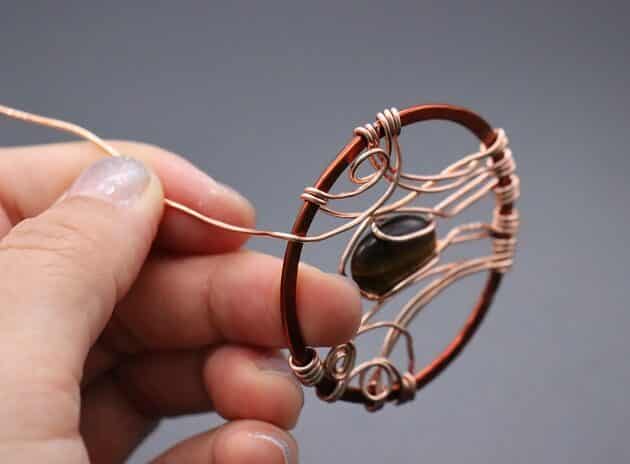
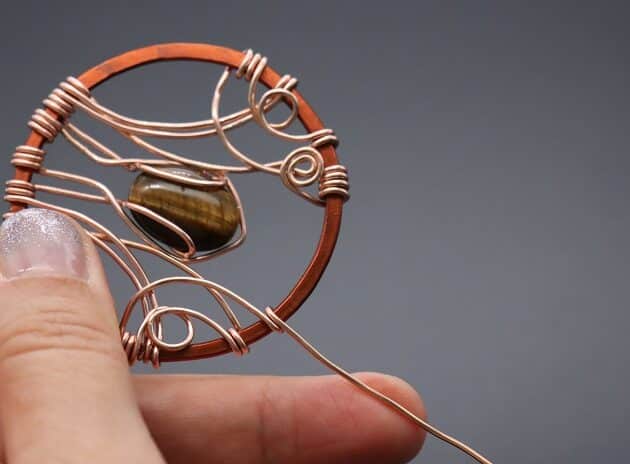

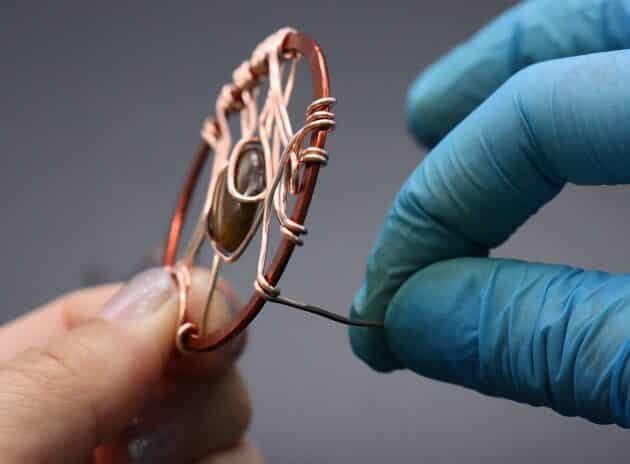
Step 12 of 15
Prefer this wire-wrapping tutorial in a PRINTABLE FORMAT? (High Resolution Photos)
Click here for the PDF version of “Circular Artisan Gemstone Pendant Wire-Wrapping Tutorial”
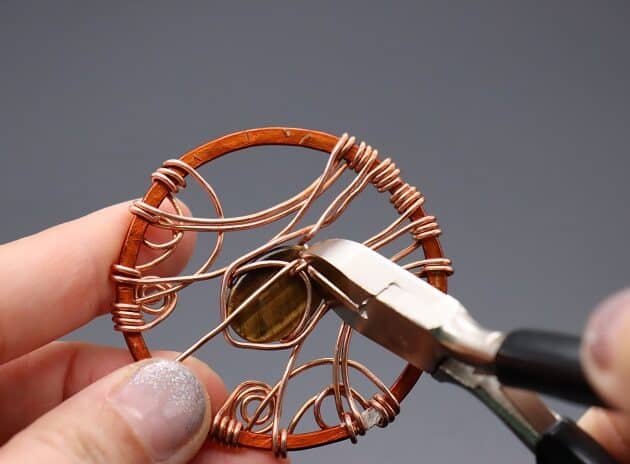
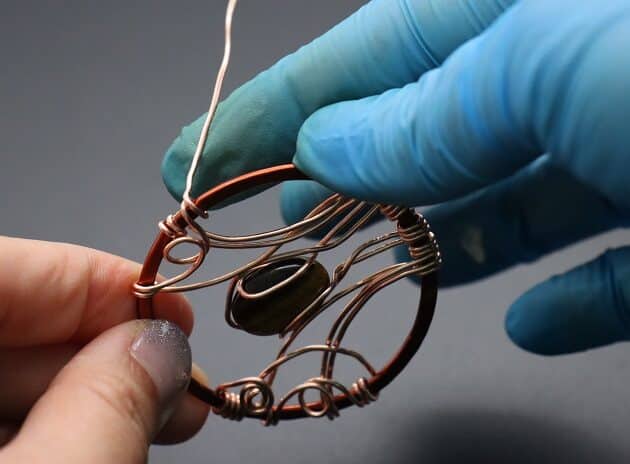
On the back side of your pendant, slip in a new length of 18-gauge copper wire in between your gemstone and its frame as shown (fig. 12a).
Anchor the copper wire in a coil at the center of the hook and cut off the excess with a wire cutter (fig. 12b, 12c).
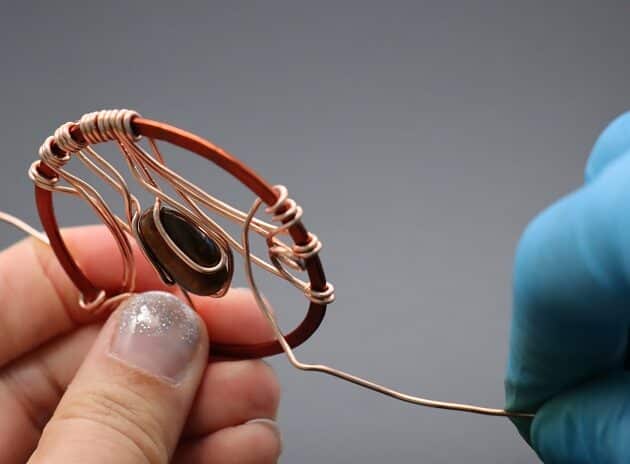
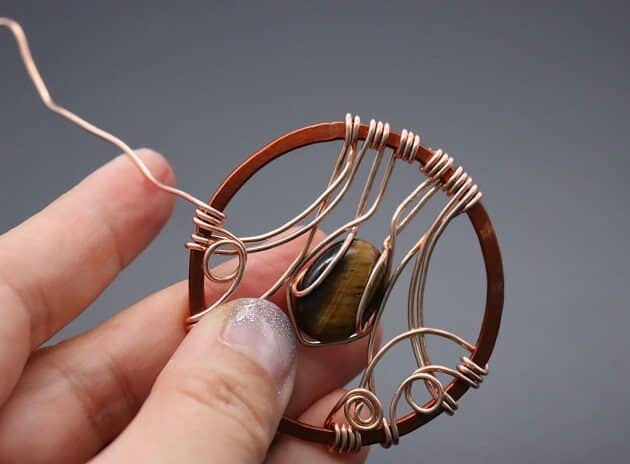
Then, pull the remaining wire down to the bottom point of the main frame (fig. 12d).
Make 3 coils to secure the wire and trim off the extra wire (fig. 12e, 12f, 12g, 12h, 12i, 12j).