Step 20 of 22
Welcome the to final part of your tutorial where you will refine the design of your Anchor pendant.
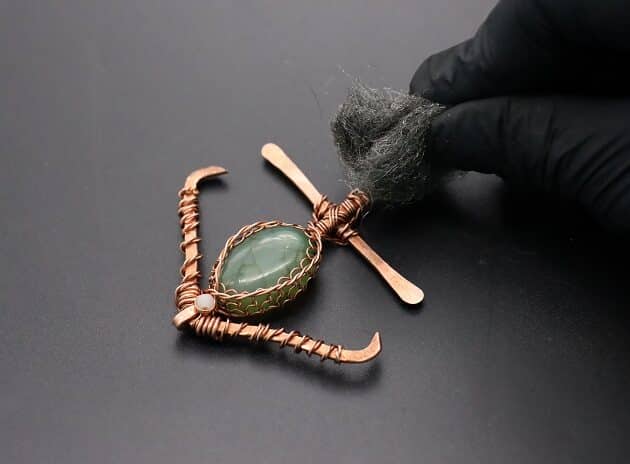
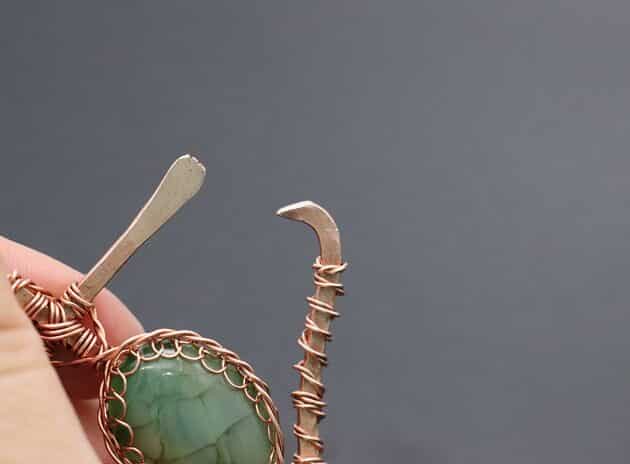
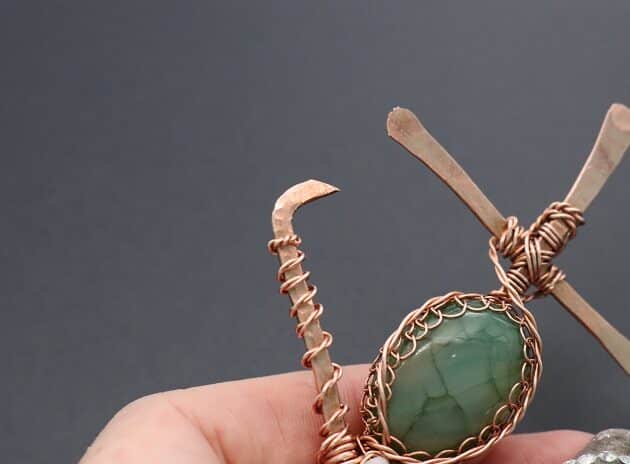
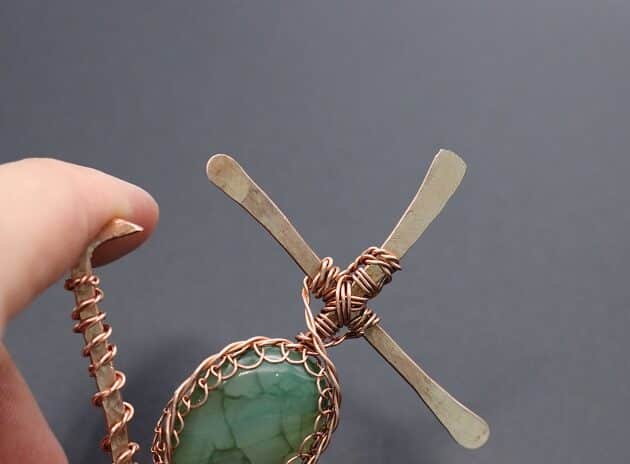
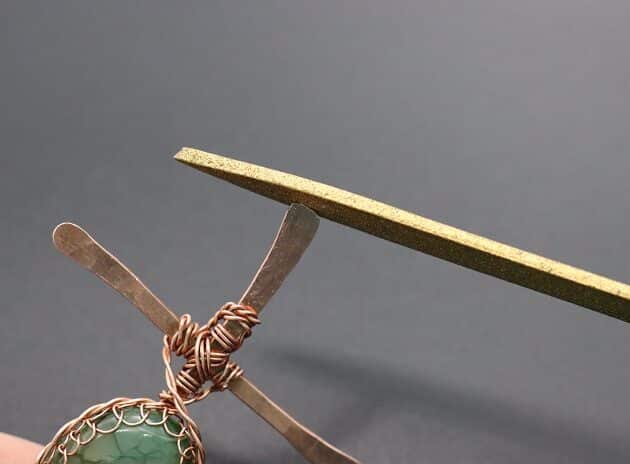
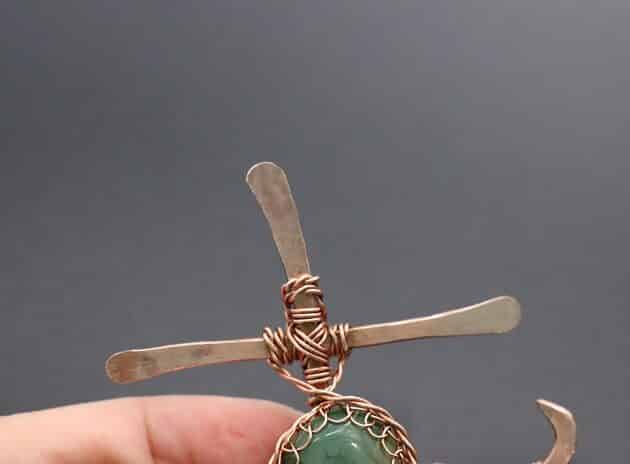
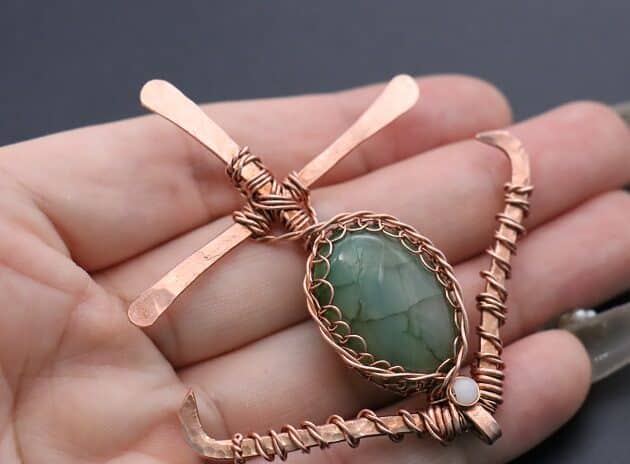
Use your triangle needle file to smoothen the edges of your Anchor Arm to avoid scratching on your clothes (fig. 20a, 20b, 20c, 20d).
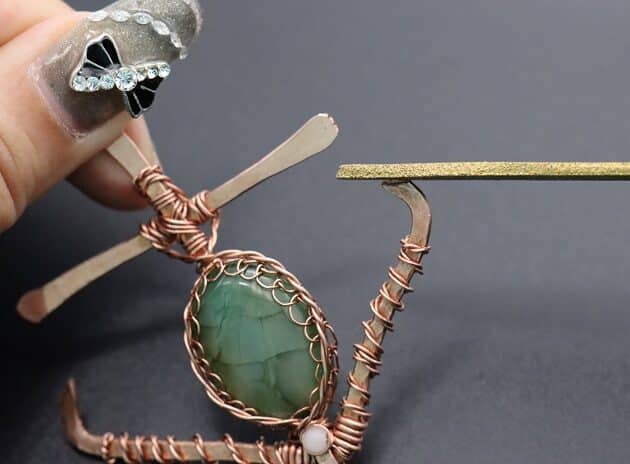
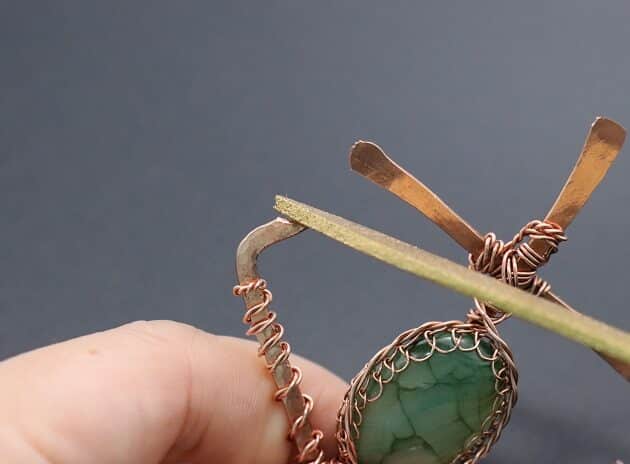
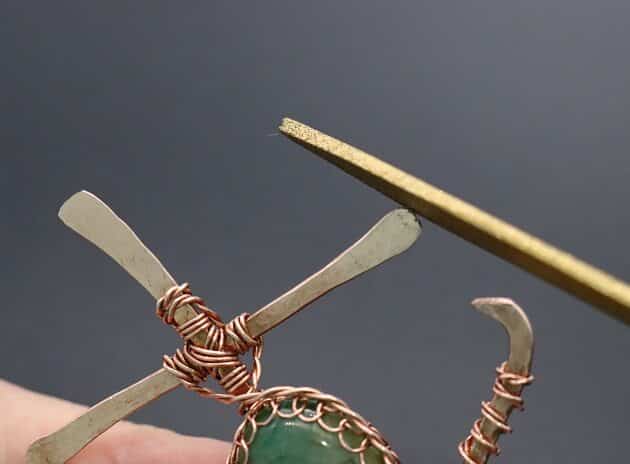
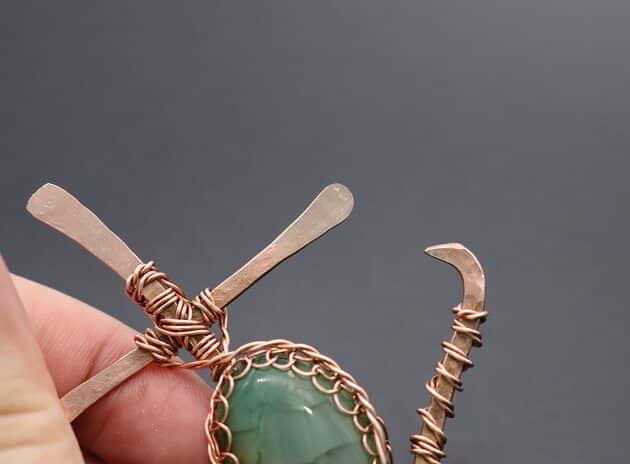
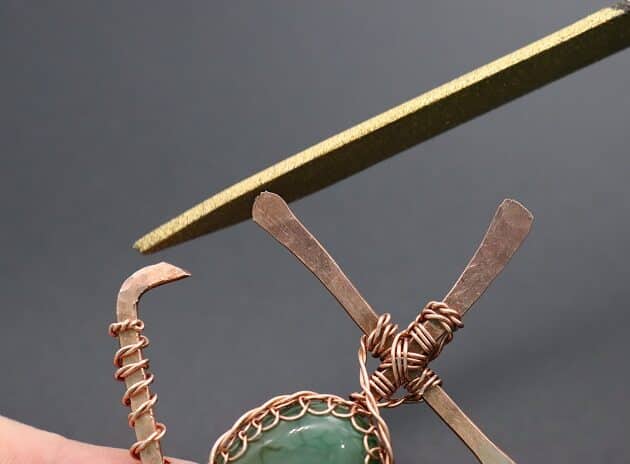
Next, round the edges of your pendant cross (fig. 20e, 20f, 20g, 20h, 20i, 20j, 20k).

FREE WIRE-WRAPPING GUIDE TO YOUR EMAIL!
JOIN NEWSLETTER
We respect your privacy. Unsubscribe at anytime.
Prefer this wire-wrapping tutorial in a PRINTABLE FORMAT? (High Resolution Photos)
>
Step 21 of 22
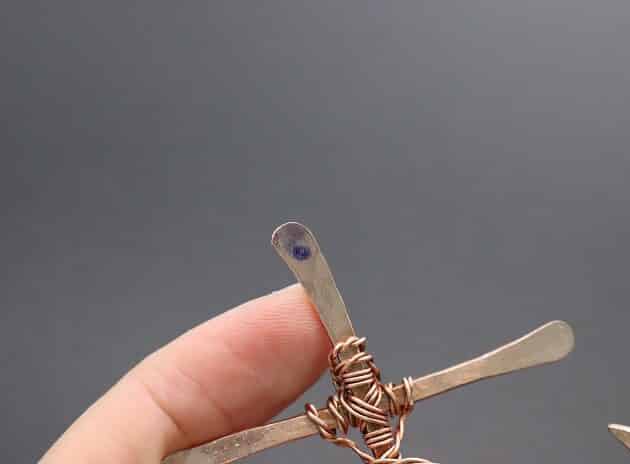
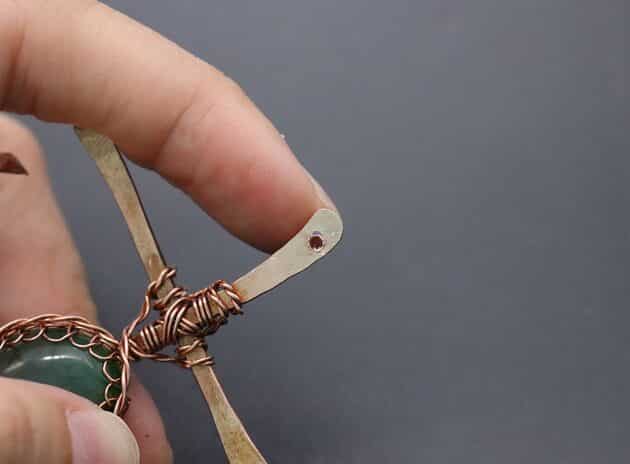
Now, mark a dot on the top of your Anchor Shank with a pen (fig. 21a).
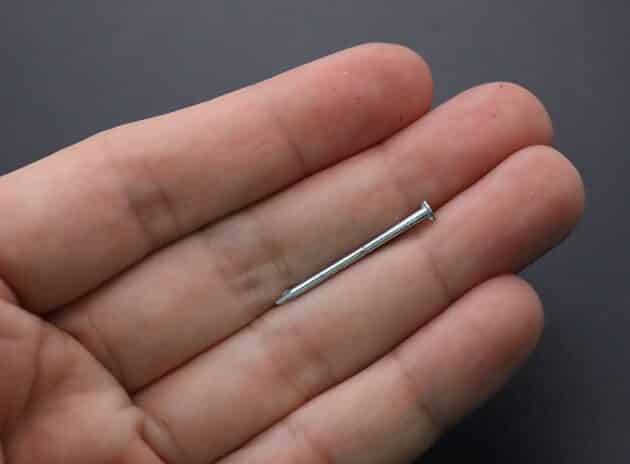
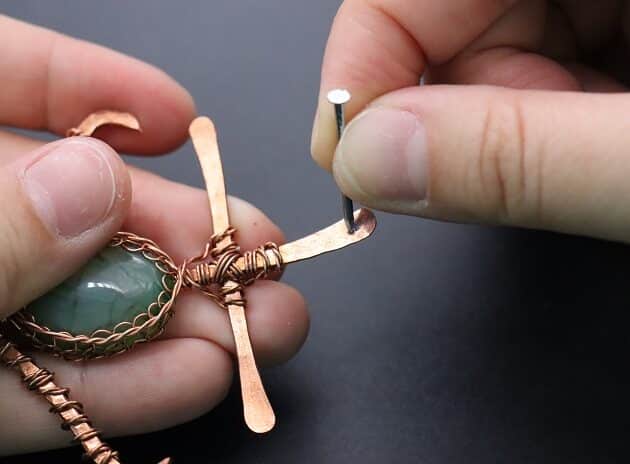
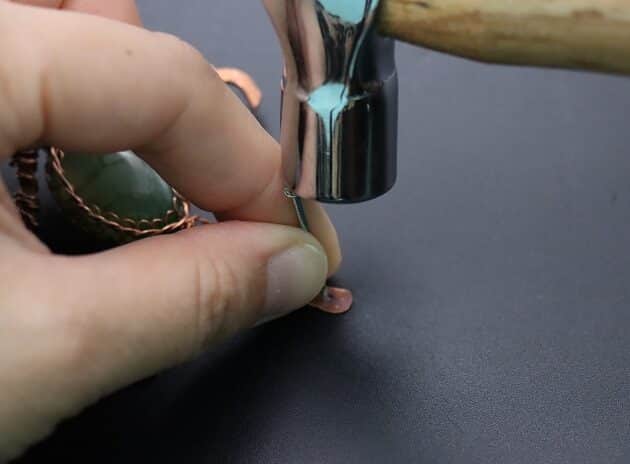
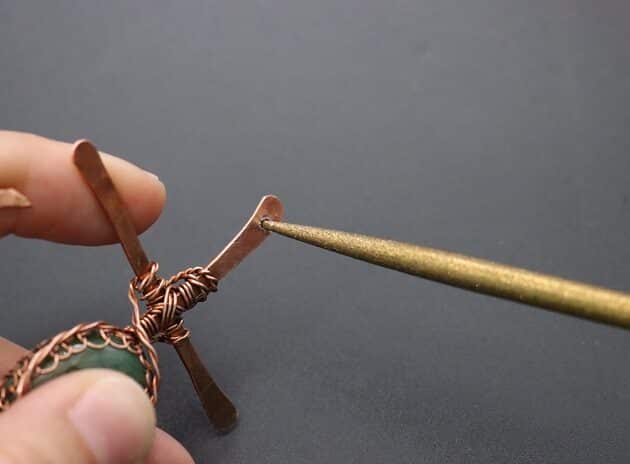
Then, use a small nail to puncture a small hole on the mark with a hammer (fig. 21b, 21c, 21d, 21e).
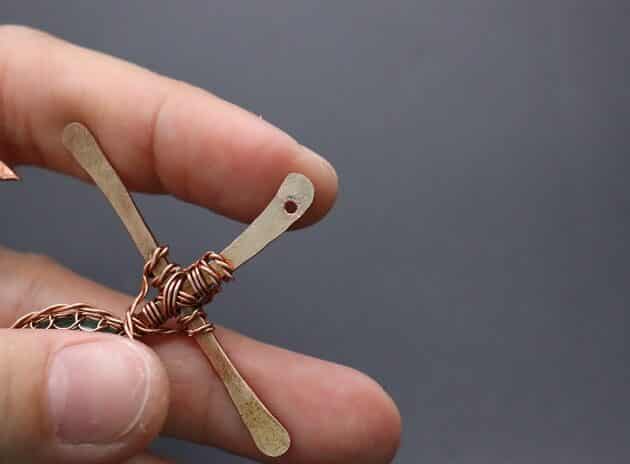
Smoothen the edges of the hole with a round needle file and dust off the debris with a finest steel wire wool (fig. 21f, 21g, 21h, 21i).
This is where your wire bail ring will be on your pendant (fig. 21j).