Hi my dear wire wrappers!
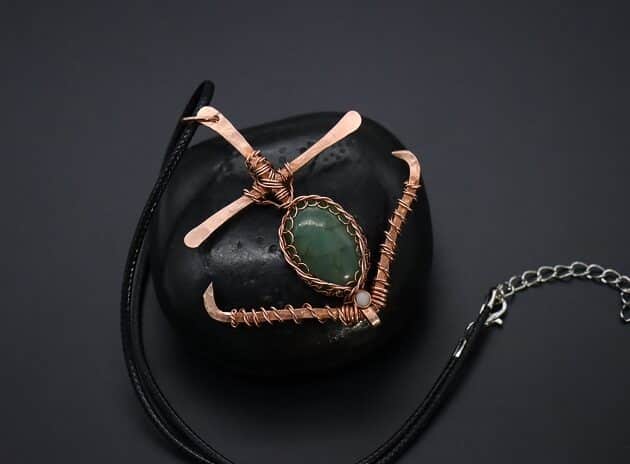
Let’s elevate the classic anchor pendant design with beautiful gemstones.
In this Wire-Wrapping Charming Anchor With Green Oval Gemstone Pendant Tutorial, we will explore techniques such as wire weaving and texturing.
You will learn new ways to use your jewelry making tools and bring your design to a higher level.

FREE WIRE-WRAPPING GUIDE TO YOUR EMAIL!
JOIN NEWSLETTER
We respect your privacy. Unsubscribe at anytime.
Are you ready? Happy wrapping!
LEVEL: ADVANCED
MATERIALS + TOOL
- Gold Copper Wire (12 AWG)
- Gold Copper Wire (18 AWG)
- Gold Copper Wire (22 AWG)
- Gold Copper Wire (26 AWG)
- Oval Stone
- White Round Beads
- Wire Cutter (Big + Small)
- Stepped Bail-Making Pliers
- Nylon Jaw Pliers
- Flat Nose Pliers
- Mini Long Needle Nose Pliers
- Flat Round Face Hammer
- Ball Pen Hammer Two-sided Flat/Round Head
- Metal Base Plate
- Masking Tape
- Designed Template
- Steel Nail
- Triangle Diamond Needle Files
- Round Diamond Needle Files
- Finest Steel Wire Wool
Prefer this wire-wrapping tutorial in a PRINTABLE FORMAT? (High Resolution Photos)
>
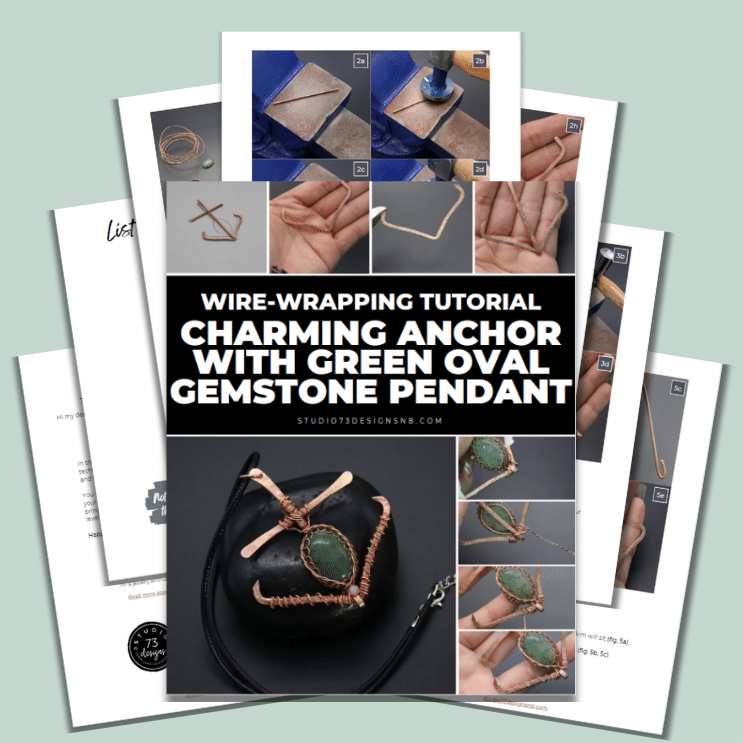
WIRE-WRAPPING CHARMING ANCHOR WITH GREEN OVAL GEMSTONE PENDANT TUTORIAL
Step 1 of 22
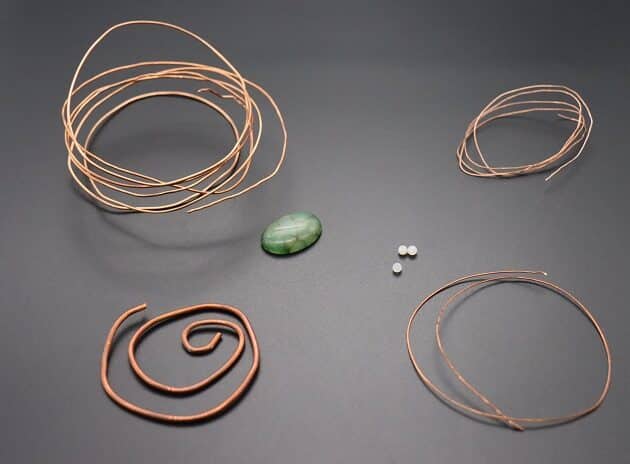
Firstly, prepare all items from the Materials and Tool list for quick access (fig. 1a).
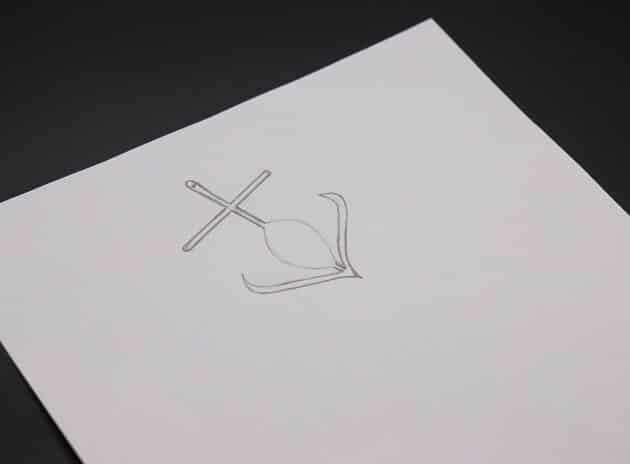
Next, draw your anchor pendant design template on a piece of paper (fig. 1b).
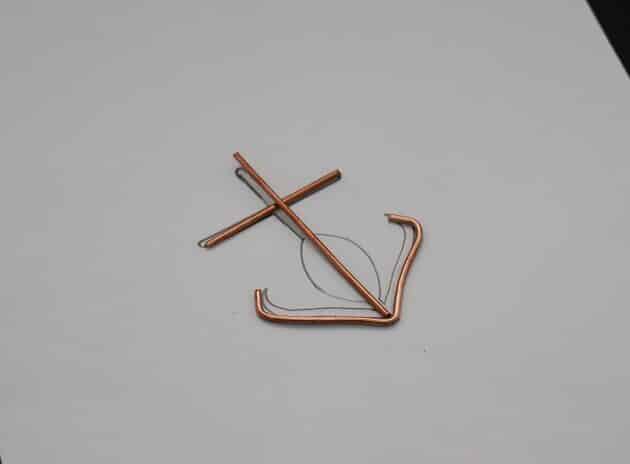
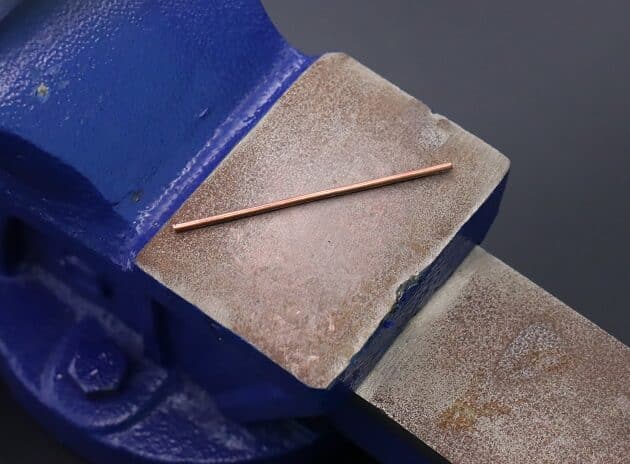
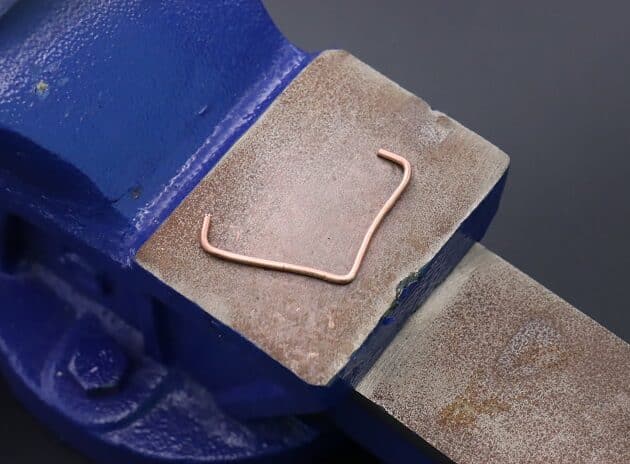
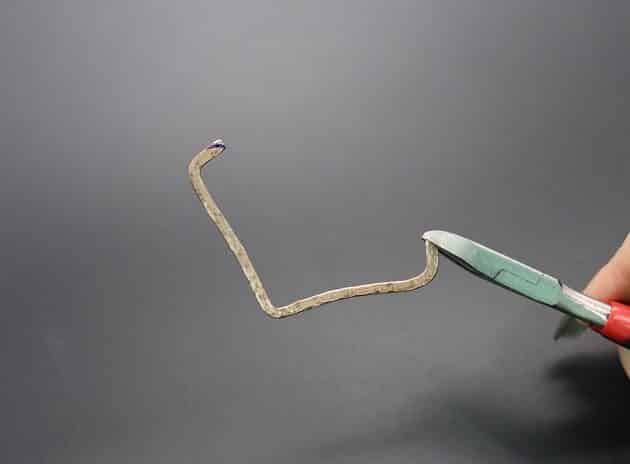
Trace the anchor main frame using three pieces of 12-gauge gold copper wire as shown (fig. 1c).
Step 2 of 22
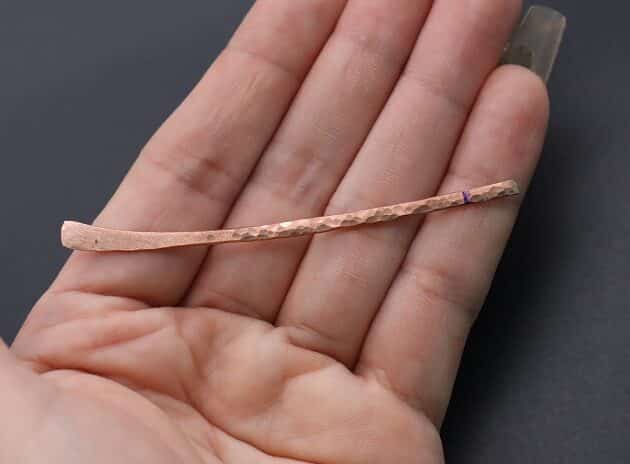
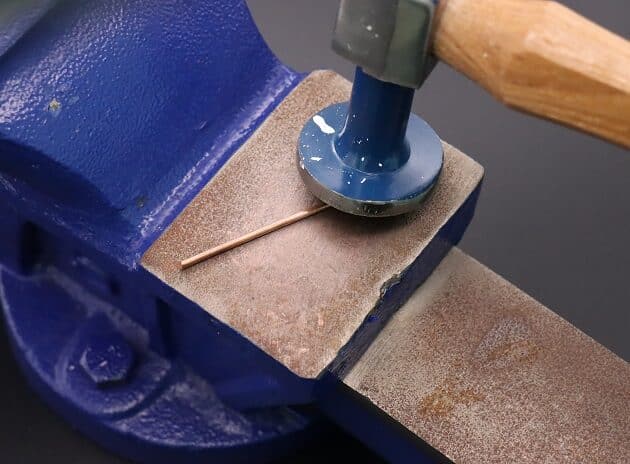
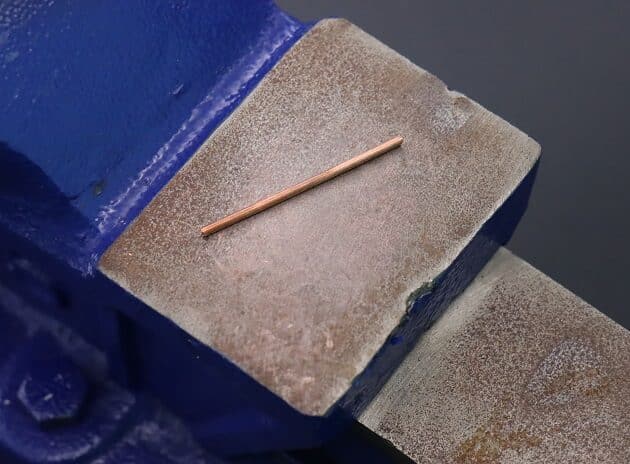
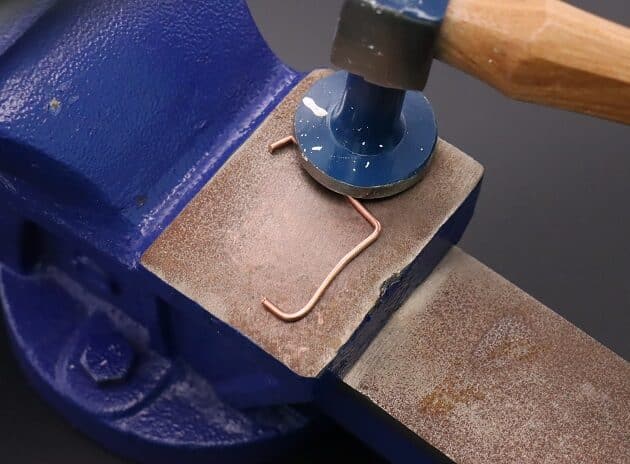
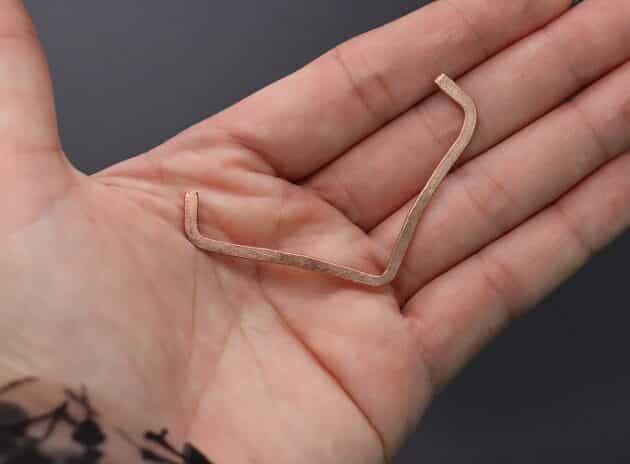
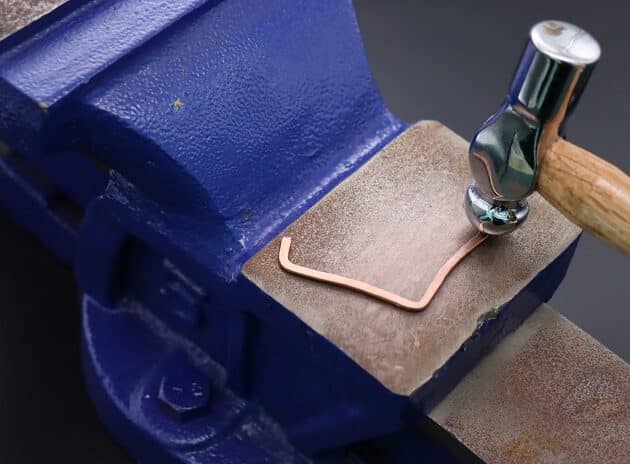
Flatten the three 12-gauge gold copper wire pieces with a flat round face hammer on a metal base plate or jewelry anvil (fig. 2a, 2b, 2c, 2d, 2e, 2f).
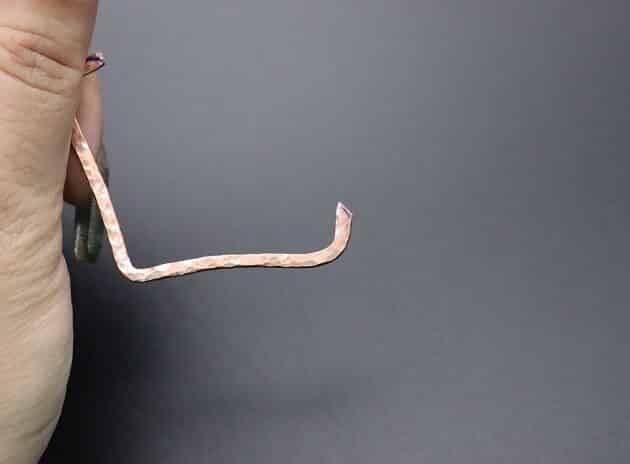
This is how your wires should look like after flattening:
- Anchor Stock (short) and Shank (long) (fig. 2g).
- Anchor Arm (curved) (fig. 2h).

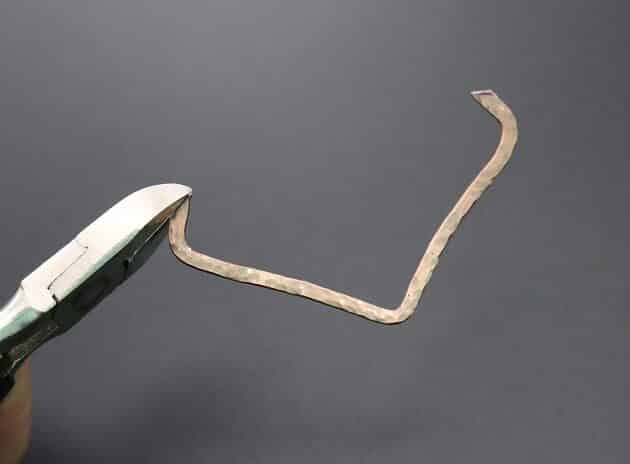
Step 3 of 22
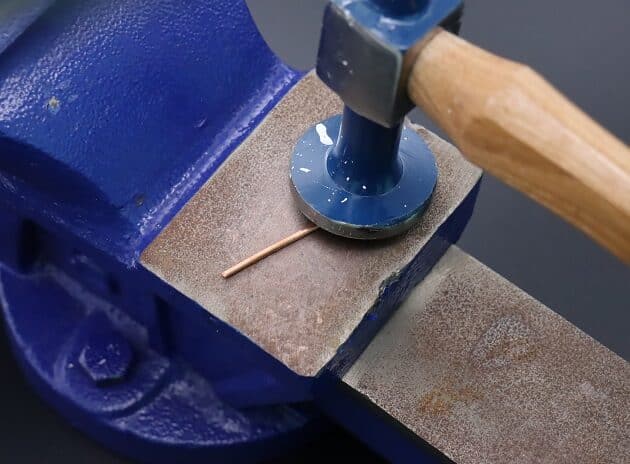
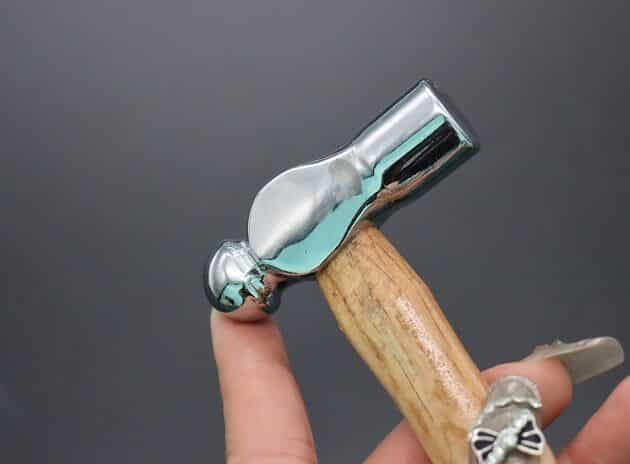
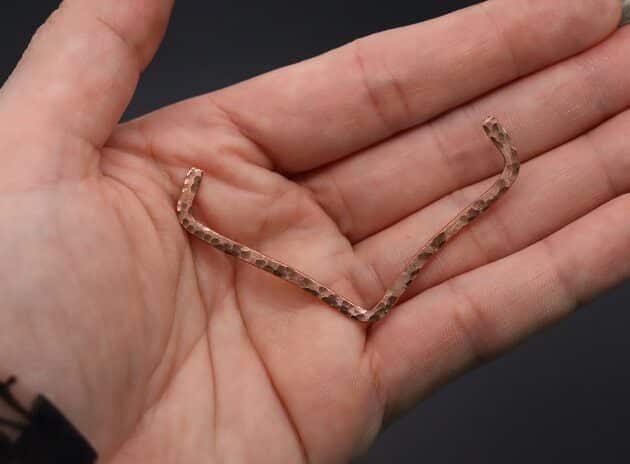
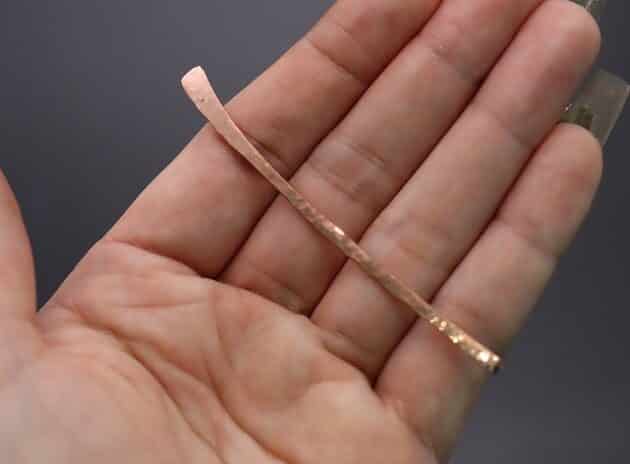
Next, use the ball part of your ball peen hammer and hammer lightly on your Anchor Arm and shank to add a rugged texture (fig. 3a, 3b, 3c, 3d).
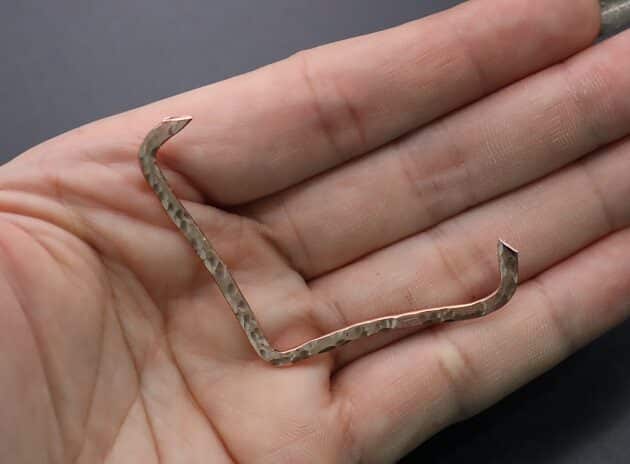
Step 4 of 22
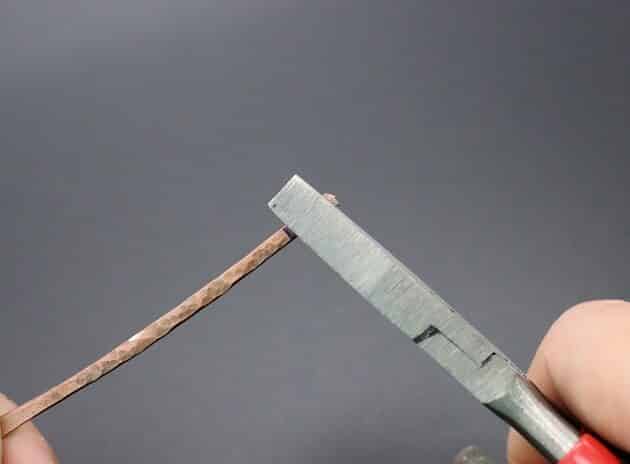
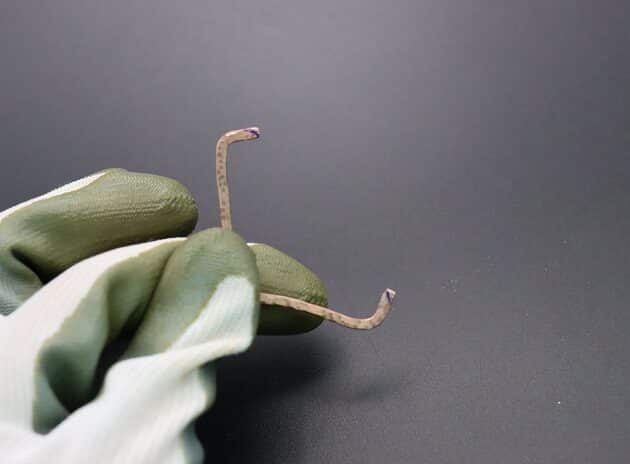
Adjust the design of your Anchor Arm by marking the blunt edges with pen (fig. 4a).
Then, trim off the excess wire with a wire cutter (fig. 4b, 4c, 4d, 4e).
Step 5 of 22
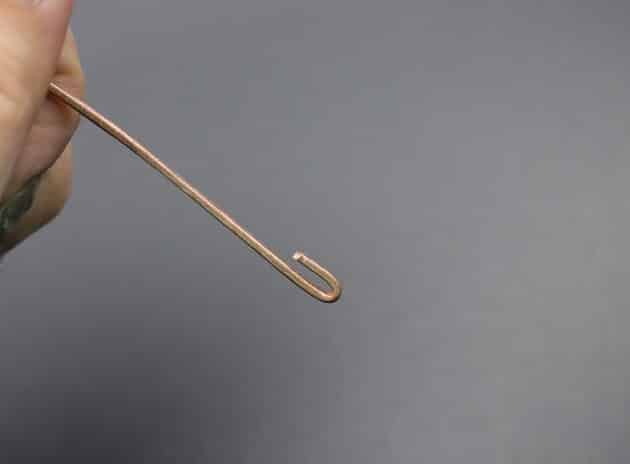
On the Anchor Shank, mark at the tip where the Anchor Arm will sit(fig. 5a).
Next, make a hook towards the front with a flat nose pliers (fig. 5b, 5c).
Then, attach the Anchor Arm on the Shank (fig. 5d, 5e).