Step 9 of 22
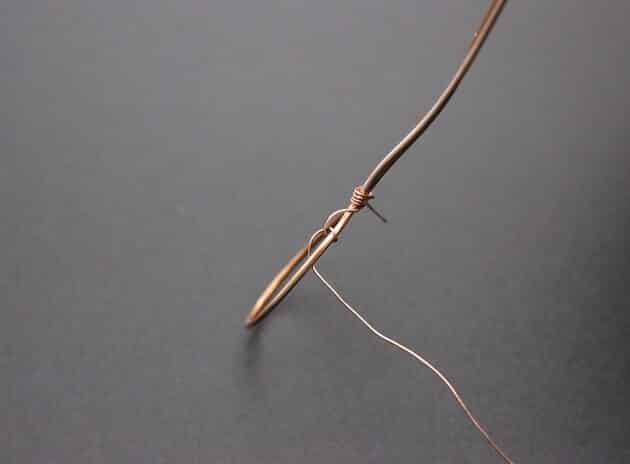
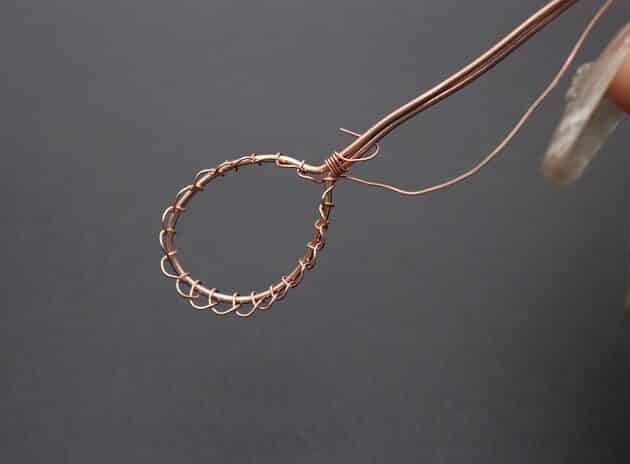
After that, use the long end of the 26-gauge copper wire to weave a wire net where your stone will be placed in.
Start weaving the first layer in the following sequence:
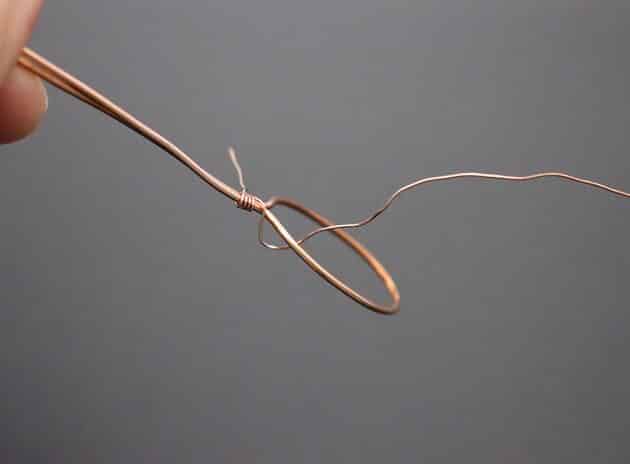
- Make a small bump over the 18-gauge wire frame (fig. 9a).
- Wrap one loop on the 18-gauge wire frame (fig. 9b).
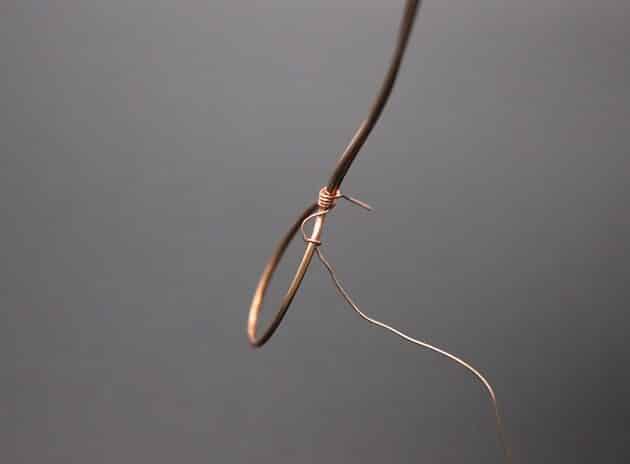
- Continue with the second small bump (fig. 9c).
- Then wrap one loop (fig. 9d).
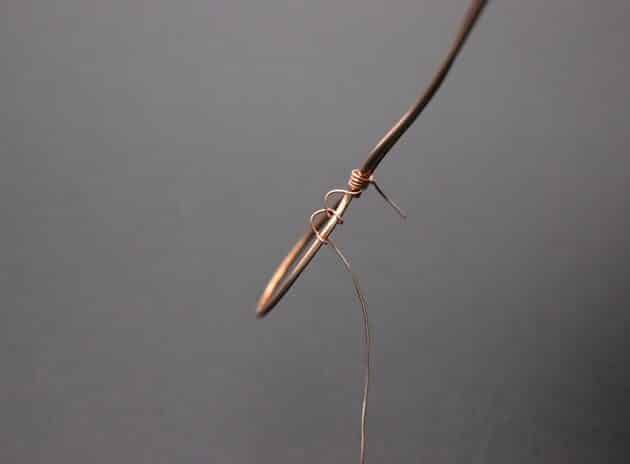
Proceed to weave around the 18-gauge wire frame until you reach the starting point (fig. 9e, 9f, 9g).

FREE WIRE-WRAPPING GUIDE TO YOUR EMAIL!
JOIN NEWSLETTER
We respect your privacy. Unsubscribe at anytime.
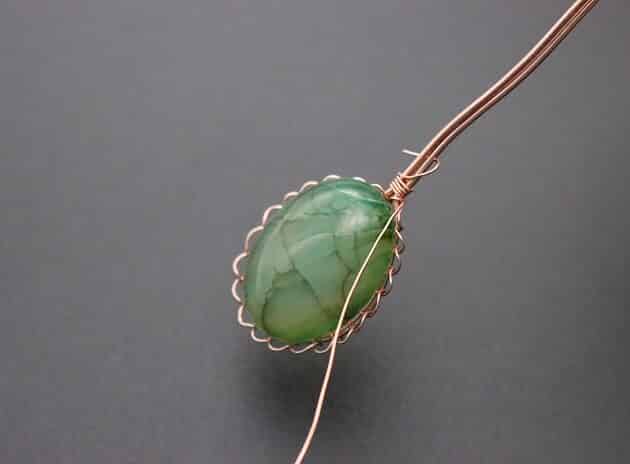
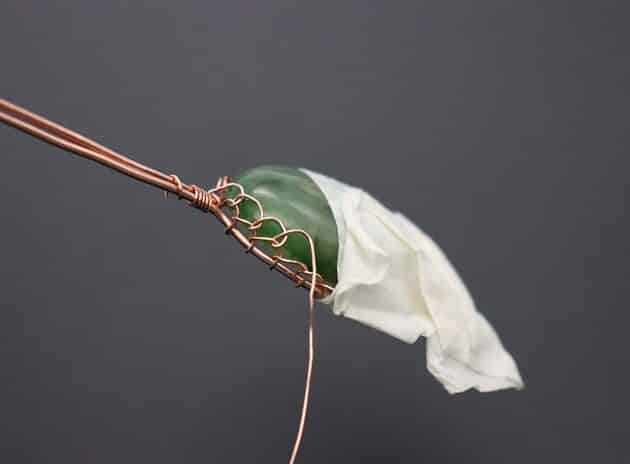
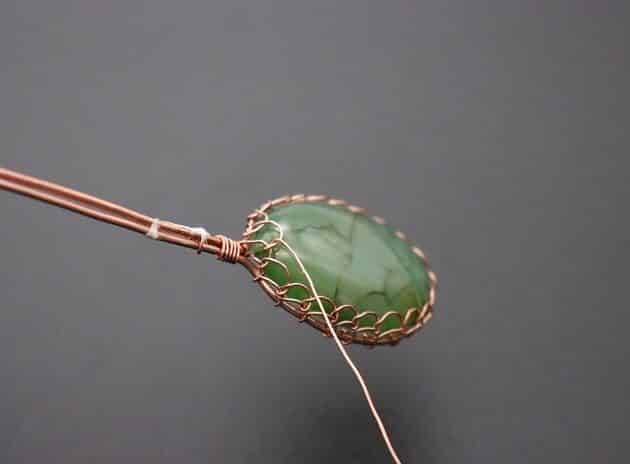
Next, place your gemstone into the wire net (fig. 9h, 9i).
Prefer this wire-wrapping tutorial in a PRINTABLE FORMAT? (High Resolution Photos)
>
Step 10 of 22
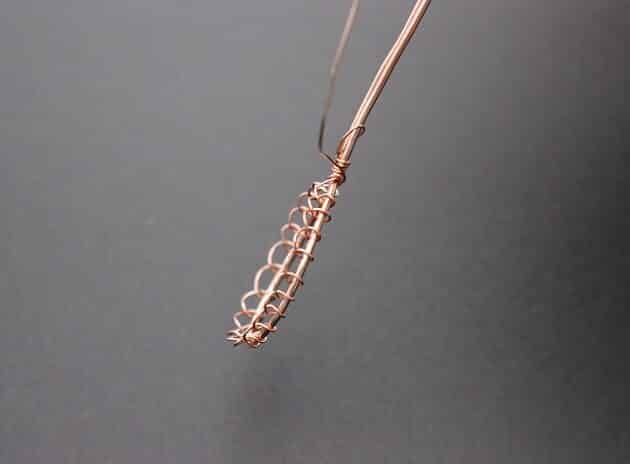
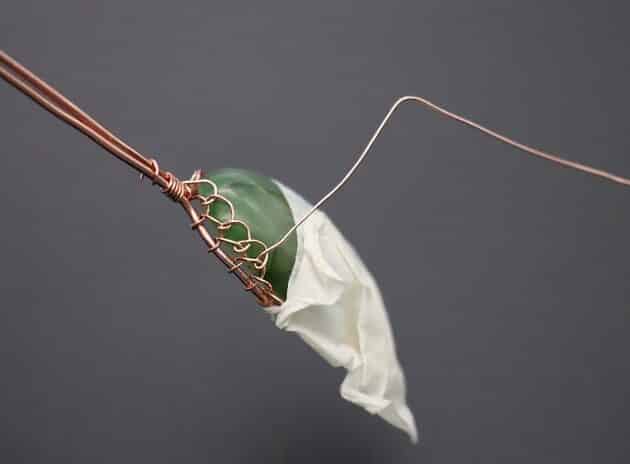
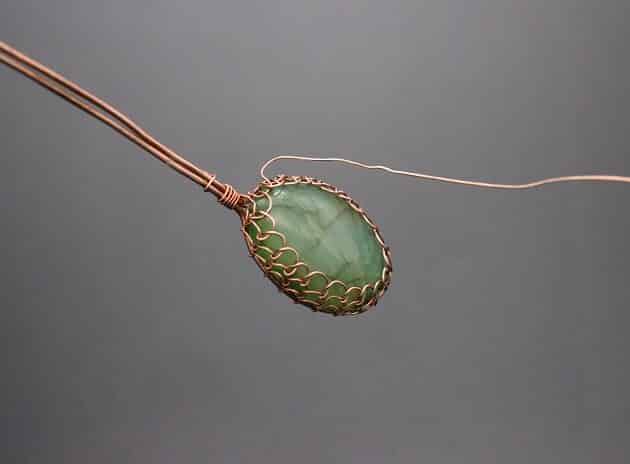
Weave the second layer of your wire net with the similar sequence from Step 9: Bump and loop (fig. 10a, 10b, 10c, 10d, 10e, 10f).
Take note when you make your loop, have it loop on the bump of your first layer.

Step 11 of 22
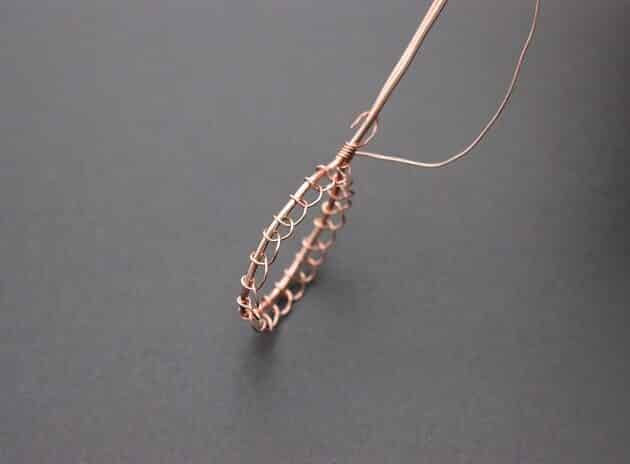
Now, let’s finish weaving the wire net.
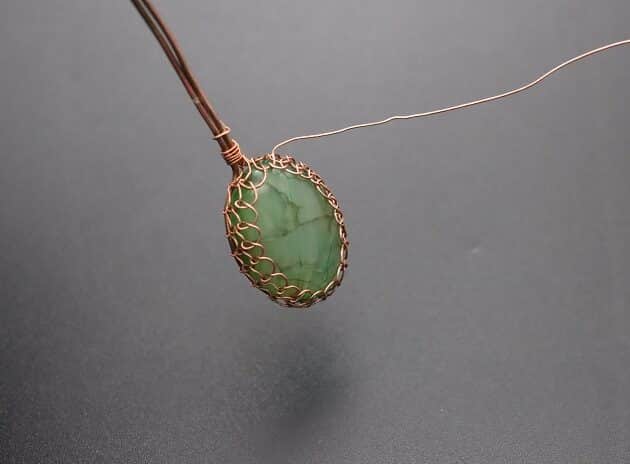
Use the same weaving sequence of bumps and loops on the third layer (fig. 11a, 11b, 11c, 11d).
This time, loop your wire on the bump of your second layer instead.
Step 12 of 22
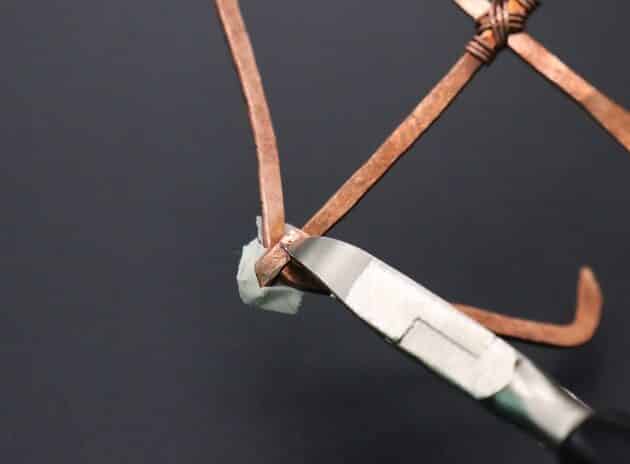
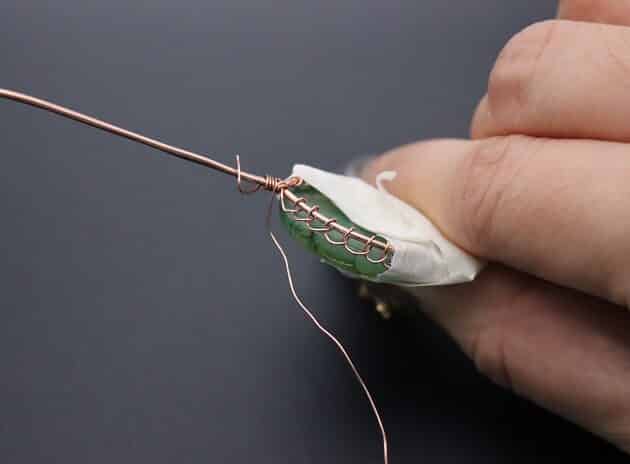
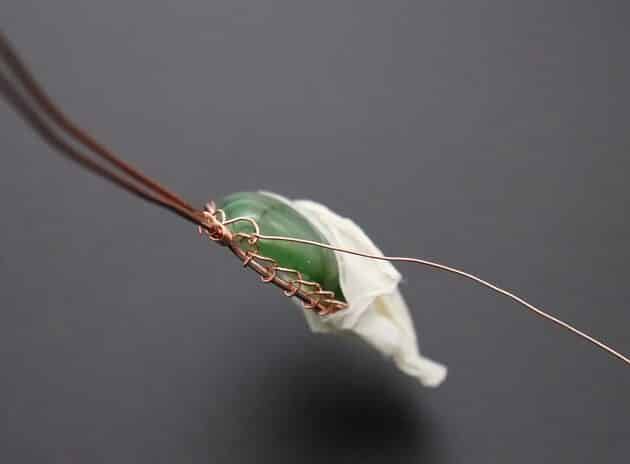
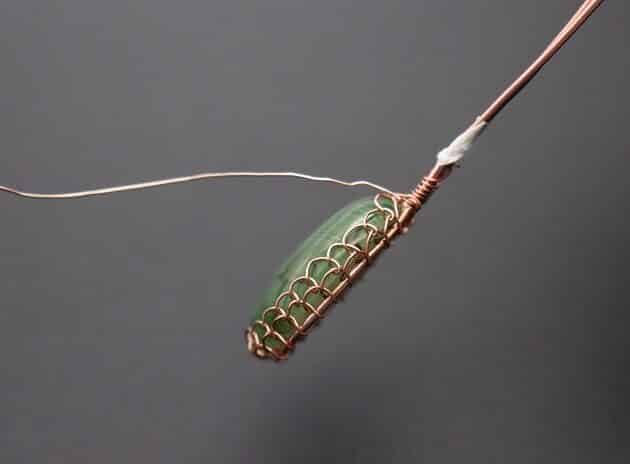
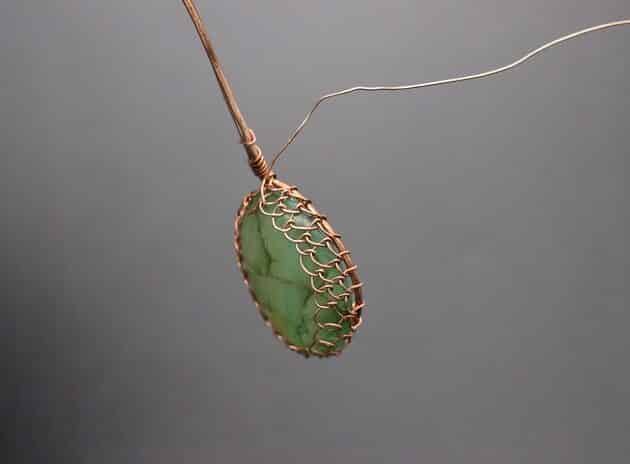
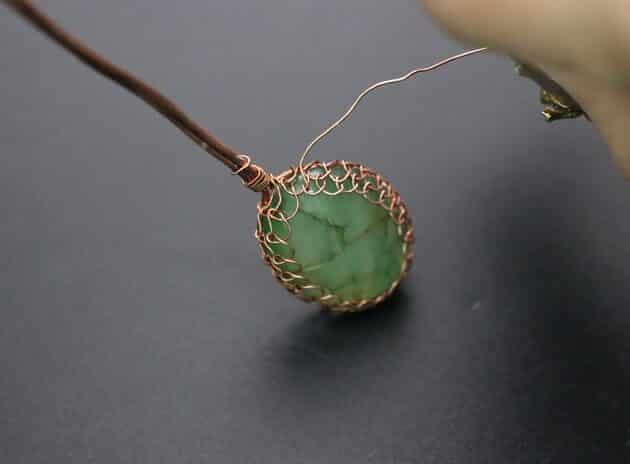
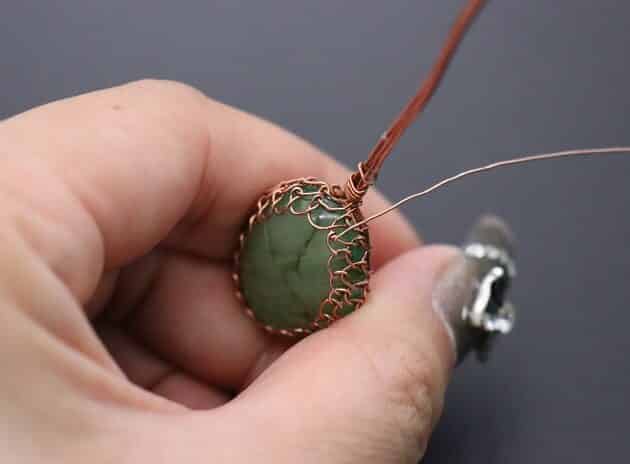
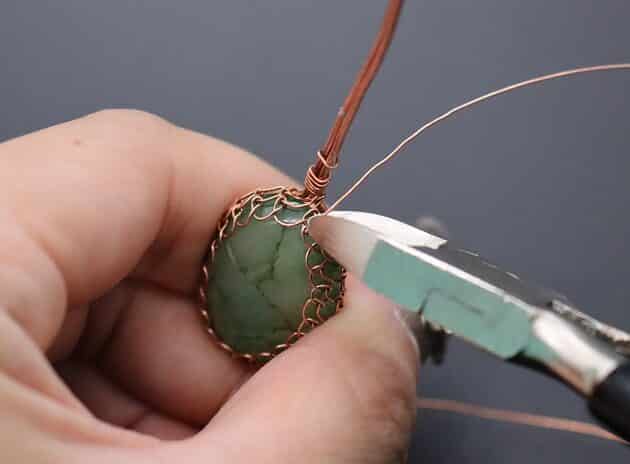
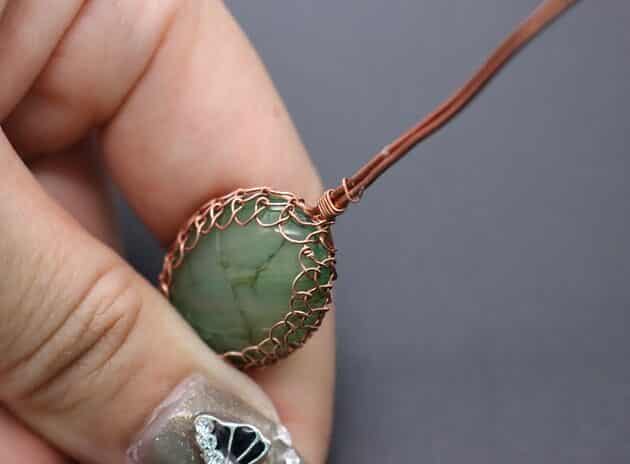
Once you have reach the end of the wire net, wrap 3 tight coils on the last bump (fig. 12a, 12b).
Then, trim off the excess 26-gauge wire with a wire cutter (fig. 12c, 12d).
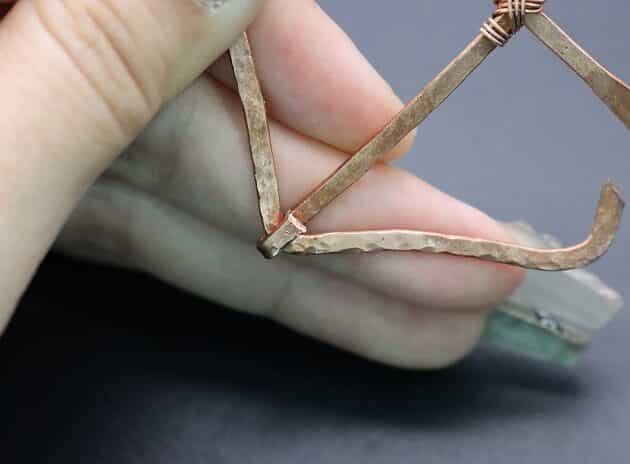
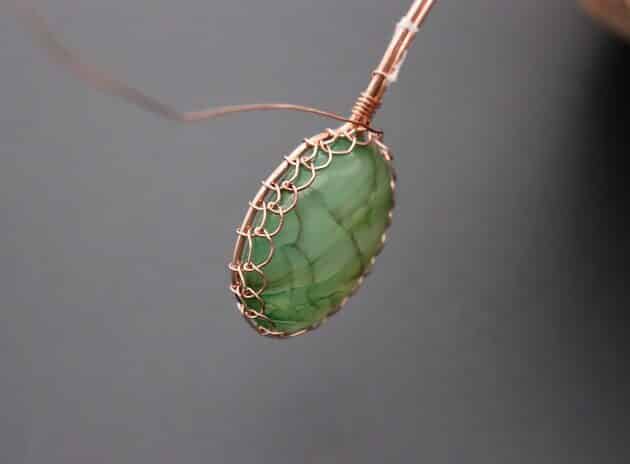
Your gemstone wire net frame is complete.
Step 13 of 22
Third part of this tutorial is where you will combine the gemstone design piece onto your main Anchor frame.
Prepare a space for the gemstone piece by clearing the lower Shank (fig. 13a, 13b, 13c).