Step 7 of 15
Now, let’s create the second tree of life design on the right side of your pendant.
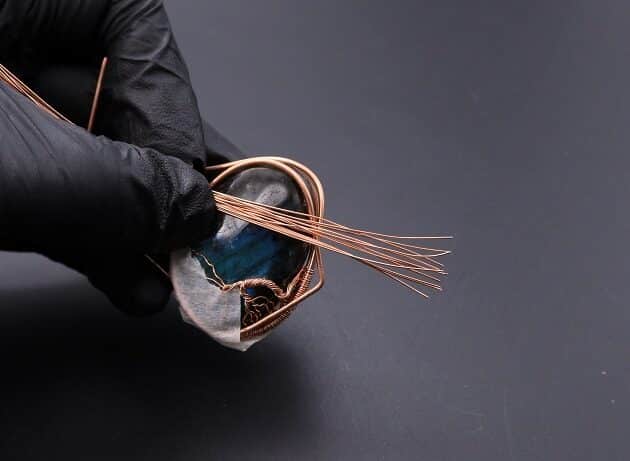
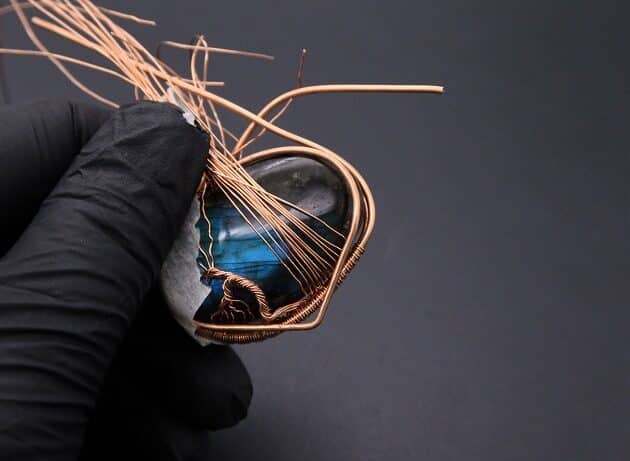
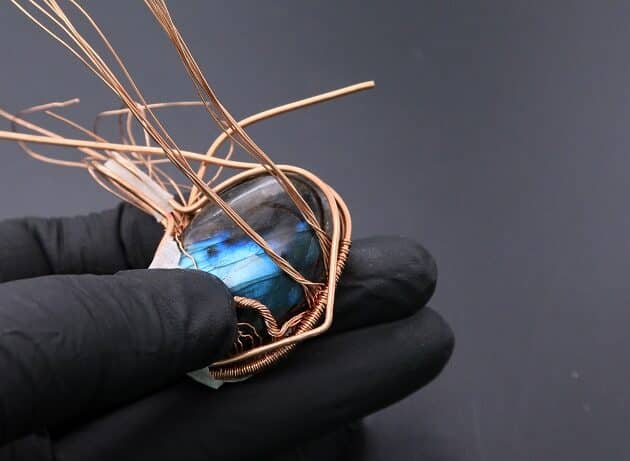
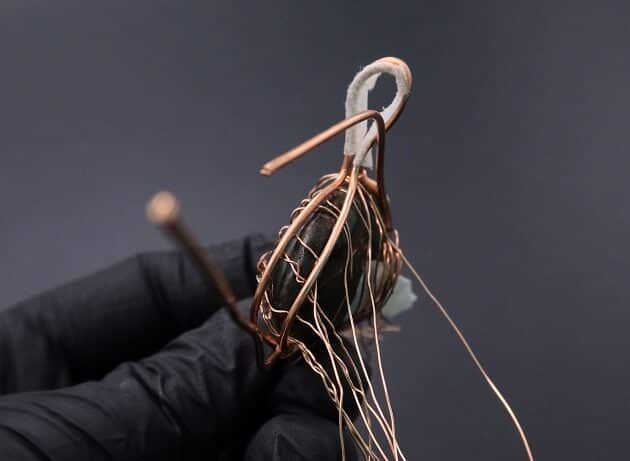
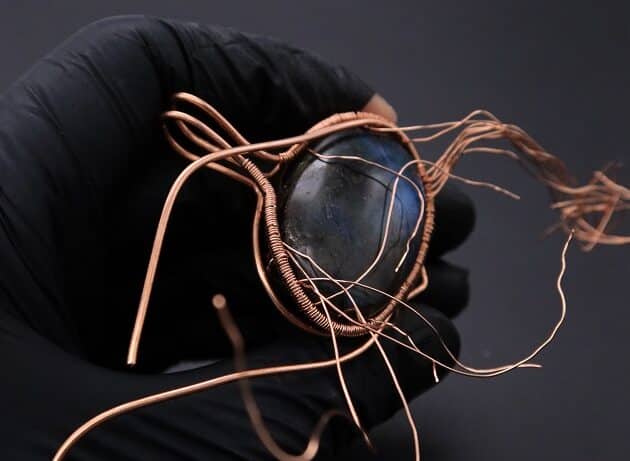
Ready 12 new strings of 26-gauge copper wire and anchor them on the bottom right of the back frame (fig. 7a, 7b, 7c).
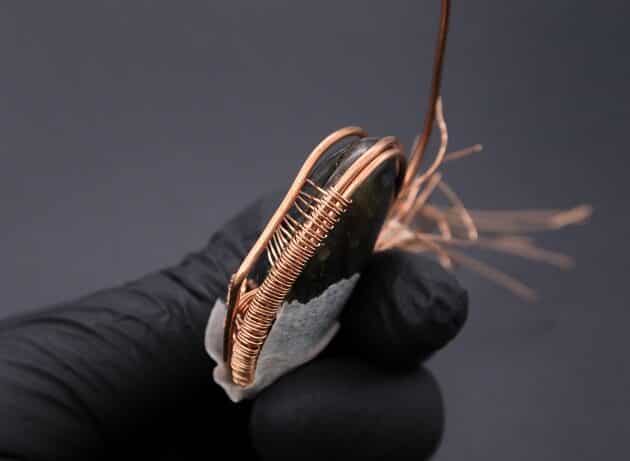
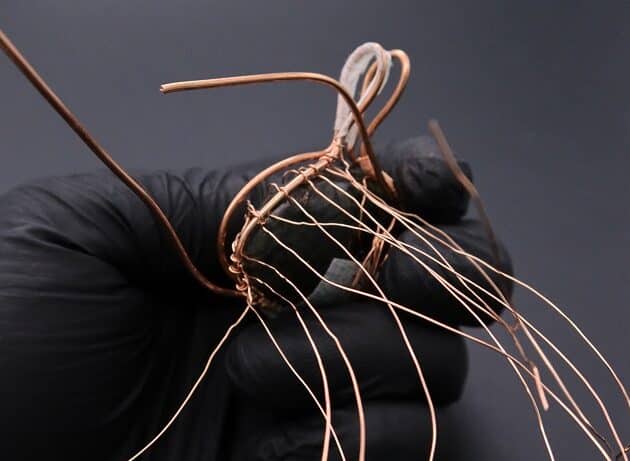
Split two bundles of 6 wires, and twist the wire bundles into a tree trunk and two tree branches (fig. 7d, 7e, 7f).

FREE WIRE-WRAPPING GUIDE TO YOUR EMAIL!
JOIN NEWSLETTER
We respect your privacy. Unsubscribe at anytime.
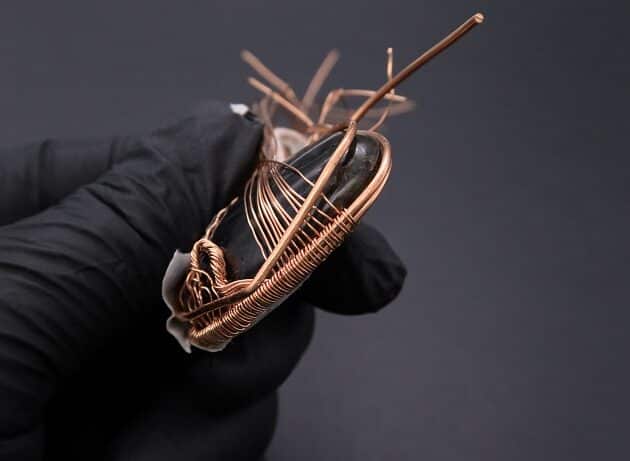
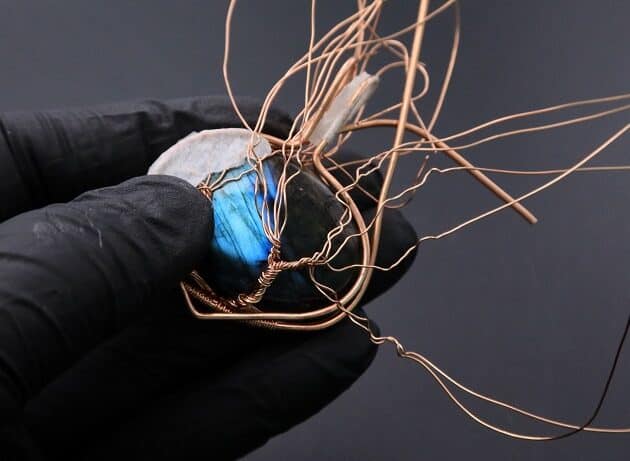
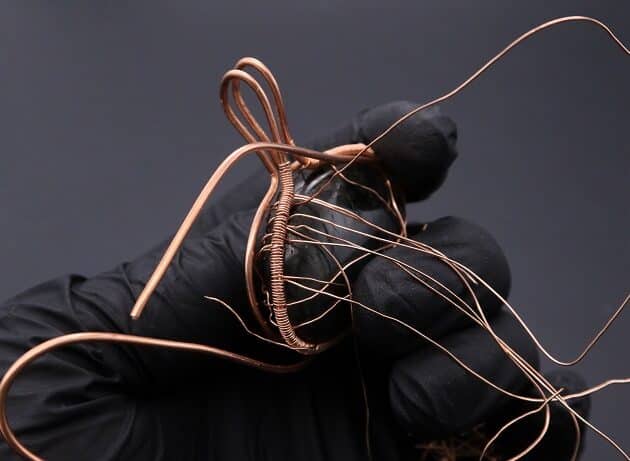
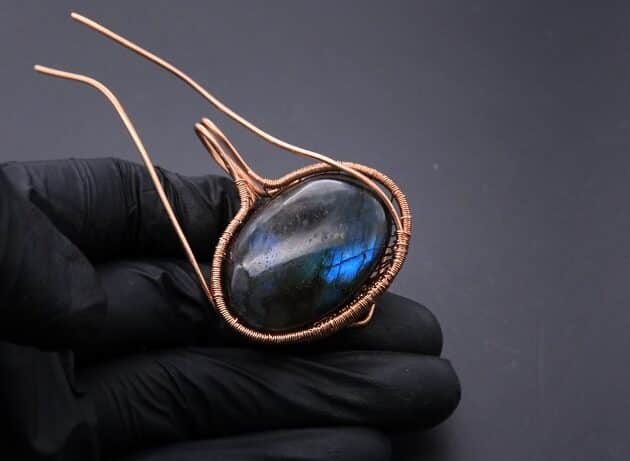
Undo the tree branches and evenly spread the tree twigs along the right side of your pendant (fig. 7g).
Slip the ends of the tree twigs under the 16-gauge back wire frame as shown (fig. 7h, 7i).

Step 8 of 15
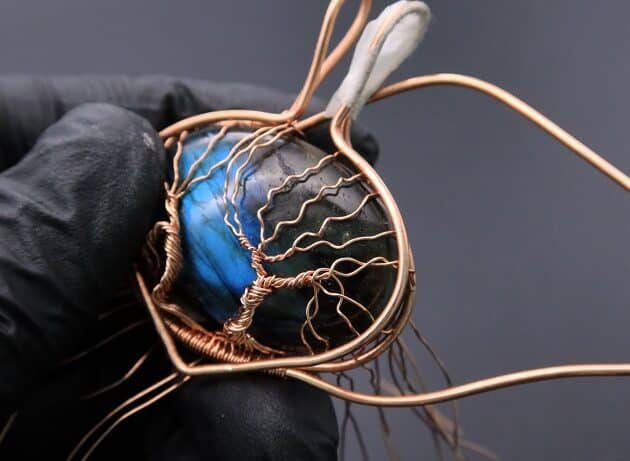
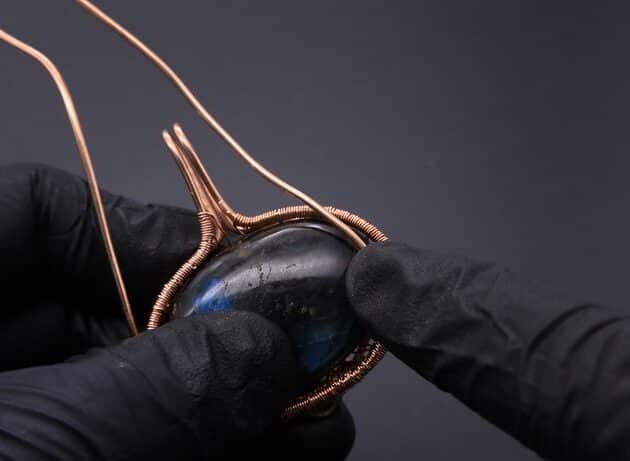
Next, anchor the ends of the tree twigs onto the 16-gauge back wire frame (fig. 8a, 8b).
Then, use the remaining 26-gauge copper wires to coil the naked back wire frame (fig. 8c).
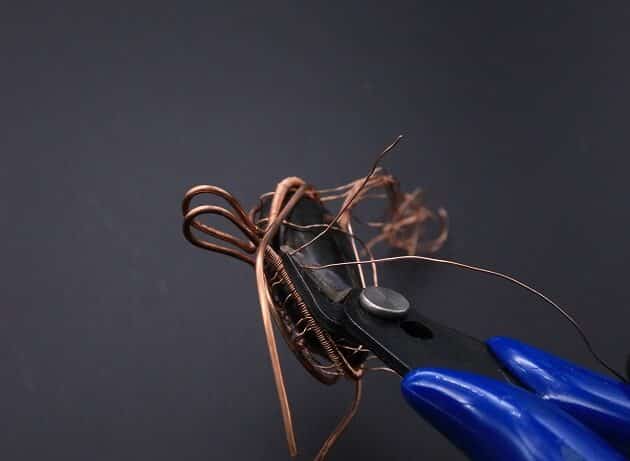
Lastly, trim off the excess 26-gauge copper wires with a wire cutter (fig. 8d, 8e, 8f).
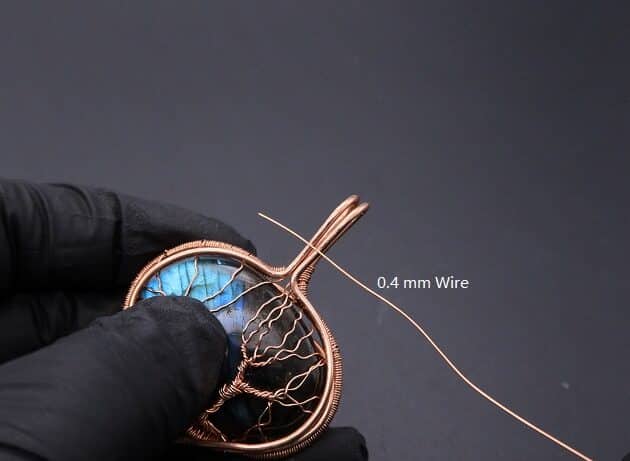
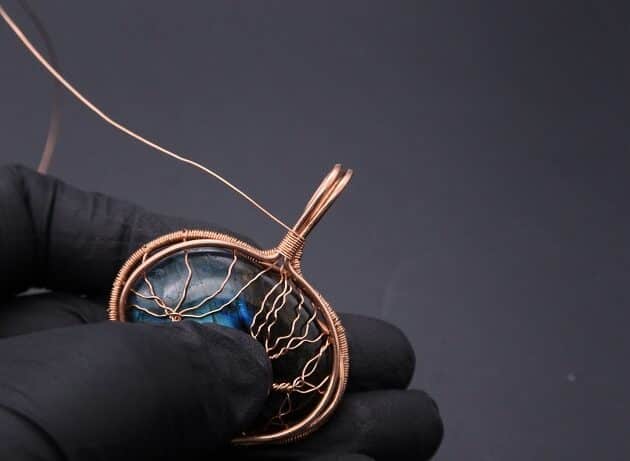
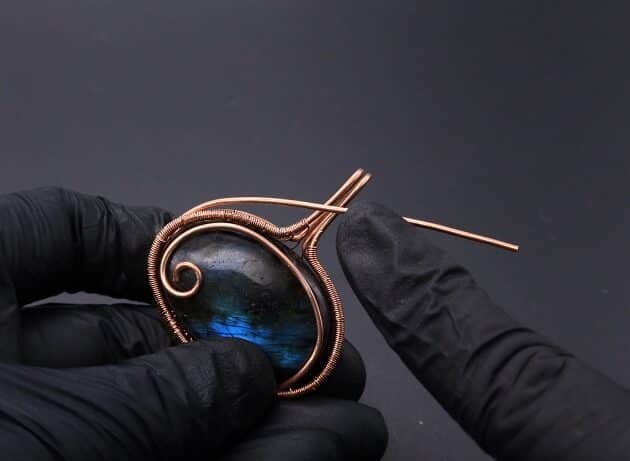
Step 9 of 15
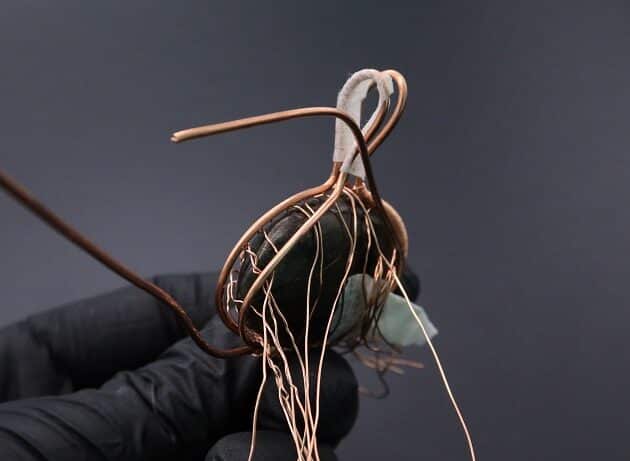
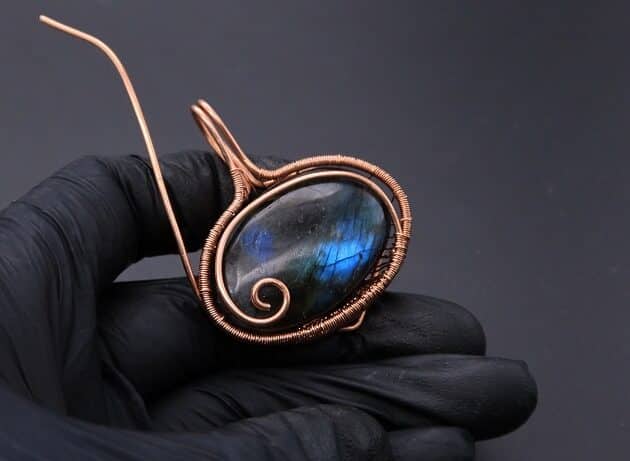
Moving on, let’s add swirly accents onto the back of your pendant.
Curve the right loose 16-gauge copper wire along the top and left side of your stone, and make a small swirl at the wire end (fig. 9a, 9b).
Then, slip the left loose 16-gauge copper wire under the back wire frame and the first wire curve (fig. 9c, 9d).
Curve along the right side of your stone and end it with a small loop (fig. 9e).
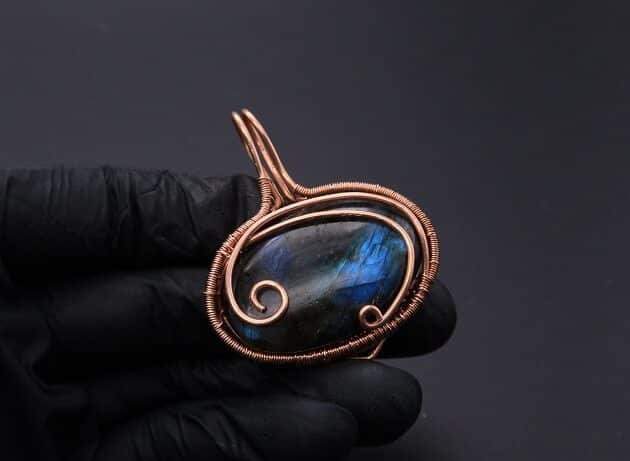
Your pendant back design is complete.
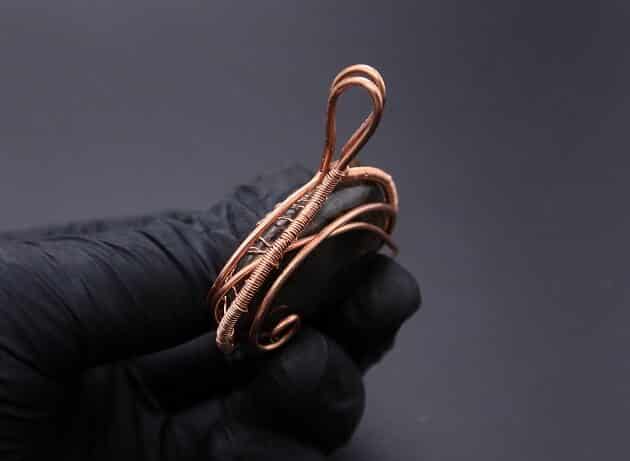
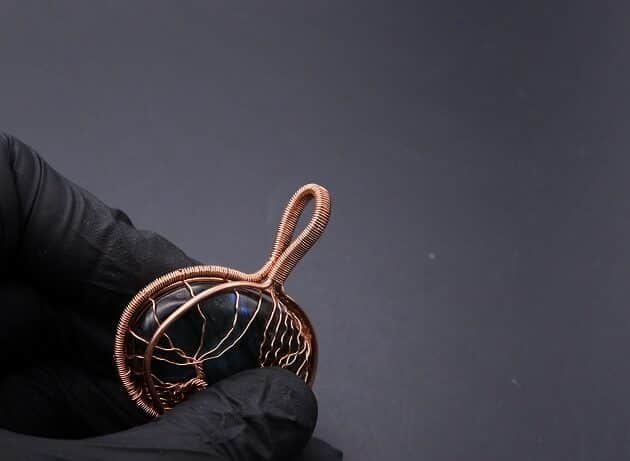
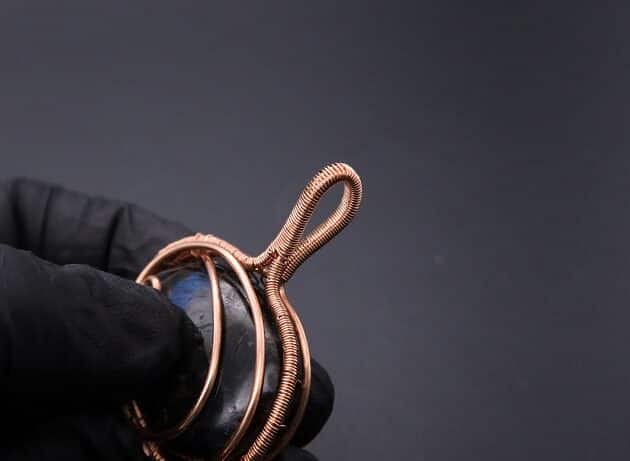
Step 10 of 15
Let’s coil the wire bail for woven texture.
Take a new 26-gauge copper wire and start coiling from the front of the bail until you reach the back (fig. 10a, 10b, 10c, 10d).