Prefer this tutorial in a PRINTABLE FORMAT?
Click here for the PDF version of “How to Wire-Wrap a Simple Wire Brooch”
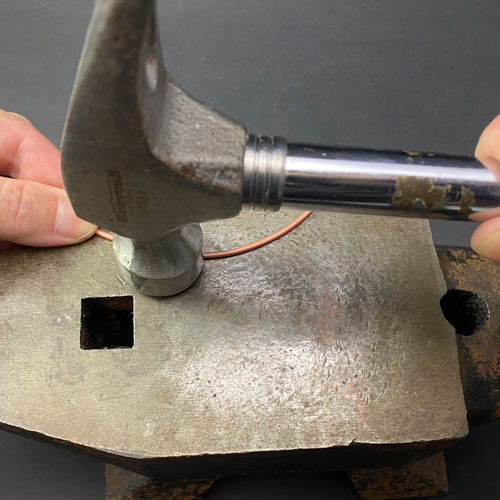
Step 7
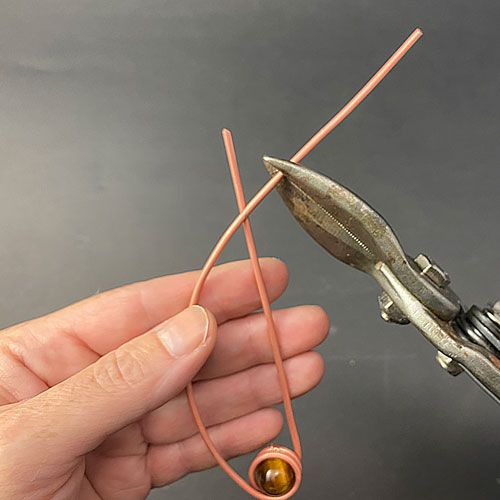
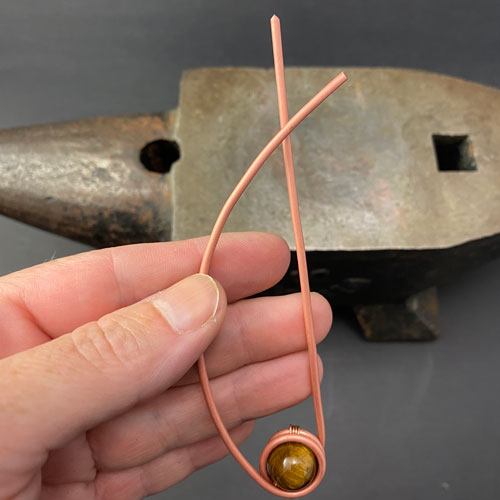
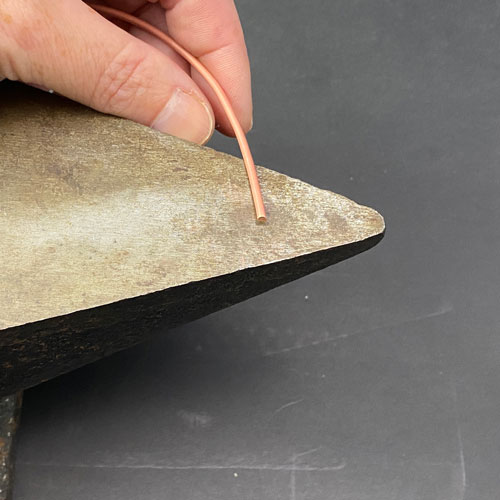
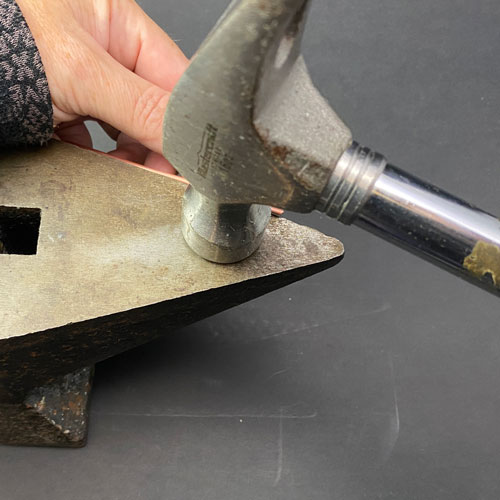
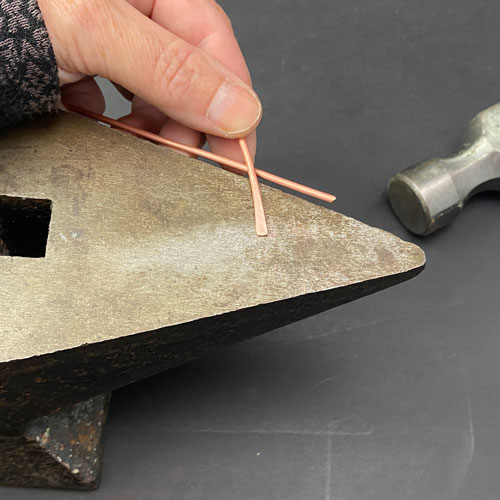
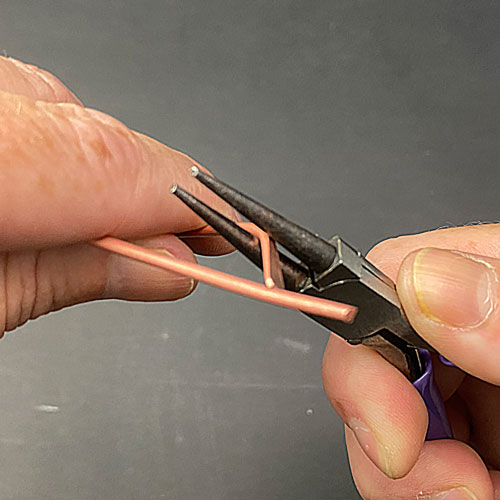
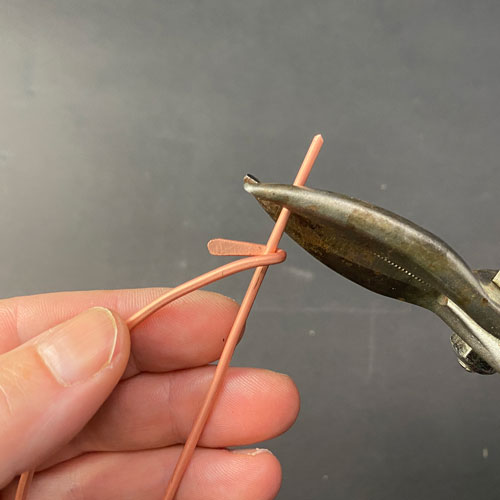
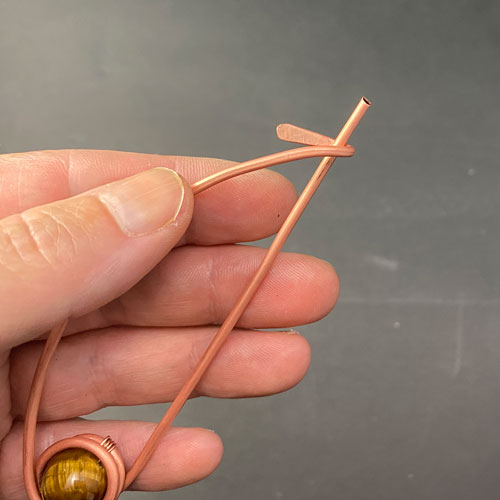
Using a pair of heavy-duty cutters, snip your ARC wire about a half inch from where it crosses over the PIN wire (fig. 7a, 7b). Place the end of your ARC wire on a bench block or anvil and hammer to make a paddle (fig. 7c, 7d, 7e).

FREE WIRE-WRAPPING GUIDE TO YOUR EMAIL!
JOIN NEWSLETTER
We respect your privacy. Unsubscribe at anytime.
Step 8
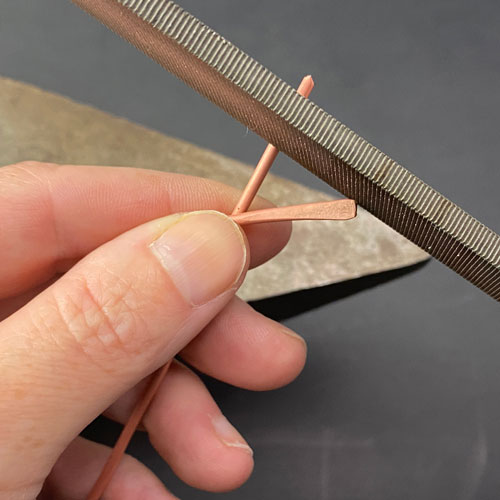
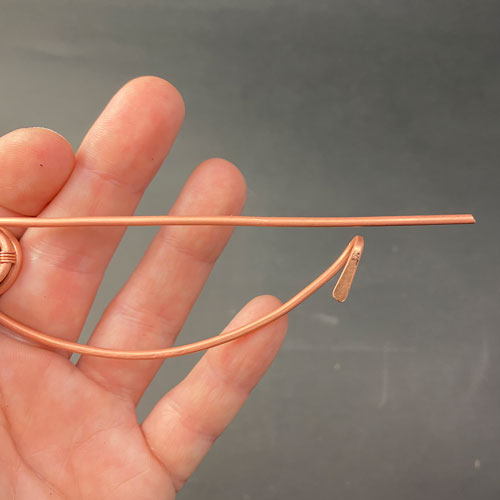
Your paddle will likely be a little rough so file it down until you have achieved a more rounded shape (fig. 8a, 8b, 8c). Place needle-nose pliers on pliers, approximately 1/2” from tip and flip paddle over to form the clasp (fig. 8c, 8d, 8e).

Prefer this tutorial in a PRINTABLE FORMAT?
Click here for the PDF version of “How to Wire-Wrap a Simple Wire Brooch”

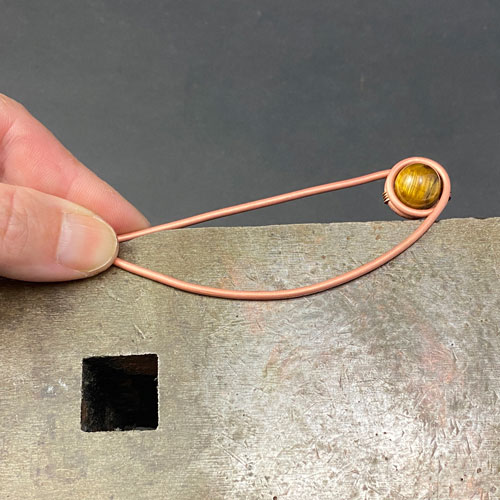
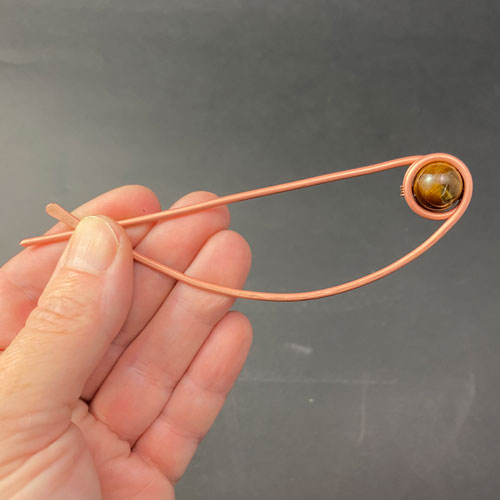
Step 9
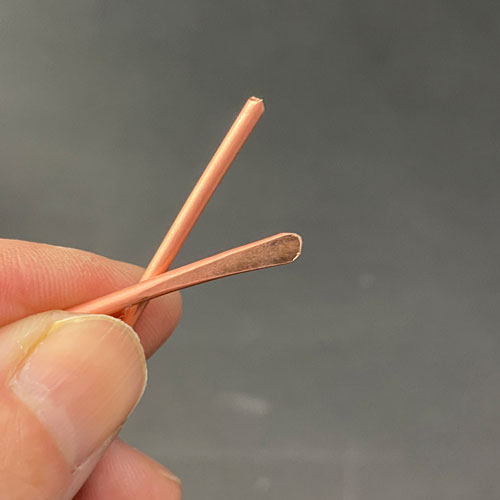
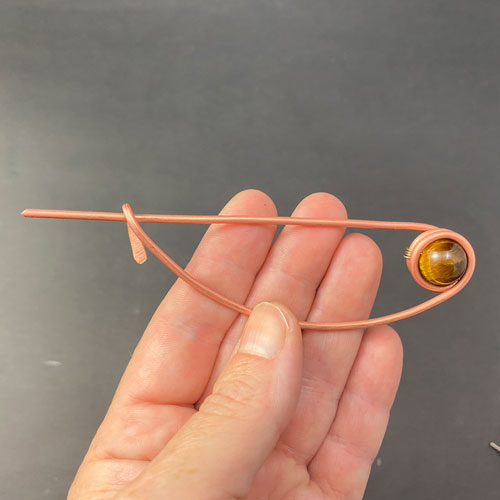
Close the pin and inspect from the top (fig. 9a, 9b). There should be a gap between the ARC wire and PIN wire as shown in fig. 9b. This is because of where both wires originate from bead loops. If your wires are a bit crooked, take the time to straighten them.
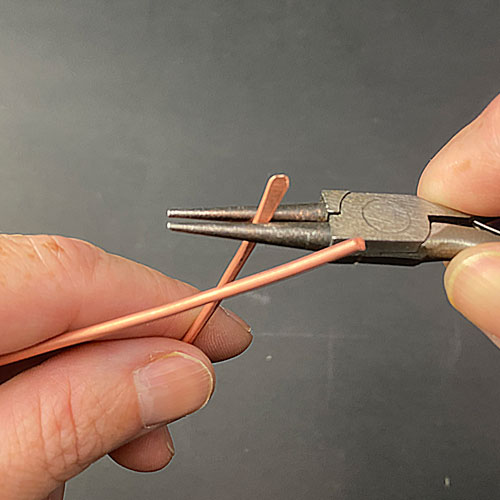
Using heavy-duty cutters, trim down your PIN wire (fig. 9c, 9d). File the end of the PIN wire (fig. 9e).

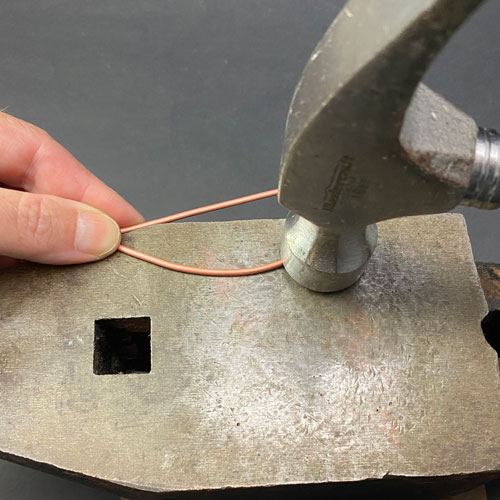
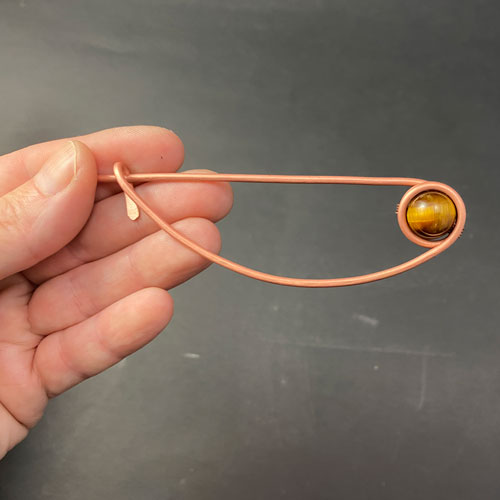
Step 10
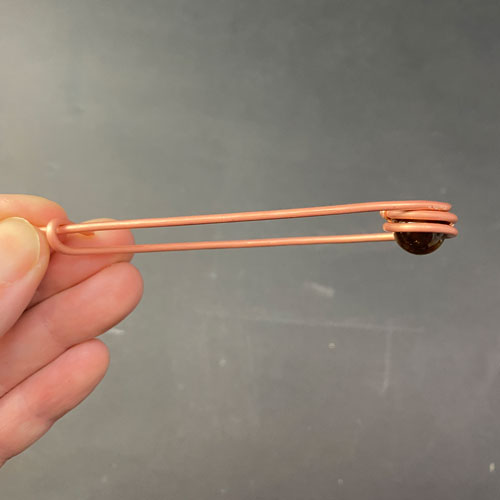
At this point, you can work harden the wire by hammering both the ARC wire and PIN wire (fig. 10a, 10b, 10c, 10d). Your brooch is now complete (fig. 10e) – at this point, you can use liver of sulfur to patina your wire.
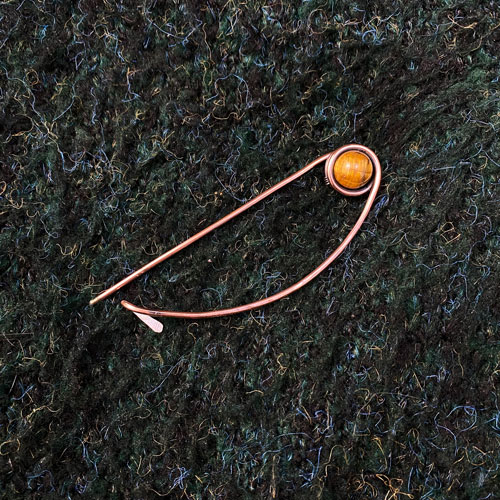
Finished Wire Brooch

RELATED CONTENT
- How to Wire-Wrap Stones Without Holes
- Wire-Wrapping Tools & Supplies for Beginners
- How to Make a Spiral Bead Cage Pendant
- Wire-Wrapping Tutorials: 13 DIY Wire-Wrapped Pendants
- Beginner’s Guide to Jewelry Wire for Wire-Wrapping
If you’d like to see my work and follow my wire journey, you can find me here:
Facebook
Instagram
Twitter
Pinterest
YouTube
Etsy

