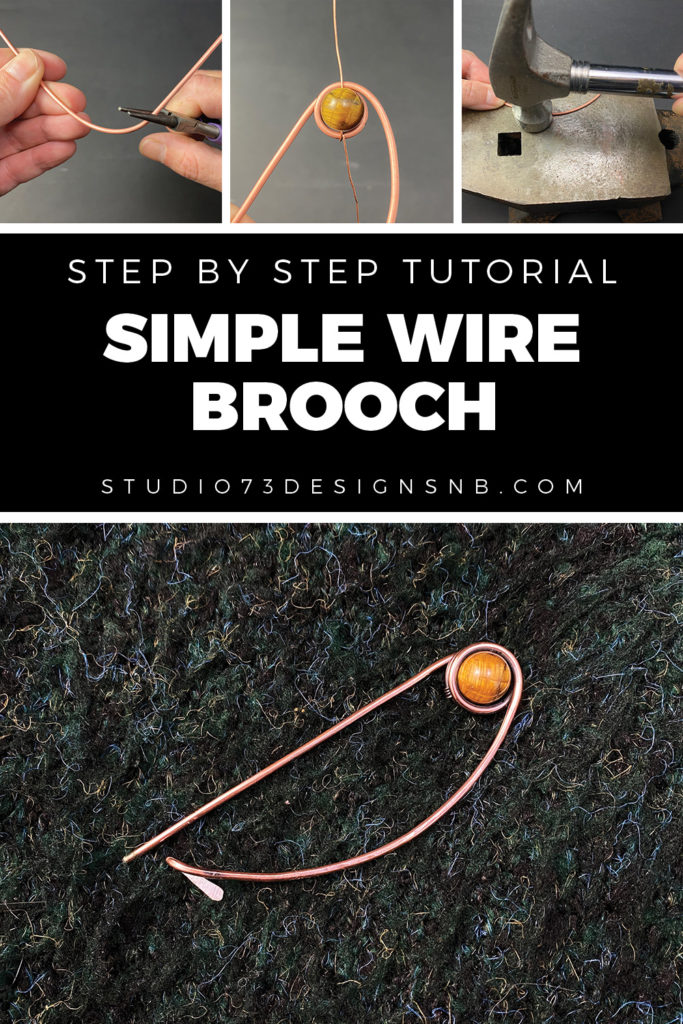
In this wire-wrapping tutorial, I’ll show you how to wire-wrap a simple wire brooch, perfect for sweaters and scarves!
This wire-wrapping tutorial is a great introduction to wire-wrapping with thicker wire – it’s suitable for all beginners and you can use any gemstone bead you have on hand.
Prefer this tutorial in a PRINTABLE FORMAT?
Click here for the PDF version of “How to Wire-Wrap a Simple Wire Brooch”

LEVEL: BEGINNER
MATERIALS + TOOLS
- 15” – 12 gauge wire of your choice (dead soft)
- 6” – 24 gauge wire of your choice (dead soft)
- 10-12mm gemstone bead of your choice
- Round nose pliers
- Needle nose pliers
- Wire cutters
- Heavy duty cutters
- Anvil or bench block
- Hammer
- File
- Wire gauge tool (not required but nice to have)
- Liver of sulfur (if you choose to patina)
HOW TO WIRE-WRAP A SIMPLE BROOCH
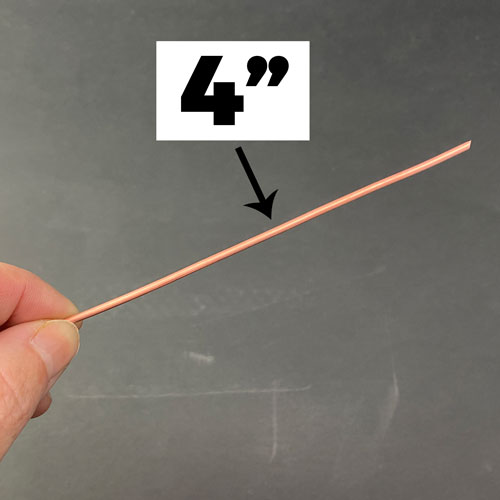
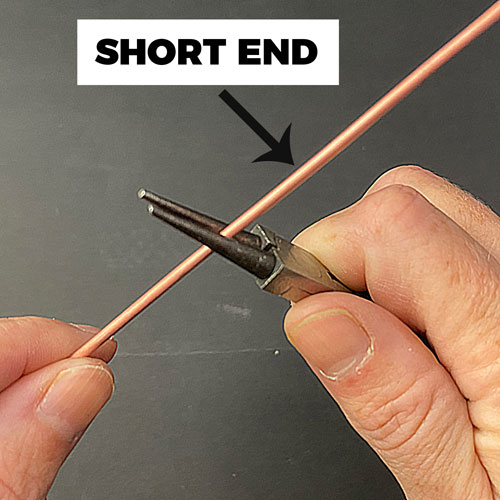
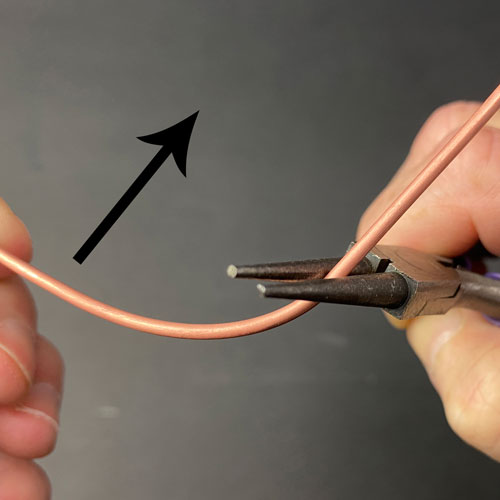
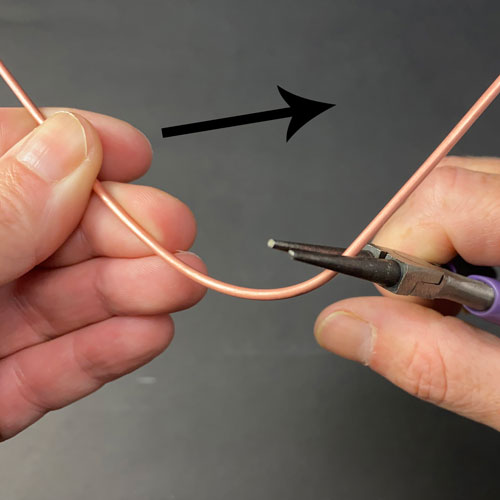
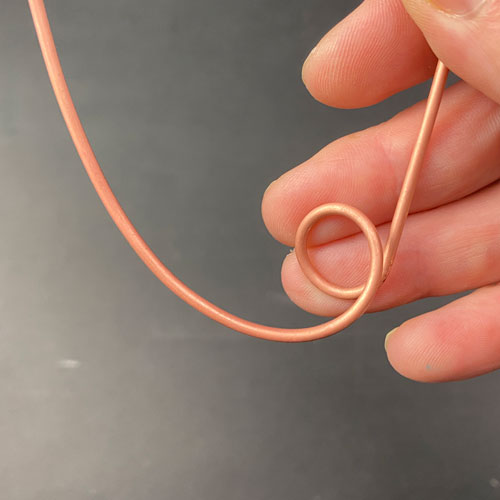
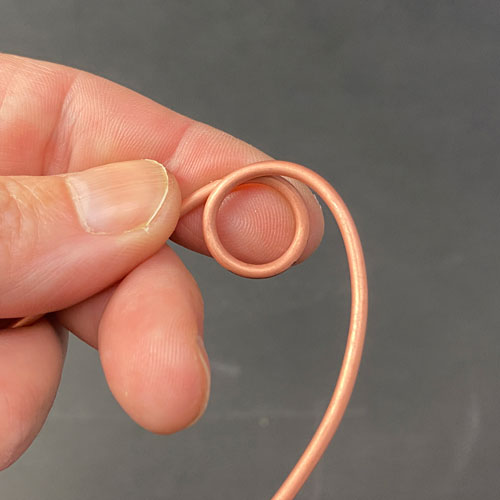
STEP 1
Start about 4” from the end of the wire. (fig. 1a). Place round-nose pliers at the 4” mark (fig. 1b) and start bringing wire around and over the short wire. (fig. 1c, 1d, 1e).

FREE WIRE-WRAPPING GUIDE TO YOUR EMAIL!
JOIN NEWSLETTER
We respect your privacy. Unsubscribe at anytime.
Prefer this tutorial in a PRINTABLE FORMAT?
Click here for the PDF version of “How to Wire-Wrap a Simple Wire Brooch”
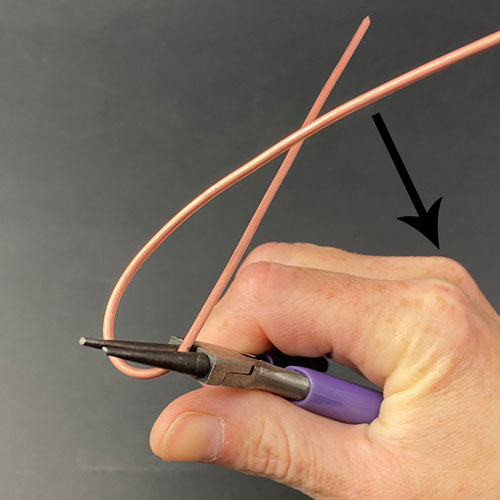
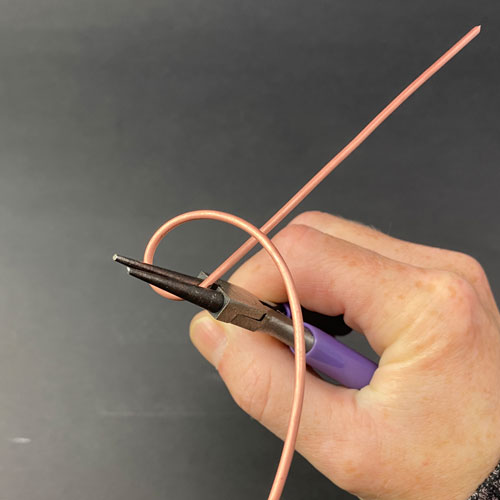
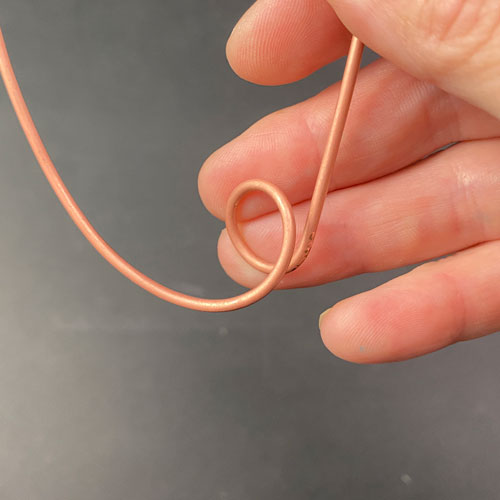
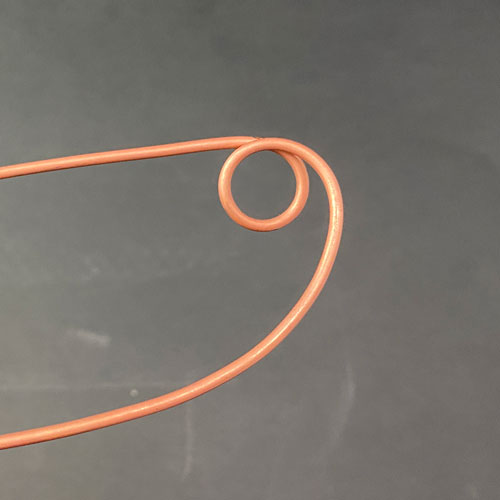
STEP 2
Keep bringing wire around to form a loop for the bead to sit on. (fig. 2a, 2b, 2c, 2d) This first loop should be SMALLER that the circumference of the bead. As you can see, my bead is falling through this loop because it’s too big. (fig. 2e)

RELATED CONTENT
- How to Wire-Wrap Stones Without Holes
- Wire-Wrapping Tools & Supplies for Beginners
- How to Make a Spiral Bead Cage Pendant
- Wire-Wrapping Tutorials: 13 DIY Wire-Wrapped Pendants
- Beginner’s Guide to Jewelry Wire for Wire-Wrapping
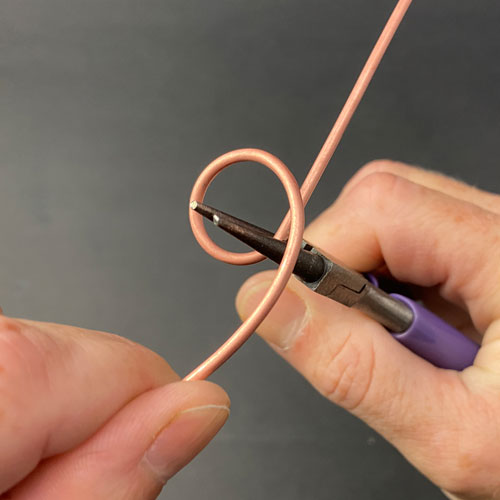
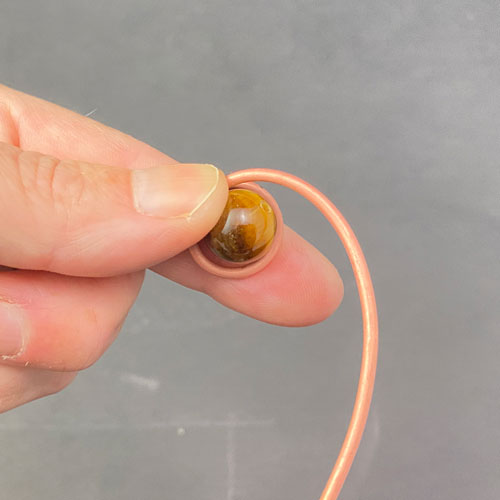
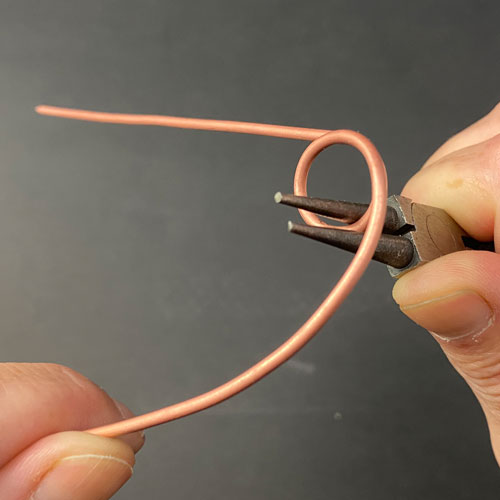
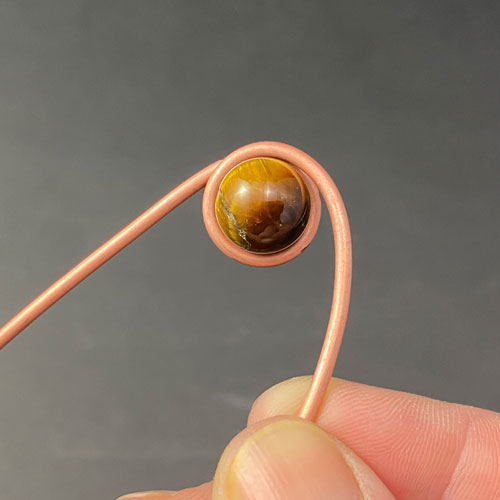
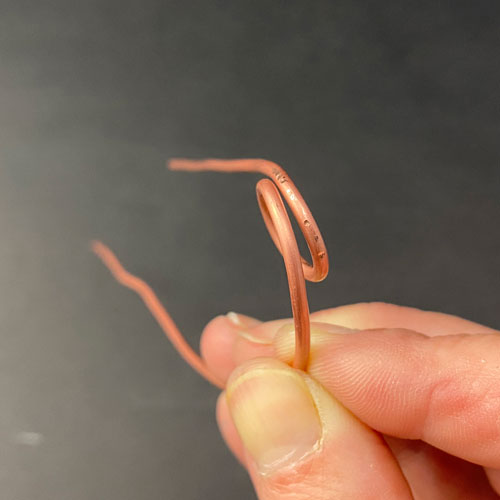
Step 3
If your loop is too big for your bead, keep tightening it to make it smaller (fig. 3a, 3b, 3c). Now if I place my bead on the loop, it does not fall through (fig. 3d). Make sure you leave a small gap in the loop as shown in this sideways view (fig. 3e). You’ll need some room to feed your wire through to secure bead (shown in next step).
KEEP READING…
