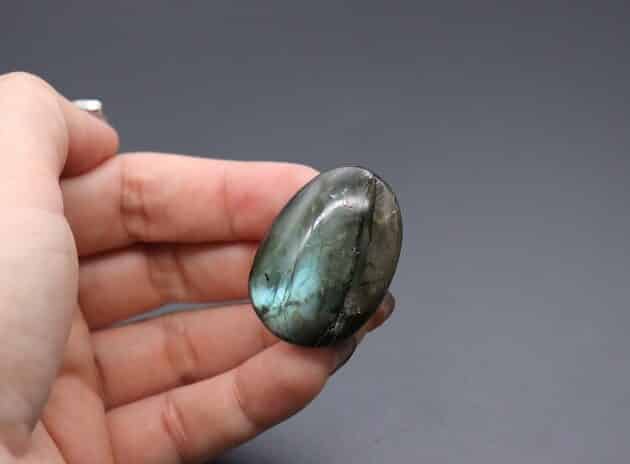
Step 4 of 16
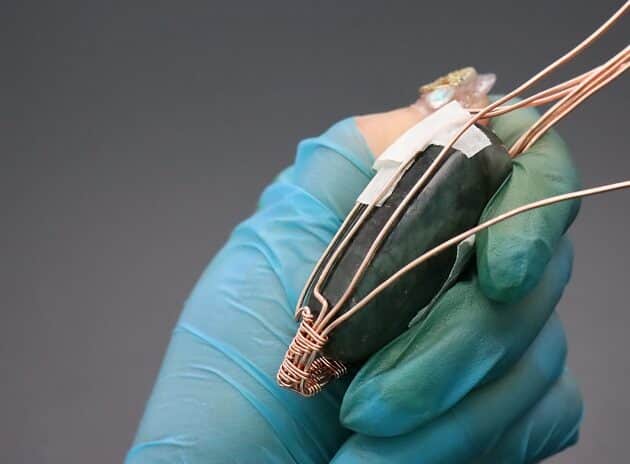
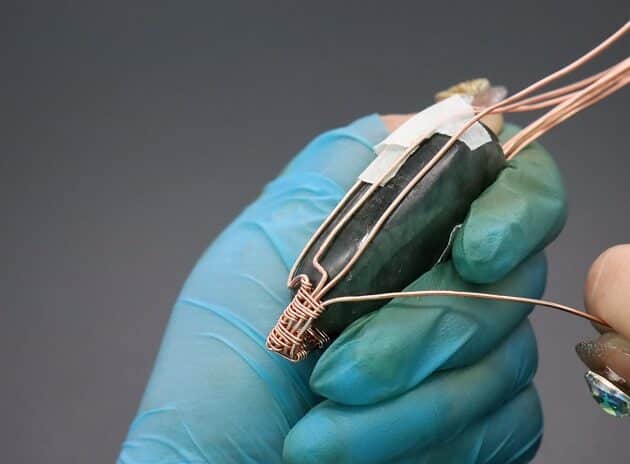
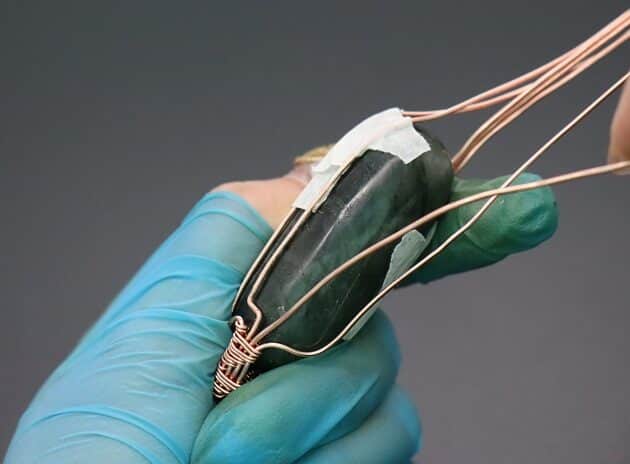
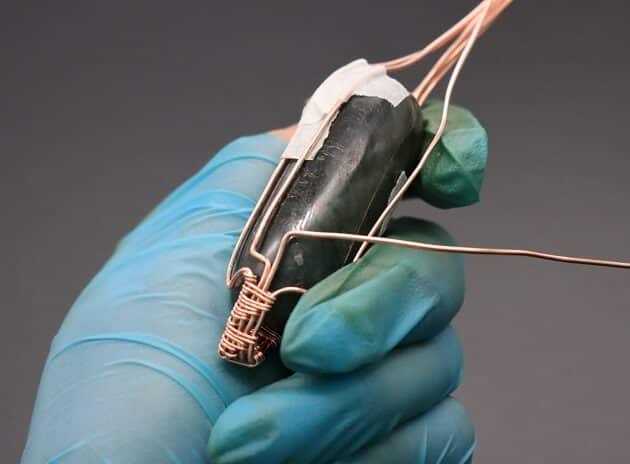
On the fourth 18-gauge wire, make a wide loose right angle curve on the back of your stone (fig. 4a, 4b, 4c).
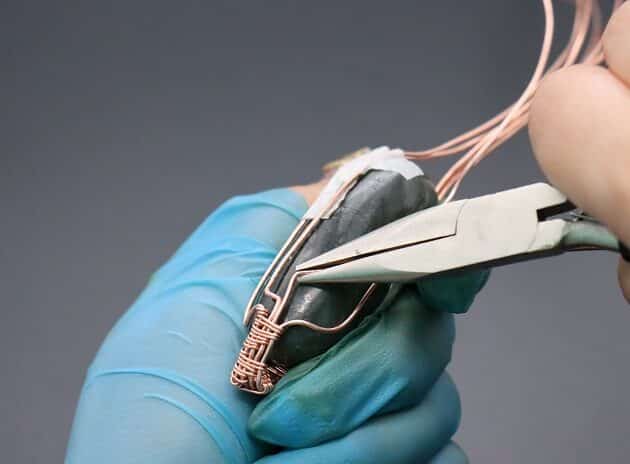
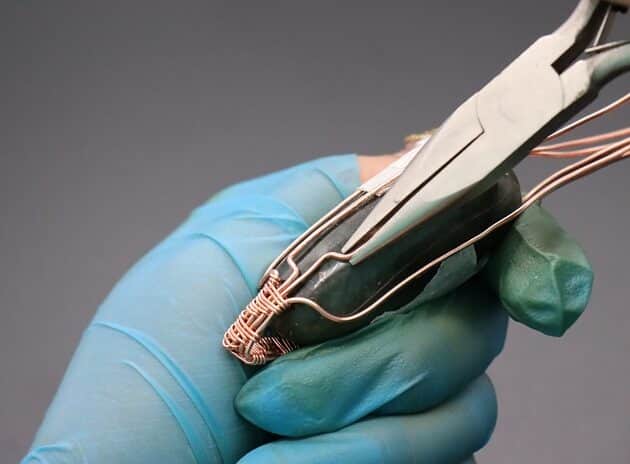
Then, work on the third and final 18-gauge wire by making a right angle bend at the furthest offset with a long needle nose pliers (fig. 4d, 4e, 4f, 4g, 4h).
Repeat the same wire structuring process on the opposite side of your stone (fig. 4i).

FREE WIRE-WRAPPING GUIDE TO YOUR EMAIL!
JOIN NEWSLETTER
We respect your privacy. Unsubscribe at anytime.
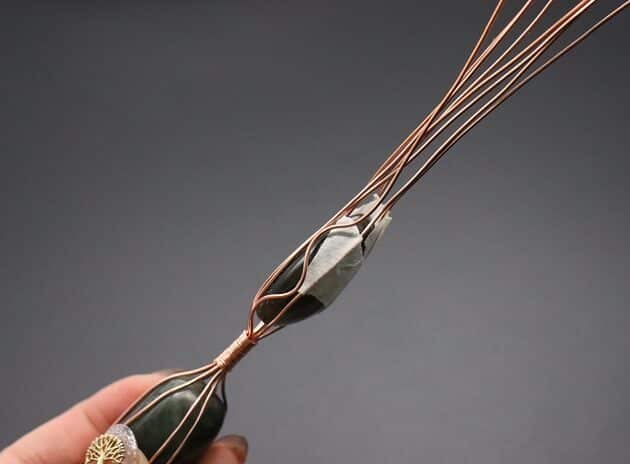
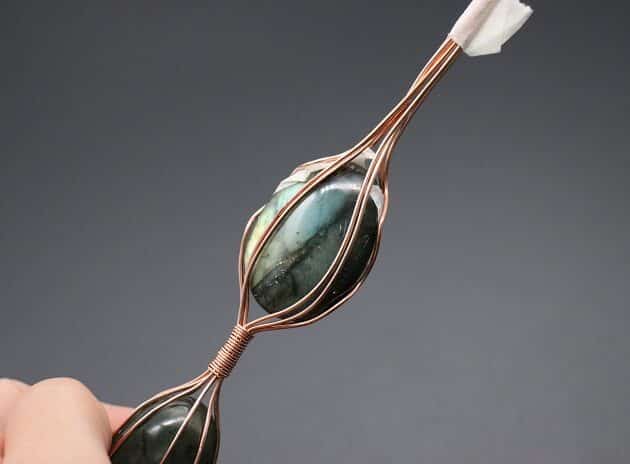
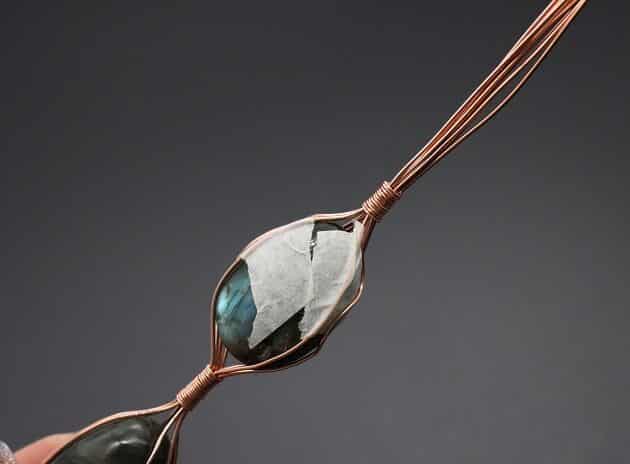
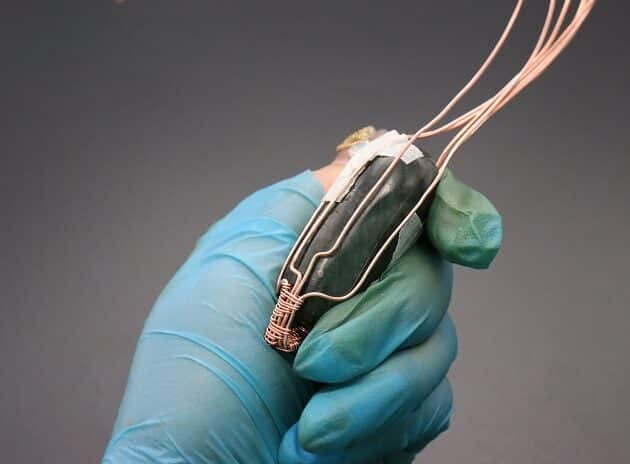
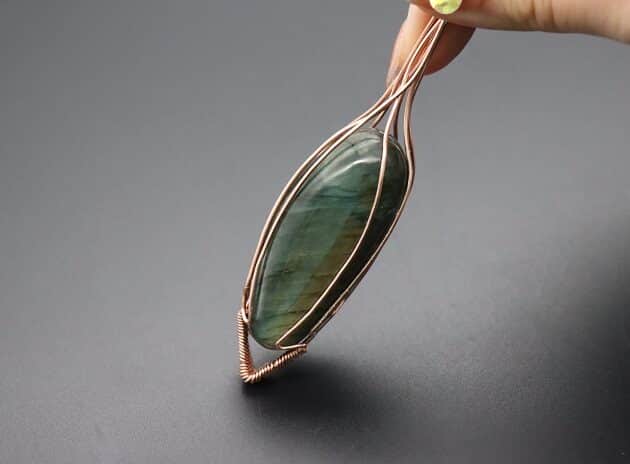
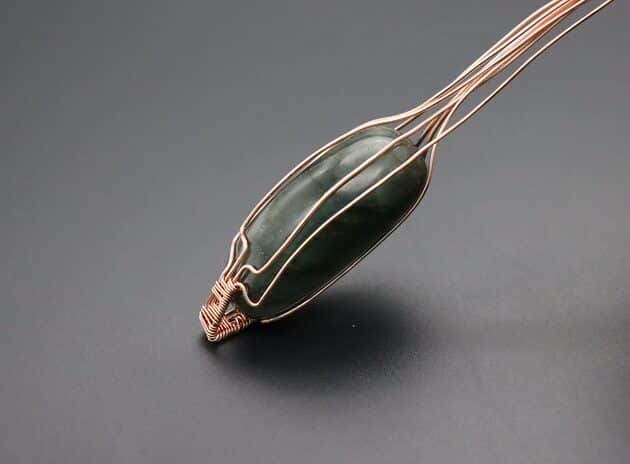
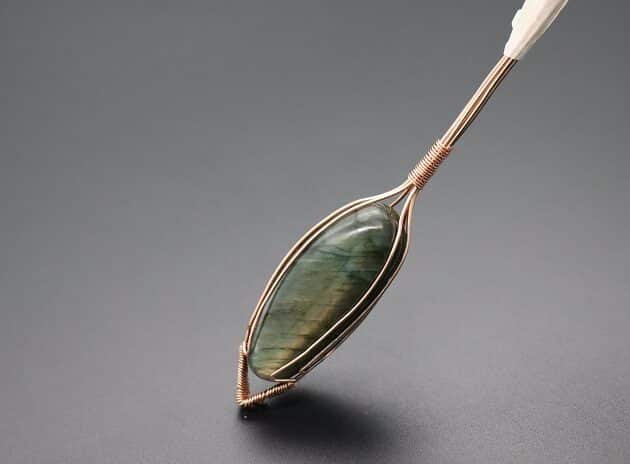
Checkpoint: This is how your long oval labradorite stone wire frame design should look on the left side and right side respectively (fig. 4j, 4k).


Prefer this wire-wrapping tutorial in a PRINTABLE FORMAT? (High Resolution Photos)
Click here for the PDF version of “Wire-Wrapping Jumbo Double Labradorite Stone Pendant Tutorial”
Step 5 of 16
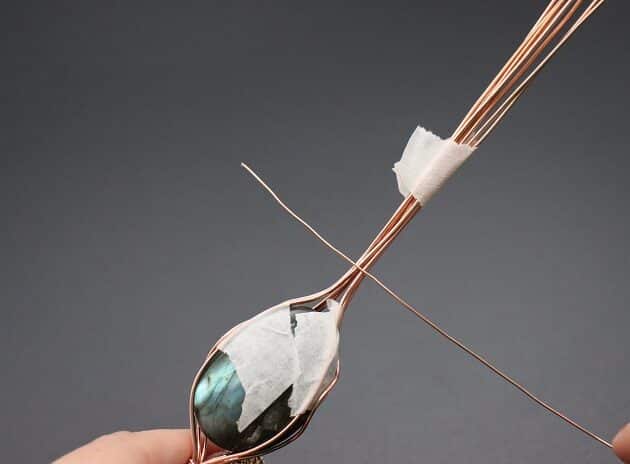
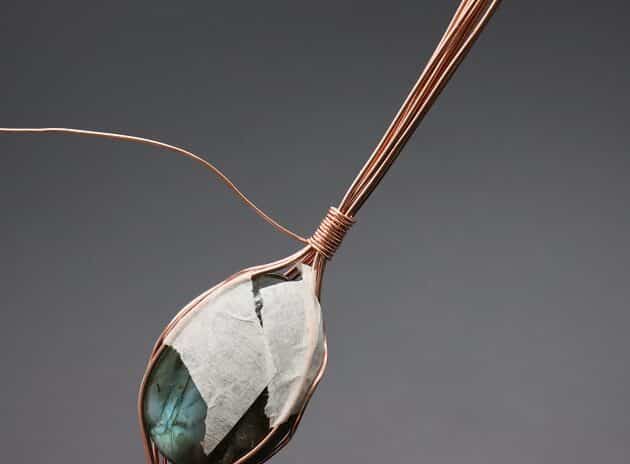
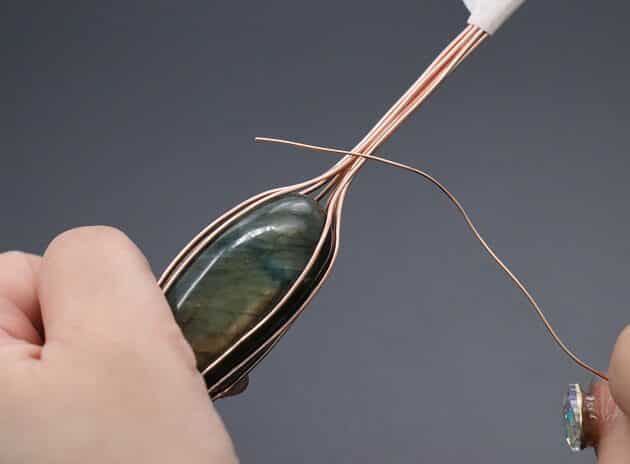
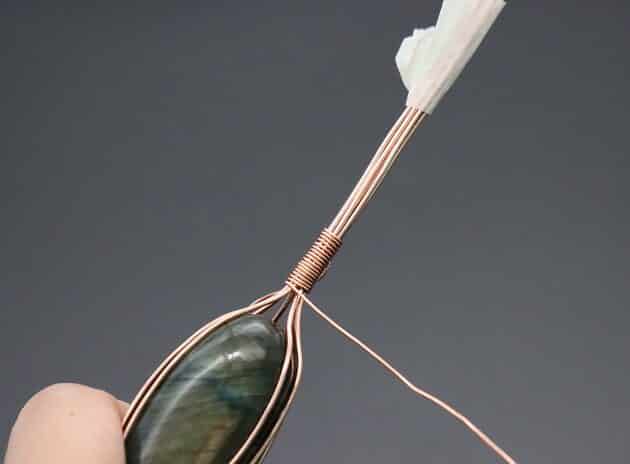
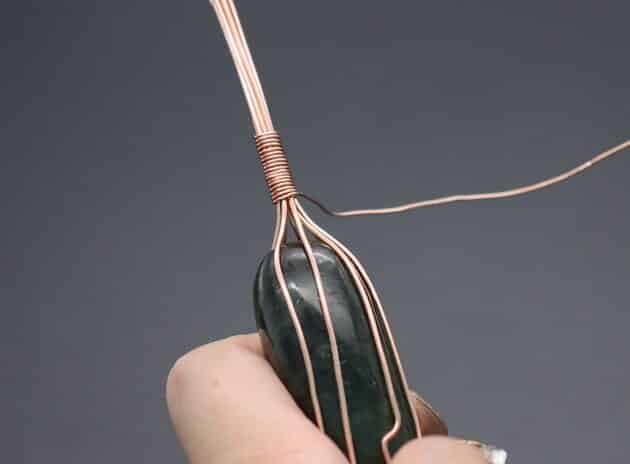
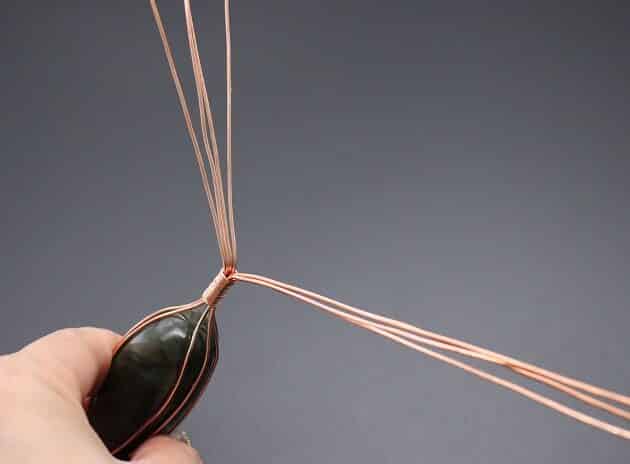
Use a 22-gauge gold copper wire and coil up the remaining loose 18-gauge gold copper wires into a bundle (fig. 5a, 5b, 5c).
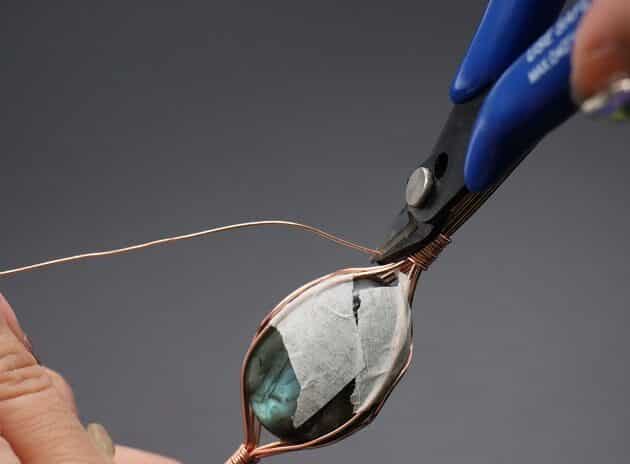
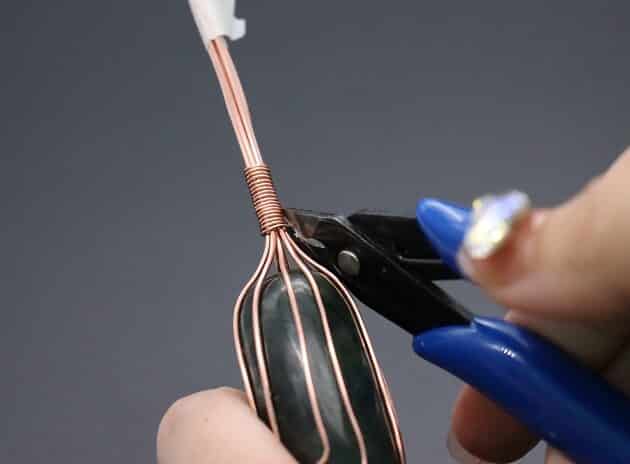
Then, trim off the excess 22-gauge wire with a wire cutter (fig. 5d, 5e).
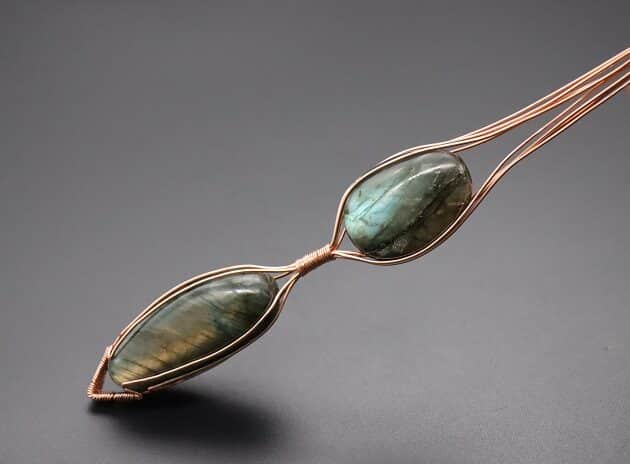
The lower part of your statement pendant is complete.
Step 6 of 16
Now, let’s work on the upper part of your jumbo statement pendant.
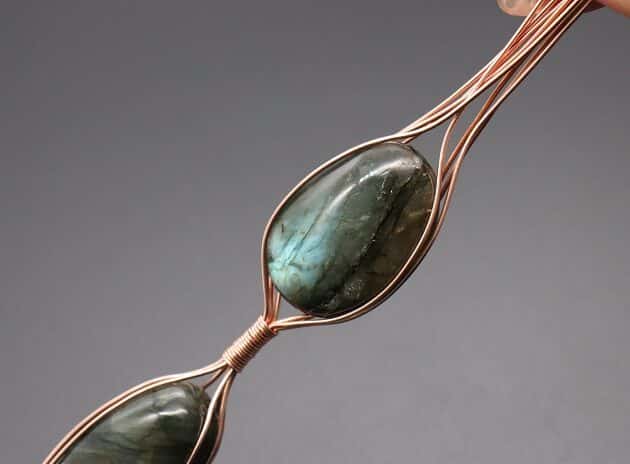
Split the 18-gauge wire bundle into equal halves (fig. 6a, 6b).
Then, place your second labradorite stone in between the wires and wrap along its sides (fig. 6c, 6d, 6e).

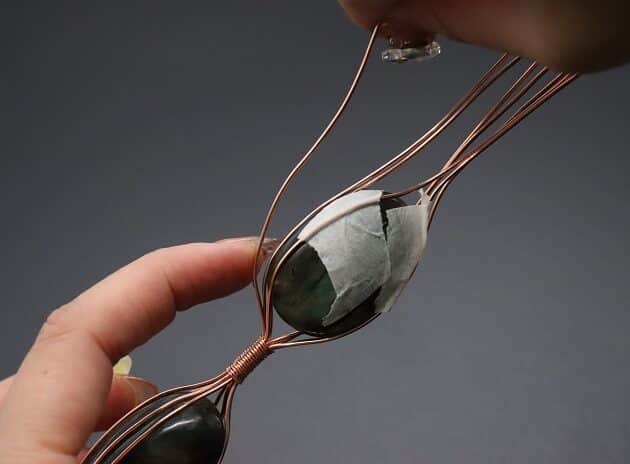
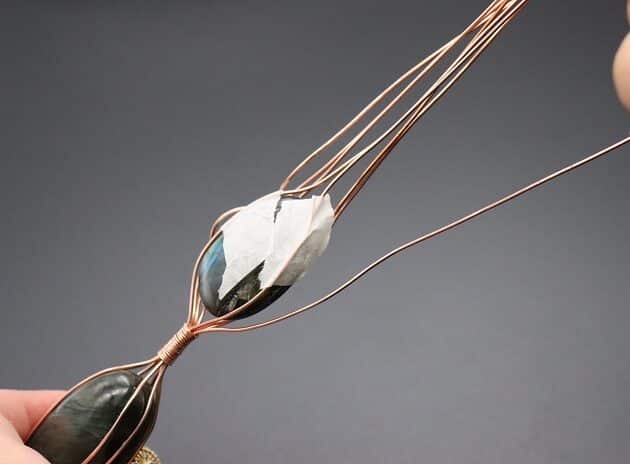
Step 7 of 16
Now let’s add designs onto the upper wire frame.
Firstly, curve the first 18-gauge wire over the front of your stone and tape it in place (fig. 7a).
Then, make a wavy line on your second 18-gauge wire (fig. 7b).
Repeat the design on the opposite side of your stone (fig. 7c, 7d).
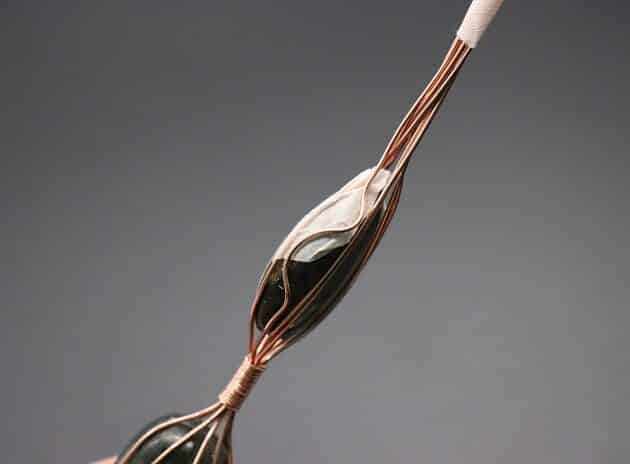
Lastly, make a double curve with the third and fourth 18-gauge wires on the back of your stone as shown (fig. 7e).
Finish up the wire frame design by coiling up the remaining 18-gauge wires into a bundle with a 22-gauge wire (fig. 7f, 7g).
Trim off the excess 22-gauge wire (fig. 7h, 7i).