Hi there my dear wire wrapper!
Thank you for joining me in this Wire-Wrapping Jumbo Double Labradorite Stone Pendant Tutorial.
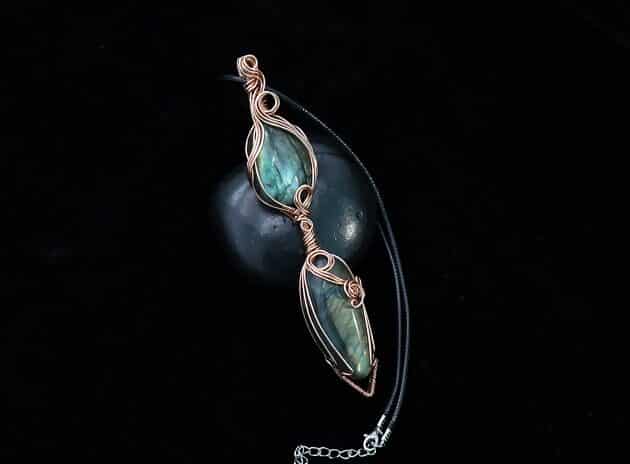
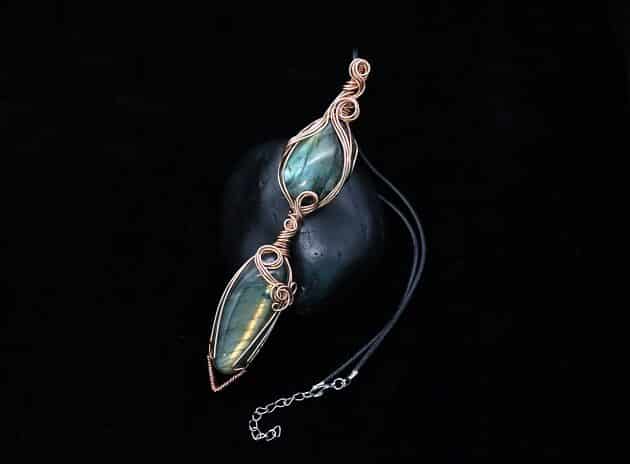
Let’s craft a statement pendant piece to showcase your amazing jewelry design skills such as wire weaving, wire structuring and more.
Get started now with my easy-to-follow instructions and detailed step-by-step picture guide.

FREE WIRE-WRAPPING GUIDE TO YOUR EMAIL!
JOIN NEWSLETTER
We respect your privacy. Unsubscribe at anytime.
Are you ready? Happy wrapping!
LEVEL: Intermediate
MATERIALS + TOOL
- Gold Copper Wire (18 AWG)
- Gold Copper Wire (22 AWG)
- Labradorite Stone 2 pieces
- Wire Cutter
- Stepped Bail-Making Pliers
- Mini Long Needle Nose Pliers
- Round Nose Pliers
- Masking Tape
- Finest Steel Wire Wool
Prefer this wire-wrapping tutorial in a PRINTABLE FORMAT? (High Resolution Photos)
Click here for the PDF version of “Wire-Wrapping Jumbo Double Labradorite Stone Pendant Tutorial”
WIRE-WRAPPING JUMBO DOUBLE LABRADORITE STONE PENDANT TUTORIAL
Step 1 of 16
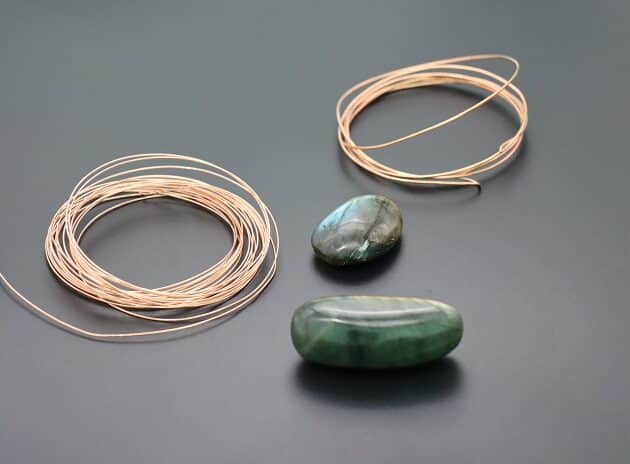
Set up all items from the Materials and Tool list on your work station (fig. 1a).
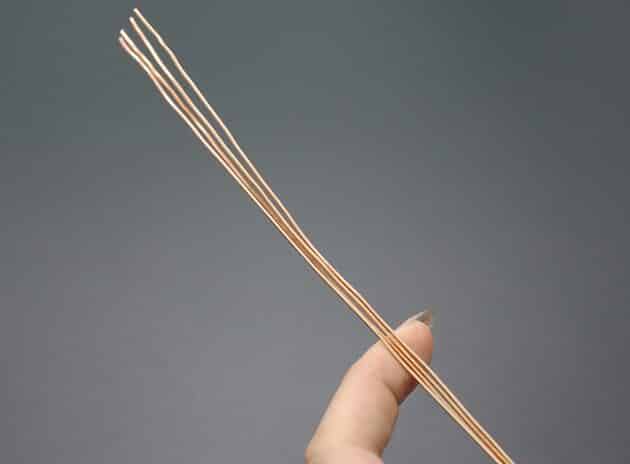
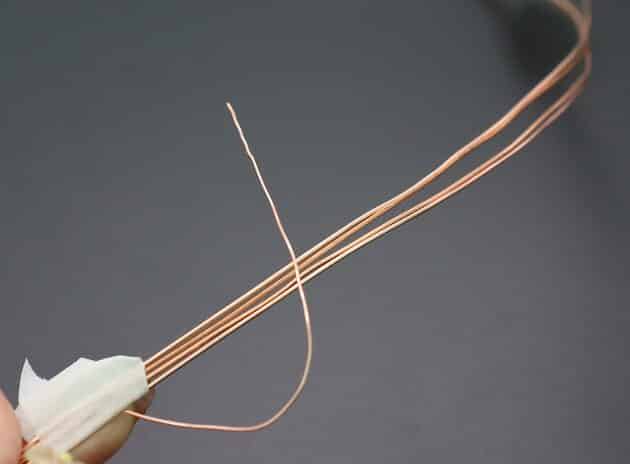
Then, prepare 4 long strings of 18-gauge gold copper wires to create the main frame for your pendant (fig. 1b).
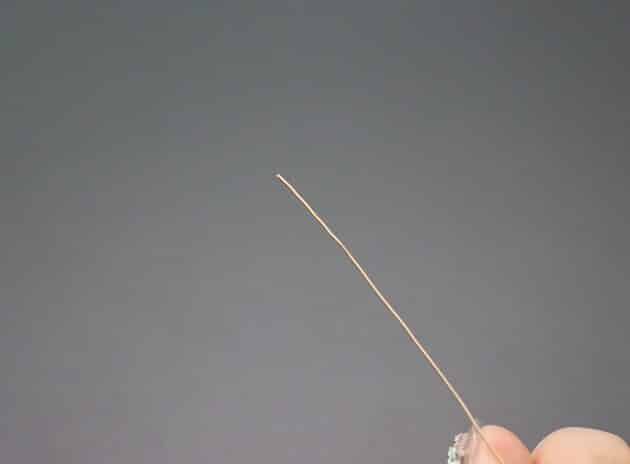
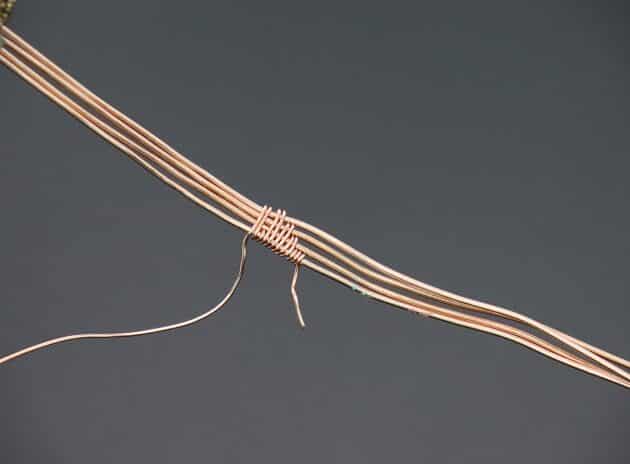
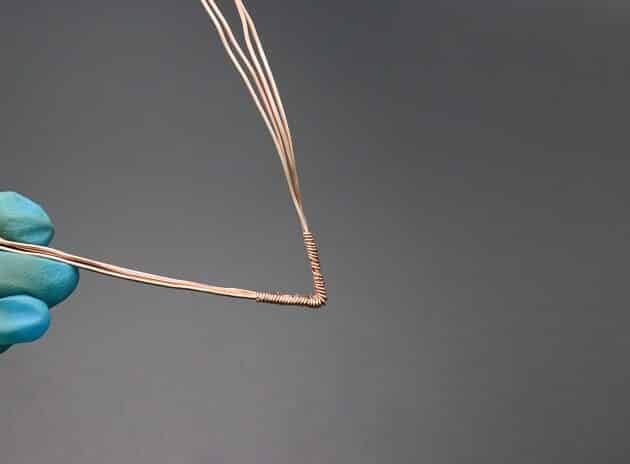
Use a string of 22-gauge gold copper wire to weave the midpoints of the 18-gauge wires together (fig. 1c, 1d, 1e).
The wire weaving sequence is as follow:
- Wrap 2 coils over the first 18-gauge wire string.
- Wrap 2 coils over the first and second 18-gauge wire strings.
- Wrap 2 coils over the first, second and third 18-gauge wire strings.
- Wrap 2 coils over all four 18-gauge wire strings.
- Wrap 1 coil over the first 18-gauge wire string.
- Finish with 2 coils over all four 18-gauge wire strings.
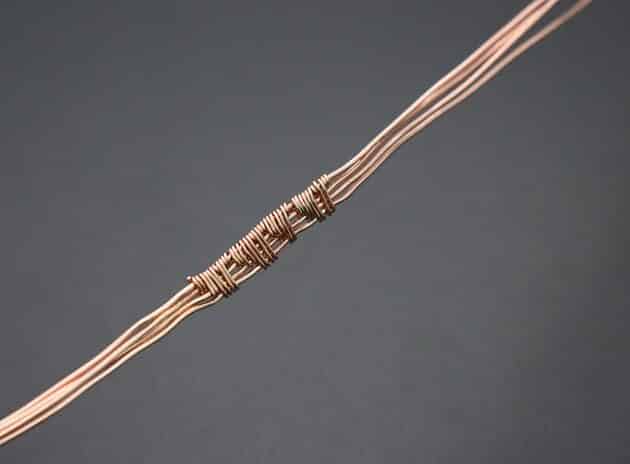
Repeat the wire weaving sequence for 3 more times and end the process with 2 coils on the first string (fig. 1f).
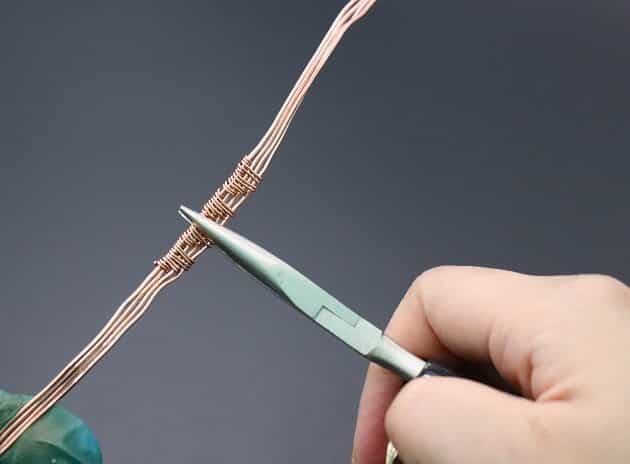
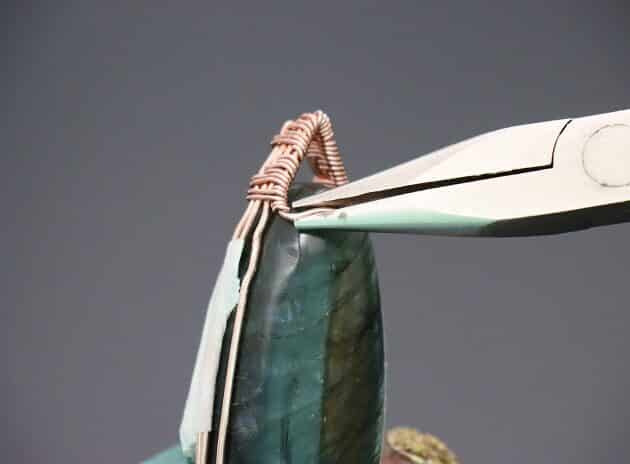
Next, make a V-bend at the middle of your weave pattern with a long needle nose pliers (fig. 1g, 1h).
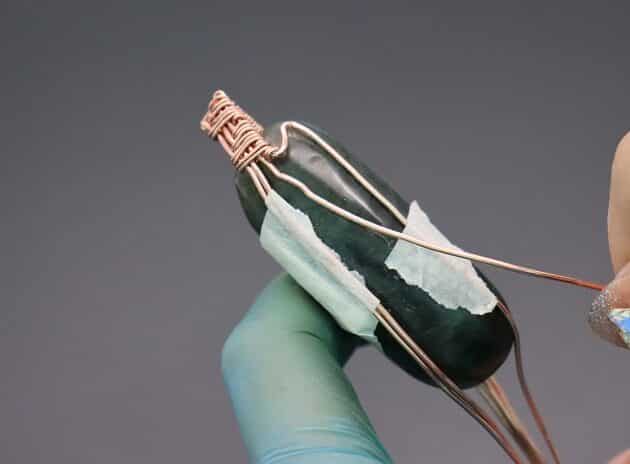
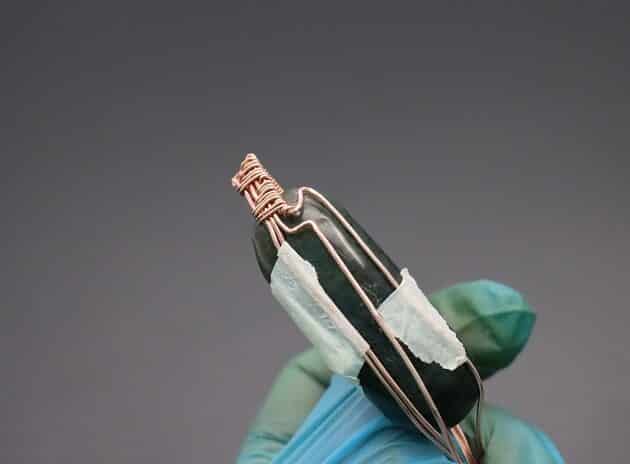
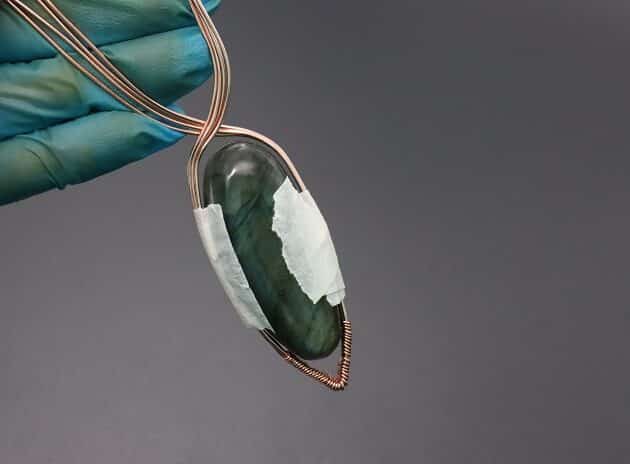
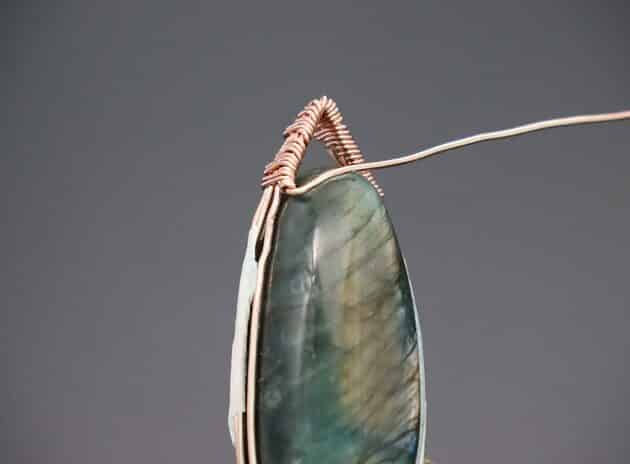
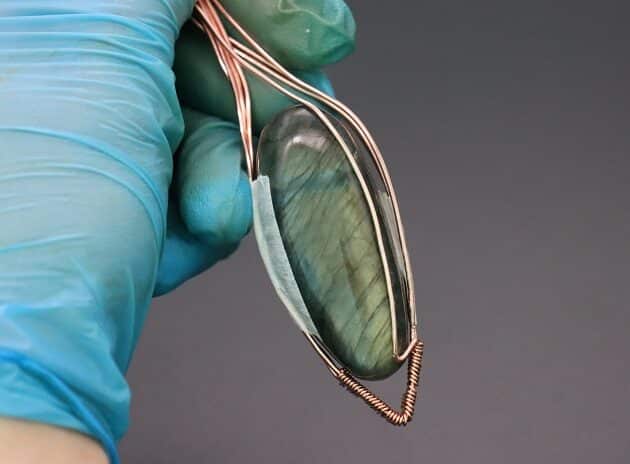
After that, place the V-shape wire frame on the bottom of your long oval labradorite stone and wrap the remaining wires upwards along the side of your stone (fig. 1i, 1j).

Step 2 of 16
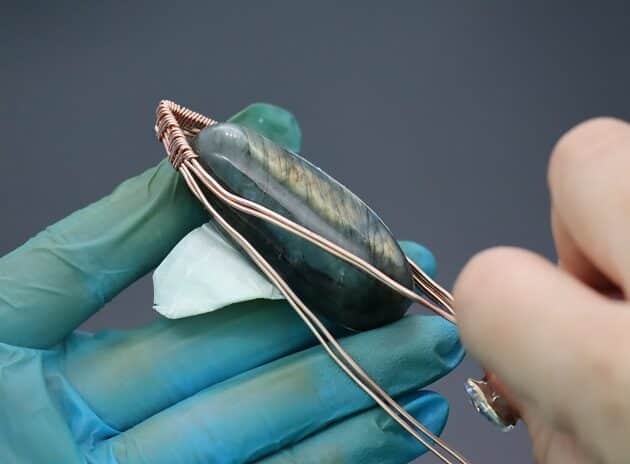
Moving on, let’s form a sturdy wire structural design to hold your labradorite stone in place.
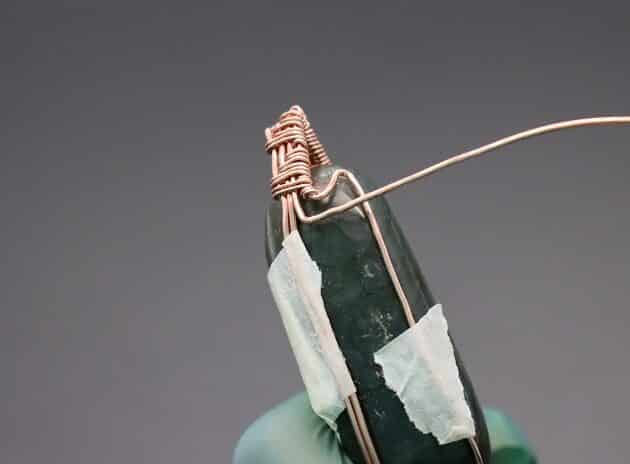
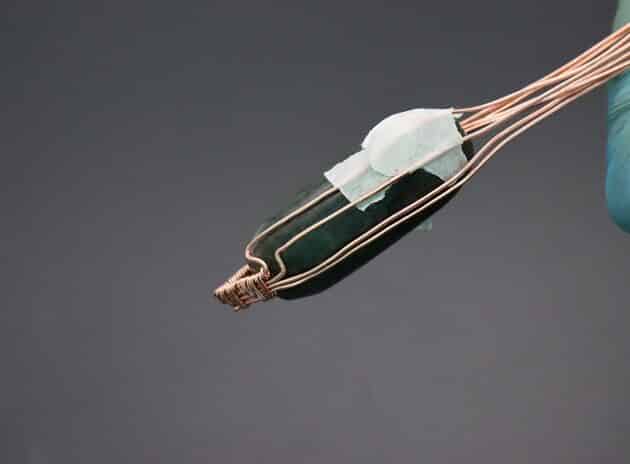
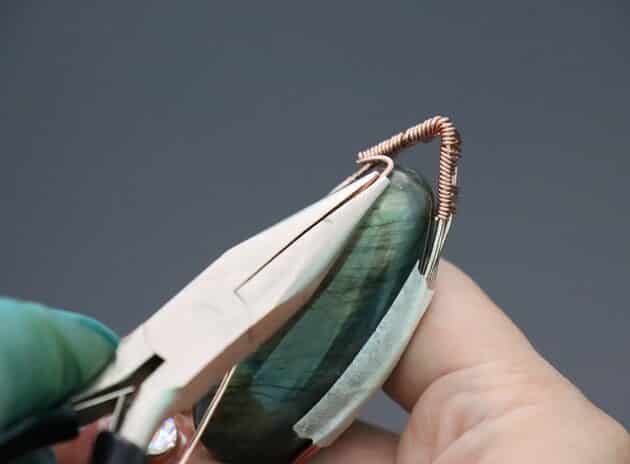
Flip your stone upside down and evenly split the 18-gauge wires into two (fig. 2a).
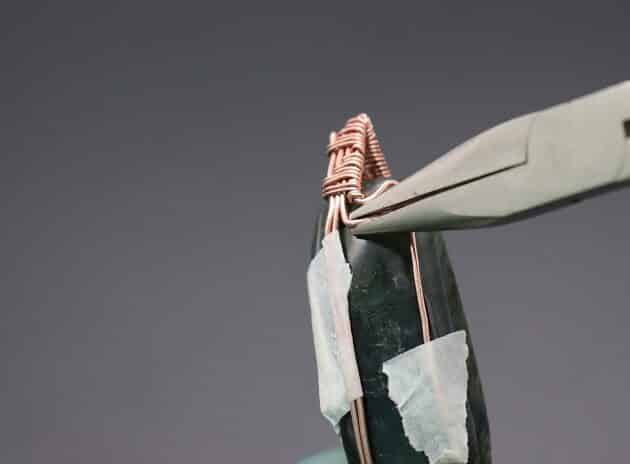
Then, make a right angle bend on the first wire string with a long needle nose pliers as shown (fig. 2b, 2c, 2d, 2e, 2f).
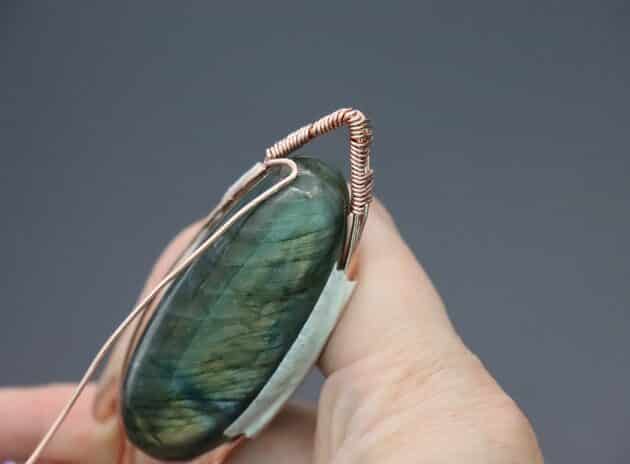
This is how the wire structure should look like at upright position (fig. 2g).
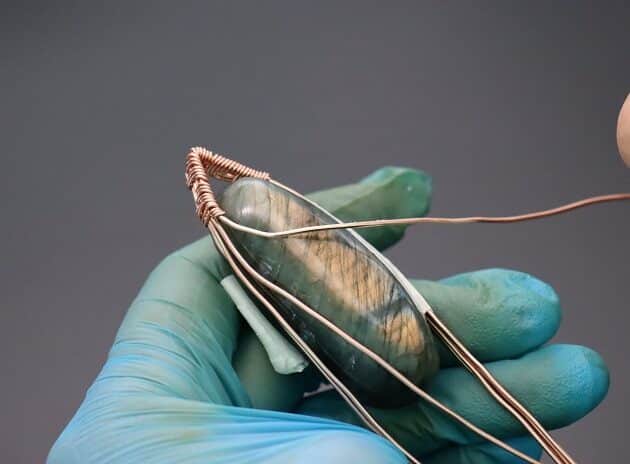
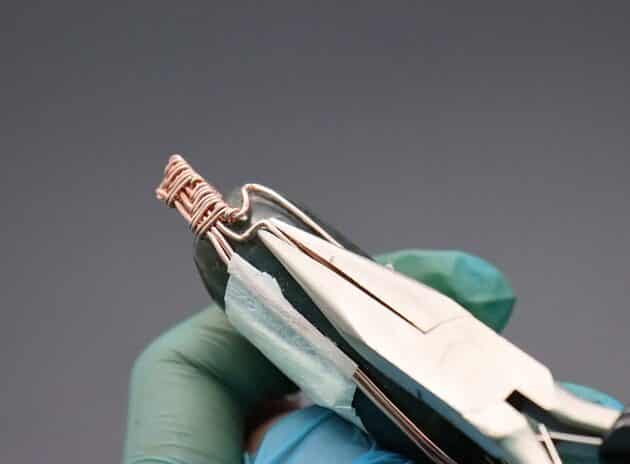
Step 3 of 16
Next, repeat the same right angle wire bending process on the second 18-gauge wire with a slight offset from the first right angle structure (fig. 3a, 3b, 3c, 3d, 3e, 3f).