Step 13 of 28 – Finishing (part 1/2)
Well done! We are now at the last part!
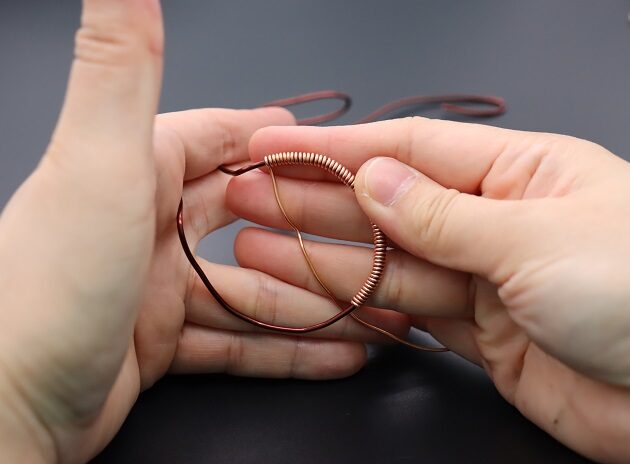
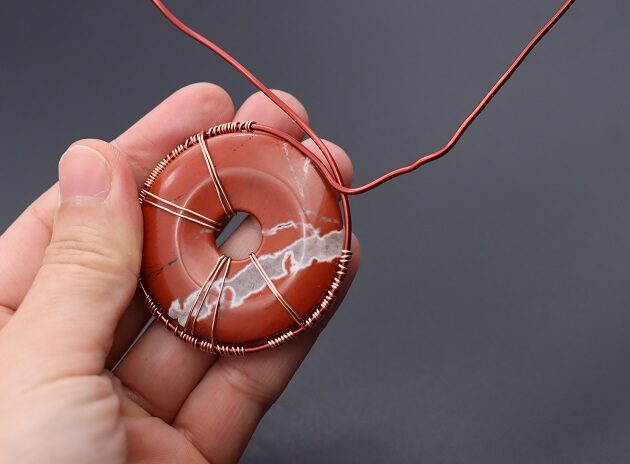
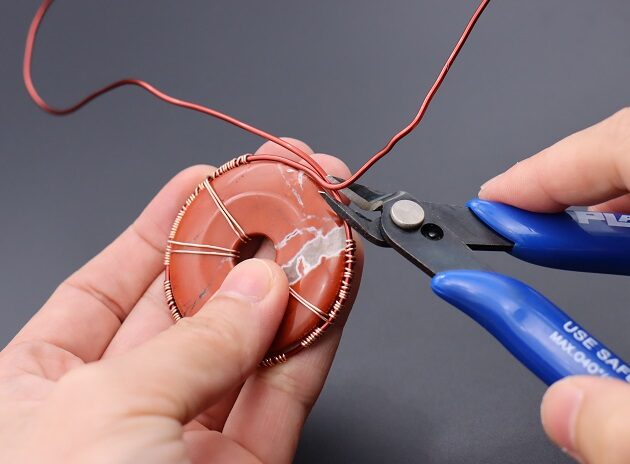
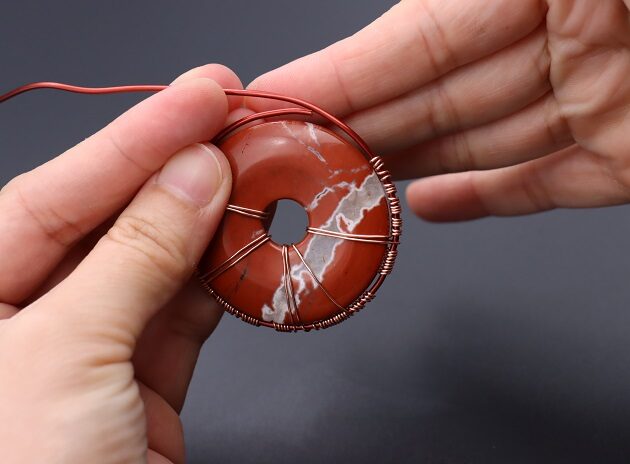
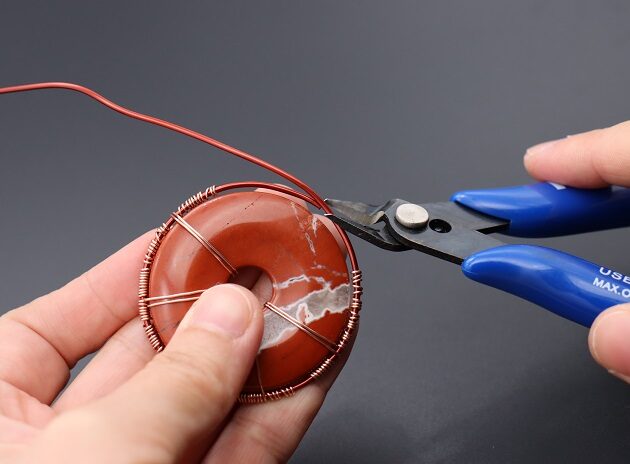
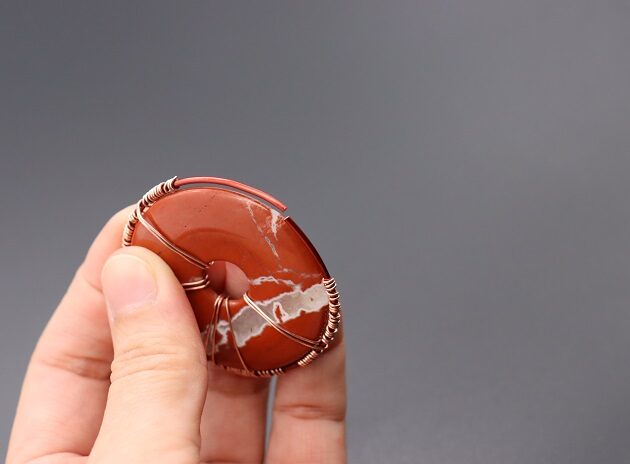
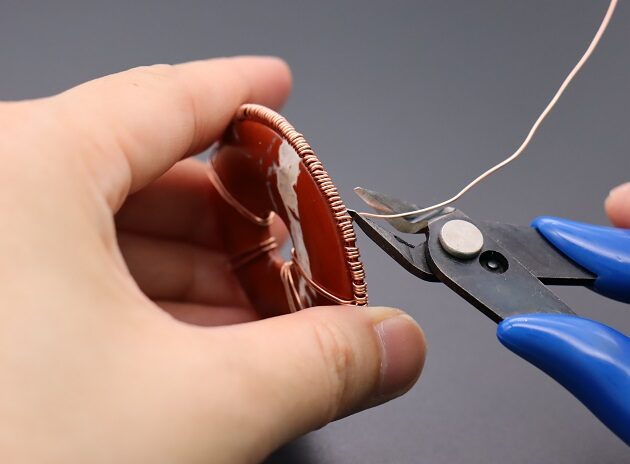
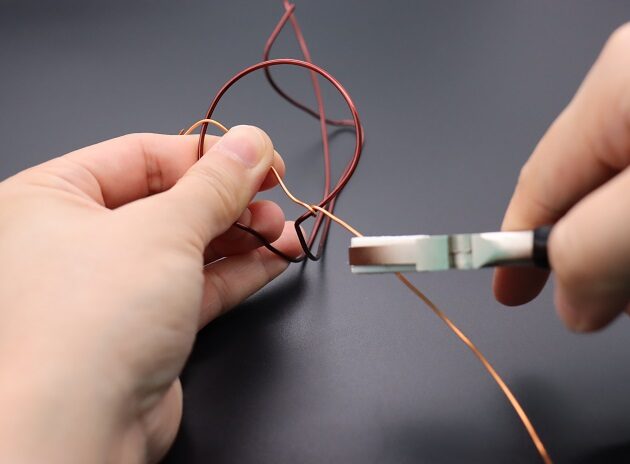
Complete the wire frame by making a full circle as shown (fig. 13a, 13b, 13c, 13d, 13e).

FREE WIRE-WRAPPING GUIDE TO YOUR EMAIL!
JOIN NEWSLETTER
We respect your privacy. Unsubscribe at anytime.
Step 14 of 28 – Finishing (part 2/2)
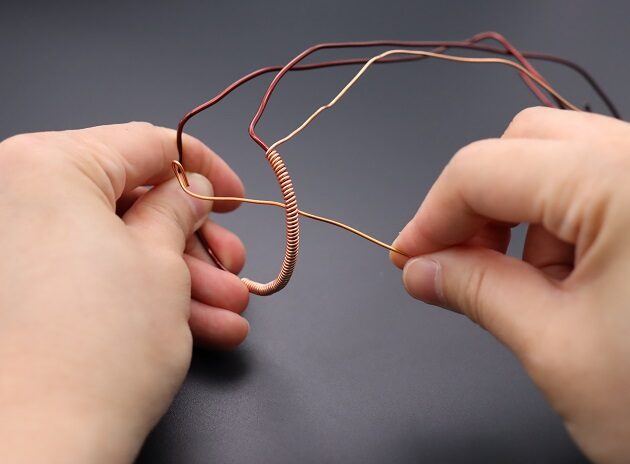
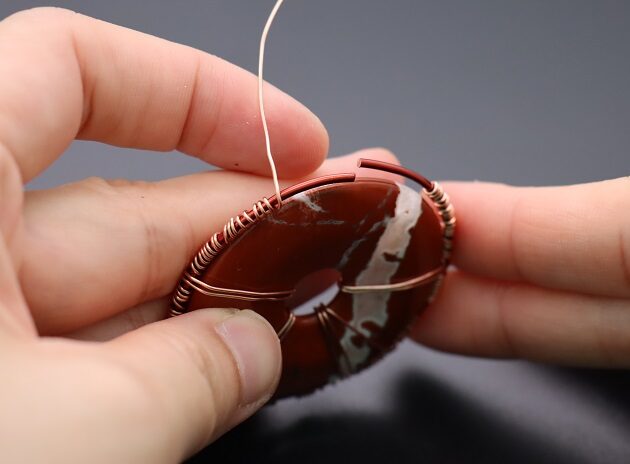
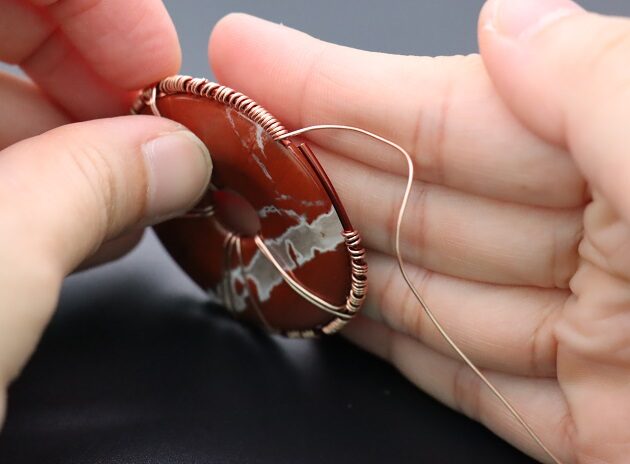
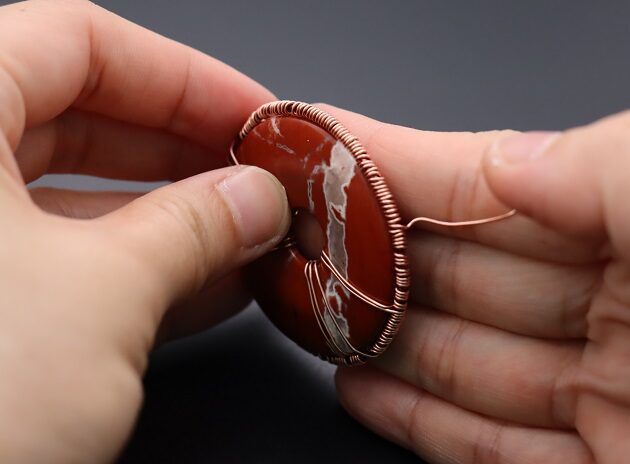
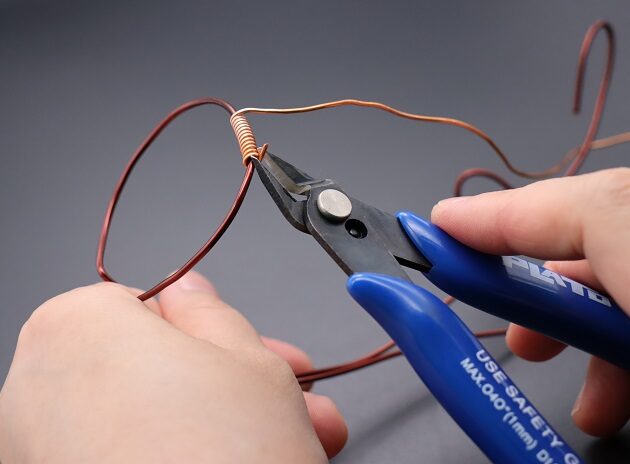
Secure the shape of the circular frame by using the coiling technique with a new length of 22 gauge wire (fig. 14a,14b,14c,14d,14e,14f)
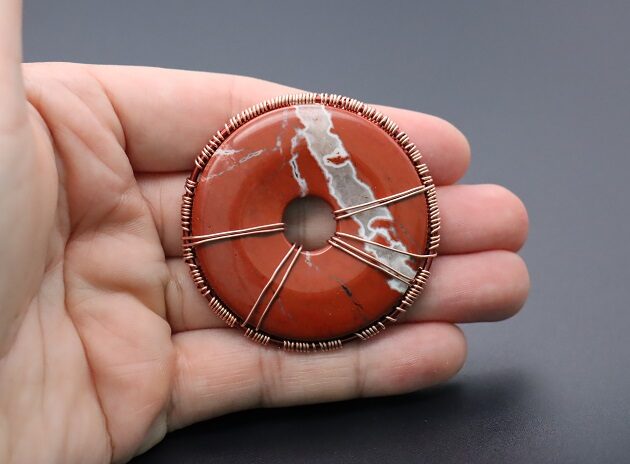
The completed Coiling Design For 14 Gauge Frame should look like (fig. 14g).


PART 3 – COILING DESIGN FOR 12 GAUGE WIRE FRAME
Note: From Step 15 to Step 20 will be focusing on 2 wire coiling designs on the 12 gauge wire frame and donut pendant.
Step 15 of 28 – Design 1 (part 1/3)
Moving on, use 18 gauge copper wire for the coiling design on 13 gauge wire frame (fig. 15a)
Since 18 gauge wire is thicker, use a nylon jaw pliers to tight the coils on the frame (fig. 15b).
Finish up the design as shown (fig. 15c) and cut off any excess wire (fig. 15d).


Step 16 of 28 – Design 1 (part 2/3)
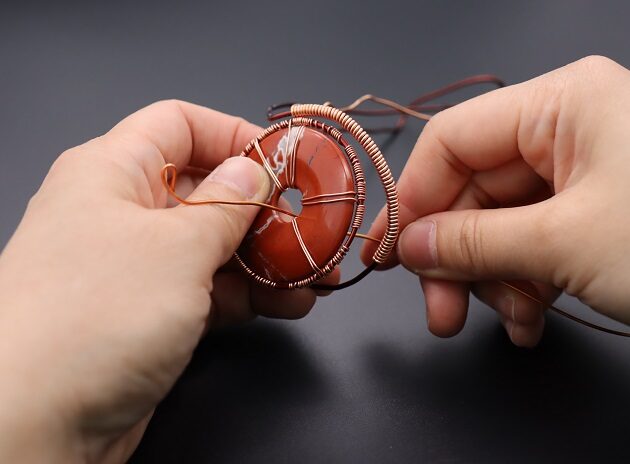
Proceed to coil the remaining wire as shown in (fig. 16a)
Then, hold onto the free end of the coiling wire (fig.16b).
Loop it through the donut stone and secure it to the frame (fig. 16c,16d).