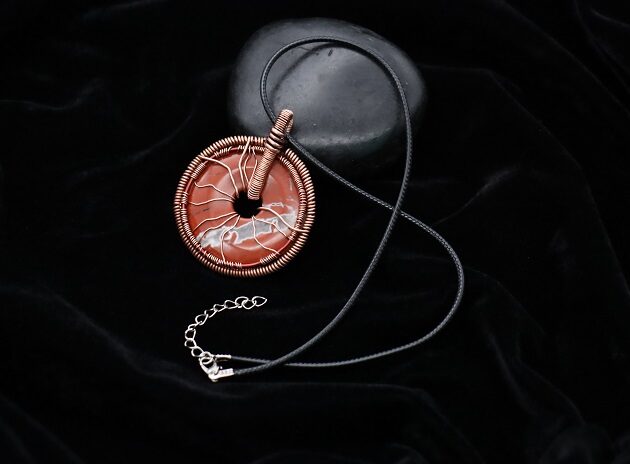
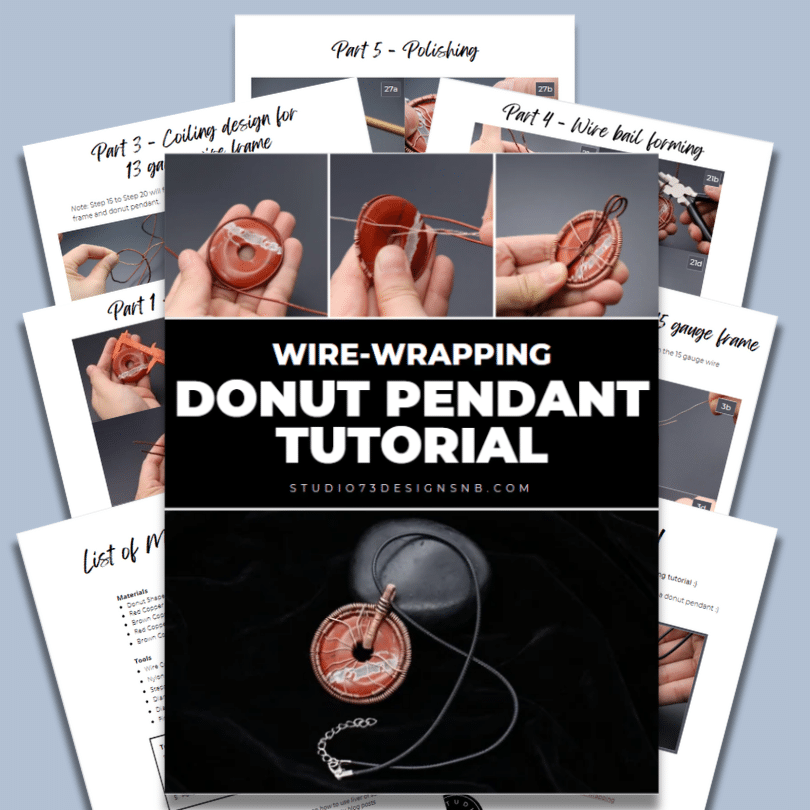
Hi there my fellow wire-wrappers! I am back with an Advanced level Wire-wrapping tutorial that I enjoyed making. I am sure you will love it too!
If you are looking for Wire-wrapping Donut Pendant design, then this tutorial is for you.
I will provide you with step by step instructions and images that will aid you visually.
The best part about this tutorial is that no soldering is required!
FREE WIRE-WRAPPING GUIDE TO YOUR EMAIL!
JOIN NEWSLETTER
We respect your privacy. Unsubscribe at anytime.
LEVEL: ADVANCED
Tutorial At A Glance:
- Wire Framing
- Coiling Design For 14 Gauge Frame
- Coiling Design For 12 Gauge Frame
- Wire Bail Forming
- Polishing
MATERIALS + TOOLS
Materials
- Donut Shape Stone
- Red Copper Wire (12 gauge): Length(22″)
- Brown Copper Wire (18 gauge)
- Red Copper Wire (14 gauge): Length(22″)
- Brown Copper Wire (22 gauge)
Tools
- Wire Cutter
- Nylon jaw pliers
- Stepped Bail-Making Pliers
- Diamond Needle Files Flat
- Diamond Needle Files Round
- Finest Steel Wire Wool
Prefer this wire-wrapping tutorial in a PRINTABLE FORMAT? (High Resolution Photos)
Click here for the PDF version of “Donut Pendant Wire-Wrapping Tutorial”
WIRE-WRAPPING DONUT PENDANT TUTORIALS
PART 1 – WIRE FRAMING
Step 1 of 28
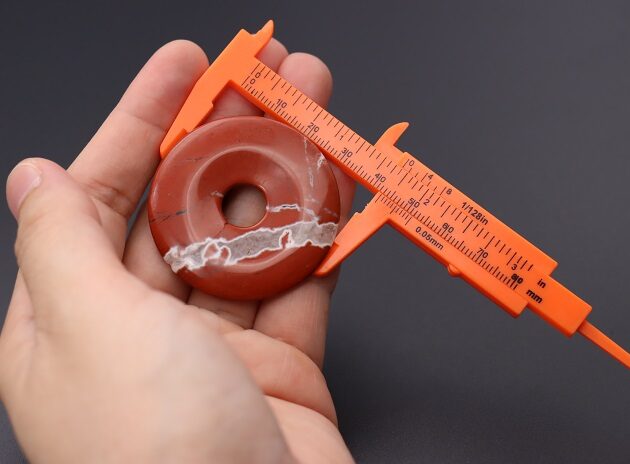
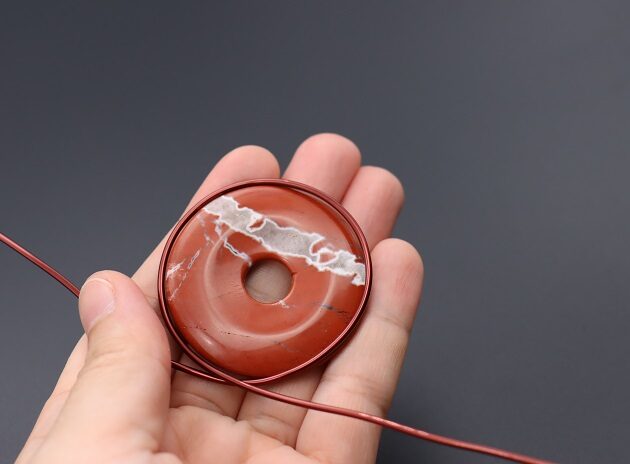
Firstly, ready a Donut shaped stone that is about 1.6 inch in diameter. (fig. 1a)
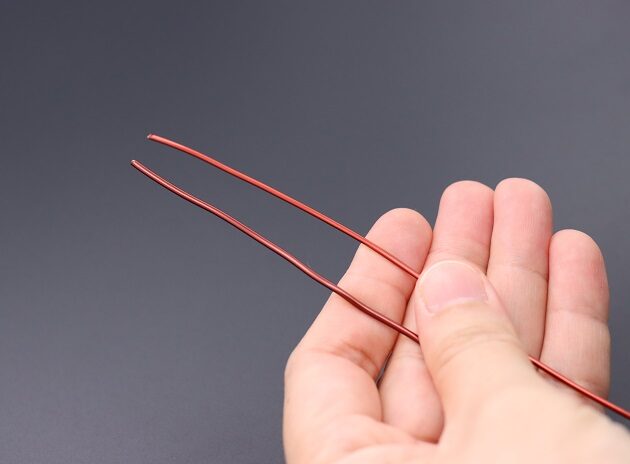
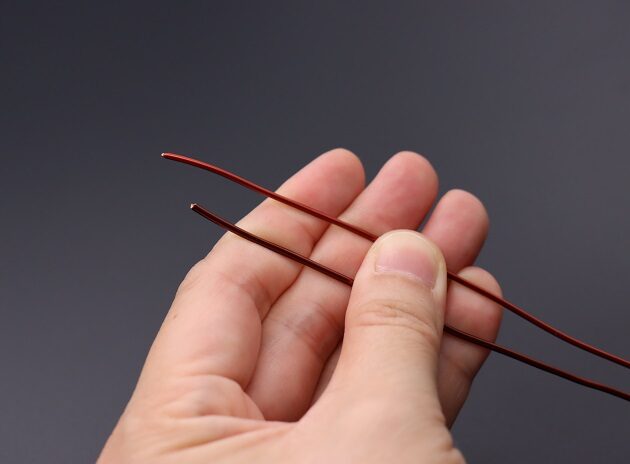
Then, cut two lengths of 23 inch long red copper wires sized 12 gauge and 14 gauge respectively (fig. 1b, 1c).
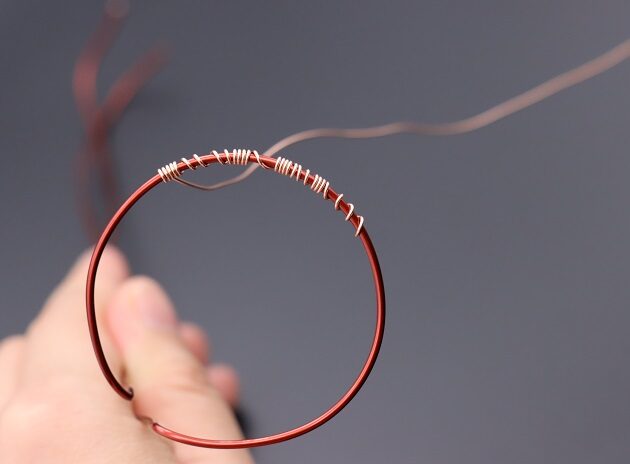
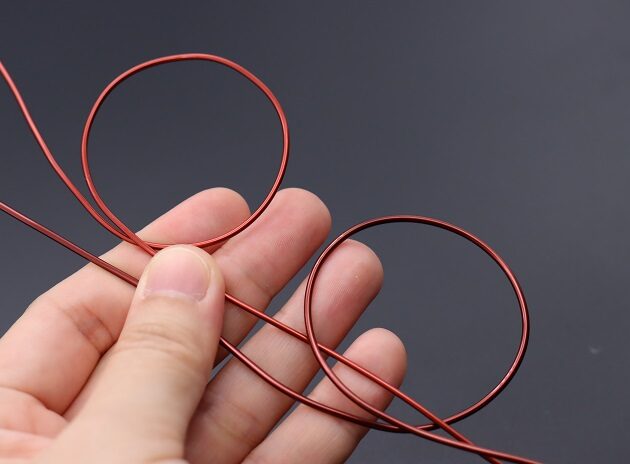
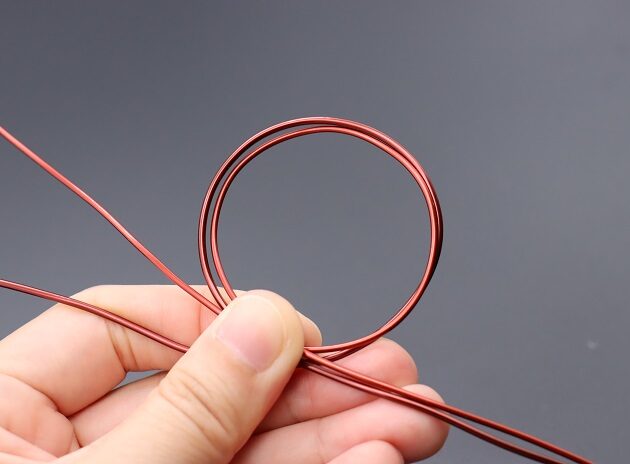
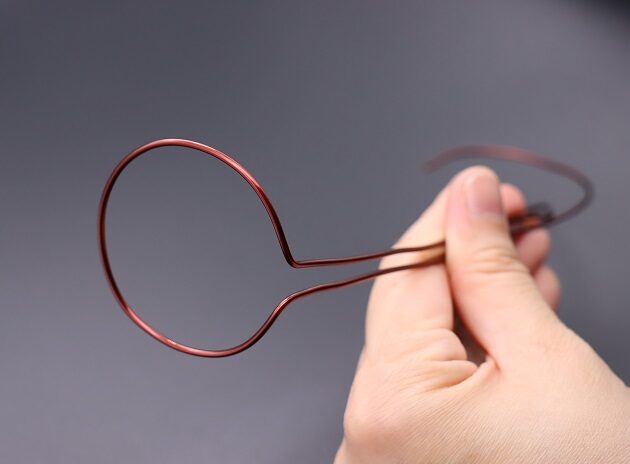
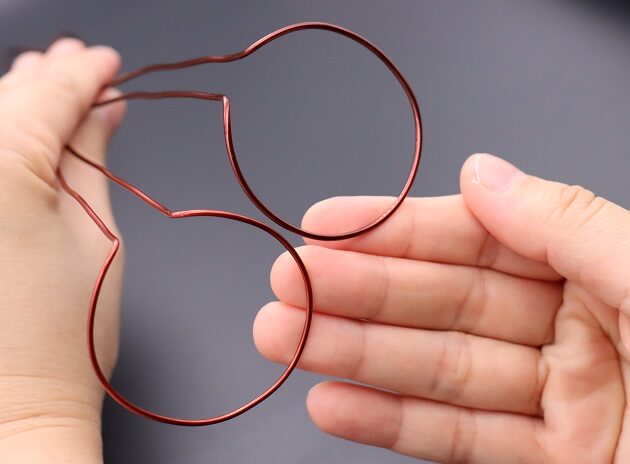
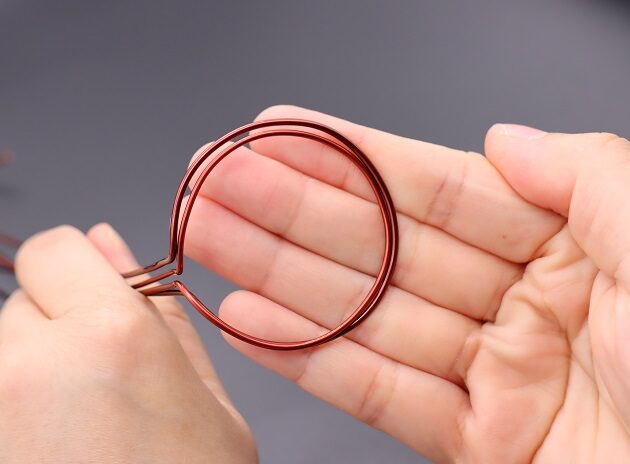
Loop the wires around the donut stone to make wire frames (fig. 1d, 1e).
Lastly, adjust the 12 gauge wire frame to be slightly bigger than the 15 gauge frame (fig. 1f).
Step 2 of 28
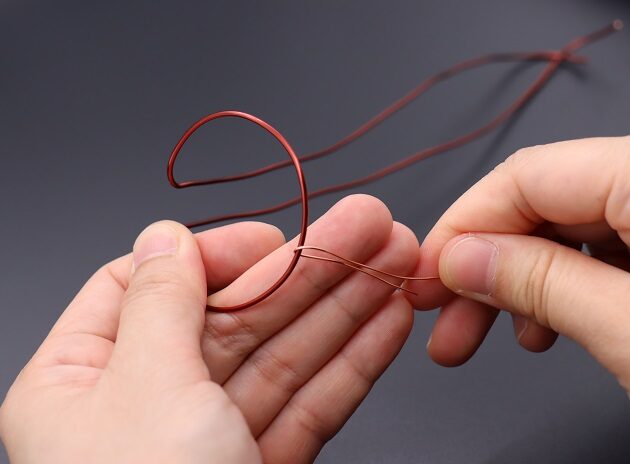
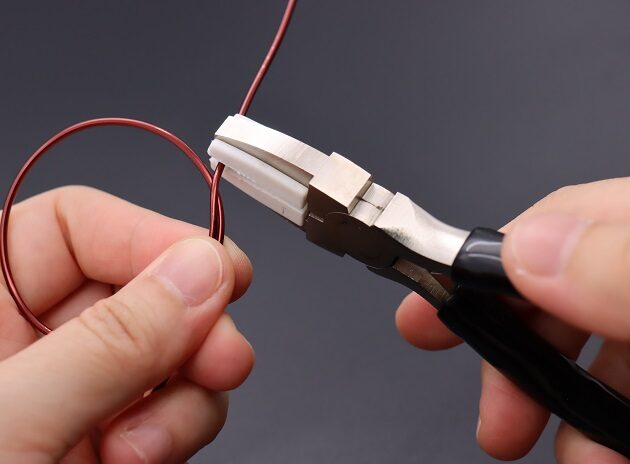
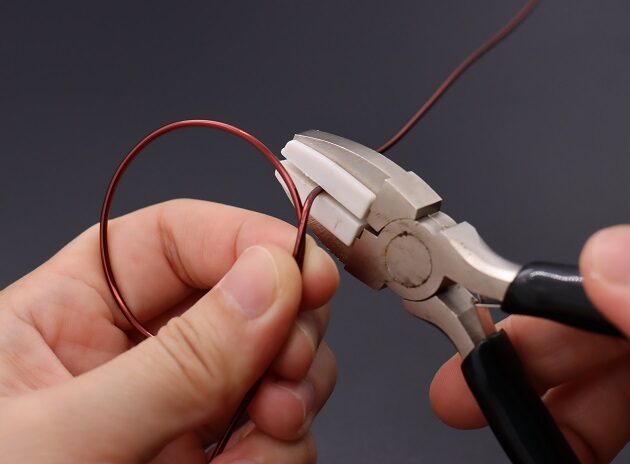
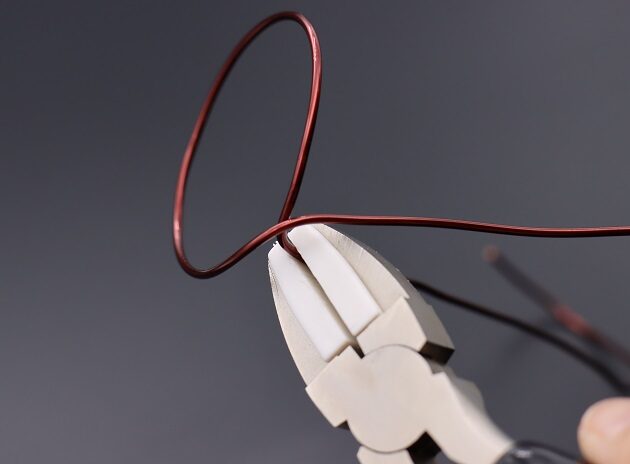
Secondly, bend the excess wire into 90 degrees with a nylon jaw pliers to mark the ending of both the wire frames. (fig. 2a, 2b,2c, 2d, 2e)
Make sure the excess wires do not cross or get tangled (fig. 2f, 2g).
PART 2 – COILING DESIGN FOR 14 GAUGE FRAME
Note: From Step 3 to Step 14 will be focusing on 5 wire coiling designs on the 14 gauge wire frame and donut pendant.
Prefer this wire-wrapping tutorial in a PRINTABLE FORMAT? (High Resolution Photos)
Click here for the PDF version of “Donut Pendant Wire-Wrapping Tutorial”
Step 3 of 28 – Design 1
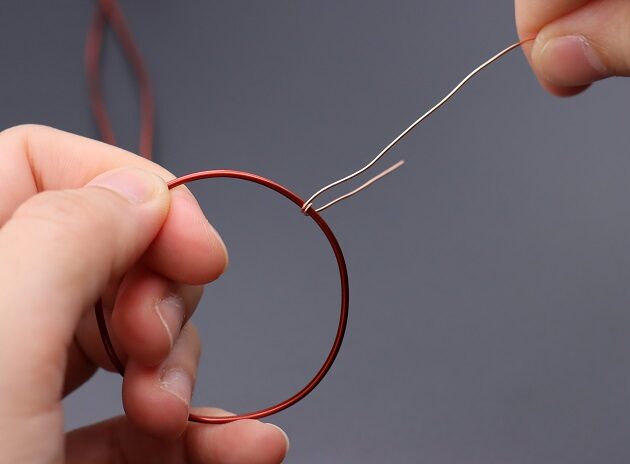
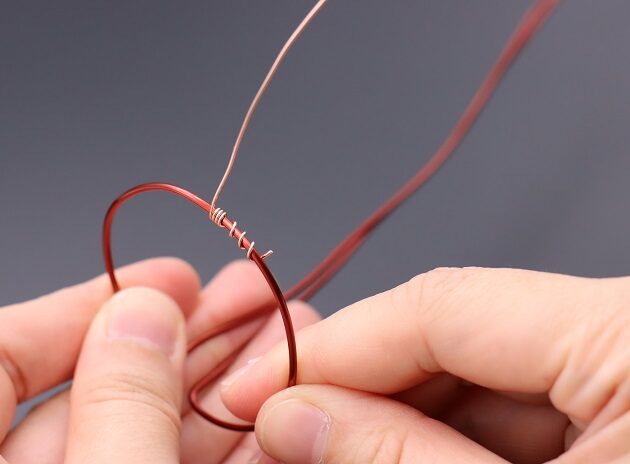
Use a 22 gauge copper wire to start wrapping a simple design as shown (fig. 3a, 3b, 3c).
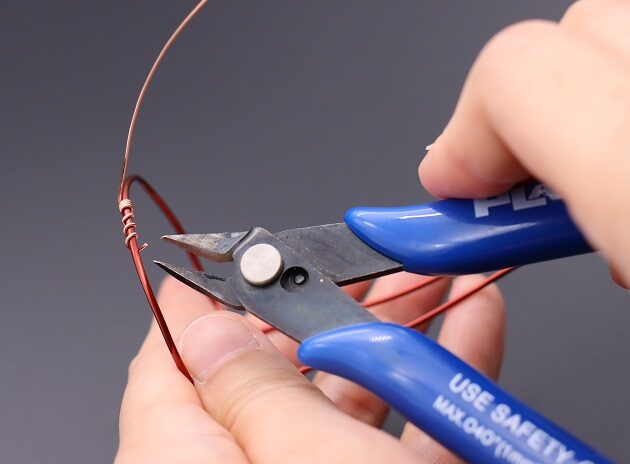
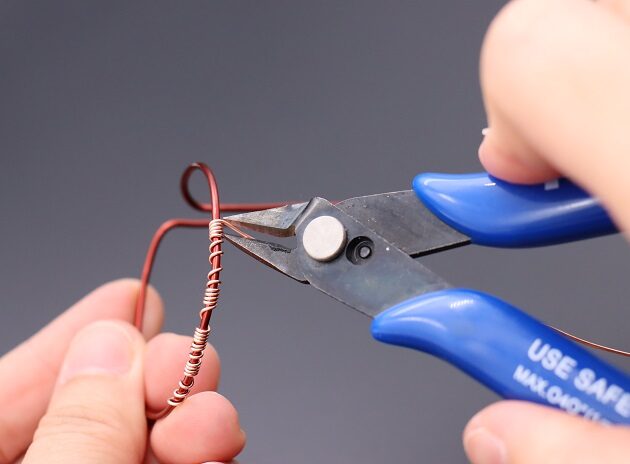
Snip the starting coil with a wire cutter so doesn’t scratch or get caught on clothes (fig. 3d).
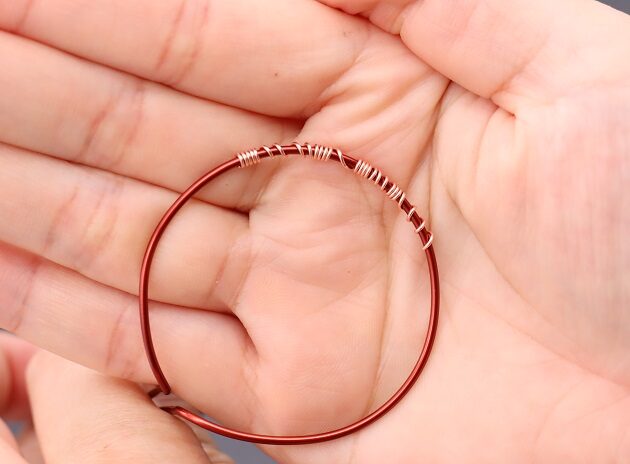
The completed design should be like (fig. 3e).
Snip off the excess wire as shown (fig. 3f, 3g).
Step 4 of 28 – Design 2 (part 1/2)
Start a new 22 gauge wire and make a few wraps to secure it on the frame as shown (fig. 4a)
Then, coil the wire through the middle of the donut stone (fig. 4b).
Begin coiling a simple design on the stone only as shown (fig. 4c, 4d, 4e, 4f, 4g, 4h, 4i, 4j).
Finish up the design with a big coil on the frame (fig. 4k, 4l, 4m).
Step 5 of 28 – Design 2 (part 2/2)
Coil the remaining wire onto the frame only (fig. 5a, 5b, 5c, 5d).
Snip off the excess wire with a wire cutter (fig. 5e, 5f).
Step 6 of 28 – Design 3 (part 1/3)
Start a new strand of 22 gauge wire, loop through the donut hole and anchor on the wire frame (fig. 6a, 6b, 6c, 6d, 6e)
Snip off the excess wire, and pull the other end of the wire towards the frame (fig. 6f, 6g).
Step 7 of 28 – Design 3 (part 2/3)
Prefer this wire-wrapping tutorial in a PRINTABLE FORMAT? (High Resolution Photos)
Click here for the PDF version of “Donut Pendant Wire-Wrapping Tutorial”
Complete the coiling design on the donut stone only as shown (fig. 7a, 7b, 7c, 7d, 7e).
Lastly, finish the last coil on the wire frame (fig. 7f, 7g).
Step 8 of 28 – Design 3 (part 3/3)
Continue to coil the wire frame with the remaining 22 gauge wire with the design as shown (fig. 8a, 8b, 8c).
Snip the excess wire from the completed design (fig. 8d, 8e).
Step 9 of 28 – Design 4 (part 1/2)
Start a new strand of 22 gauge wire, loop through the donut hole and anchor on the wire frame (fig. 9a, 9b, 9c, 9d)
Snip the excess front end wire with a wire cutter (fig. 9e, 9f).
Step 10 of 28 – Design 4 (part 2/2)
The design here is different.
Instead of coiling the stone, loop the wire over the frame direct then anchor. (fig. 10a, 10b, 10c, 10d)
Clear the excess wire with wire cutter (fig. 10e, 10f).
Step 11 of 28 – Design 5 (part 1/2)
Similarly, start a new strand of 22 gauge wire, loop it through the donut hole and anchor on wire frame (fig. 11a, 11b, 11c, 11d, 11e, 11f)
Snip off excess wire (fig. 11g).
Step 12 of 28 – Design 5 (part 2/2)
Proceed looping the donut stone, anchor the wire frame and wrap until the end (fig. 12a,12b,12c,12d,12e).
Use a nylon jaw pliers to pull the wire if it is too short for your fingers to hold (fig. 12f, 12g).
Step 13 of 28 – Finishing (part 1/2)
Well done! We are now at the last part!
Complete the wire frame by making a full circle as shown (fig. 13a, 13b, 13c, 13d, 13e).
Step 14 of 28 – Finishing (part 2/2)
Secure the shape of the circular frame by using the coiling technique with a new length of 22 gauge wire (fig. 14a,14b,14c,14d,14e,14f)
The completed Coiling Design For 14 Gauge Frame should look like (fig. 14g).
PART 3 – COILING DESIGN FOR 12 GAUGE WIRE FRAME
Note: From Step 15 to Step 20 will be focusing on 2 wire coiling designs on the 12 gauge wire frame and donut pendant.
Step 15 of 28 – Design 1 (part 1/3)
Moving on, use 18 gauge copper wire for the coiling design on 13 gauge wire frame (fig. 15a)
Since 18 gauge wire is thicker, use a nylon jaw pliers to tight the coils on the frame (fig. 15b).
Finish up the design as shown (fig. 15c) and cut off any excess wire (fig. 15d).
Step 16 of 28 – Design 1 (part 2/3)
Proceed to coil the remaining wire as shown in (fig. 16a)
Then, hold onto the free end of the coiling wire (fig.16b).
Loop it through the donut stone and secure it to the frame (fig. 16c,16d).
Step 17 of 28 – Design 1 (part 3/3)
Continue coiling the wire frame as shown (fig. 17a, 17b, 17c).
Step 18 of 28 – Design 2 (part 1/2)
Next, use a new strand of 18 gauge and repeat the design on the other side of the 13 gauge wire frame (fig. 18a, 18b, 18c, 18d, 18e, 18f).
Step 19 of 28 – Design 2 (part 2/2)
Take not that for this side, there will be two big loops to the donut stone.
Making the second loop is shown in (fig. 19a, 19b, 19c, 19d, 19e).
Step 20 of 28 – Finishing
After you have completed coiling the frame, tidy up the pendant by cutting off the extra 18 gauge wires (fig. 20a, 20b, 20c, 20d, 20e, 20f).
PART 4 – WIRE BAIL FORMING
Step 21 of 28
Use a Stepped Bail-Making Pliers to smoothen and curl a bail out from the 12 gauge wire frame. (fig. 21a, 21b, 21c, 21d)
Then, loop the wire frame through the donut pendant and pull it towards the bail (fig. 21e, 21f, 21g).
Step 22 of 28
Bend the wire frame next to the bail as shown (fig. 22a,22b,22c)
The side with the bail curl is the front side of the donut pendant (fig. 22d).
Step 23 of 28
Take one side of the free end and wrap two coils to complete the bail (fig. 23a, 23b, 23c, 23d, 23e).
Cut off the excess wire (fig. 23f), and tug the wire end at the back of the bail to avoid scratching (fig. 23g).
Use a Round Diamond Needle Files smooth the wire end (fig. 23h).
Step 24 of 28
Repeat the step with the other free wire and make two loops on the bail (fig. 24a, 24b, 24c, 24d, 24e, 24f).
Tidy it up with wire cutter and Round Diamond Needle Files (fig. 24g, 24h 24i, 24j).
Clean up the bail and polish it with Flat Diamond Needle Files (fig. 24k, 24l, 24m), and Finest Steel Wire Wool (fig. 24n, 24o, 24p).
Step 25 of 28
Finish up the pendant by coiling 22 gauge wire on front half of wire bail (fig. 25a, 25b, 25c, 25d, 25e).
Snip off excess wire with a wire cutter (fig. 25f, 25g, 25h).
Step 26 of 28
Continue coil the curl part of the wire bail with 22 gauge copper wire (fig. 26a, 26b, 26c, 26d).
Cut off the excess wire (fig. 26e, 26f, 26g, 26h, 26i).
PART 5 – POLISHING
Step 27 of 28
Polish the front part of the pendant with round diamond needle file (fig. 27a), and finest steel wire wool as shown (fig. 27b, 27c, 27d).
Step 28 of 28
Polish the back part of the pendant with round diamond needle file (fig. 28a, 28b, 28c), and finest steel wire wool as shown (fig. 28d, 28e).
FINISHED WIRE-WRAPPING DONUT PENDANT DESIGN
Prefer this wire-wrapping tutorial in a PRINTABLE FORMAT? (High Resolution Photos)
Click here for the PDF version of “Donut Pendant Wire-Wrapping Tutorial”
Want to Support me?
If you enjoyed my content, please consider support me on Patreon:). This helps me to create more amazing free content to share with you 🙂
If you’d like to see my work and follow my wire journey, you can find me here:
Facebook Instagram Twitter Pinterest YouTube Etsy