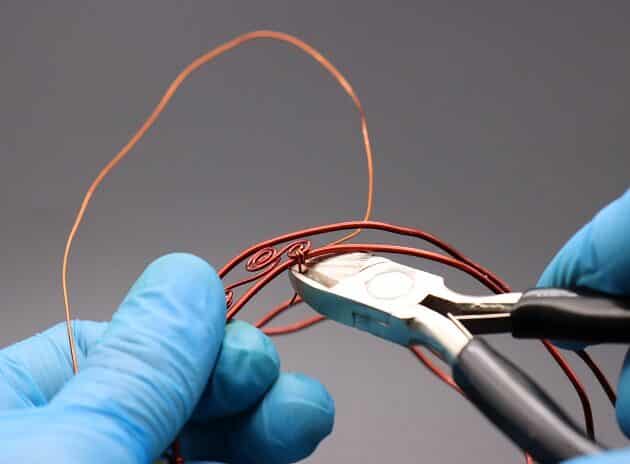
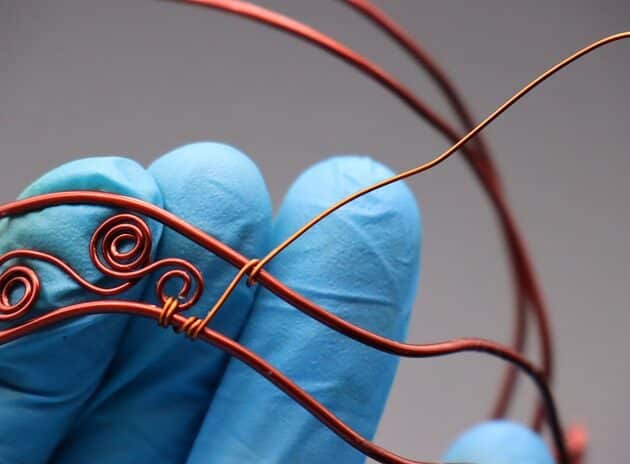
Step 9 of 15 WIRE WEAVING
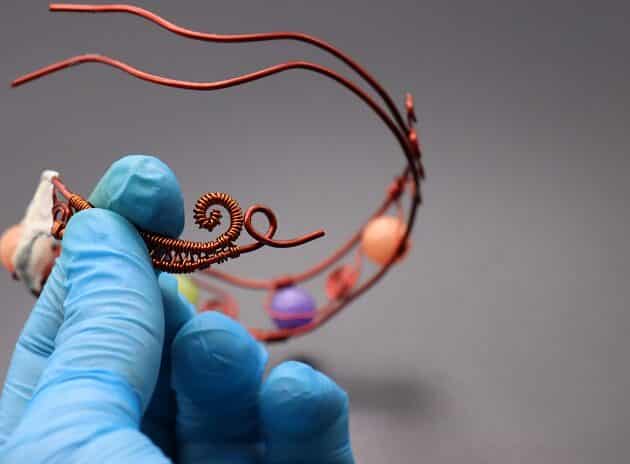
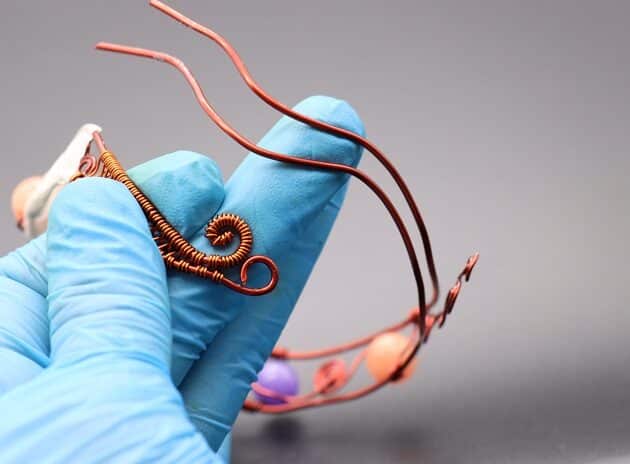
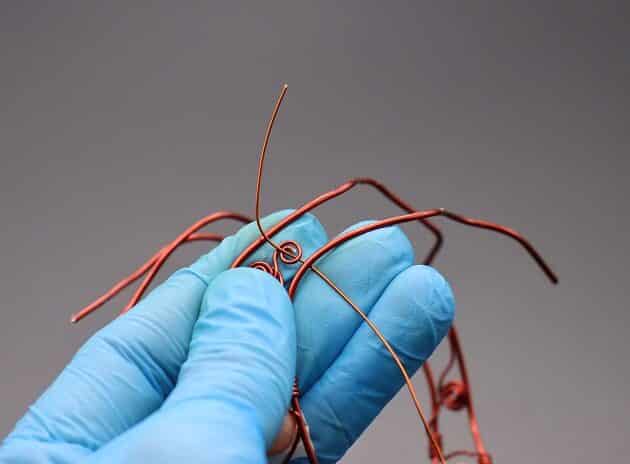
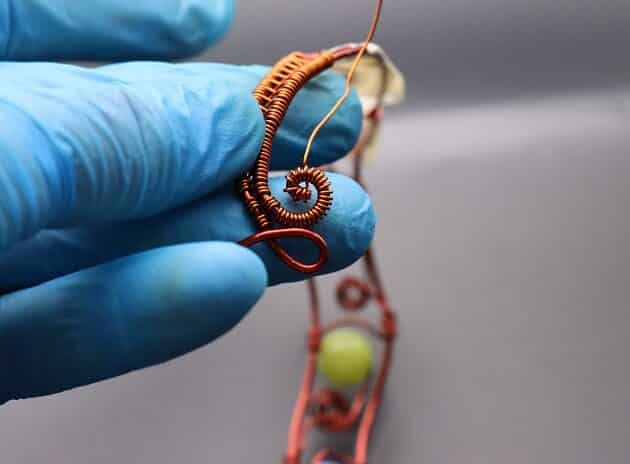
Start with a new string of 24-gauge wire (fig. 9a).
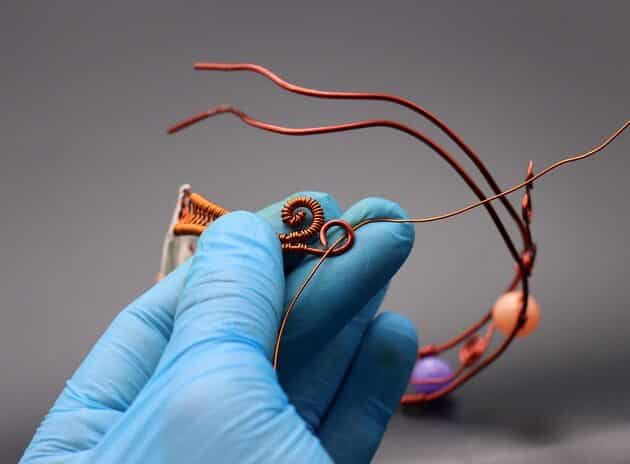
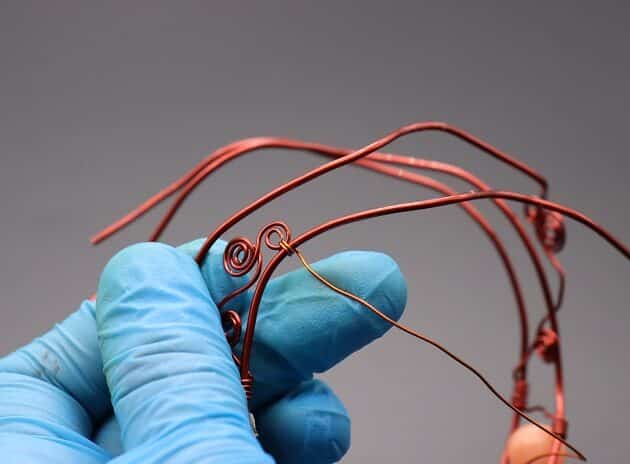
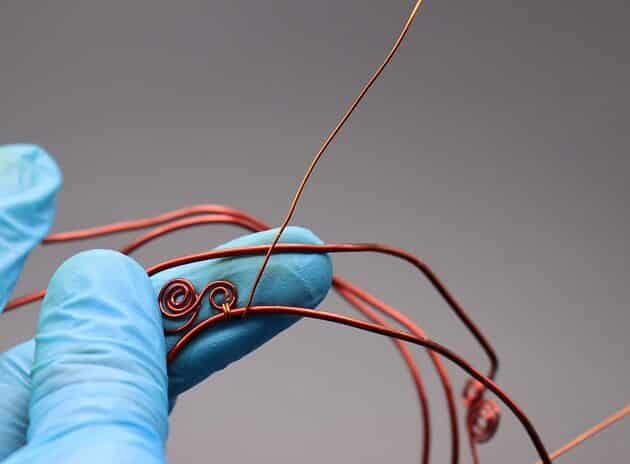
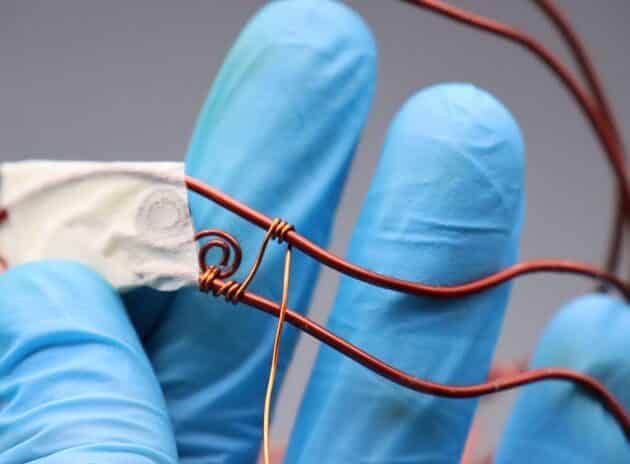
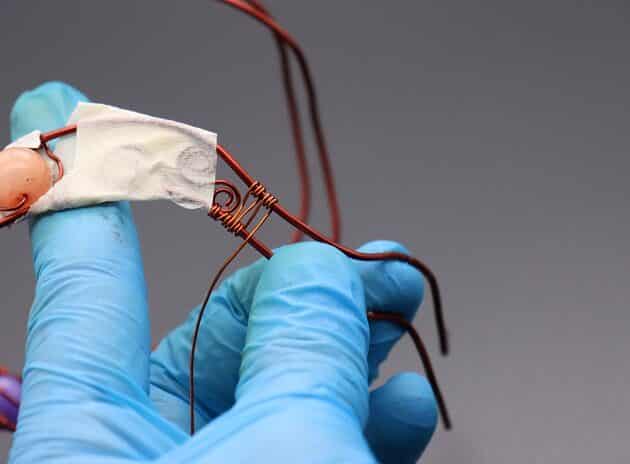
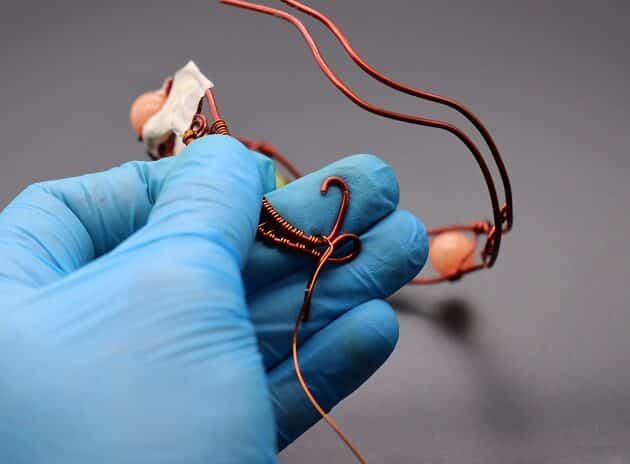
Hold the twist structure in place by anchoring it to the wire frame (fig. 9b, 9c, 9d, 9e).
Then, proceed with the wire-weaving pattern:

FREE WIRE-WRAPPING GUIDE TO YOUR EMAIL!
JOIN NEWSLETTER
We respect your privacy. Unsubscribe at anytime.
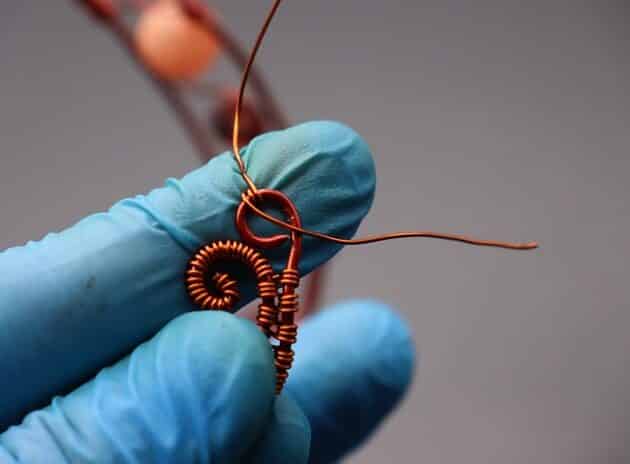
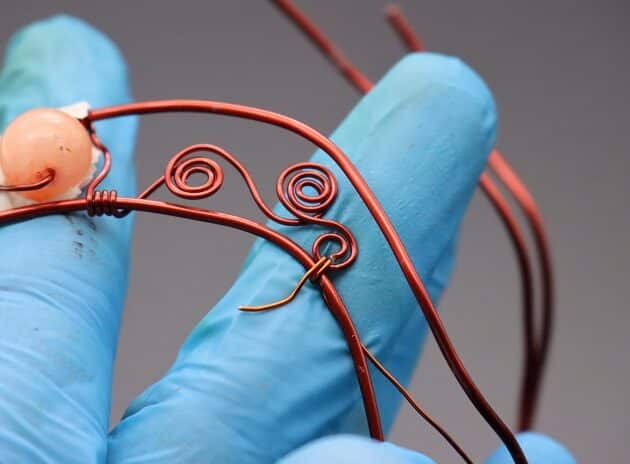
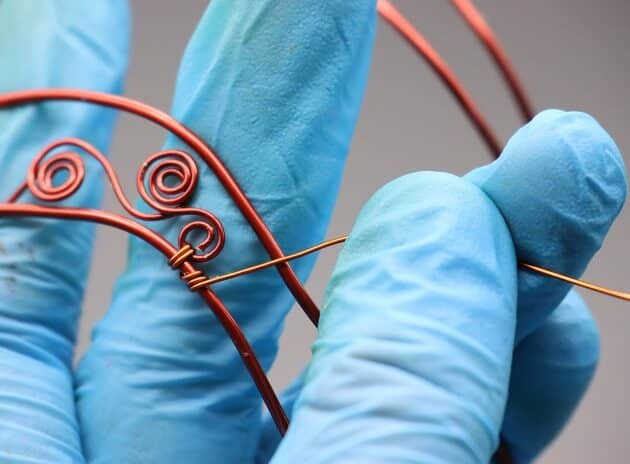
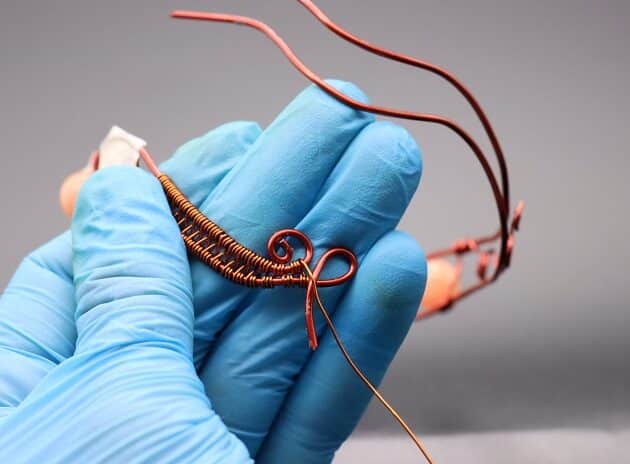
Make 3 starting loops then pull the wire directly to the opposite side and end it with 3 loops (fig. 9f, 9g).
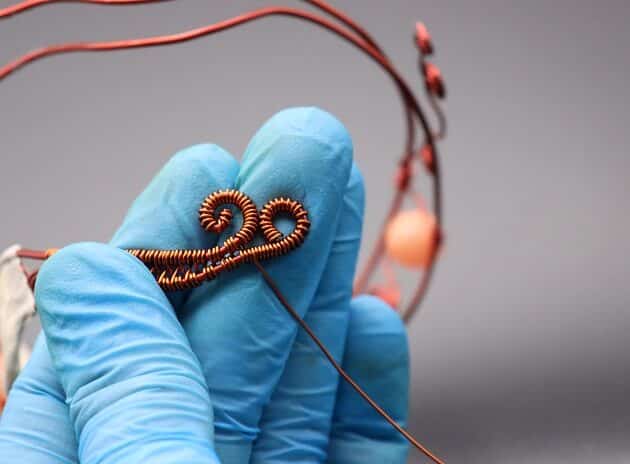
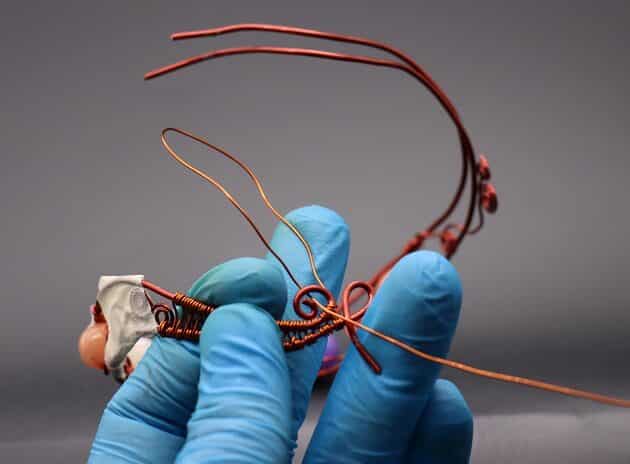
To make a 3D pattern, pull the wire across instead of directly to the opposite side as shown (fig. 9h, 9i, 9j).
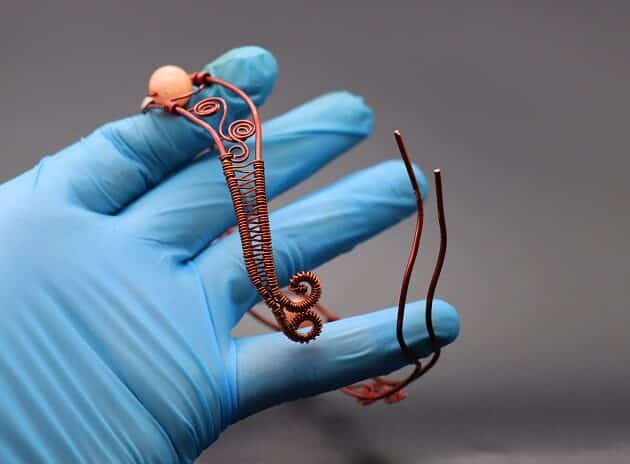
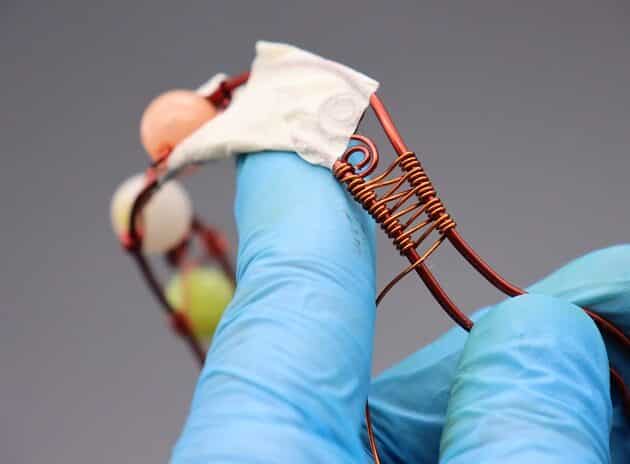
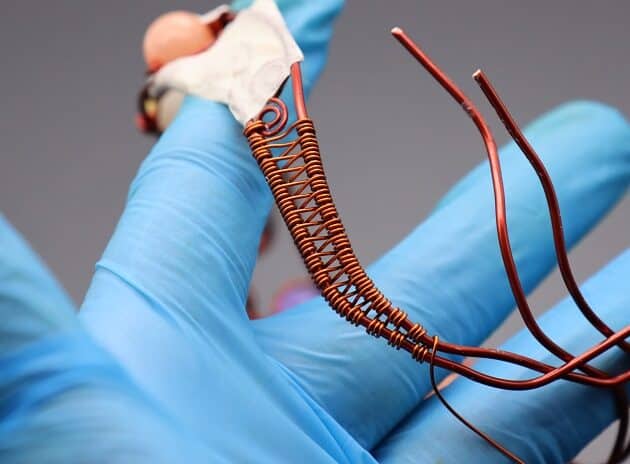
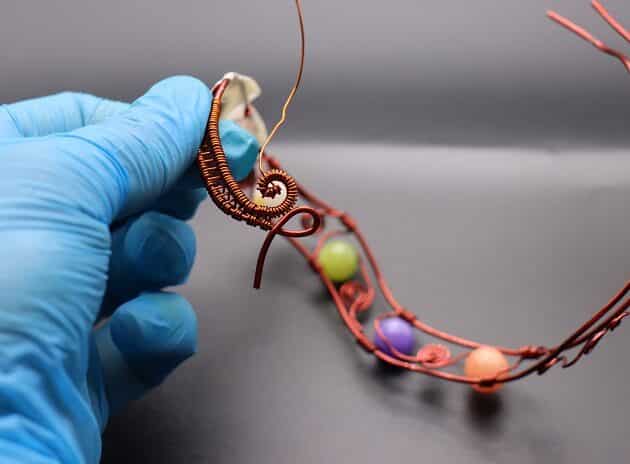
Repeat this weaving pattern until you reach the tip (fig. 9k).
Remember to close the wire frame gap gradually as you weave (fig. 9l).

Step 10 of 15
For this end of the bracelet, we will create the clasp hoop.
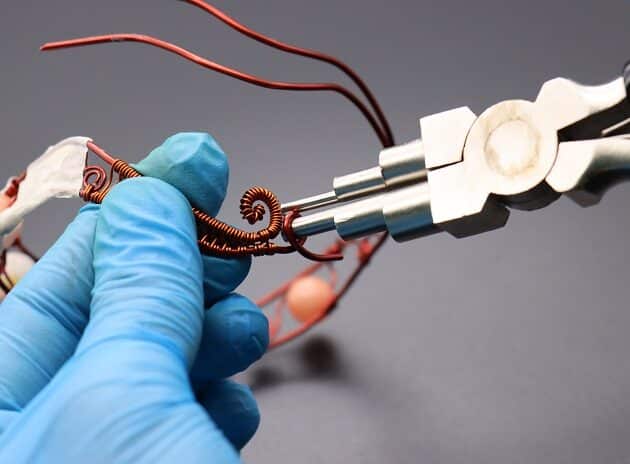
Use a stepped bail making pliers to make a hoop on the bottom wire end of the 16-gauge frame (fig. 10a, 10b, 10c).
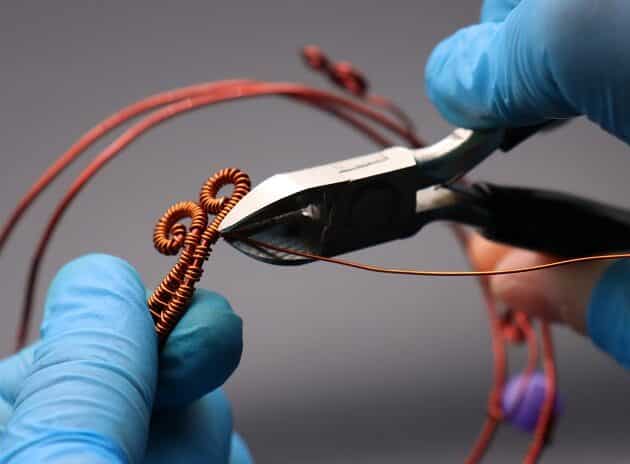
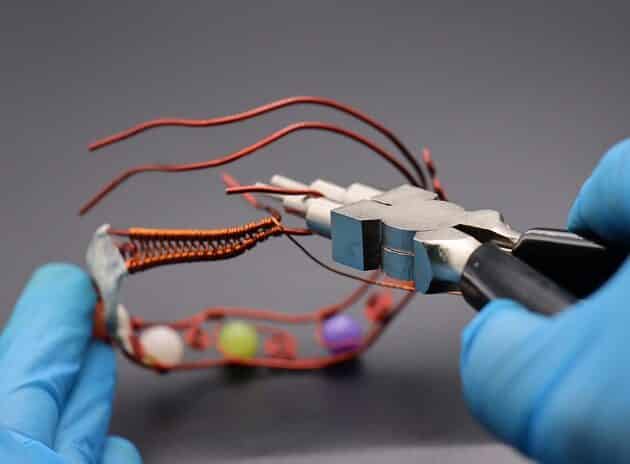
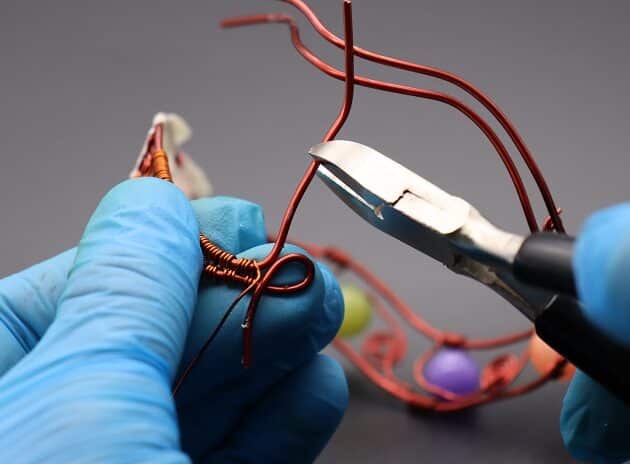
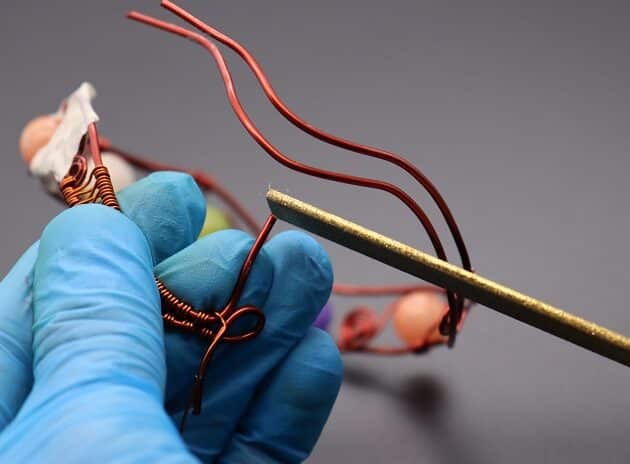
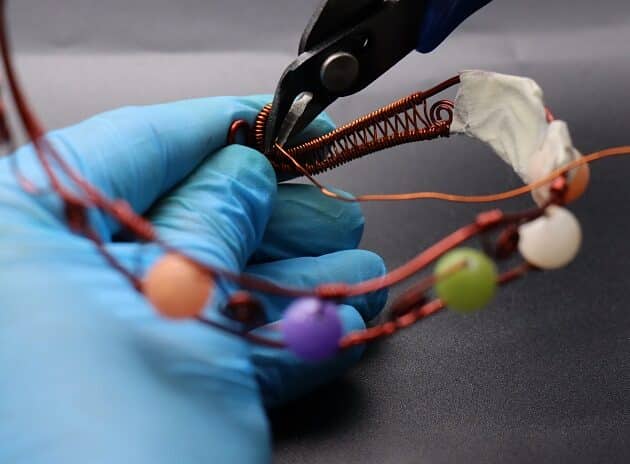
Then, trim the top wire end with a wire cutter and smoothen it out with a flat diamond needle files (fig. 10d, 10e).
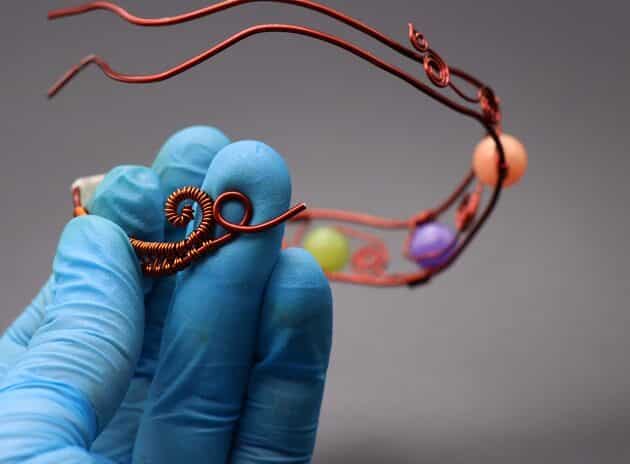
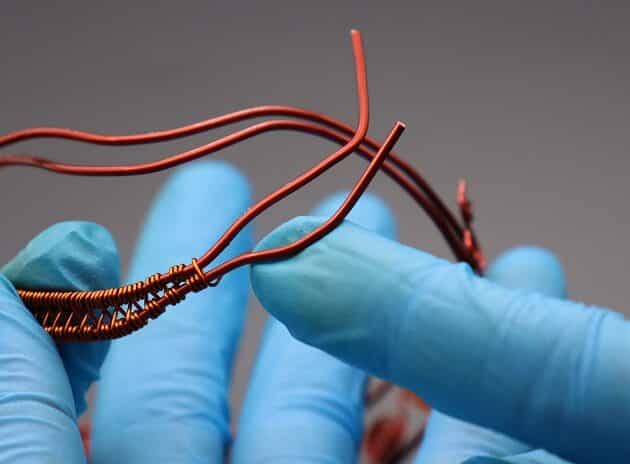
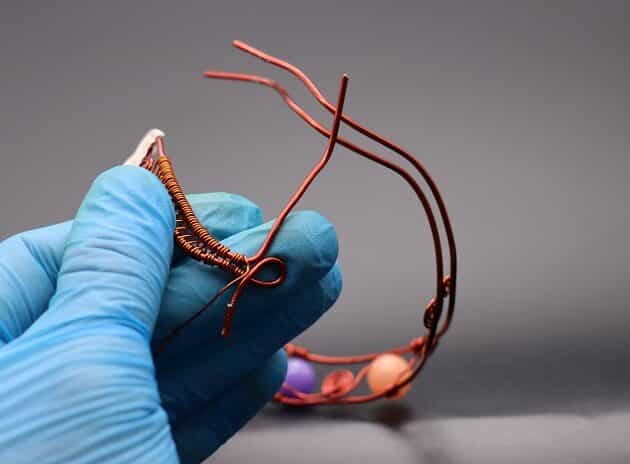
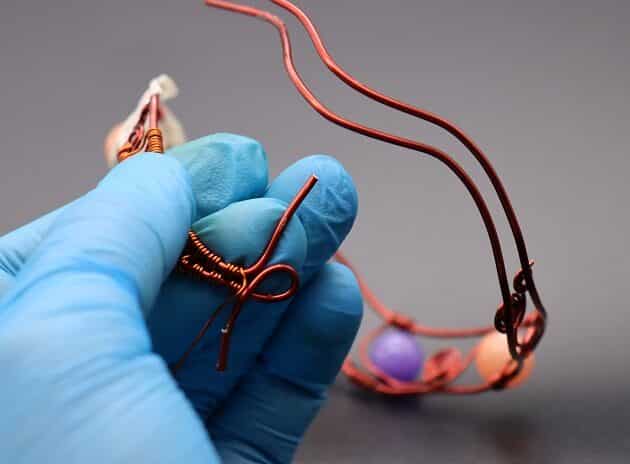
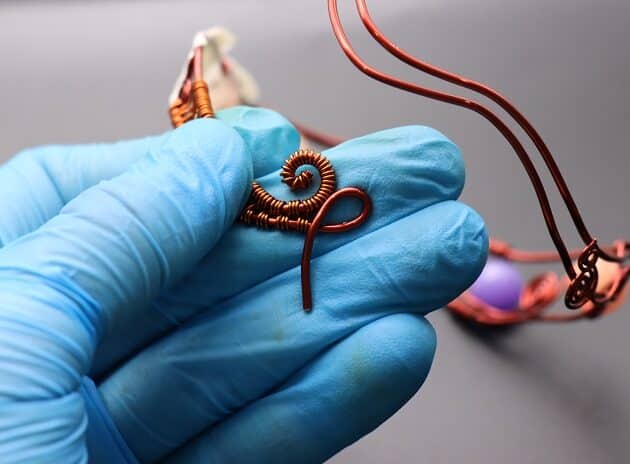
Next, use a round nose plier and make a twist structure on the top wire frame (fig. 10f, 10g, 10h).
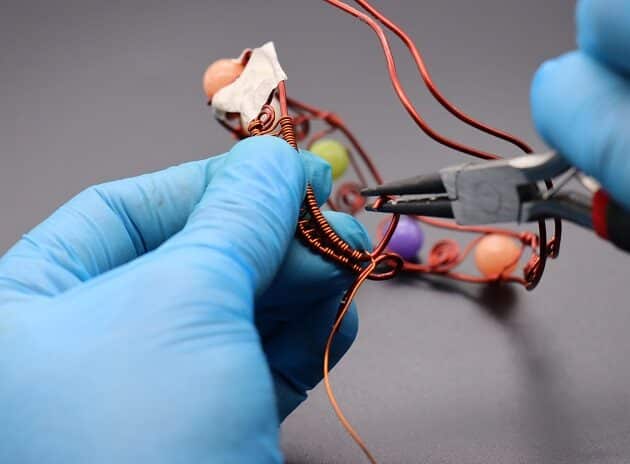
Tidy it up by wrapping the existing 24-gauge until the end of the top frame (fig. 10i, 10j, 10k, 10l, 10m, 10n).
Step 11 of 15
For the bottom wire frame, make a perfect round clasp hoop with a stepped bail making pliers (fig. 11a, 11b, 11c).
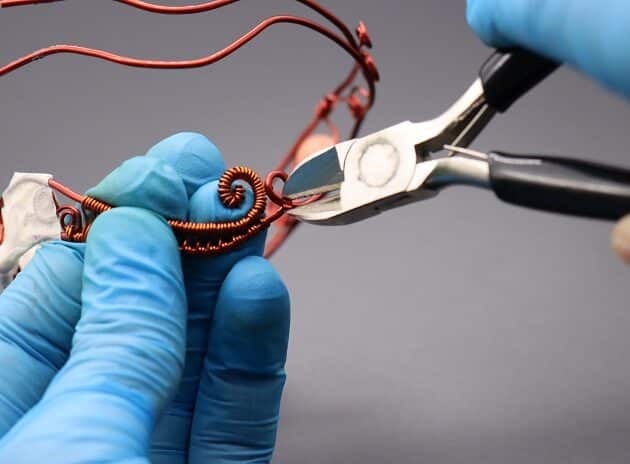
Trim the excess wire as shown (fig. 11d, 11e).
Then, start a new string of 24-gauge copper wire and finish wrapping the bottom wire frame completely (fig. 11f, 11g, 11h, 11i, 11j, 11k).
Tip: Start from the middle of the clasp hoop so it is easier to trim off the excess wire.