Step 6 of 15
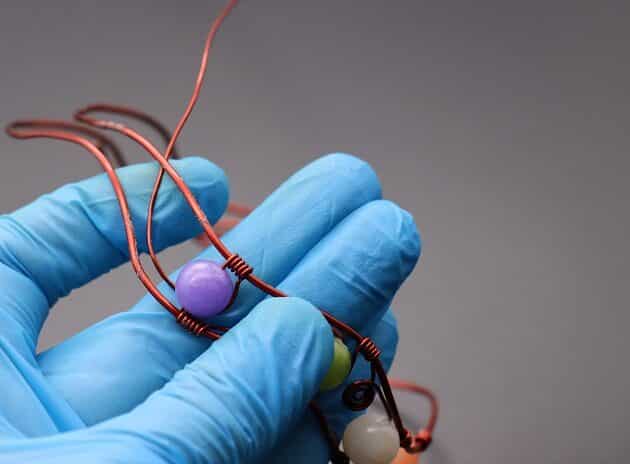
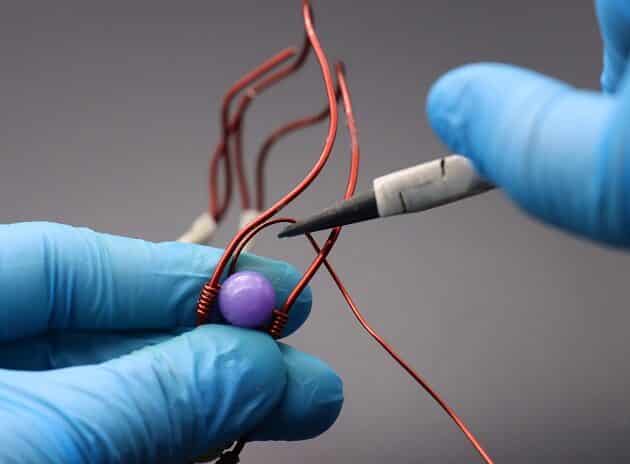
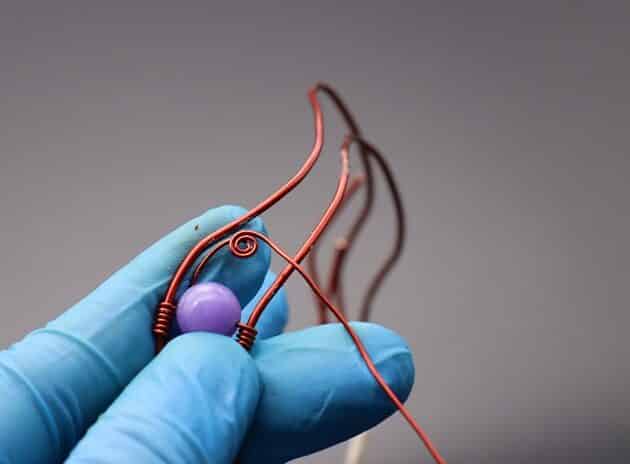
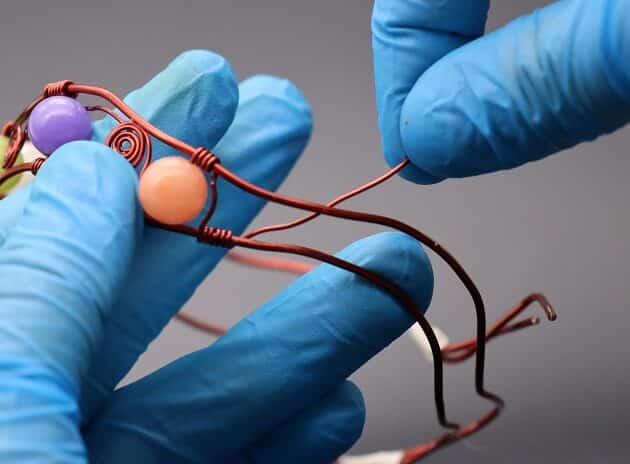
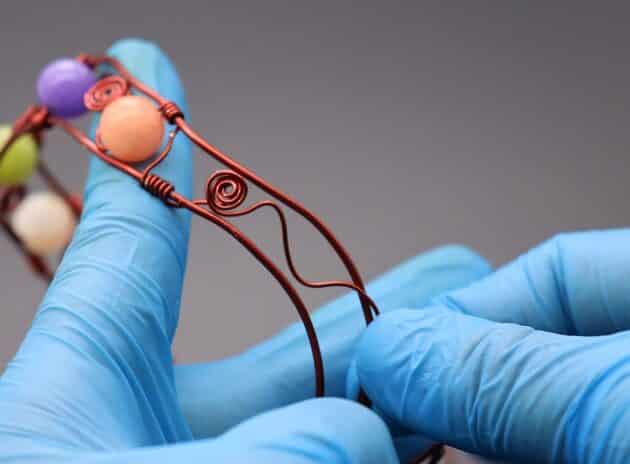
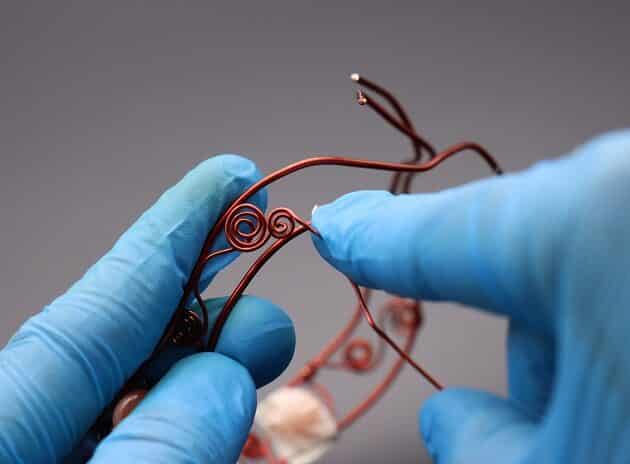
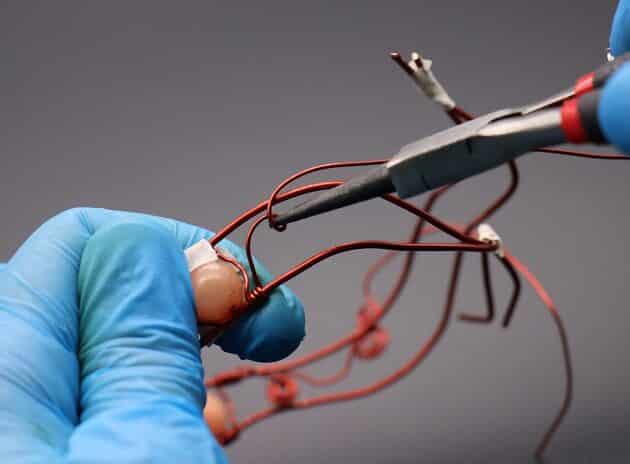
Back to the first bead, make a twist structure from the free wire with a round nose plier (fig. 6a, 6b, 6c, 6d).
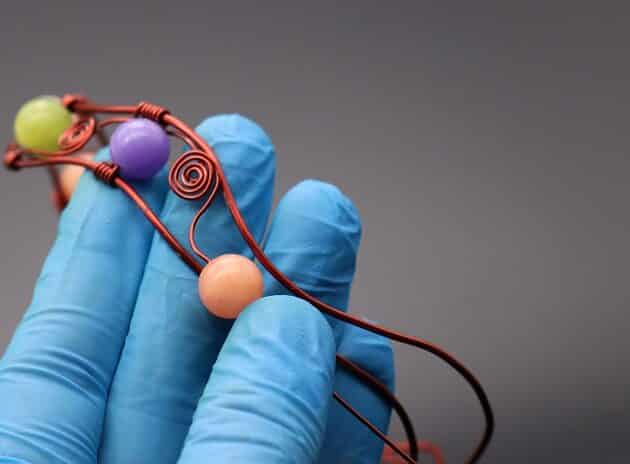
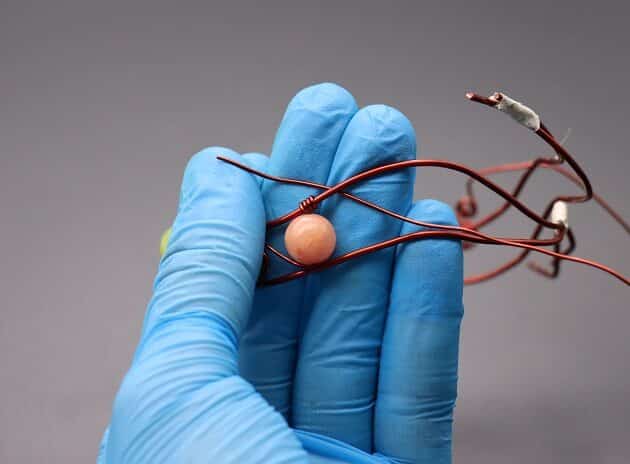
Then, slide in the fifth and final bead into the wire and make a double anchor on the wire frames as shown (fig. 6e, 6f, 6g, 6h, 6i).


FREE WIRE-WRAPPING GUIDE TO YOUR EMAIL!
JOIN NEWSLETTER
We respect your privacy. Unsubscribe at anytime.
Step 7 of 15
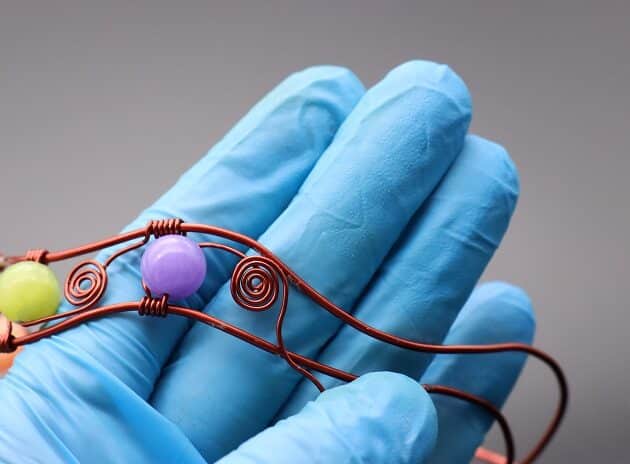
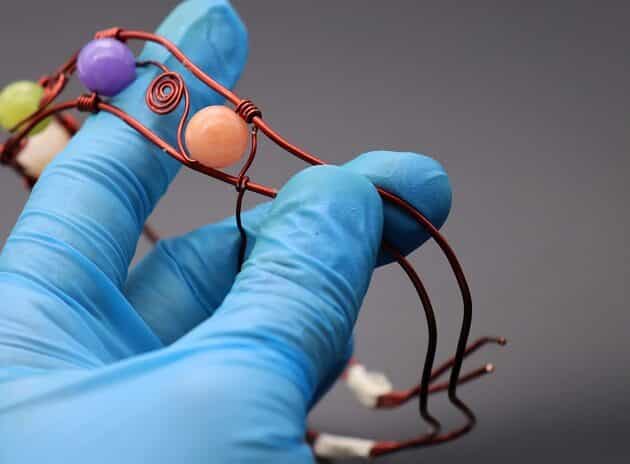
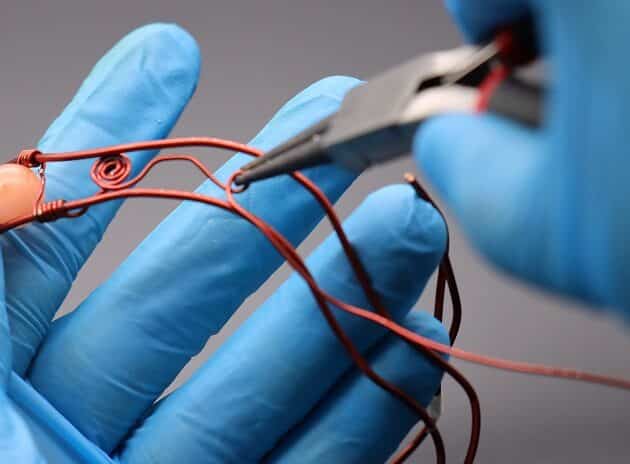
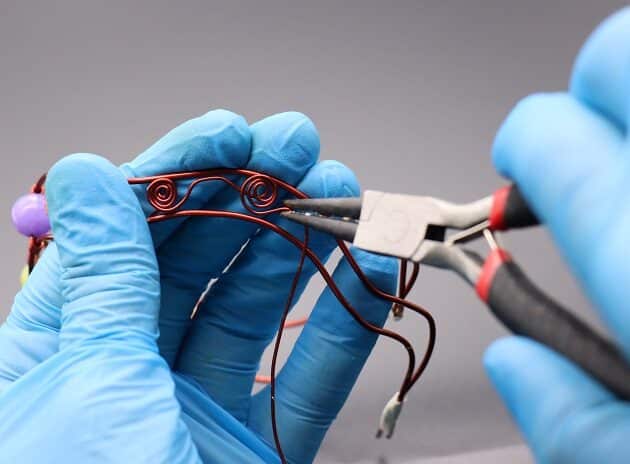
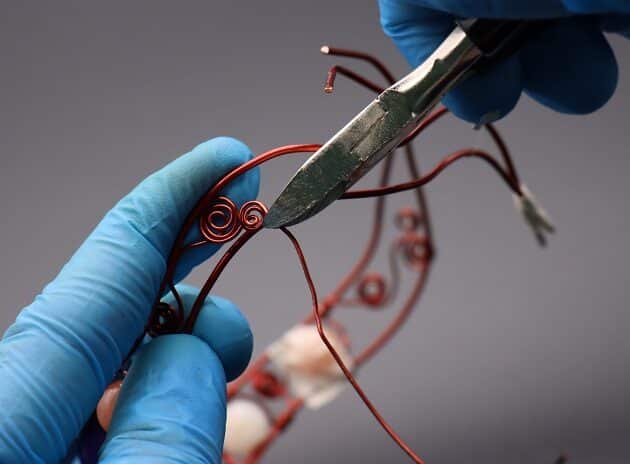
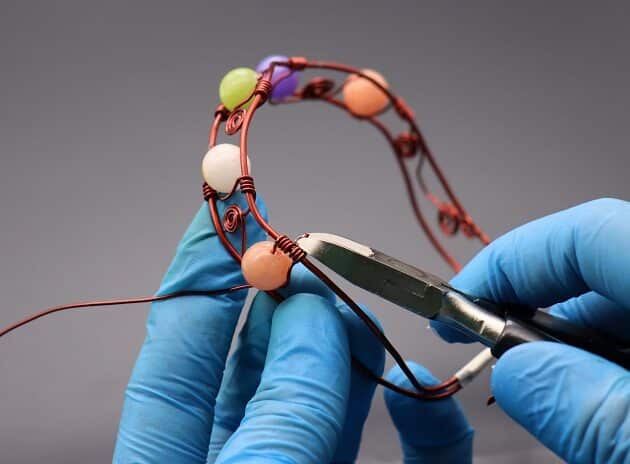
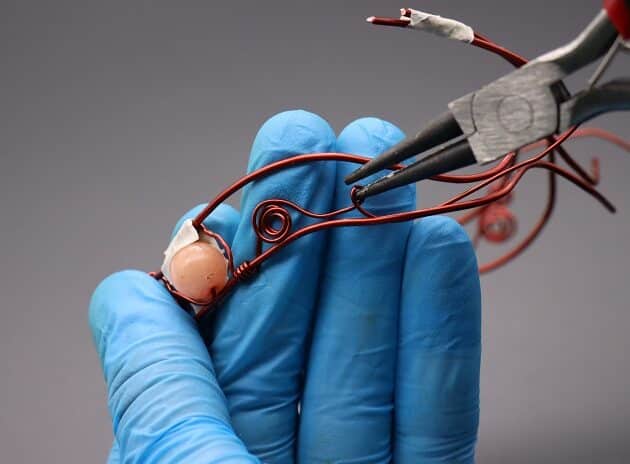
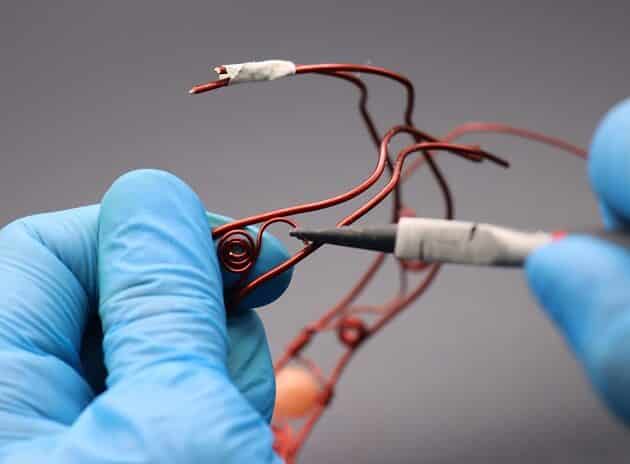
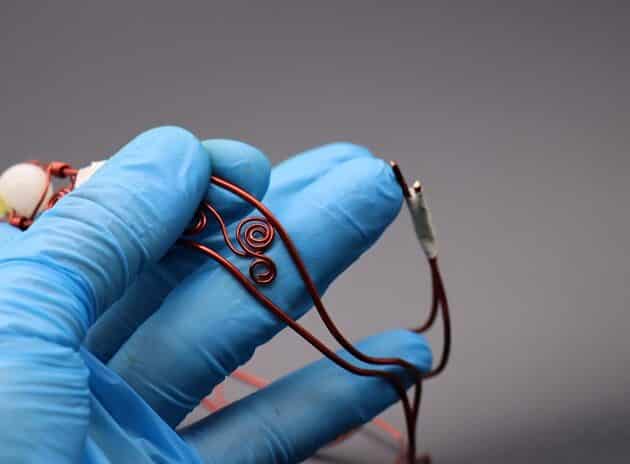
Finally, to finish off the design, make three twisting structures as shown:
- First big twist: (fig. 7a, 7b, 7c)
- Second big twist: (fig. 7d, 7e)
- Third small twist: (fig. 7f, 7g, 7h)
Tidy up the bracelet design by cutting off the excess wire (fig.7i, 7j).


Step 8 of 15
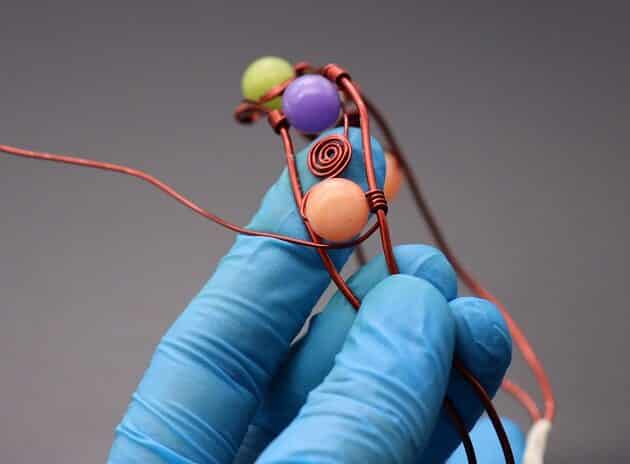
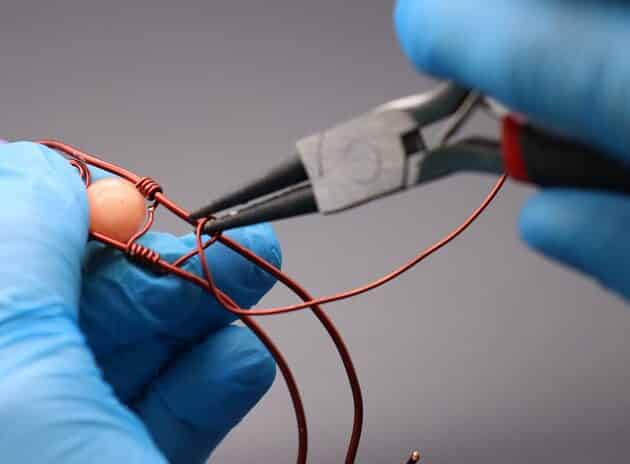
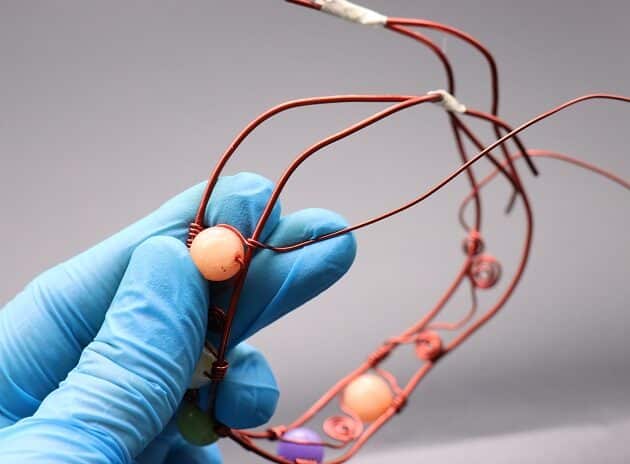
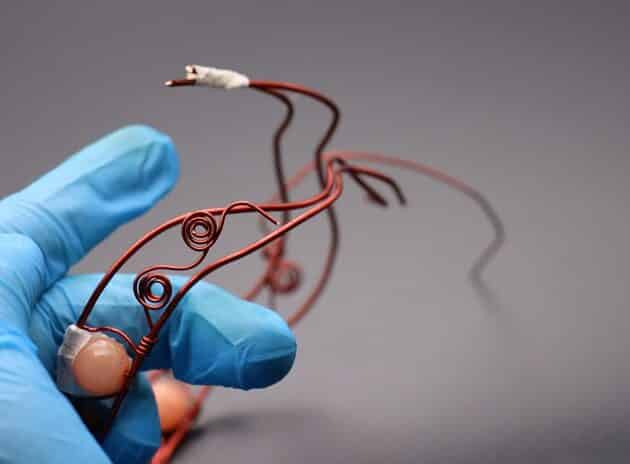
Back to the fourth bead, repeat the same design from step 7 with a new string of 20-gauge wire (fig. 8a).
Start with an anchor on the top frame (fig. 8b, 8c).
Then, line the wire along the bead toward the bottom frame and make a second anchor (fig. 8d, 8e, 8f).
Complete the design by making 3 twisting structure as shown (fig. 8g, 8h, 8i, 8j, 8k, 8l).
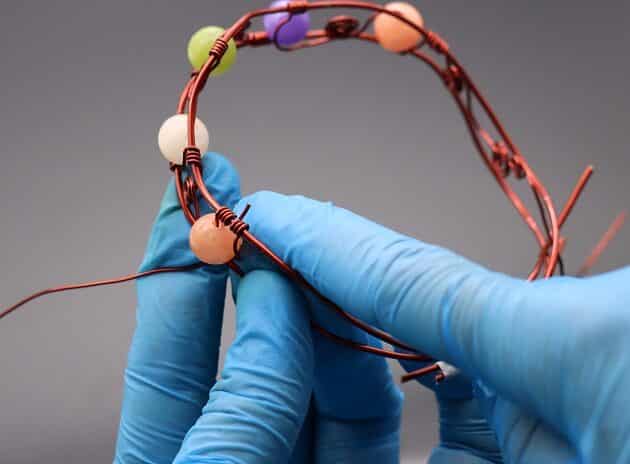
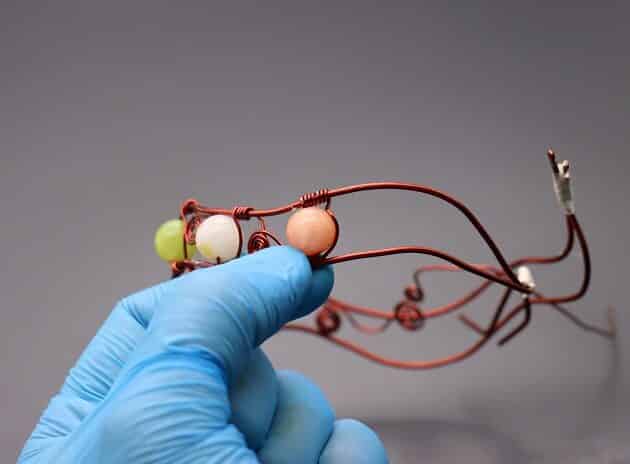
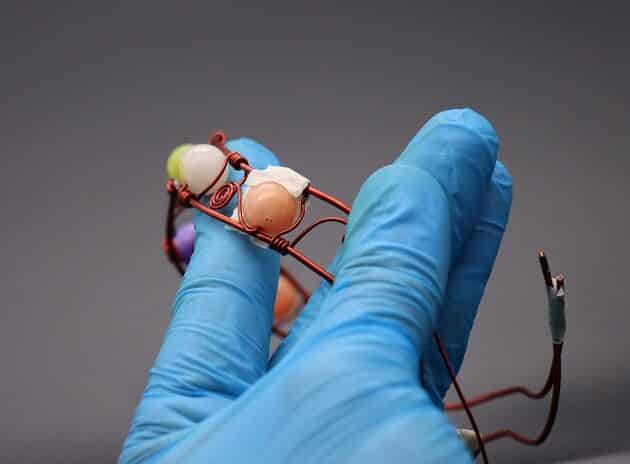
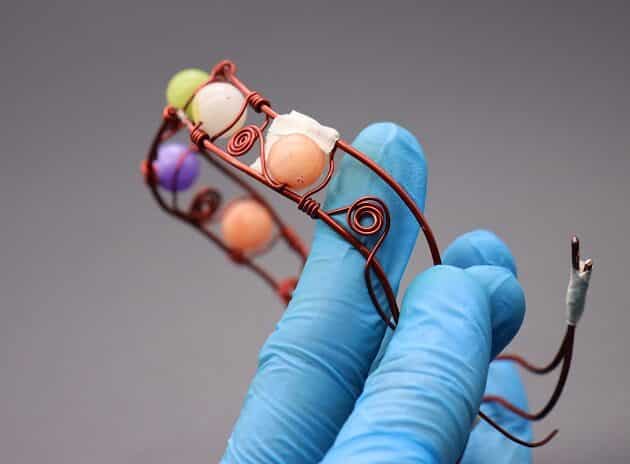
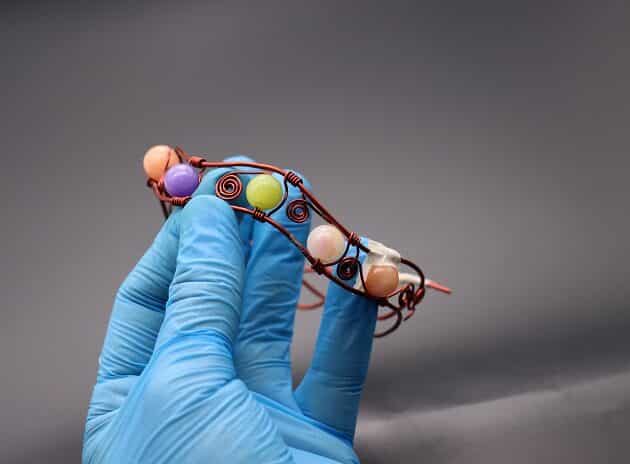
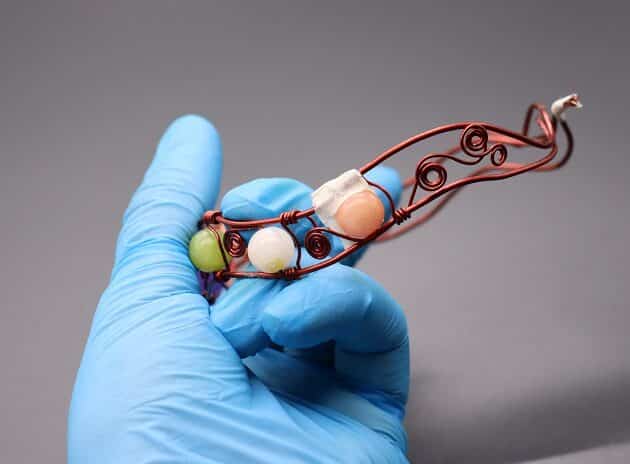
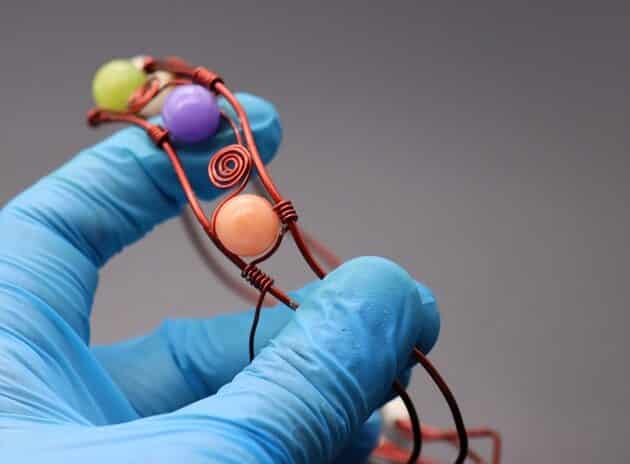
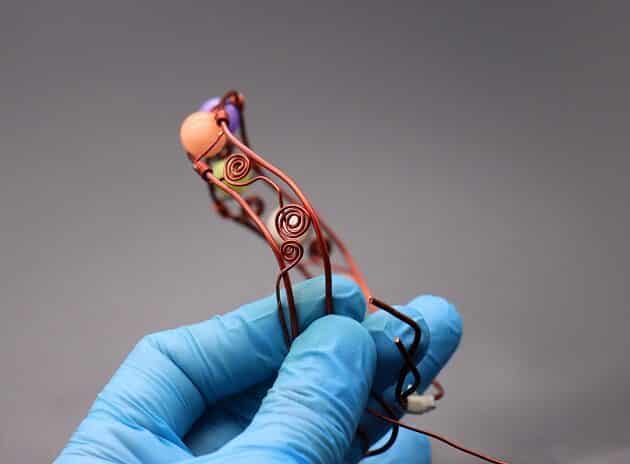
CHECKPOINT 1
This is how your wire-wrapping bracelet with bead should look so far: