Step 3 of 15
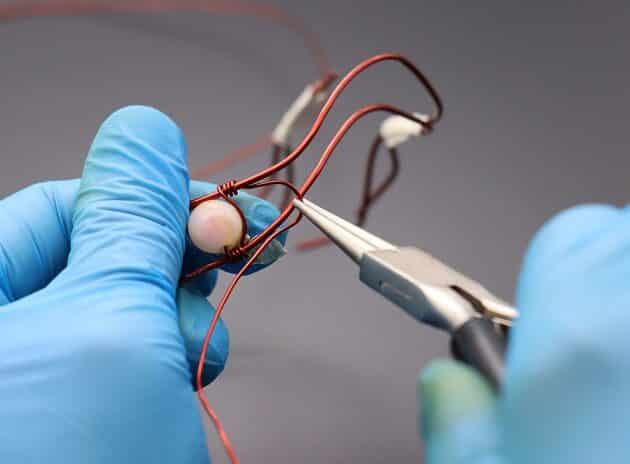
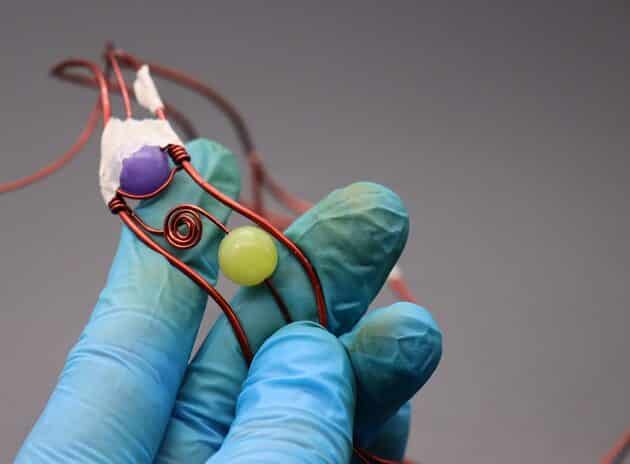
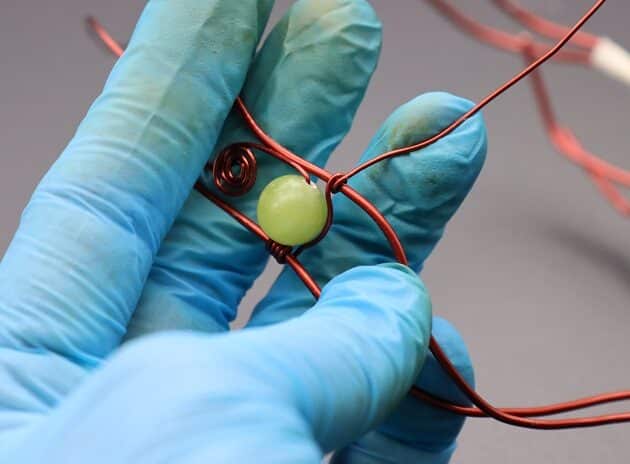
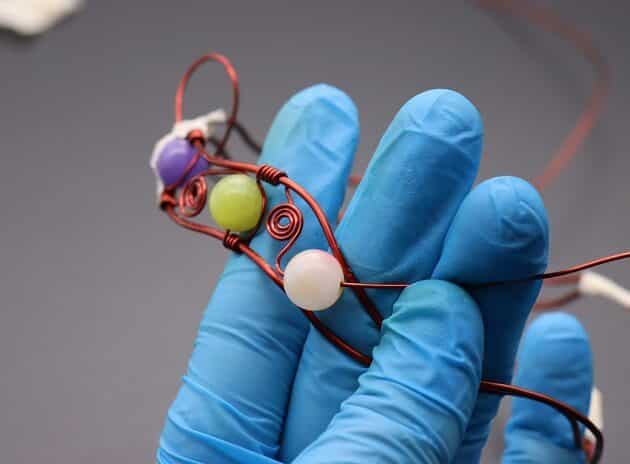
Thirdly, tape the first bead and the front end of the 20-gauge wire in position (fig. 3a).
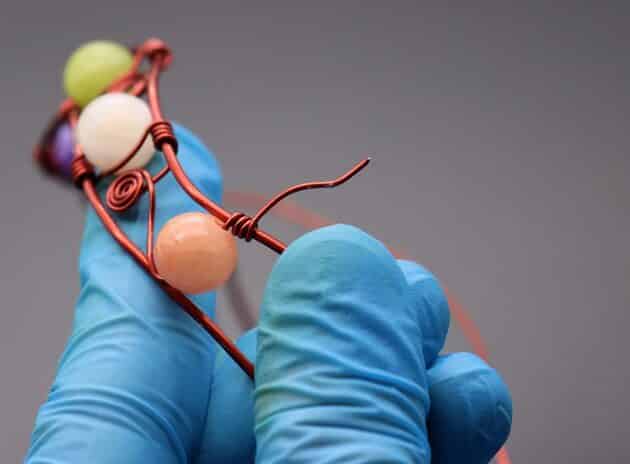
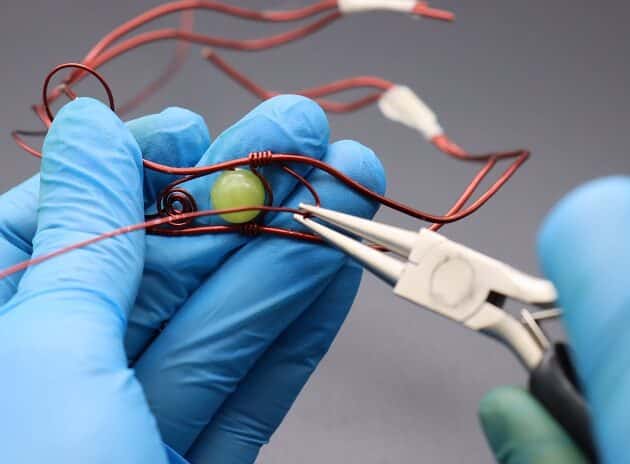
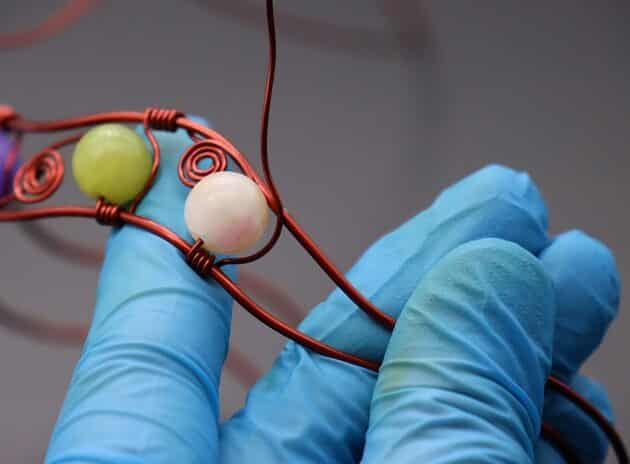
Then, use a round nose pliers and make a twist structure on the free end of the same 20-gauge wire (fig. 3b).
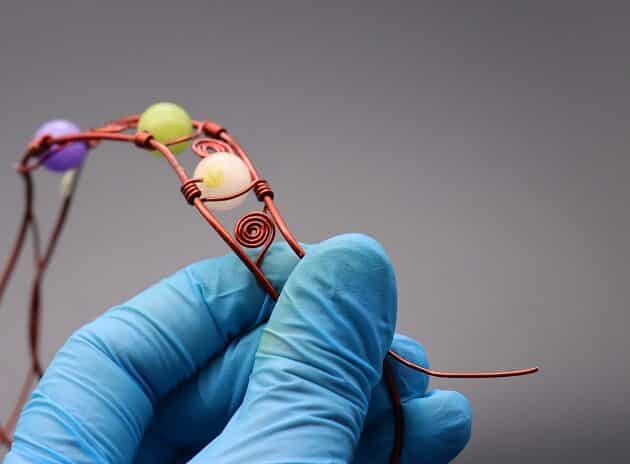
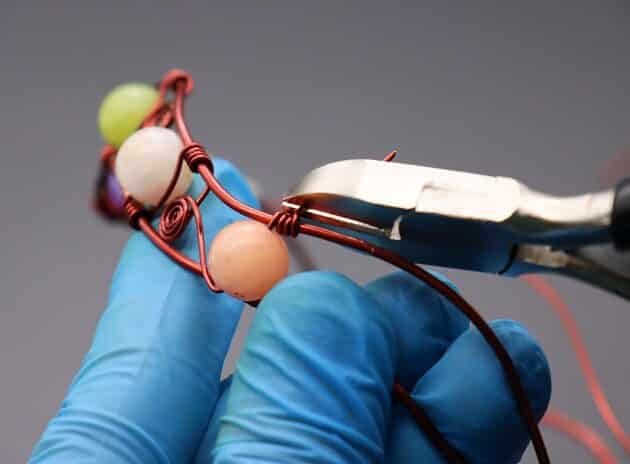
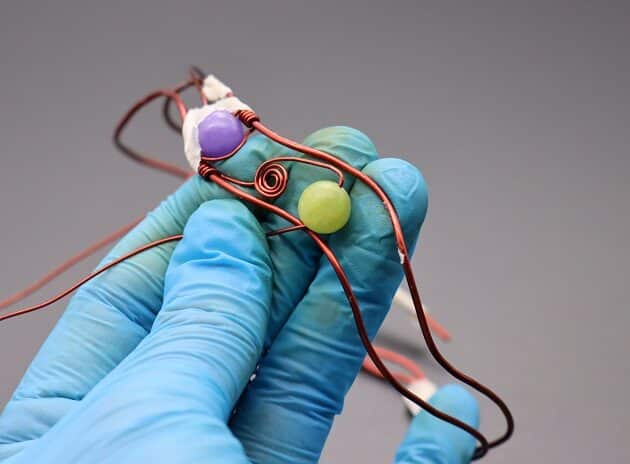
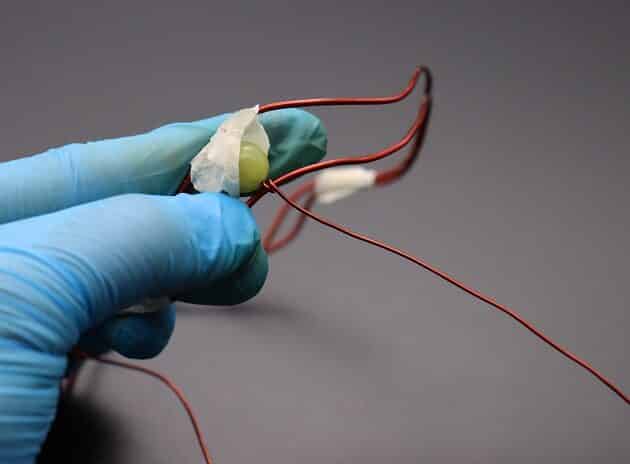
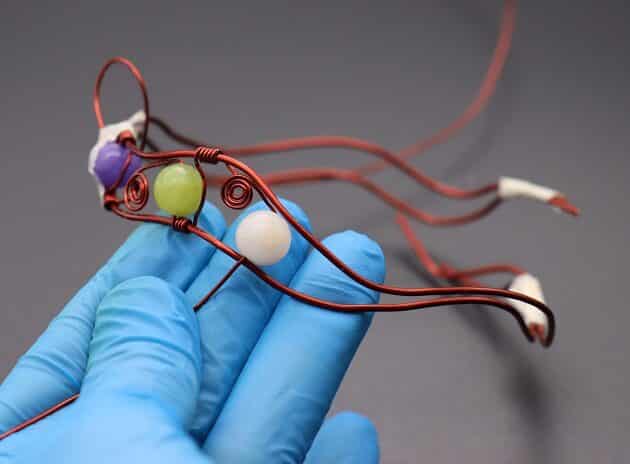
Slide in a second bead and anchor the wire on the bottom frame (fig. 3c, 3d, 3e).

FREE WIRE-WRAPPING GUIDE TO YOUR EMAIL!
JOIN NEWSLETTER
We respect your privacy. Unsubscribe at anytime.
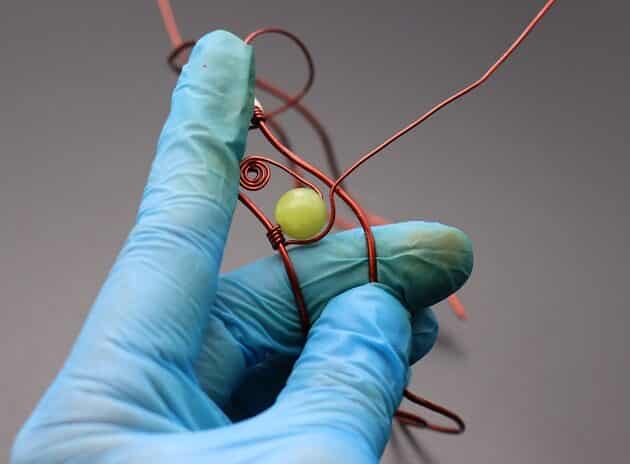
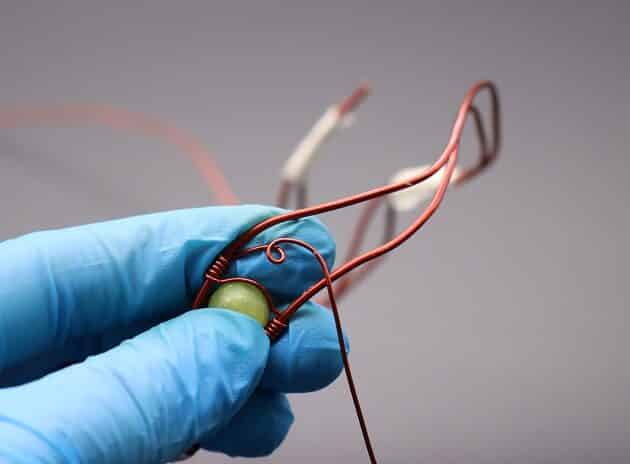
Make a second anchor on the top frame and shape the wire with an awl (fig. 3f, 3g, 3h).

Step 4 of 15
Prefer this wire-wrapping tutorial in a PRINTABLE FORMAT? (High Resolution Photos)
Click here for the PDF version of “Bracelet With Beads Wire-Wrapping Tutorial“
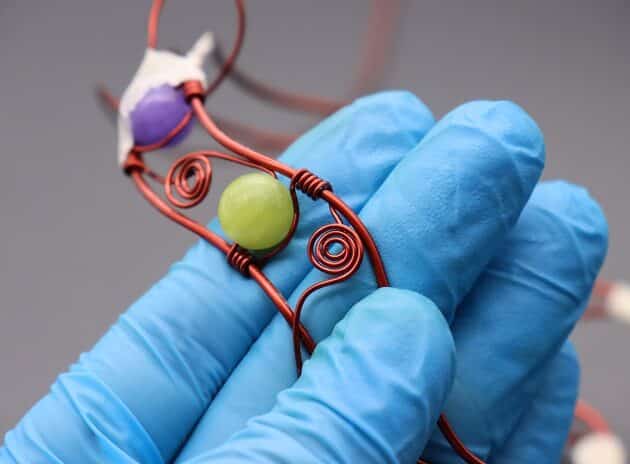
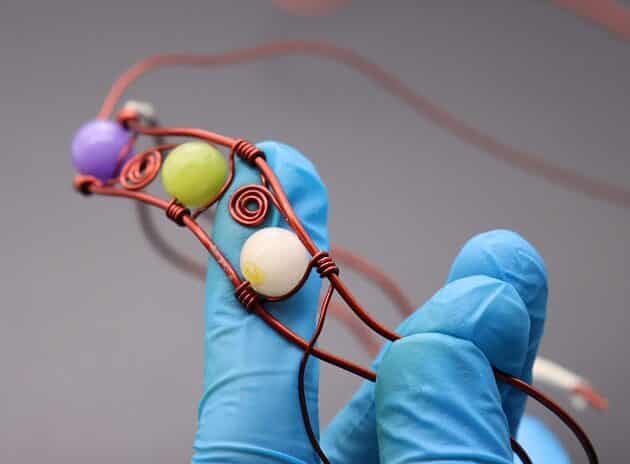
Repeat Step 3:
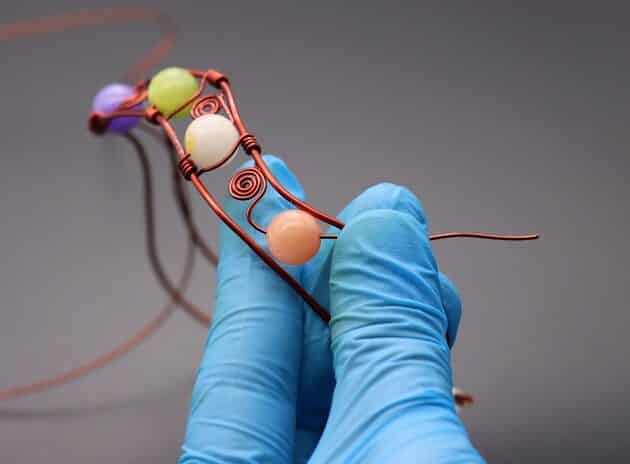
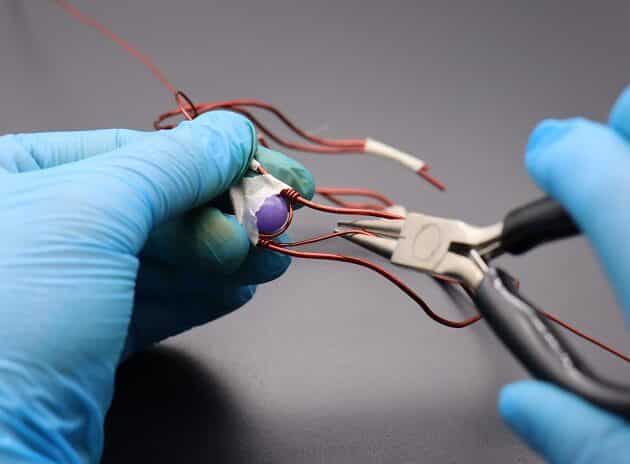
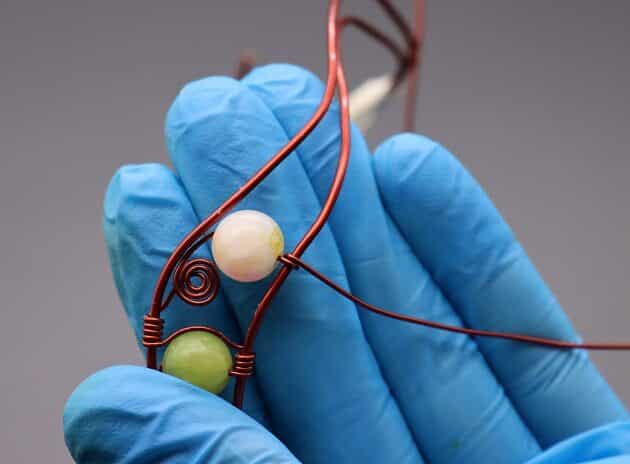
- Make a twist structure with round nose plier (fig. 4a, 4b, 4c).
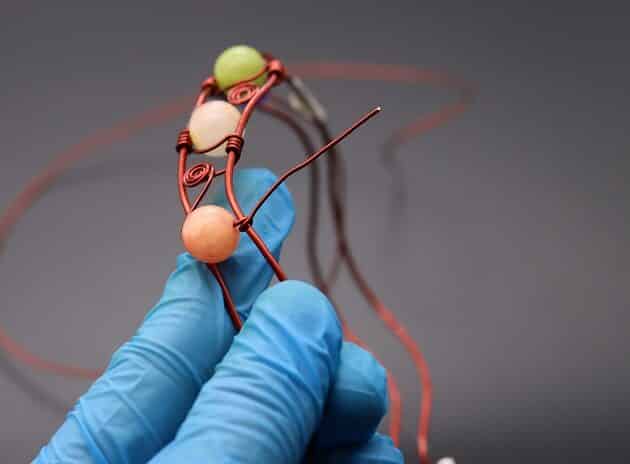
- Slide in a third bead and anchor the wire on bottom frame (fig. 4d, 4e, 4f, 4g, 4h).
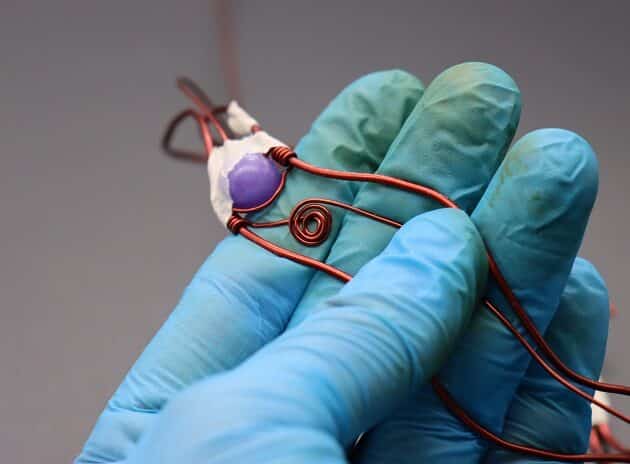
- Pull the wire along the side of the bead and make a second anchor on the top frame (fig. 4i, 4j, 4k).


Step 5 of 15
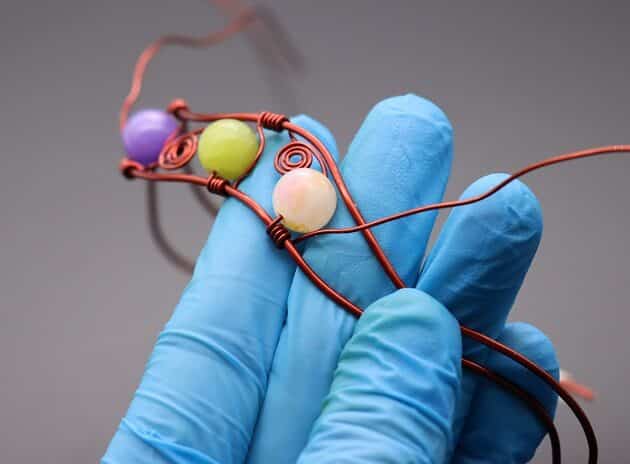
Instead of making two anchors, you only have to anchor once for this step.
So, make a twist structure with round nose plier from the free wire end (fig. 5a, 5b).
Slide in the fourth bead and anchor the wire on top frame (fig. 5c, 5d, 5e).
Complete the design by cutting off the excess wire with a wire cutter (fig. 5f).