Hi my lovely wire wrappers!
There is nothing more satisfying than wearing a beautifully handcrafted bracelet that you made.
In this advanced tutorial, I will be showing you how to make a wire-wrapping bracelet with beads.
Follow me along in this step-by-step guide and master techniques such as: wire-framing, wire-structuring and wire-weaving.

FREE WIRE-WRAPPING GUIDE TO YOUR EMAIL!
JOIN NEWSLETTER
We respect your privacy. Unsubscribe at anytime.
Never back down, never give up!
Remember to bookmark this page so you can always come back to it in the future.


LEVEL: Intermediate
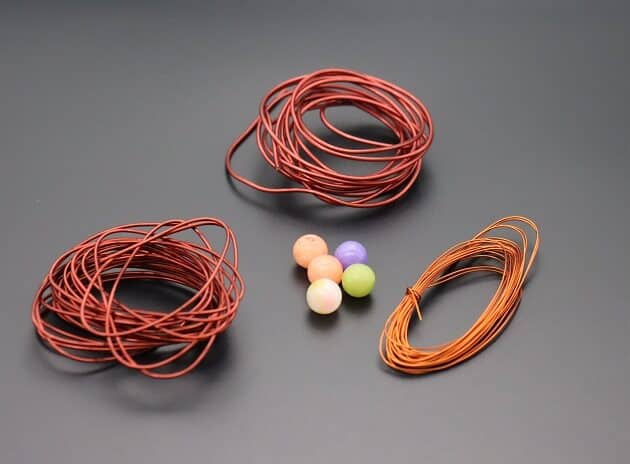
MATERIALS + TOOLS
- Small Round Stone Beads (5pcs)
- Brown Copper Wire (16 Gauge AWG, 1.3mm)
- Brown Copper Wire (20 Gauge AWG, 0.8mm)
- Gold Copper Wire (24 Gauge AWG, 0.5mm)
- Wire Cutter
- Nylon jaw pliers
- Stepped Bail-Making Pliers
- Round Nose Pliers
- Awl Tool
- Diamond Needle Files Flat
- Finest Steel Wire Wool
- Masking Tape
- Wavy Line Template (Hand drawn)
- Small Hammer with Flat Mallet Head
- Metal Base Plate
- Bracelet Mandrel
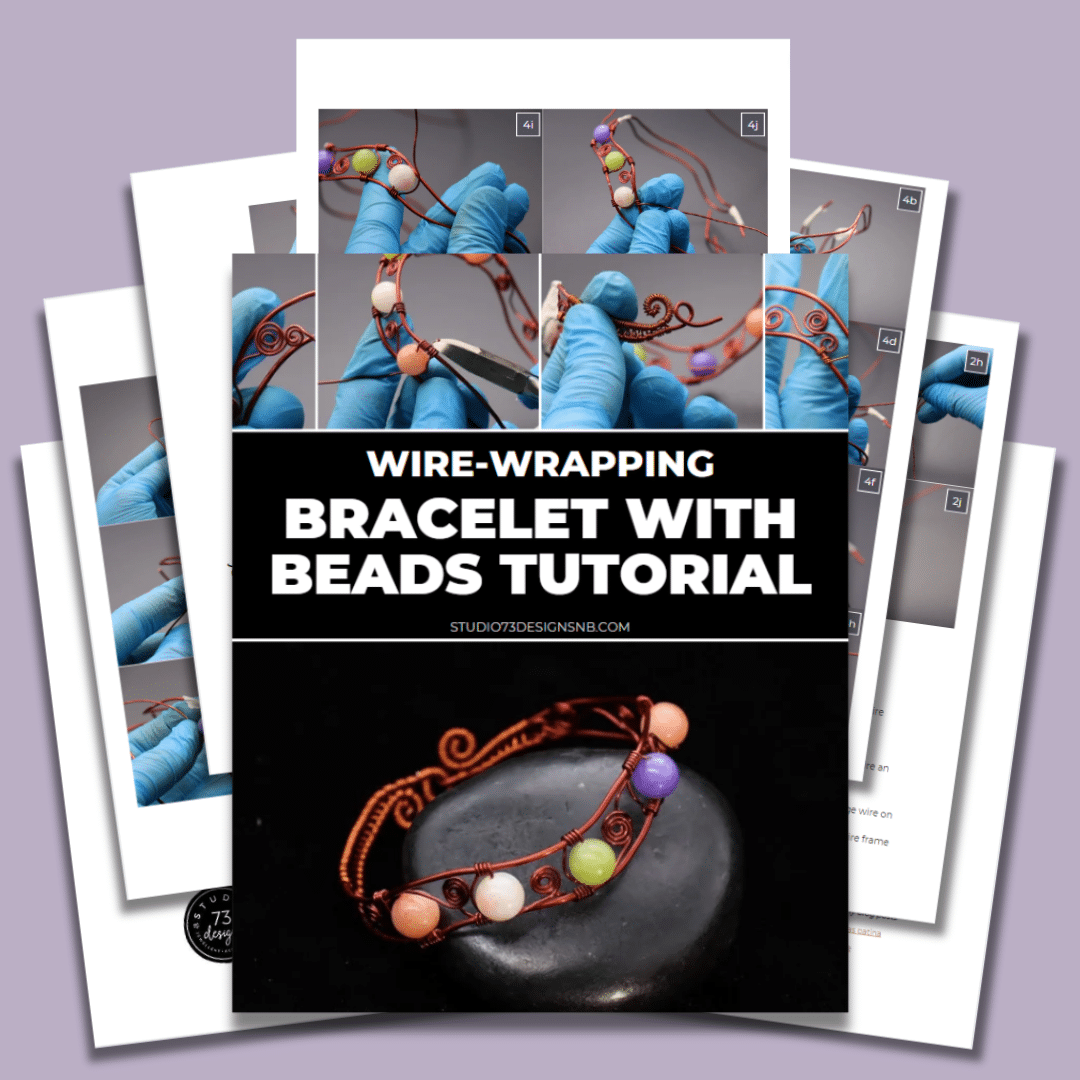
Prefer this wire-wrapping tutorial in a PRINTABLE FORMAT? (High Resolution Photos)
Click here for the PDF version of “Bracelet With Beads Wire-Wrapping Tutorial“
WIRE-WRAPPING BRACELET WITH BEADS TUTORIAL
Step 1 of 15 – WIRE FRAMING
Firstly, prepare all required materials and tools as listed above (fig. 1a, 1b).
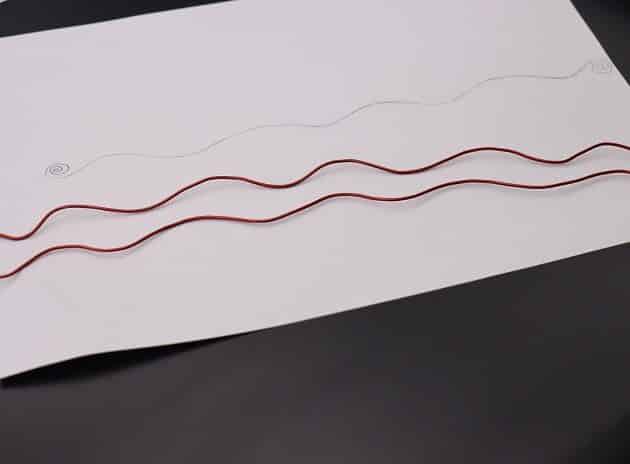
Then, draw two wavy lines on a piece of paper as a template for wire-framing (fig. 1c).
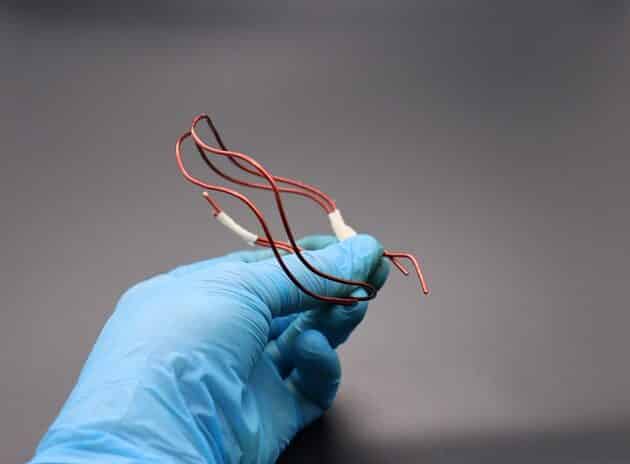
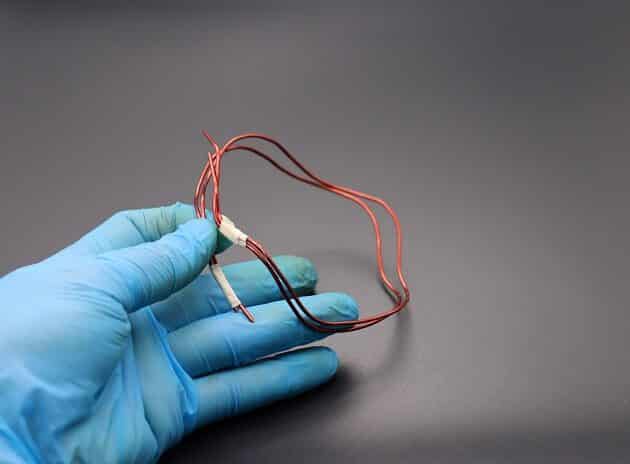
Bend two strings of 16-gauge copper wire that are 12 inches long each and tape them as shown (fig. 1d, 1e).

Step 2 of 15 – WIRE BEADING AND STRUCTURING
Prefer this wire-wrapping tutorial in a PRINTABLE FORMAT? (High Resolution Photos)
Click here for the PDF version of “Bracelet With Beads Wire-Wrapping Tutorial“
After making the frame, it is time to add details for your bracelet.
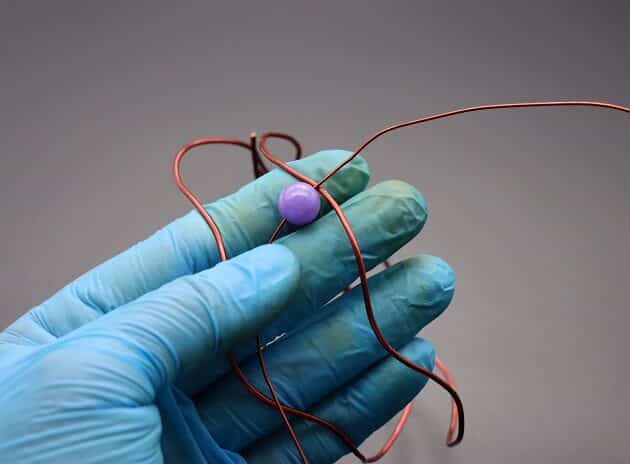
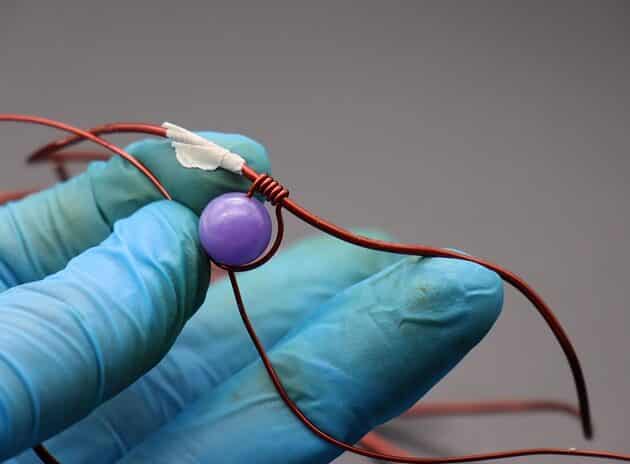
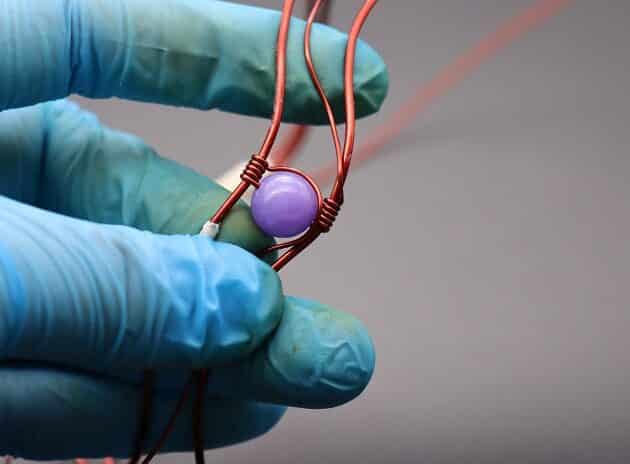
We begin with one round stone bead and a string of 20-gauge copper wire through it (fig. 2a).
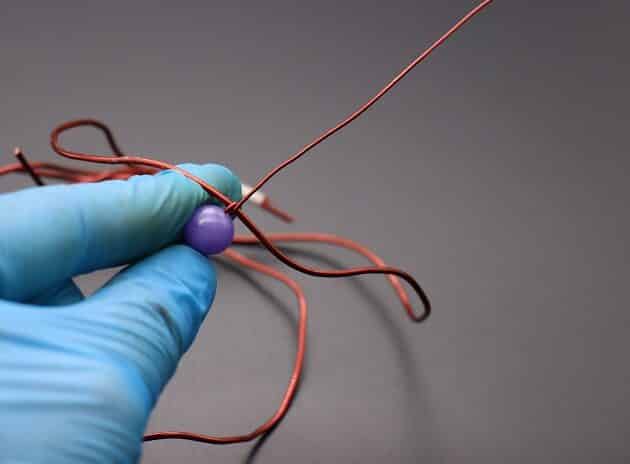
Wrap 5 loops on the top frame with the front end of the 20-gauge wire (fig. 2b, 2c).
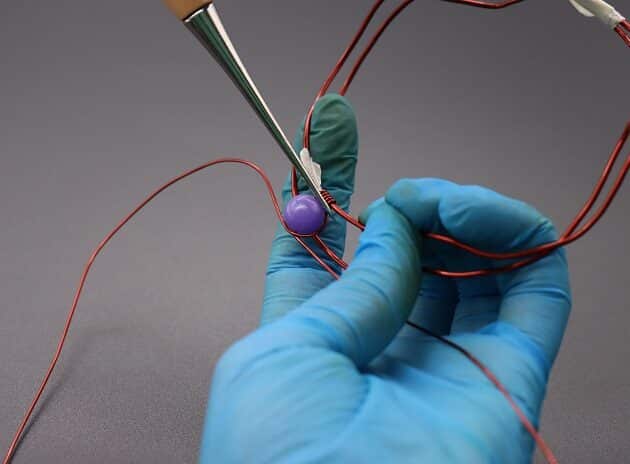
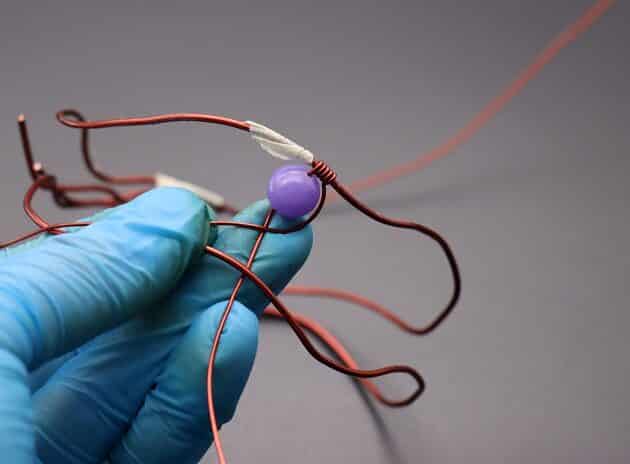
Use a beading awl to position the loops next to the bead and give the wire an edge (fig. 2d, 2e).
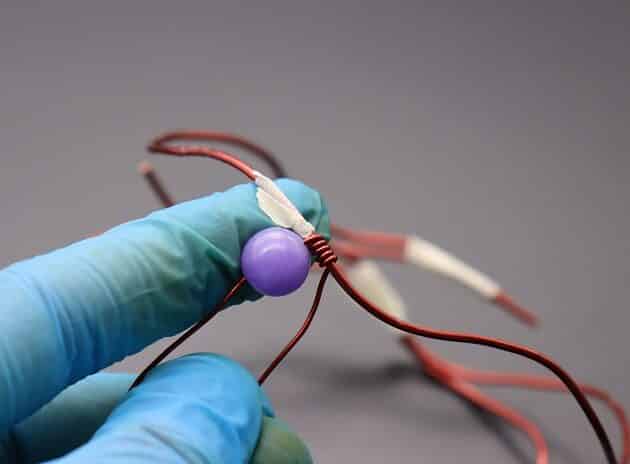
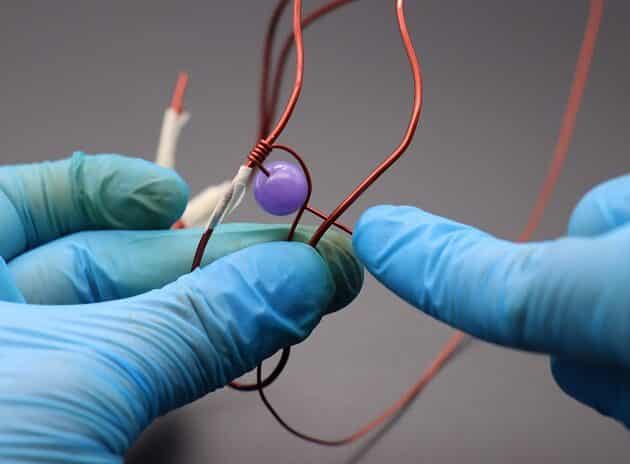
Then, wrap the excess wire on the side of the bead as shown (fig. 2f).
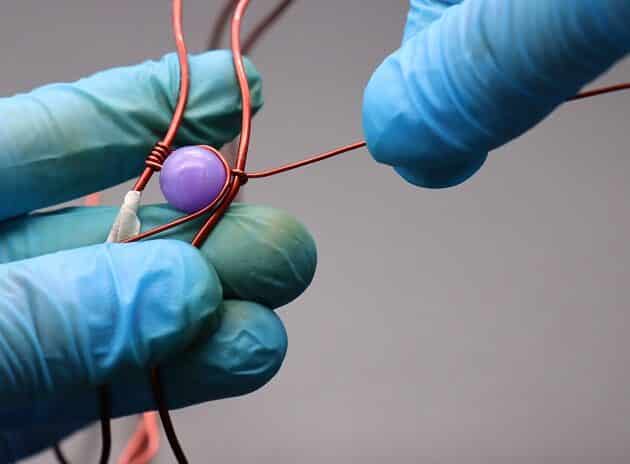
Continue to secure the bead by wrapping the back end of the 20-gauge wire on the bottom frame with 5 loops (fig. 2g, 2h, 2i, 2j).
Note: For this tutorial, wrap 4 to 5 wire loops when anchoring on the wire frame to have stronger hold and visible details.