Hi my dear wire wrapper!
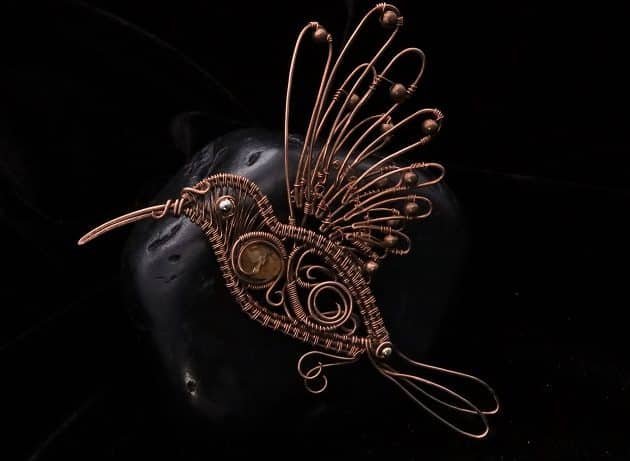
Learn how to wire wrap a copper hummingbird art that can be used for home wall decor or necklace pendant.
In my Wire-Wrapping Woven Hummingbird With Ornate Beads Pendant Tutorial, you will master wire-jewelry making skills such as wire framing, weaving, structuring and more.
Start your creative project with my simple step-by-step instructions and detailed progress pictures as your guide.

FREE WIRE-WRAPPING GUIDE TO YOUR EMAIL!
JOIN NEWSLETTER
We respect your privacy. Unsubscribe at anytime.
Happy wrapping!
LEVEL: INTERMEDIATE
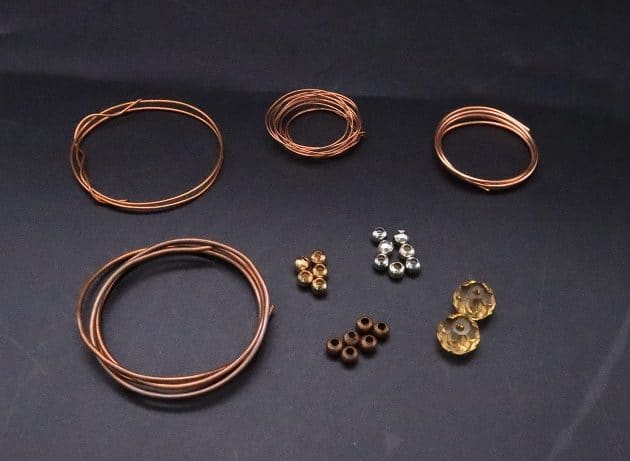
MATERIALS + TOOL
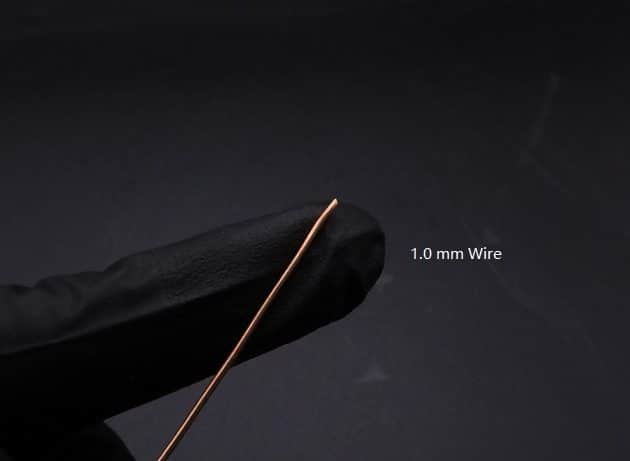
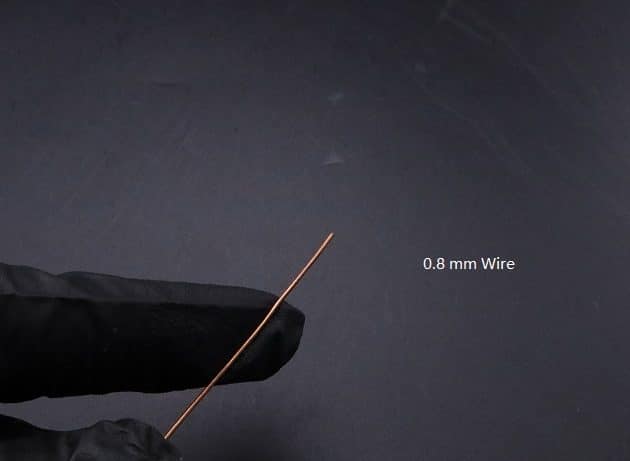
- Copper Wire (18 AWG)
- Copper Wire (20 AWG)
- Copper Wire (22 AWG)
- Copper Wire (26 AWG)
- Gold Spacer Beads (1 pc)
- Silver Spacer Beads (1 pc)
- Brown Spacer Beads (14 pcs)
- Yellow Crystal Beads (1 pc)
- Wire Cutter
- Chain Nose Pliers
- Nylon Jaw Pliers
- Ball Peen Hammer Two-sided Flat/round Head
- Metal Base Plate
- Flat Needle Files
- Finest Steel Wire Wool
- Masking Tape
- Adhesive Tack-It

Prefer this wire-wrapping tutorial in a PRINTABLE FORMAT? (High Resolution Photos)
WIRE-WRAPPING WOVEN HUMMINGBIRD WITH ORNATE BEADS PENDANT TUTORIAL
Step 1 of 16
Prepare all items from the Materials and Tool list (fig. 1a).
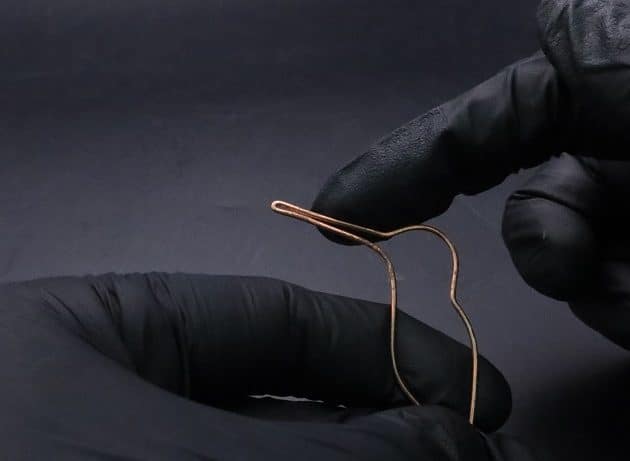
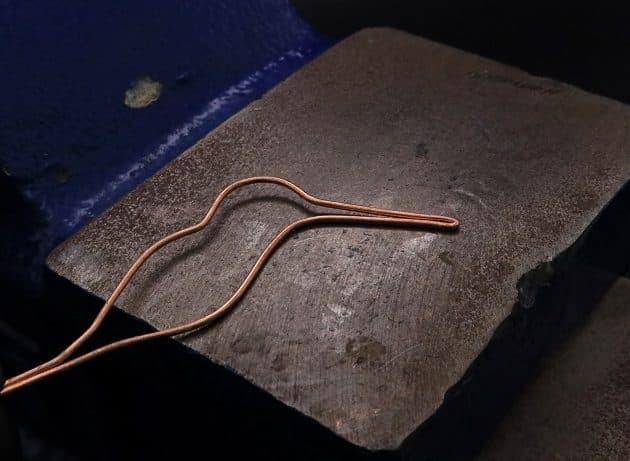
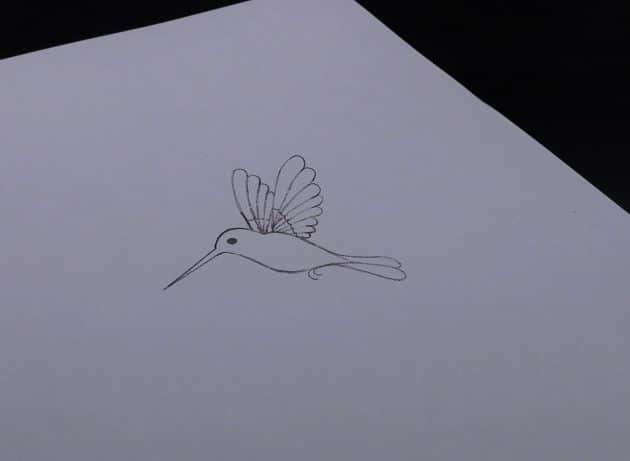
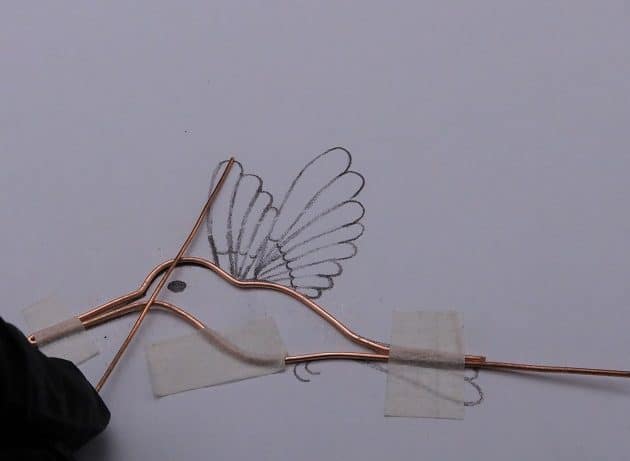
Start by drawing a hummingbird template on a piece of paper (fig. 1b).
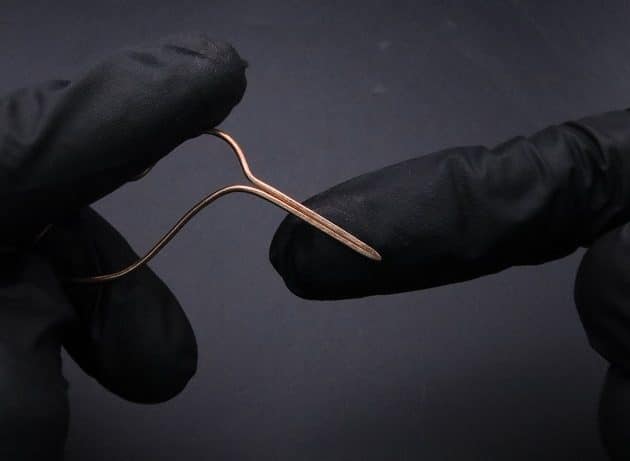
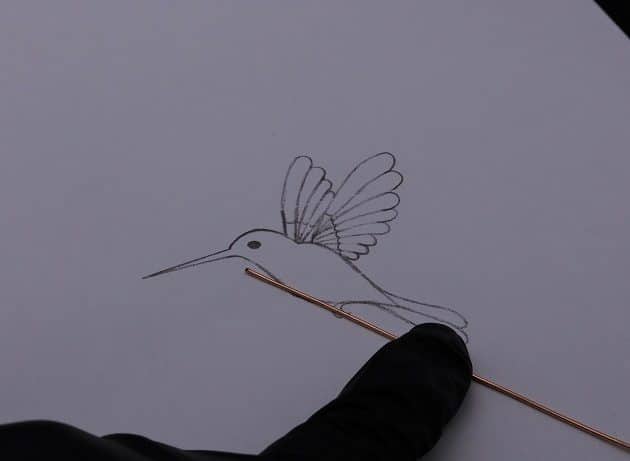
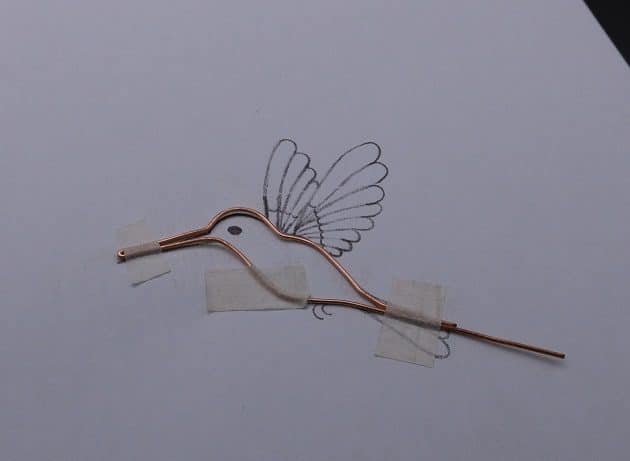
Then, frame the beak and body template with a 18 gauge copper wire (fig. 1c, 1d, 1e).
Step 2 of 16
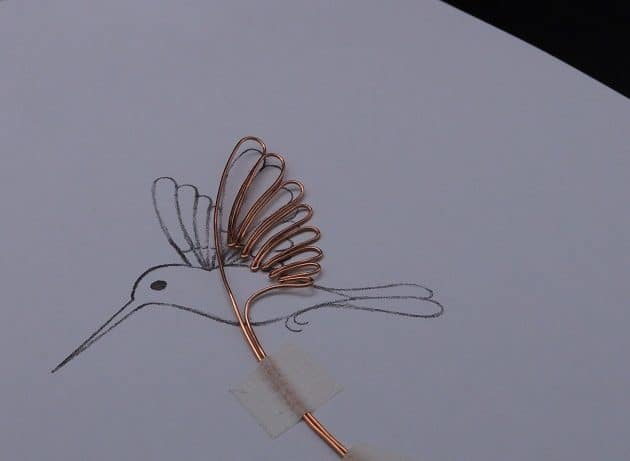
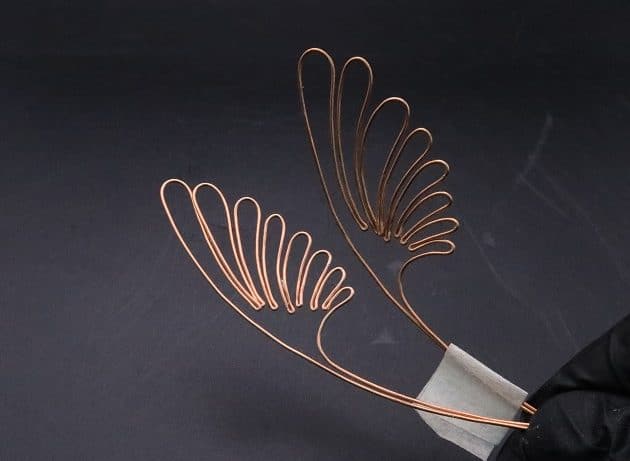
Take a 20 gauge copper wire and form two wing frames from the hummingbird template (fig. 2a, 2b, 2c, 2d).
Step 3 of 16
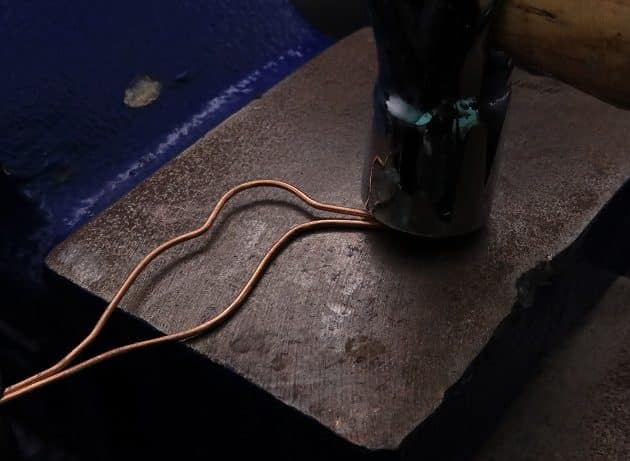
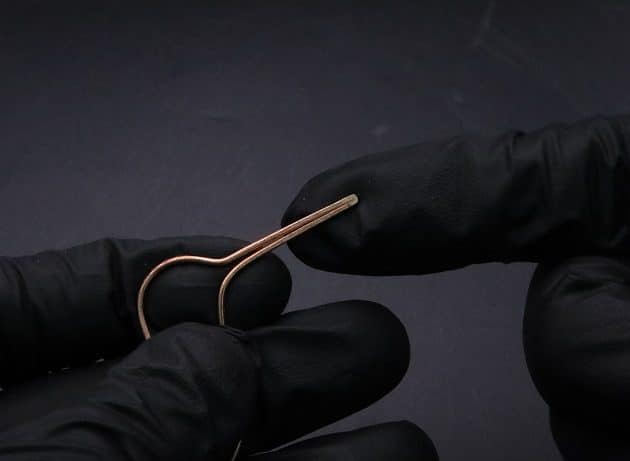
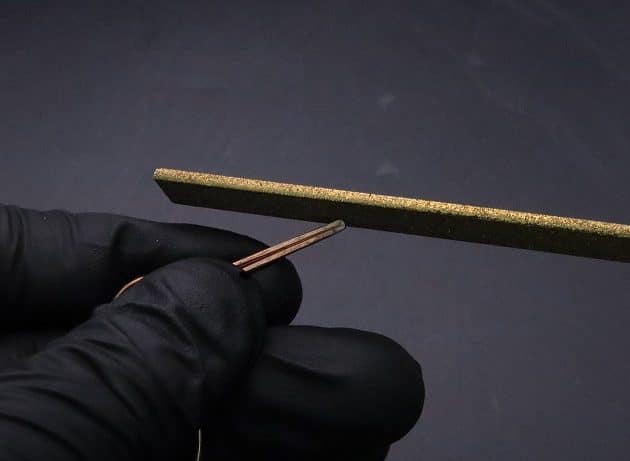
Next, flatten the tip of the beak frame by hammering it on a base metal plate (fig. 3a, 3b, 3c, 3d).
Use a flat needle files to smoothen the edges of the flat beak frame (fig. 3e, 3f, 3g).