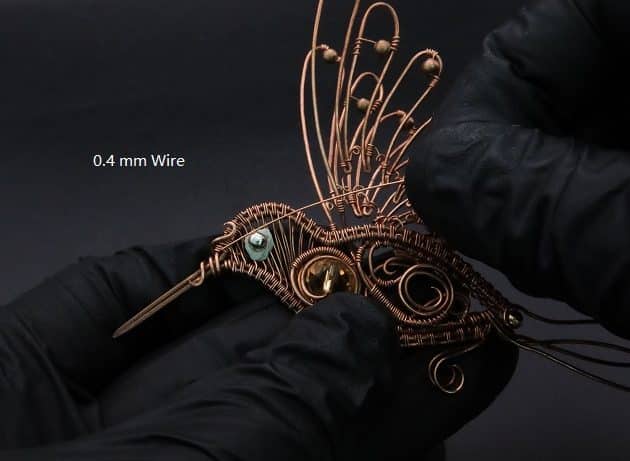
Step 14 of 16
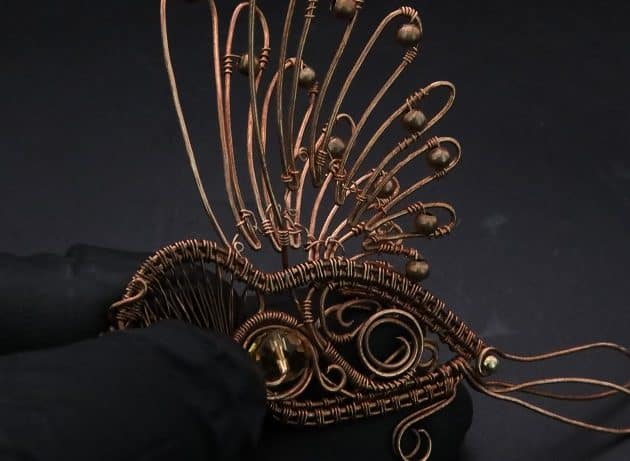
Now, let’s add details onto the wing frames (fig. 14a).
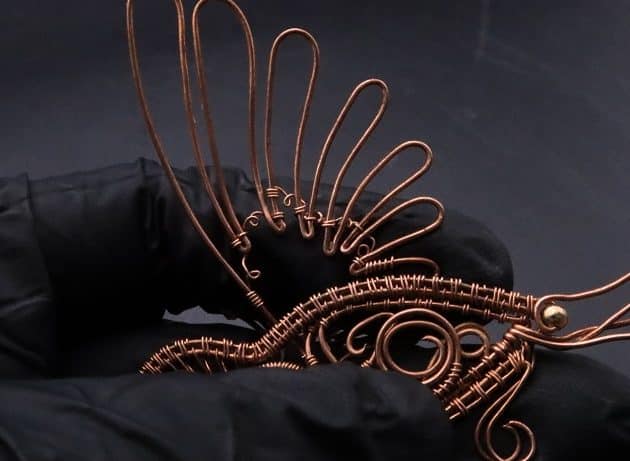
On the lower part of the wing frames, use a new 26 gauge copper wire and link delicate loops and coils design across the frame gaps (fig. 14b, 14c).
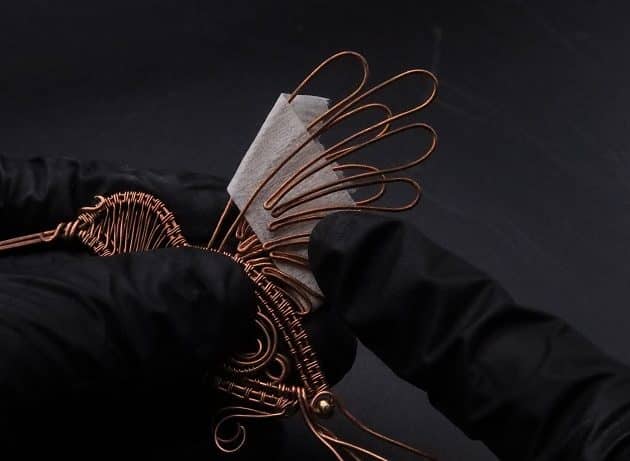
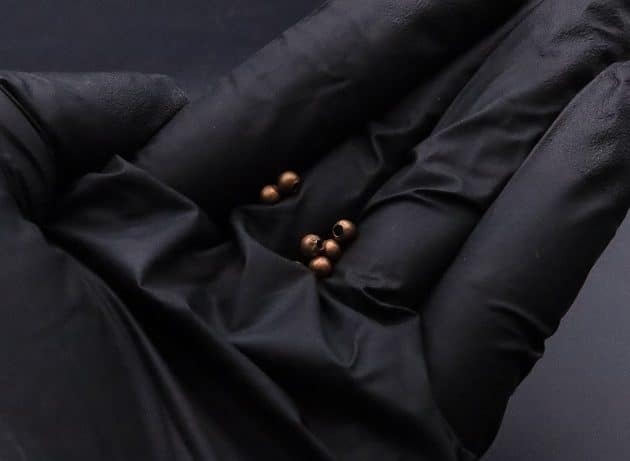
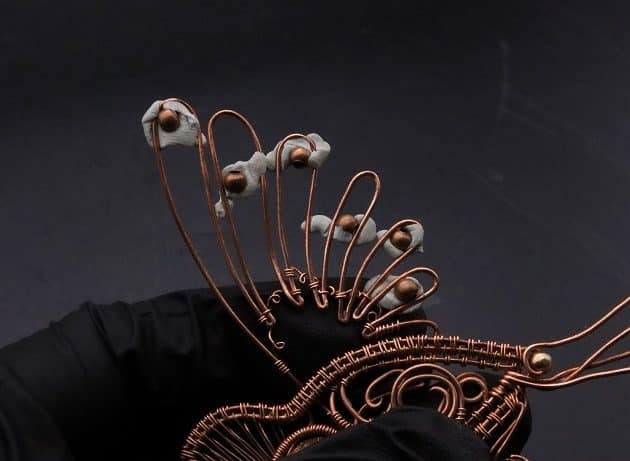
On the upper part of the wing frames, add in copper spacer beads on each frame gap and hold them in place with Adhesive Tack-It clay (fig. 14d, 14e).

FREE WIRE-WRAPPING GUIDE TO YOUR EMAIL!
JOIN NEWSLETTER
We respect your privacy. Unsubscribe at anytime.
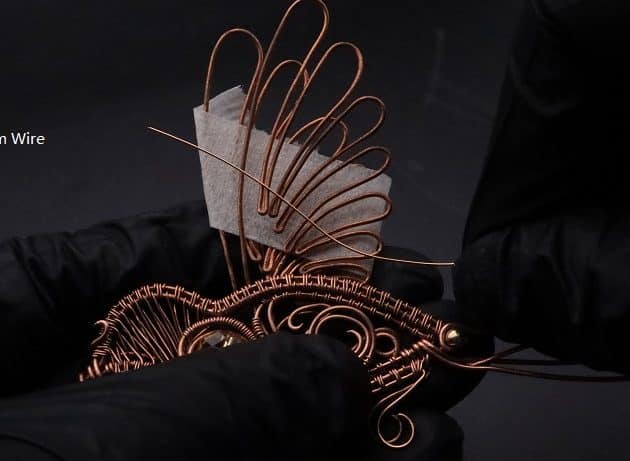
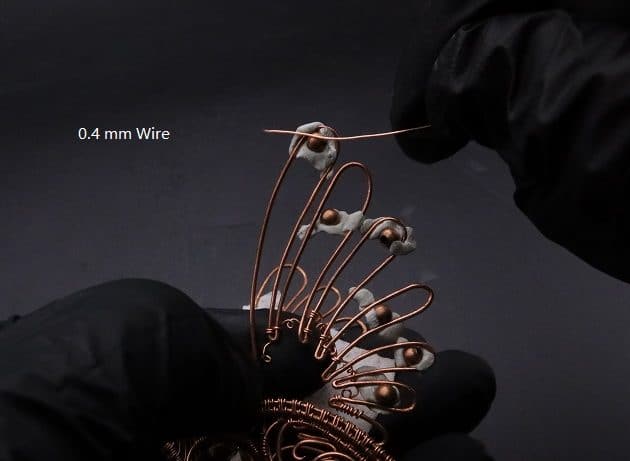
Then, use a new 26 gauge copper wire to connect them onto the wing frames (fig. 14f, 14g).
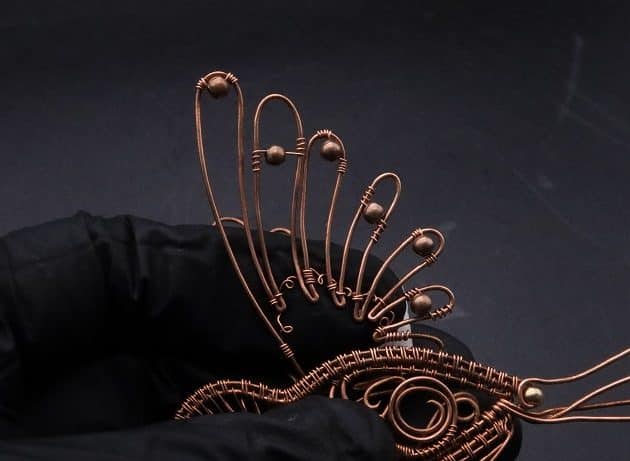
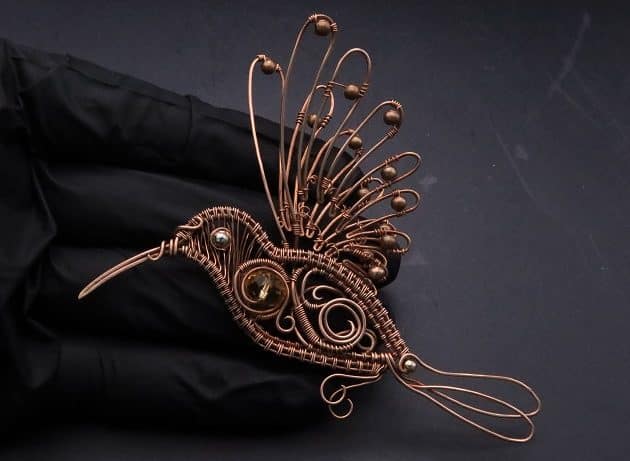
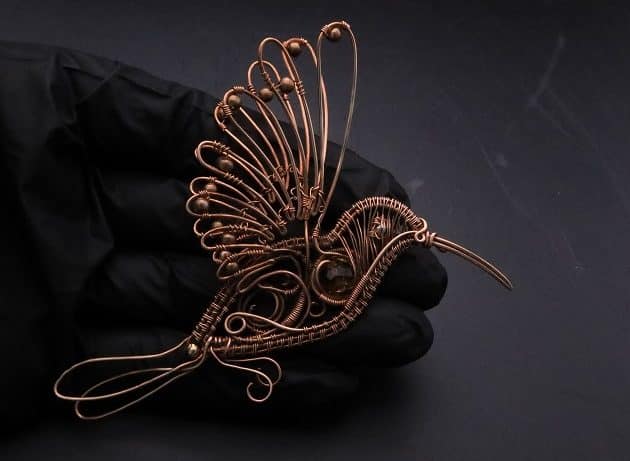
Checkpoint: This is how your ornate bird wing frames should look (fig. 14h, 14i).
Prefer this wire-wrapping tutorial in a PRINTABLE FORMAT? (High Resolution Photos)
Step 15 of 16
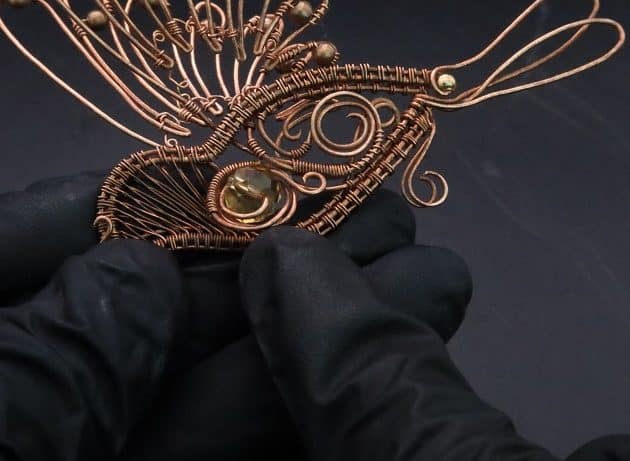
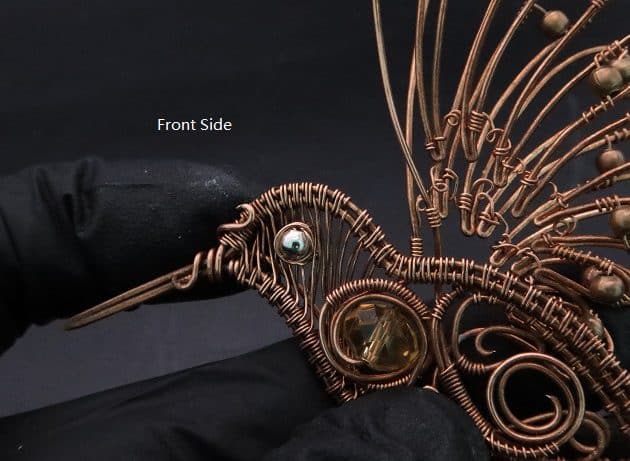
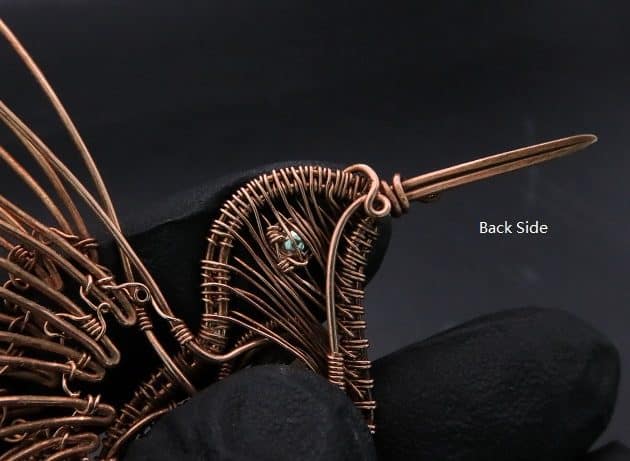
Proceed with the wire bundle coiling process using a new 26 gauge copper wire (fig. 15a, 15b):
- Front side (fig. 15c).
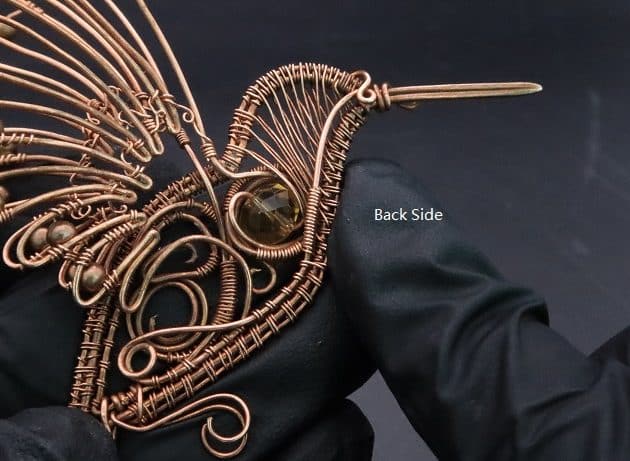
- Back side (fig. 15d).
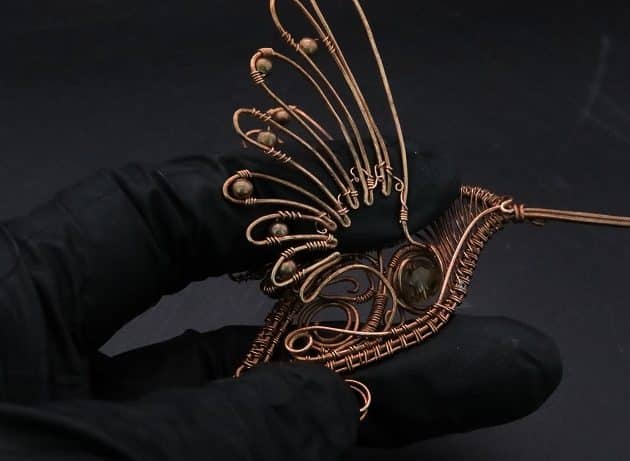
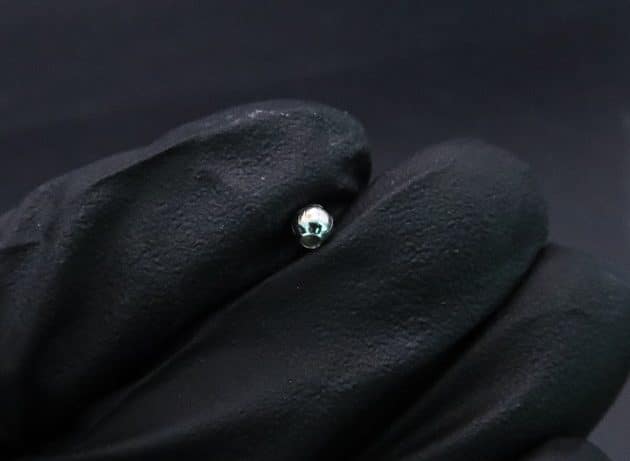
After that, take a silver spacer bead and tack it onto the bird eye area (fig. 15e).
Lock in the bird eye bead by wrapping it with a new 26 gauge copper wire (fig. 15f, 15g, 15h).


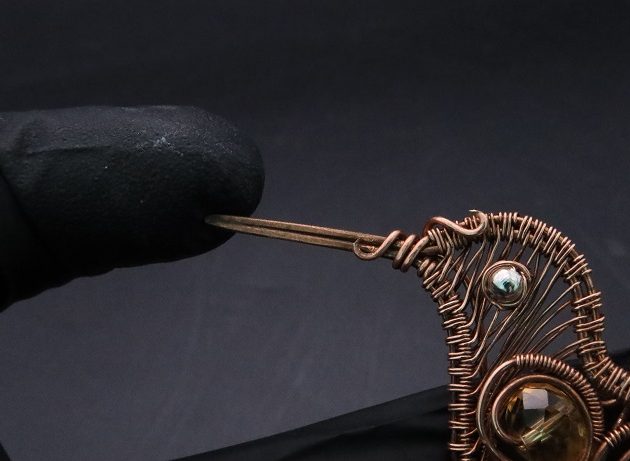
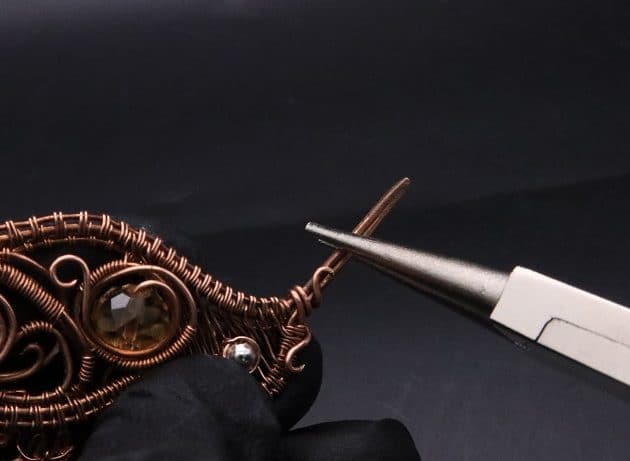
Step 16 of 16
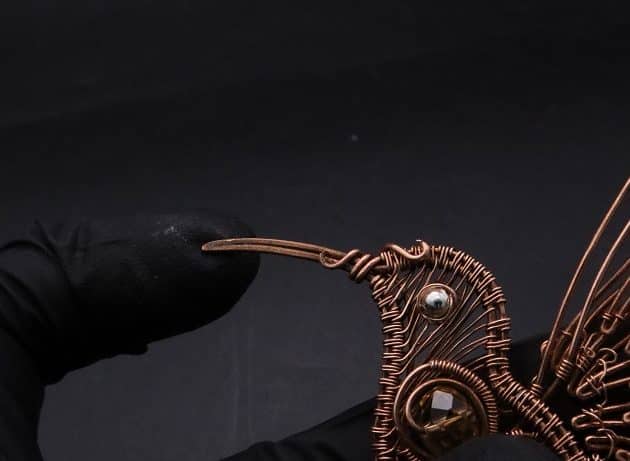
For the final touch, use a round nose pliers to slightly curve the beak frame tip (fig. 16a, 16b, 16c).
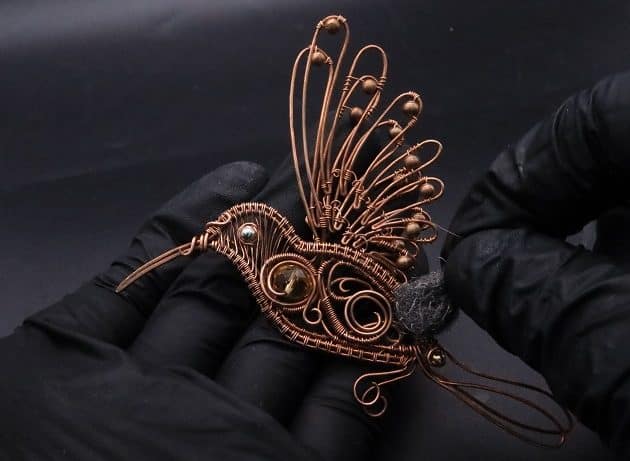
Polish the surface of your pendant with finest steel wire wool (fig. 16d, 16e).
Good job! You have completed your tutorial.
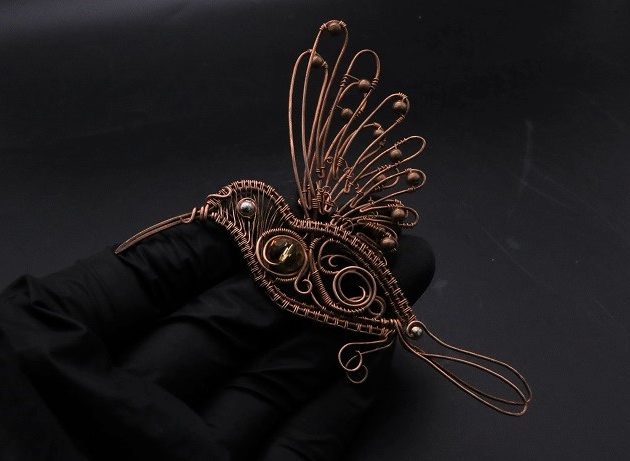
COMPLETED WIRE-WRAPPING WOVEN HUMMINGBIRD WITH ORNATE BEADS PENDANT
Want to Support me?
If you enjoyed my content, please consider support me on Patreon:). This helps me to create more amazing free content to share with you 🙂
If you’d like to see my work and follow my wire journey, you can find me here:
Facebook Instagram Twitter Pinterest YouTube Etsy

