• Skip to main content
  • Skip to secondary menu
  • Skip to primary sidebar
  • Skip to footer
Studio 73 Designs

Studio 73 Designs

Wire Jewelry Making & Wire Wrapping Techniques

  • Start Here!
  • FREE Wire-Wrapping Guides
  • Shop Tutorials
    • Cart
    • Checkout
  • Contact
  • Join Member
  • Member Login
Join PREMIUM MEMBERSHIP (FREE-TRIAL): 70+ Wire Wrapping Tutorials: Gain access to ALL step-by-step tutorials with high-quality images, no ads, plus all future tutorials. Check it out HERE.

Wire-Wrapping Simple Pendant Cabochon Tutorial

December 14, 2023 by Madelynn

Step 6 of 20

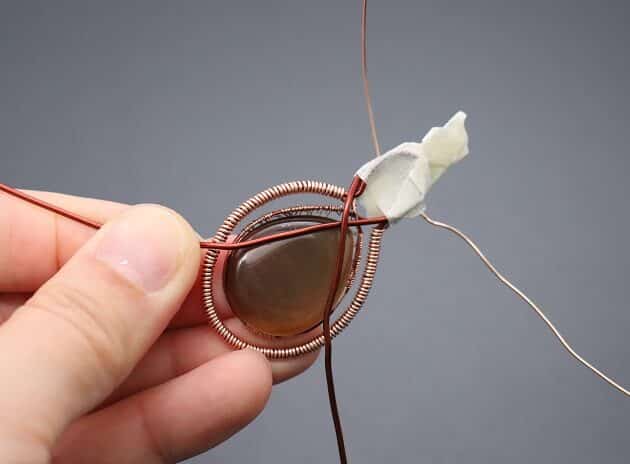
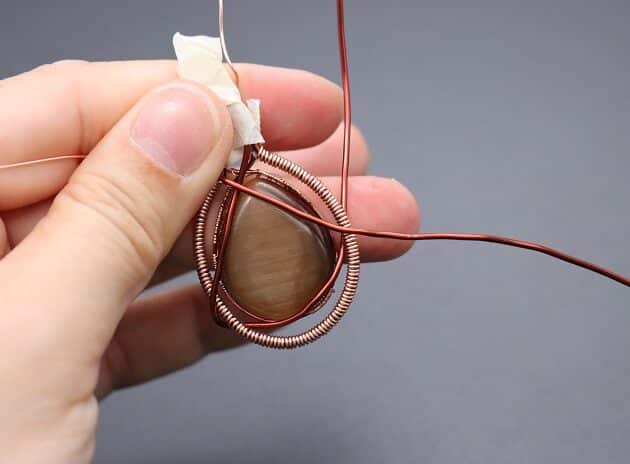
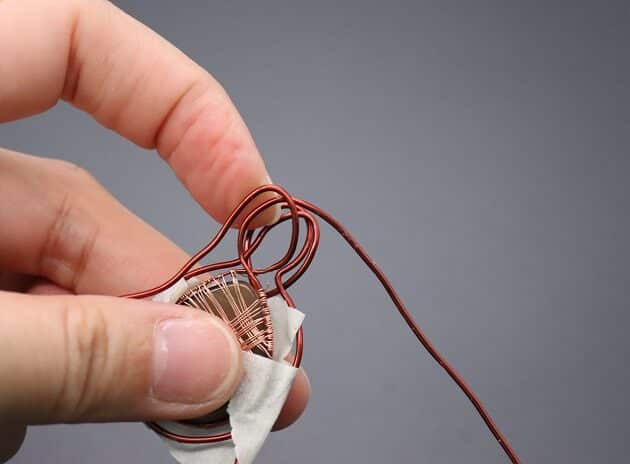
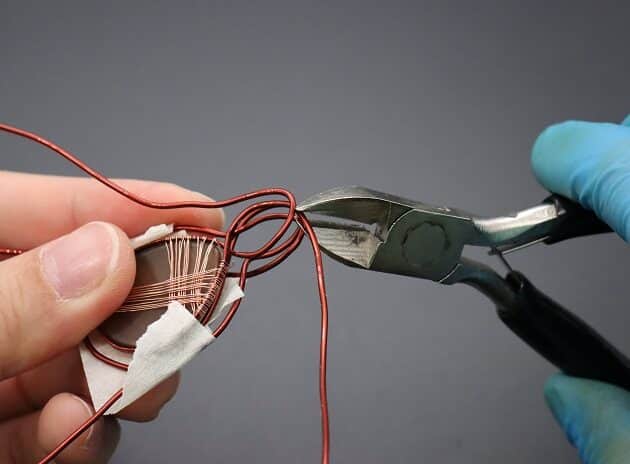
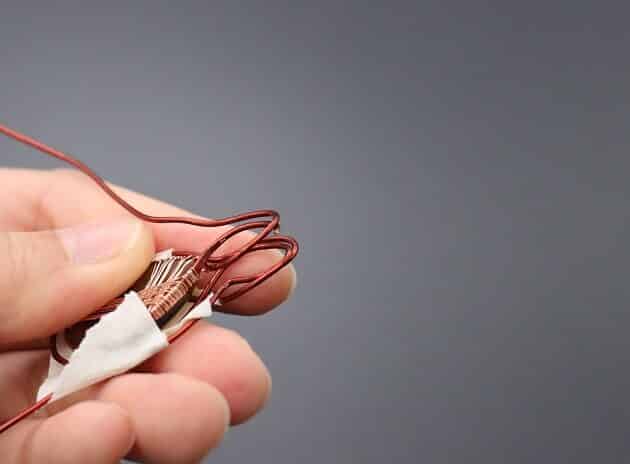
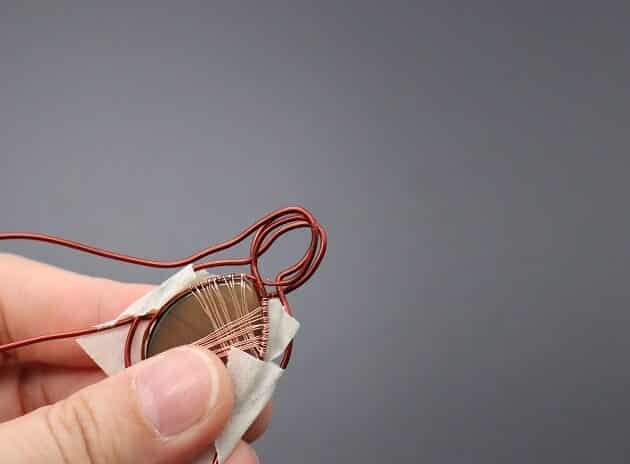
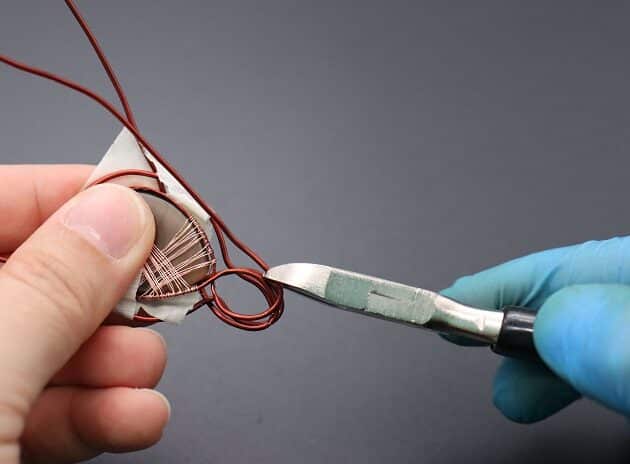
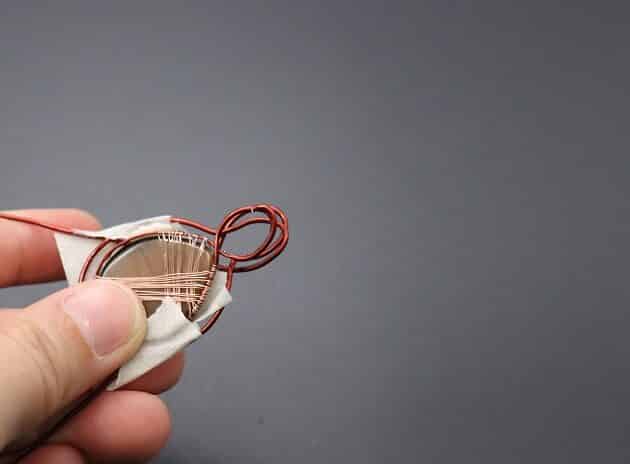
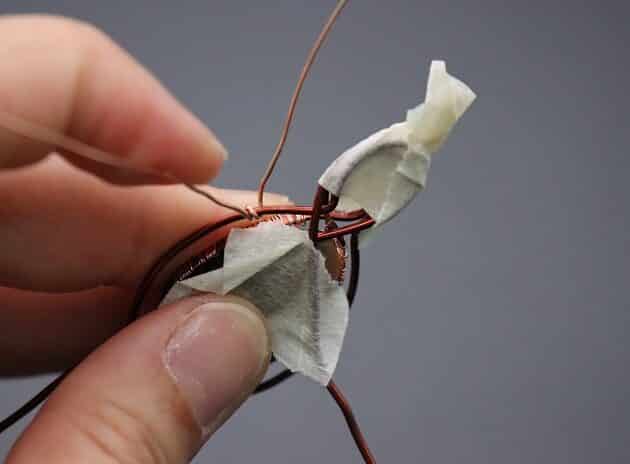
On the back side of the cabochon pendant, trim the excess 18-gauge wire off the bail (round structure) of the primary wire frame (fig. 6a, 6b, 6c).

You don’t have to trim it exactly tip-to-tip, because we want to create thickness for the bail later (fig. 6d, 6e, 6f).

Wire-Wrapping Simple Pendant Cabochon Tutorial
fig. 6a

Wire-Wrapping Simple Pendant Cabochon Tutorial
fig. 6b

Wire-Wrapping Simple Pendant Cabochon Tutorial
fig. 6c

Wire-Wrapping Simple Pendant Cabochon Tutorial
fig. 6d

Wire-Wrapping Simple Pendant Cabochon Tutorial
fig. 6e

Wire-Wrapping Simple Pendant Cabochon Tutorial
fig. 6f

wire wrap jewelry

FREE WIRE-WRAPPING GUIDE TO YOUR EMAIL! 

JOIN NEWSLETTER

SEND GUIDE TO EMAIL

We respect your privacy. Unsubscribe at anytime.

Prefer this wire-wrapping tutorial in a PRINTABLE FORMAT? (High Resolution Photos)

Click here for the PDF version of “Simple Cabochon Pendant Wire-Wrapping Tutorial”

Step 7 of 20

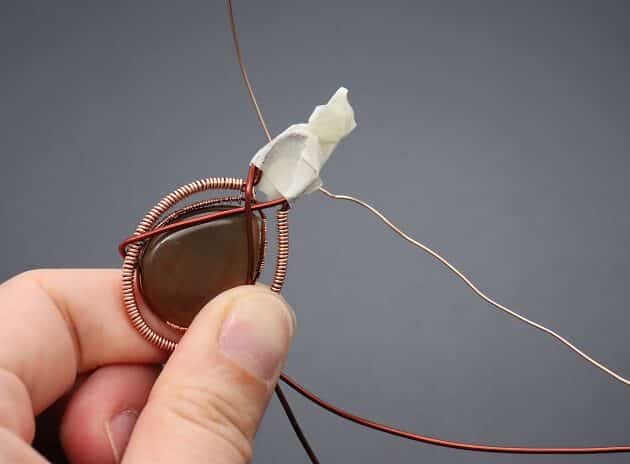
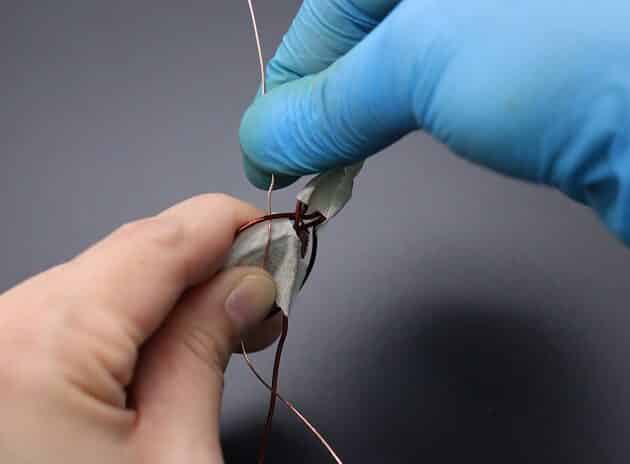
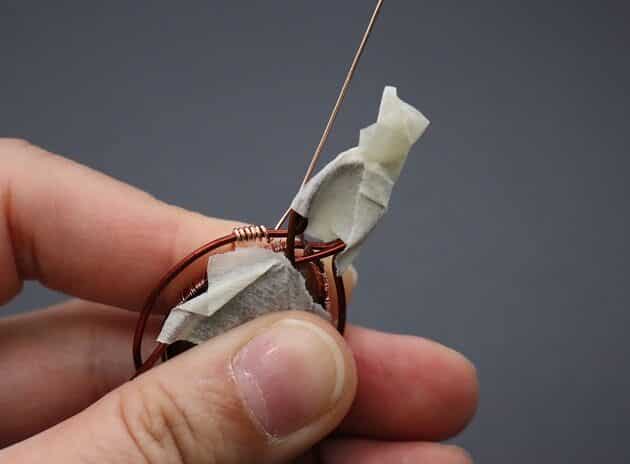
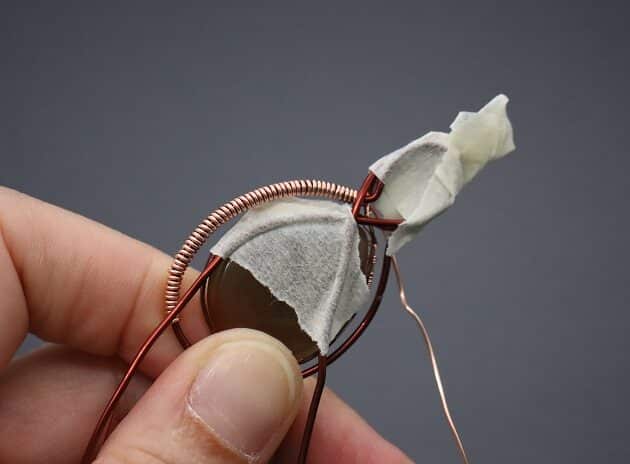
In this step, we will use the wire coiling technique on the secondary 18-gauge wire frame.

Begin with a new length of 22-gauge gold copper wire (fig. 7a).

Anchor the 22-gauge gold copper wire with a few starting loops on the secondary 18-gauge wire frame (fig. 7b).

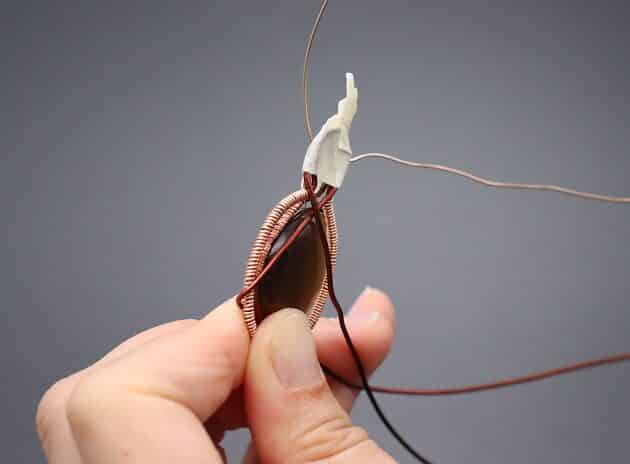
Then, proceed to coil the whole frame and stop at the bail edge as shown (fig. 7c, 7d, 7e).

Wire-Wrapping Simple Pendant Cabochon Tutorial
fig. 7a

Wire-Wrapping Simple Pendant Cabochon Tutorial
fig. 7b

Wire-Wrapping Simple Pendant Cabochon Tutorial
fig. 7c

Wire-Wrapping Simple Pendant Cabochon Tutorial
fig. 7d

Wire-Wrapping Simple Pendant Cabochon Tutorial
fig. 7e

Step 8 of 20

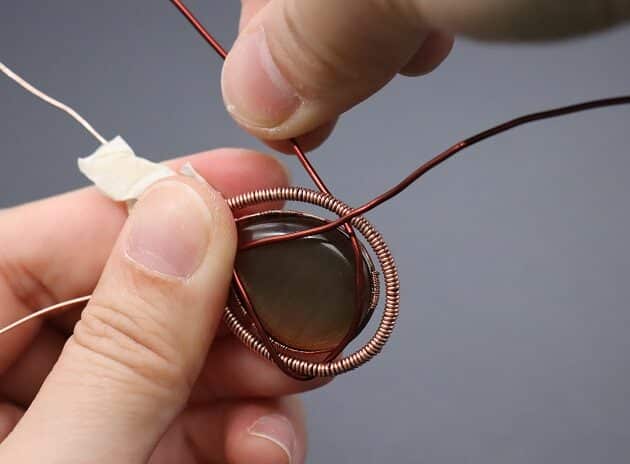
Continue to work on the secondary wire frame, take the loose wire end on the bottom-left side of the pendant and wrap it to the back of the pendant (fig. 8a, 8b, 8c).

Then, continue to wrap it over the front-bottom side of the primary wire frame as shown (fig. 8d, 8e).

Wire-Wrapping Simple Pendant Cabochon Tutorial
fig. 8a

Wire-Wrapping Simple Pendant Cabochon Tutorial
fig. 8b

Wire-Wrapping Simple Pendant Cabochon Tutorial
fig. 8c

Wire-Wrapping Simple Pendant Cabochon Tutorial
fig. 8d

Wire-Wrapping Simple Pendant Cabochon Tutorial
fig. 8e

Pages: Page 1 Page 2 Page 3 Page 4 Page 5 Page 6 Page 7 Page 8

Filed Under: Tutorials/DIY

Primary Sidebar

MadelynnHey there! Thanks for visiting 🙂

My name is Madelynn and I’m the owner of Studio 73 Designs.

Studio 73 Designs is managed by a team of wire wrapping jewelry enthusiasts 🙂 Cheers!

Follow Me

  • Facebook
  • Instagram
  • Pinterest
  • Twitter
  • YouTube

ARE YOU INTERESTED IN WIRE-WRAPPING?

Sign up below and get access to my FREE wire-wrapping guides!

Sign Up
Wire Wrapping Tutorials
Wire Wrapping for Beginners Start Here
Beginner's Guide to Jewelry Wire for Wire-Wrapping
Wire Wrapping Tools and Supplies for Beginners
How to wire wrap stones without holes wire-wrapping tutorial for beginners
Wire Wrapping Tutorials DIY Jewelry Kits

Footer

ARE YOU INTERESTED IN WIRE-WRAPPING?

Sign up below and get access to my FREE wire-wrapping guides!

Sign Up

Site Navigation

Home
About
Contact
Blog
Privacy Policy
Disclaimer
Terms & Conditions

Follow Me

  • Facebook
  • Instagram
  • Pinterest
  • Twitter
  • YouTube

© 2026 · Studio 73 Designs

wire-wrapping tutorials

Learn Wire-Wrapping

Want to create beautiful wire-wrapped jewelry? Join membership today and get access to 70+ step-by-step wire-wrapping tutorials with high-quality images

Learn More
x