Step 3 of 20
Thirdly, we will use the weave technique for the back part of the pendant to hold the shape of the wire frame.
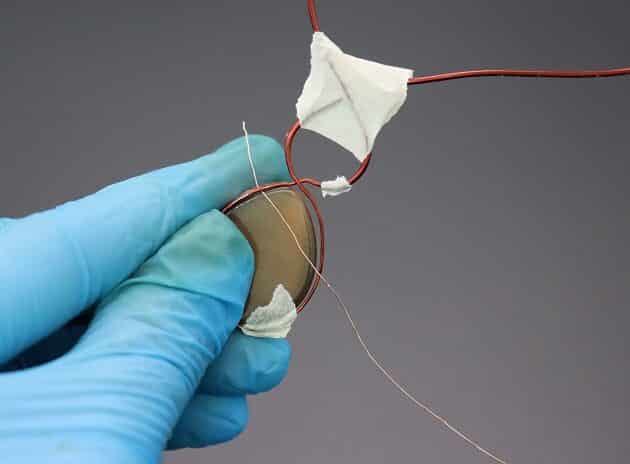
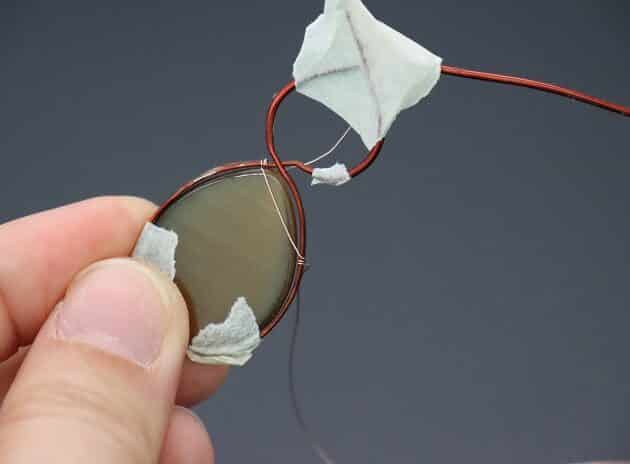
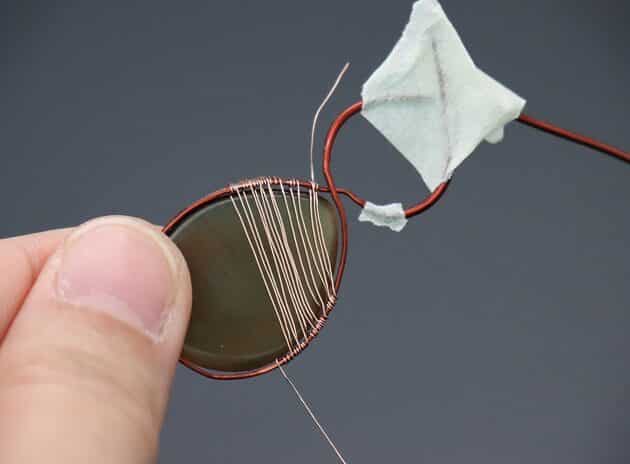
Start a new string of 32-gauge gold copper wire on the top-left side of the pendant’s back side (fig. 3a).
Anchor the 32-gauge wire with a few starting loops on the 18-gauge wire frame (fig. 3b).

FREE WIRE-WRAPPING GUIDE TO YOUR EMAIL!
JOIN NEWSLETTER
We respect your privacy. Unsubscribe at anytime.
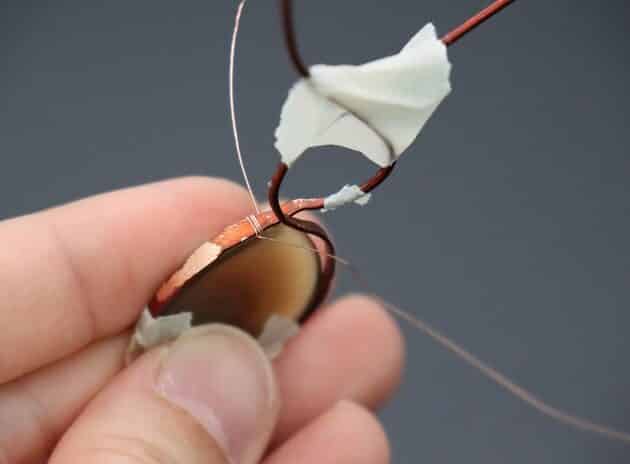
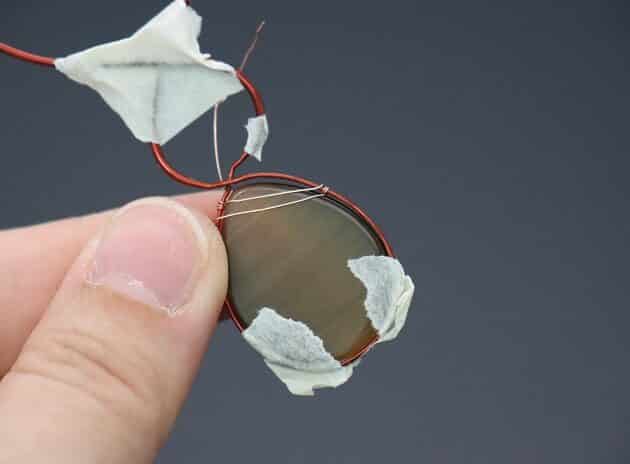
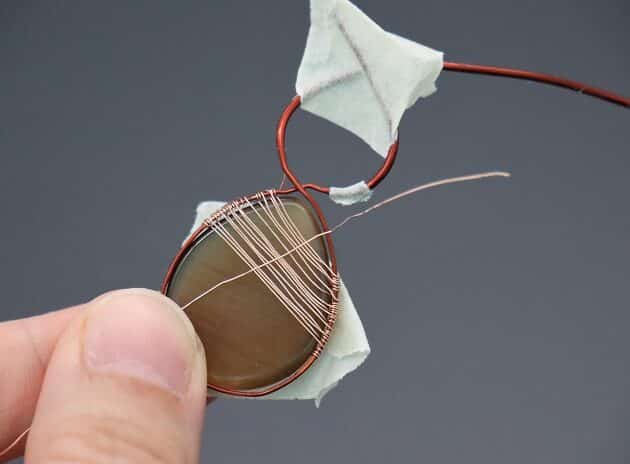
Then, pull the 32-gauge wire across the pendant and anchor the second point on the middle-right side of the 18-gauge wire frame (fig. 3c, 3d, 3e).
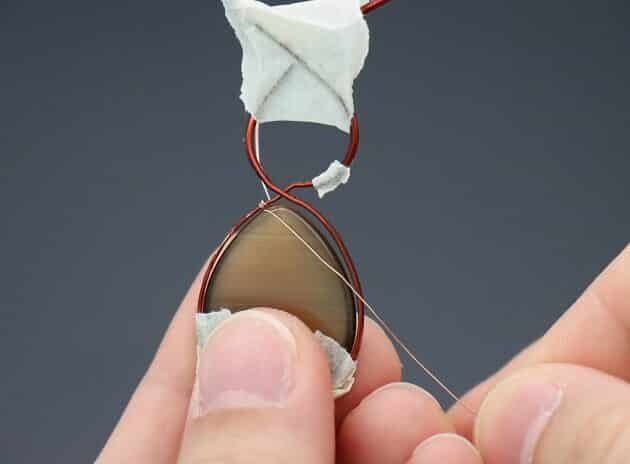
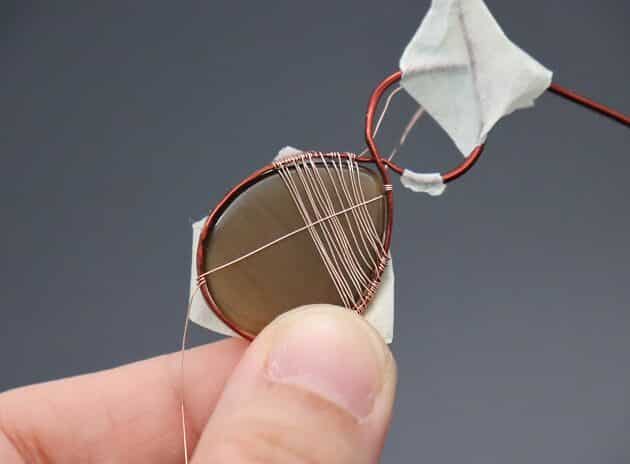
Continue the weaving pattern from top-left point to middle-right point on the 18-gauge wire frame as shown (fig. 3f, 3g, 3h, 3i).
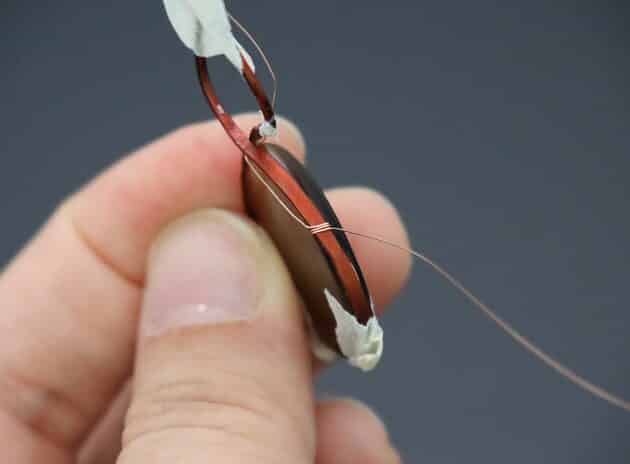
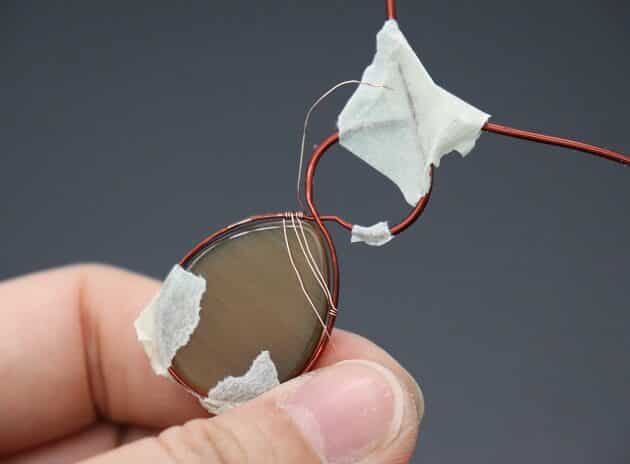
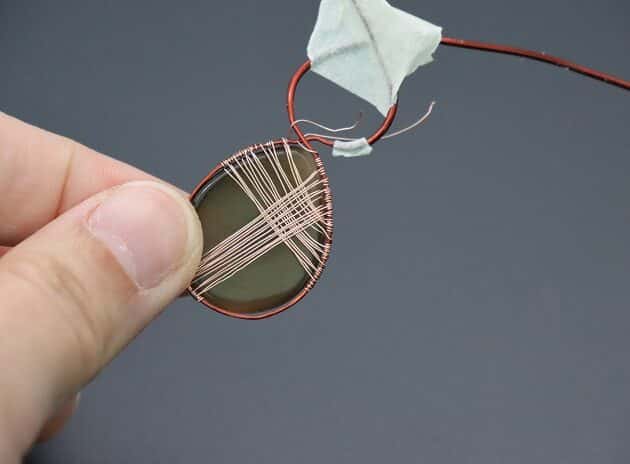
Next, start another new string of 32-gauge copper wire.
This time, we will be weaving from bottom-left point, to top-right point on the 18-gauge wire frame (fig. 3j, 3k).
CHECKPOINT: The completed weaving design is as shown: back side (fig. 3l), front side (fig. 3m).
Prefer this wire-wrapping tutorial in a PRINTABLE FORMAT? (High Resolution Photos)
Click here for the PDF version of “Simple Cabochon Pendant Wire-Wrapping Tutorial”
Step 4 of 20
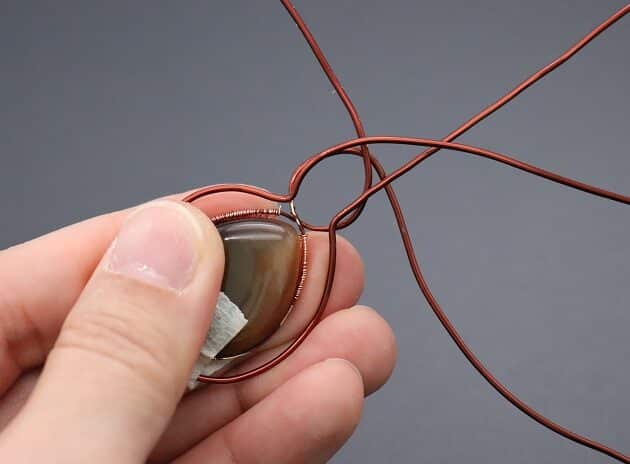
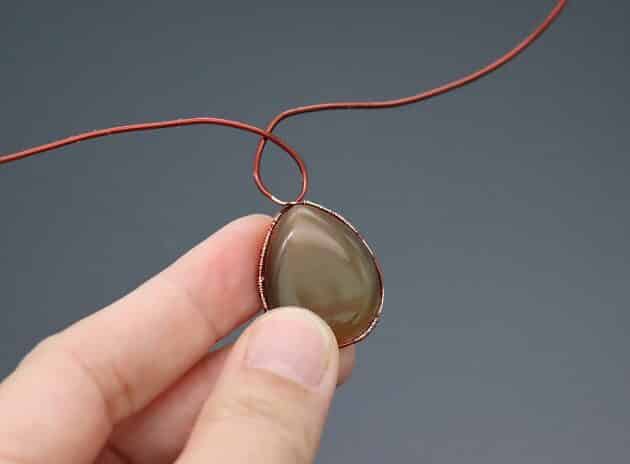
Moving on, we create a secondary wire frame to add texture to the pendant design.
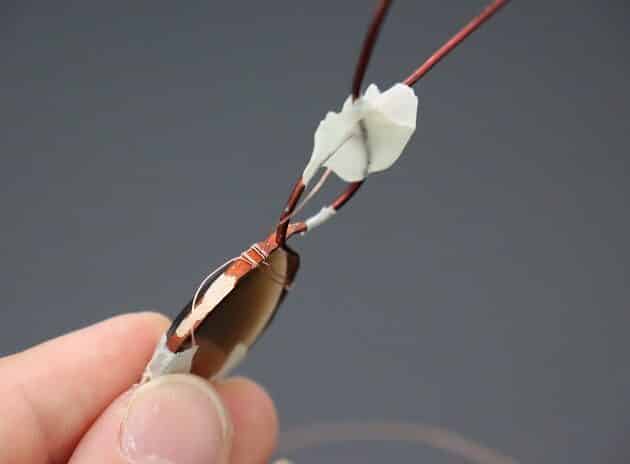
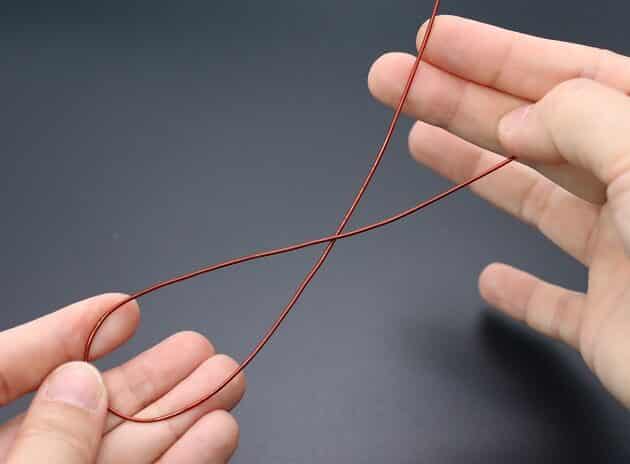
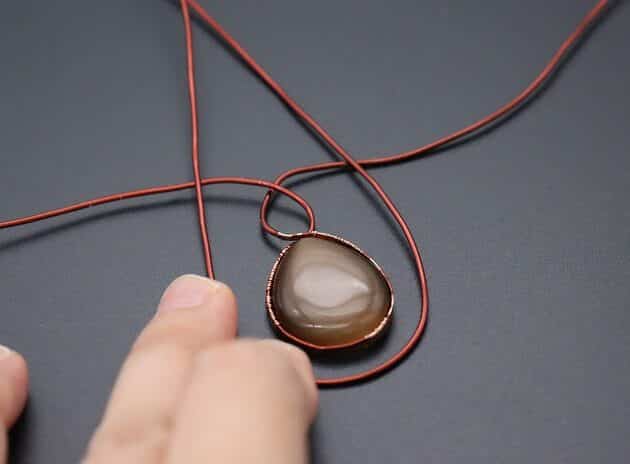
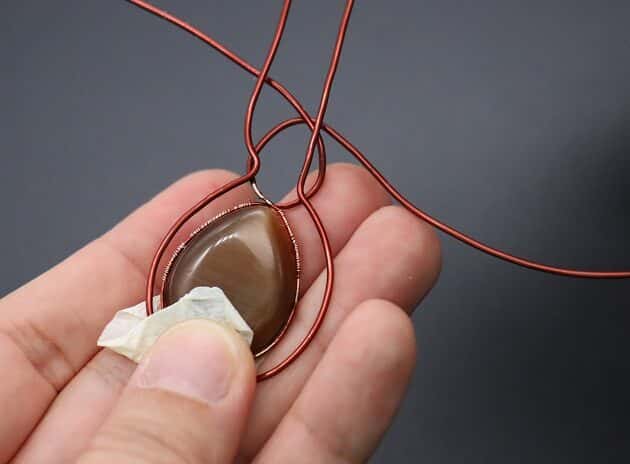
Cut a new length of 18-gauge brown copper wire and form a big loop around around the primary wire frame (fig. 4a, 4b).
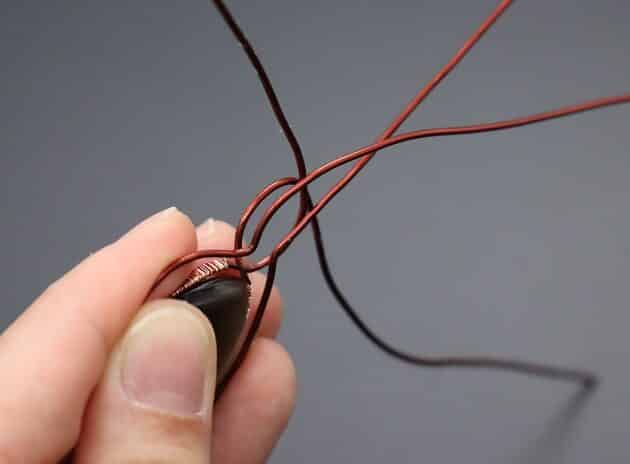
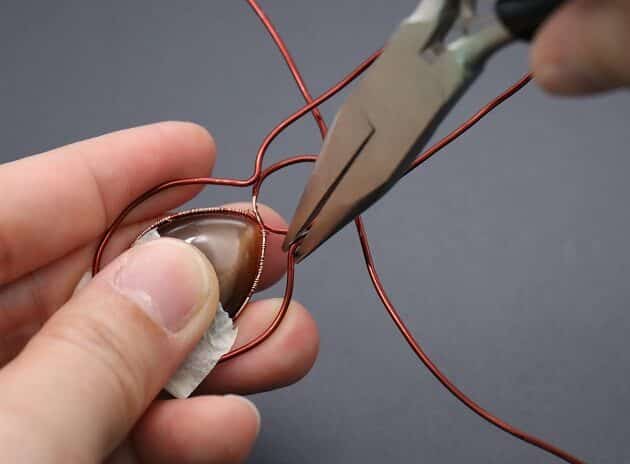
Then, bend the wire ends with a mini long nose pliers that converge at the lower one-third of the round structure found on the primary frame as shown (fig. 4c, 4d, 4e).
That will be the bail neck of the cabochon pendant.

Step 5 of 20
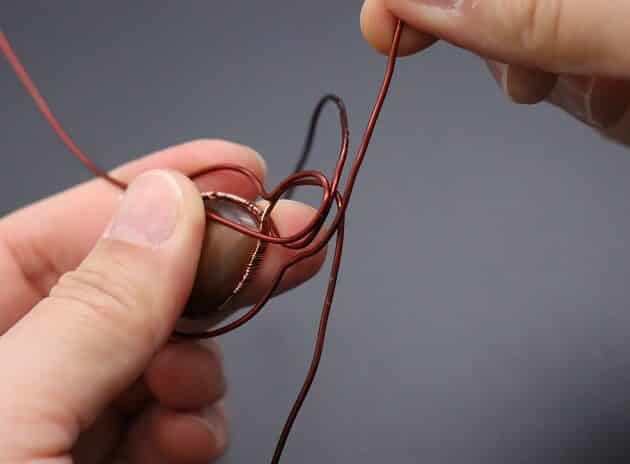
Set the round structure from the primary frame as a reference for the secondary frame to follow (fig. 5a, 5b, 5c, 5d).
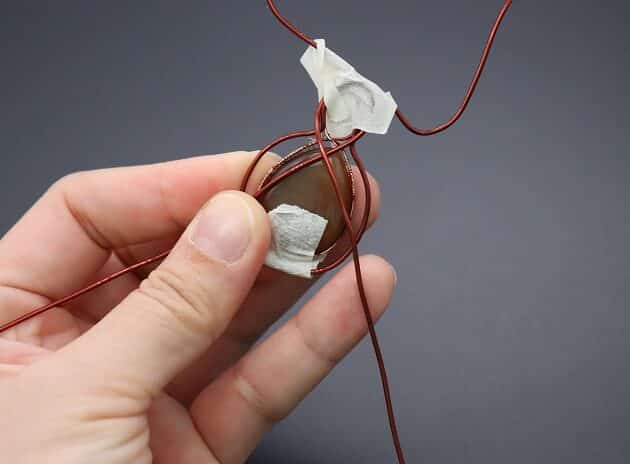
Curl the secondary frame wire ends downwards and crossed in between the bail and the pendant (fig. 5e).