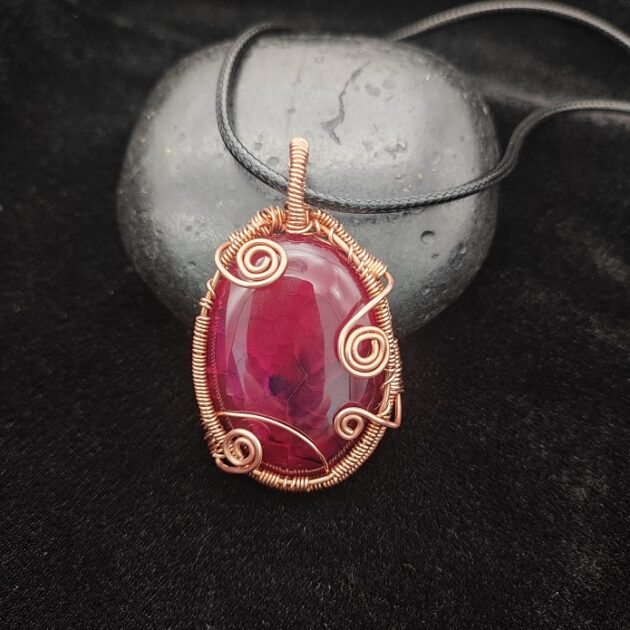
Hello and welcome back my lovely wire-wrappers! In this step-by-step tutorial, I will be showing you how to create a Red Oval Shape Wire-Wrapped Pendant.
So, if you are down to challenge yourself for an intermediate level jewelry making, I am sure you will enjoy this wire-wrapping tutorial.
Moreover, you get to practice wire-wrapping techniques such as framing, structuring, coiling and weaving in this tutorial.
LEVEL: INTERMEDIATE
MATERIALS + TOOLS
- 20 gauge dead soft copper wire (or wire of your choice)
- 26 gauge dead soft copper wire (or wire of your choice)
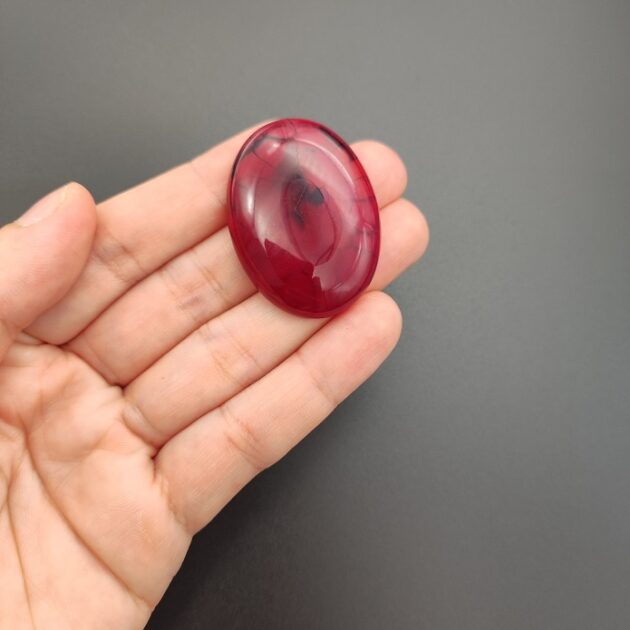
- Large oval gemstone of your choice
- Round nose pliers
- Needle nose pliers
- Wire cutters
WIRE-WRAPPING RED OVAL SHAPE PENDANT TUTORIALS
Step 1 of 9
Firstly, have your oval shaped gemstone or cabochon ready at hand (fig. 1a).
FREE WIRE-WRAPPING GUIDE TO YOUR EMAIL!
JOIN NEWSLETTER
We respect your privacy. Unsubscribe at anytime.
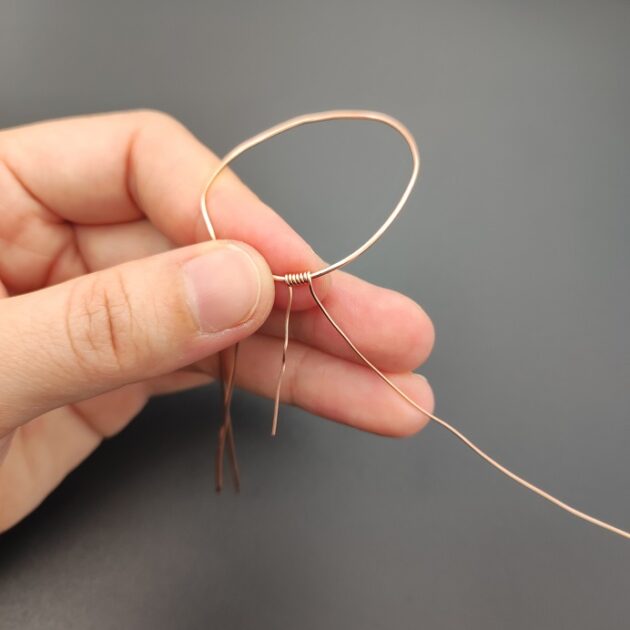
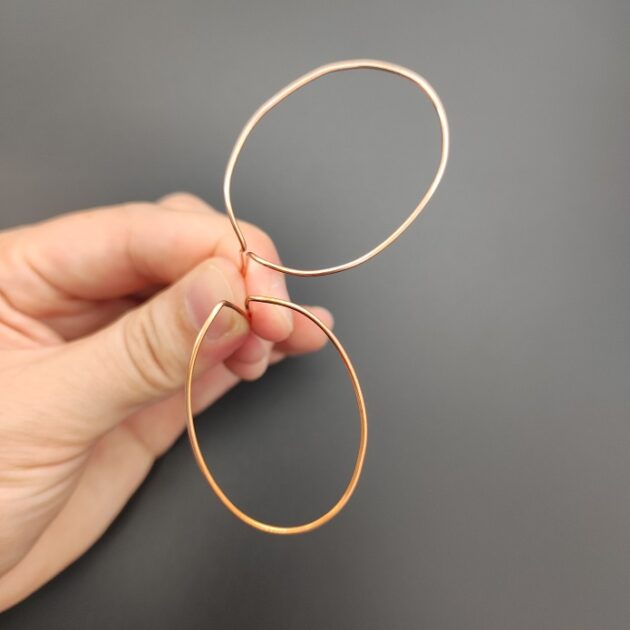
Then make two 20 gauge copper wire frames with bails by surrounding its sides (fig. 1b, 1c).
Step 2 of 9
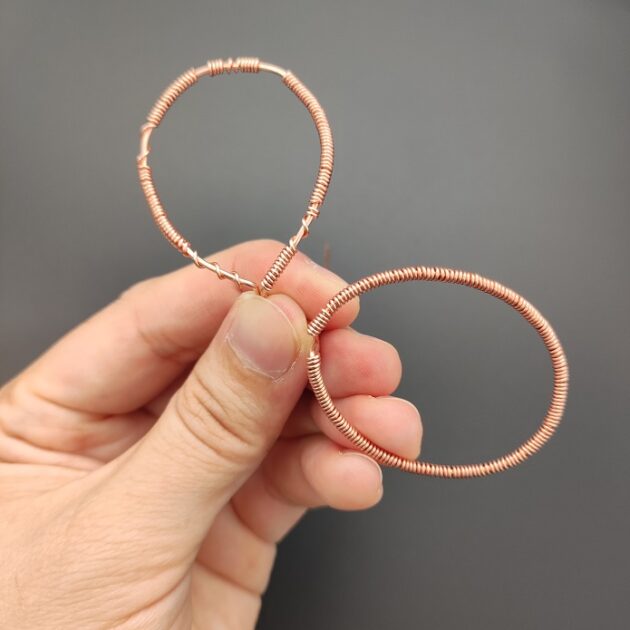
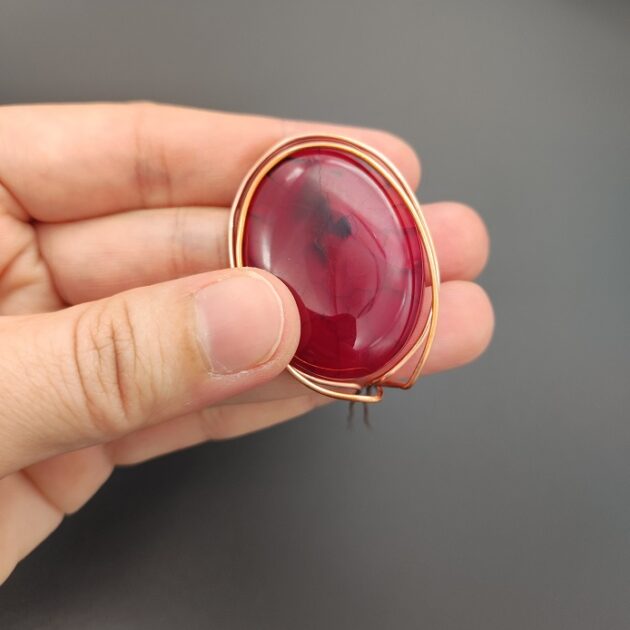
Secondly, proceed to coil the frames with a 26 gauge copper wire.
Make a full coil on one frame and a partial coil with design on the other frame (fig. 2a, 2b).
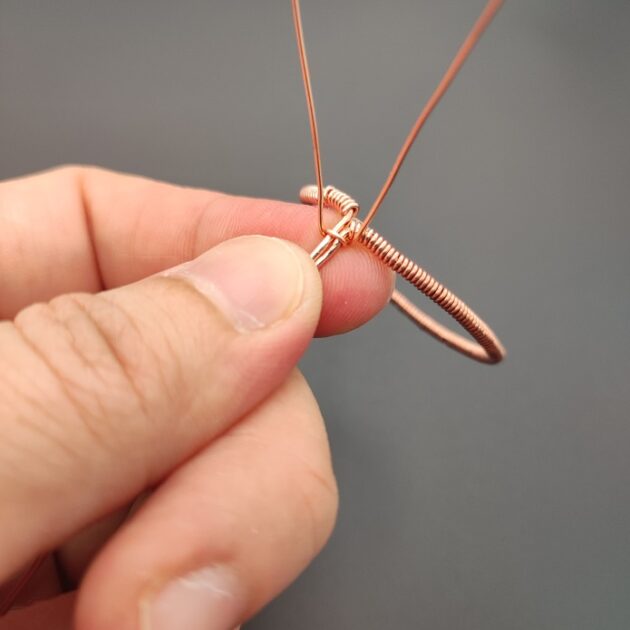
Then, secure the frames on top of one another by wrapping the bails together in one loop (fig. 2c).
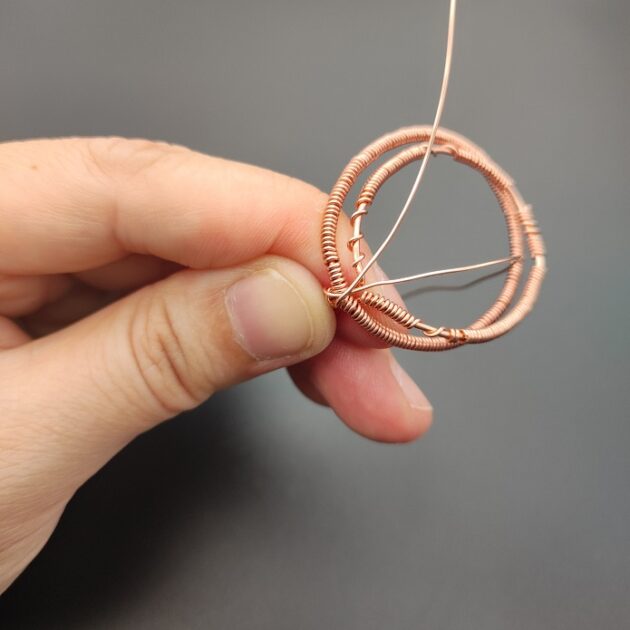
Remember leave a length of 26 gauge copper wire for making the pendant jump ring (fig. 2d).
Step 3 of 9
Thirdly, bend the remaining 20 gauge frame wires onto the back flat side of your red oval gemstone into four directions (fig. 3a).
Then, make a vine structure by coiling each end of the wires (fig. 3b) and bend it towards the front like to hold the red oval gemstone in place (fig. 3c).
Step 4 of 9
Next, form a jump ring from the excess 26 gauge wire by making at least two loops for sturdiness (fig. 4a. 4b).
Tidy up the jump ring structure using the coiling technique (fig. 4c, 4d, 4e).
Step 5 of 9
Moving on, start with a new 26 gauge copper wire and weave the lowest vine to the back frame (fig. 5a, 5b).
Then, leave a length of copper wire and slit it between the frames (fig.5c).
Step 6 of 9
A continuation from step 5, pull the length of copper wire to the front side of the pendant (fig. 6a).
Then, make a design curve at the lower half of the pendant and tug the wire under the oval gemstone as shown (fig. 6b).
Lastly, secure the length of wire at the back side of the pendant by pulling it towards the top corner of the back frame (fig. 6c, 6d).
Use a wire cutter to snip off excess wire after anchoring (fig. 6e).
Step 7 of 9
Similarly, begin weaving the vine on the top corner with a new 26 gauge wire (fig. 7a). Start on the back frame only and progressively move towards the end of the vine (fig. 7b, 7c).
Step 8 of 9
Next, repeat step 7 on the opposite top corner with a new 26 gauge wire – weave vibe branch onto back frame (fig. 8a, 8b, 8c).
Step 9 of 9
Finally, finish weaving up the last vine on the bottom corner of the pendant with a new 26 gauge copper wire (fig. 9a, 9b, 9c).
FINISHED WIRE-WRAPPING RED OVAL PENDANT
Want to Support me?
If you enjoyed my content, please consider support me on Patreon:). This helps me to create more amazing free content to share with you 🙂
If you’d like to see my work and follow my wire journey, you can find me here:
Facebook Instagram Twitter Pinterest YouTube Etsy