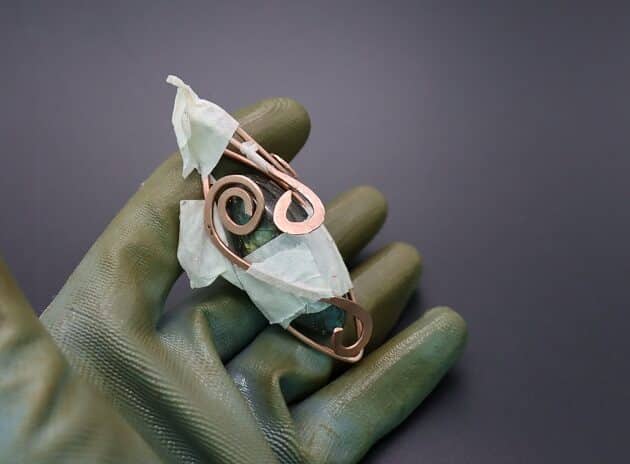
Step 10 of 17
Assemble the two newly made curly design pieces onto your pendant with tape.
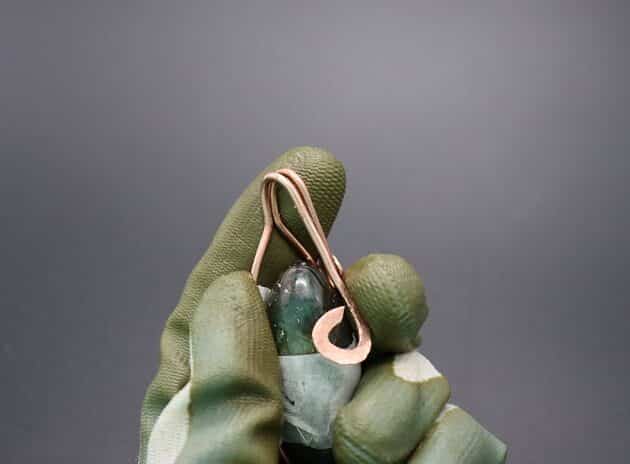
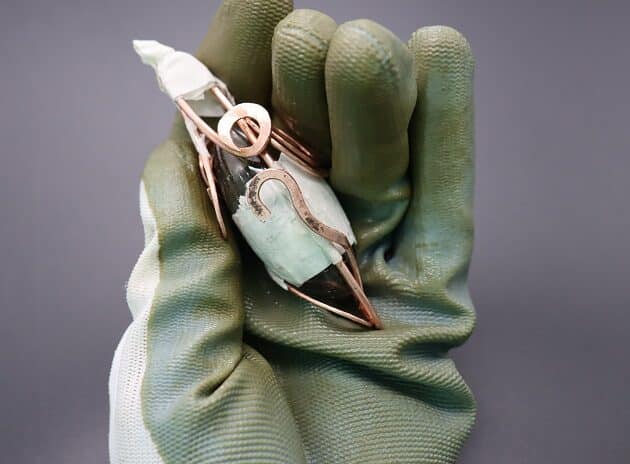
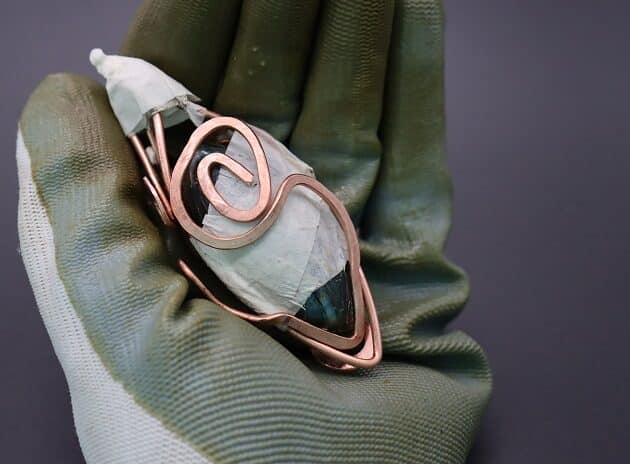
Checkpoint: This is how your marquise labradorite pendant should look like:
- Front view (fig. 10a).
- Right view (fig. 10b).
- Back view (fig. 10c).

FREE WIRE-WRAPPING GUIDE TO YOUR EMAIL!
JOIN NEWSLETTER
We respect your privacy. Unsubscribe at anytime.
Prefer this wire-wrapping tutorial in a PRINTABLE FORMAT? (High Resolution Photos)
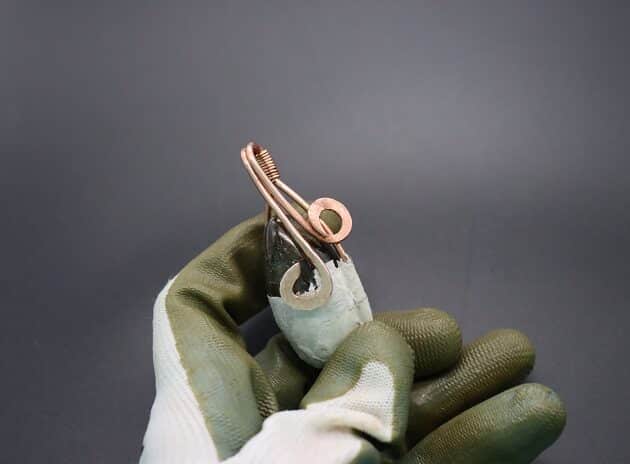
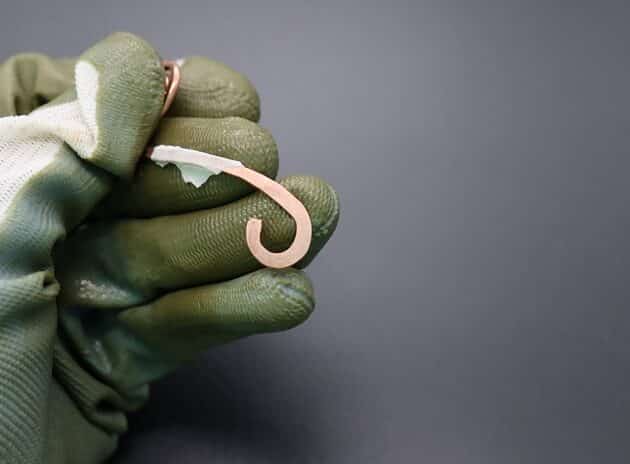
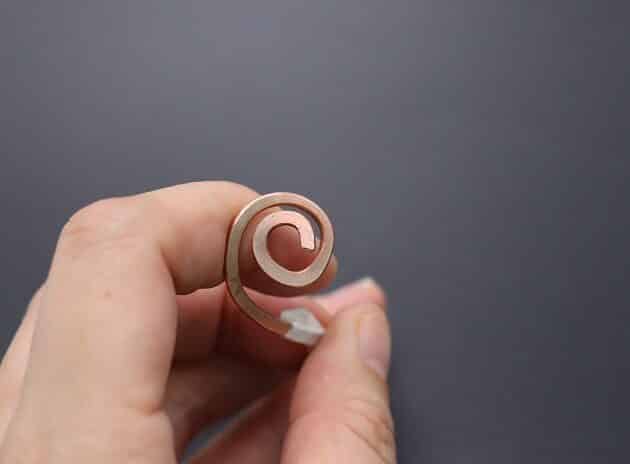
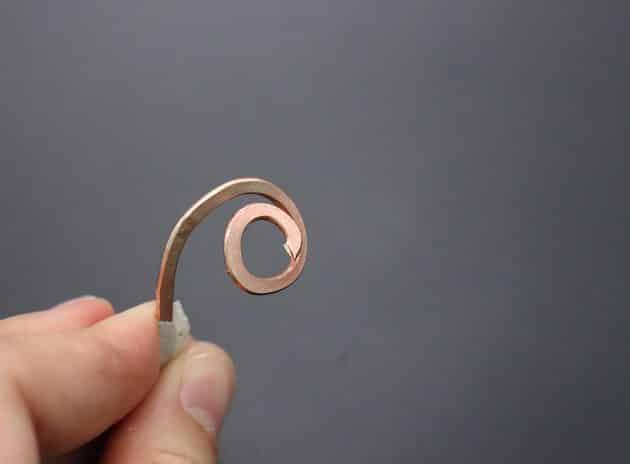
Step 11 of 17
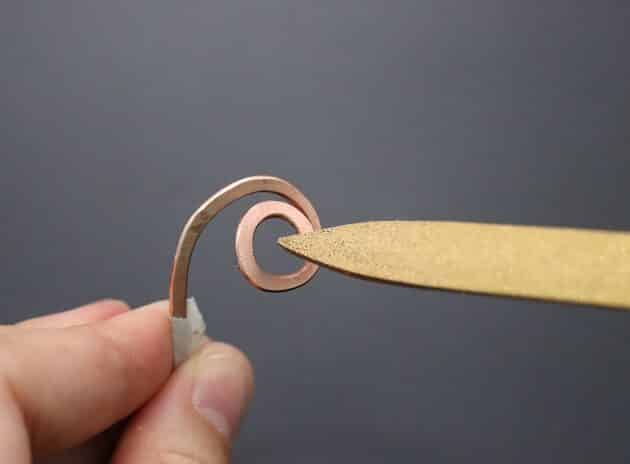
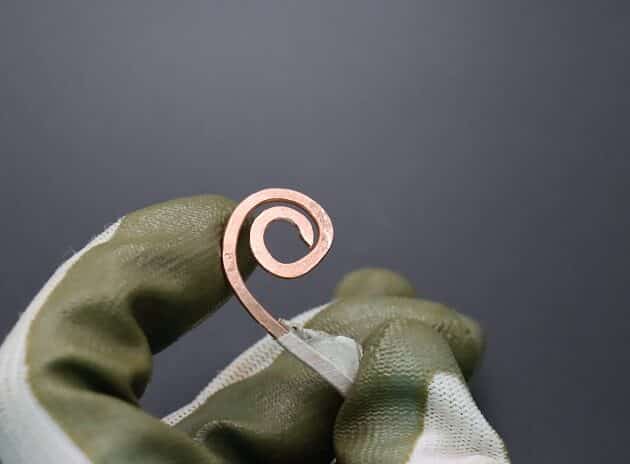
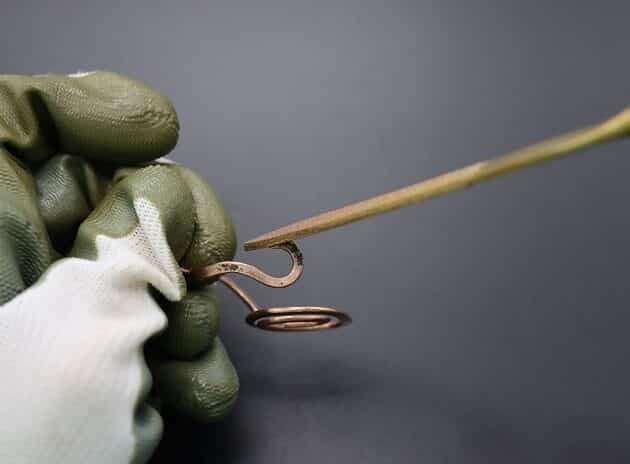
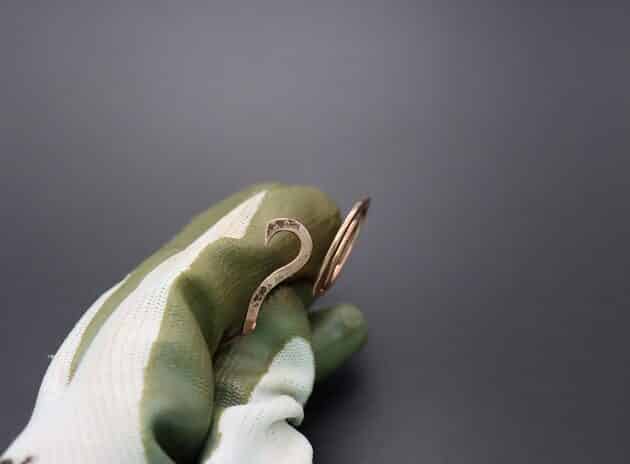
After that, refine the front curly design piece by sharpening the blunt ends of your curls with a triangle diamond needle file:
- End curl (fig. 11a, 11b, 11c, 11d.
- Spiral curl (fig. 11e, 11f, 11g, 11h).
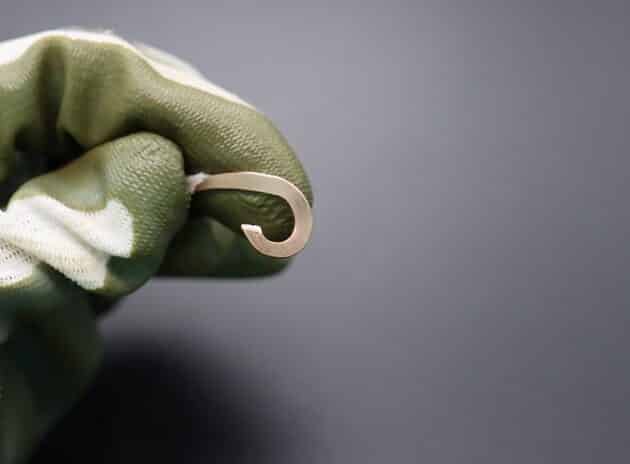
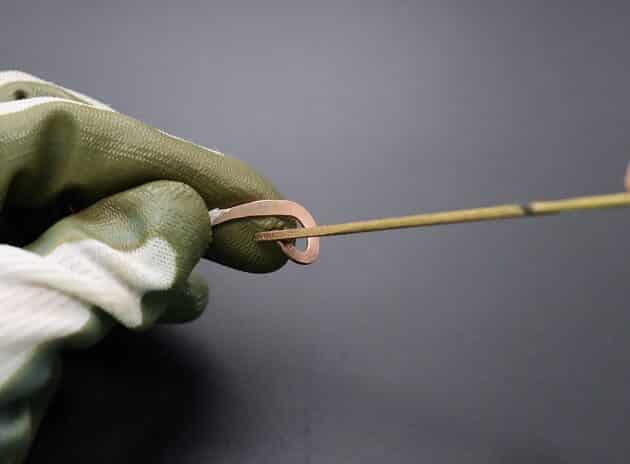
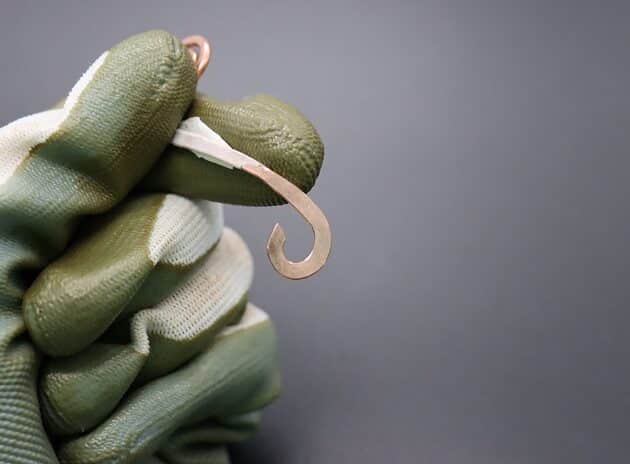
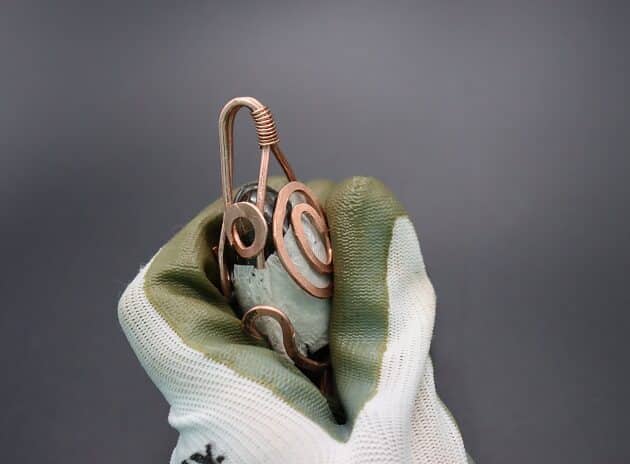
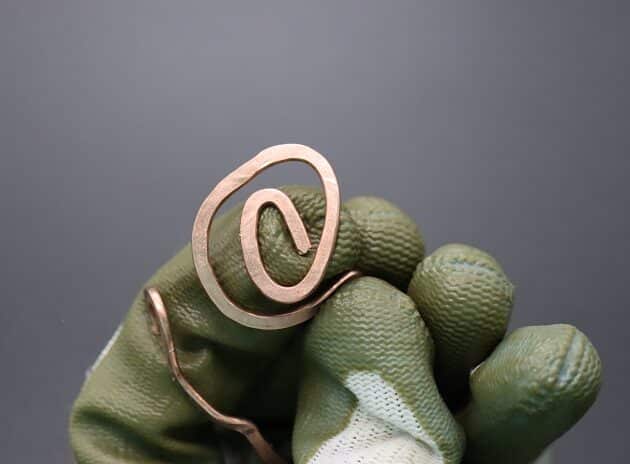
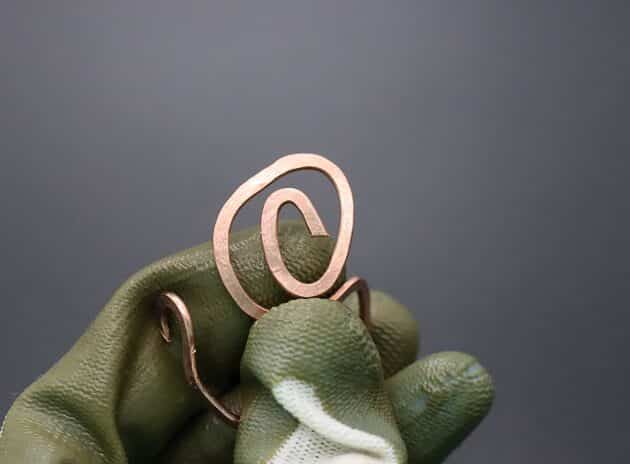
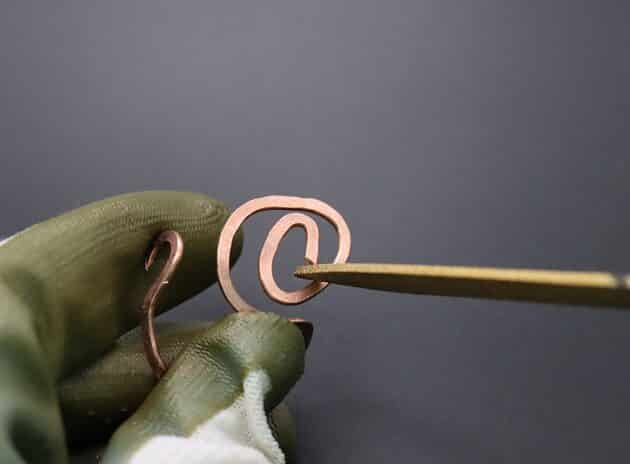
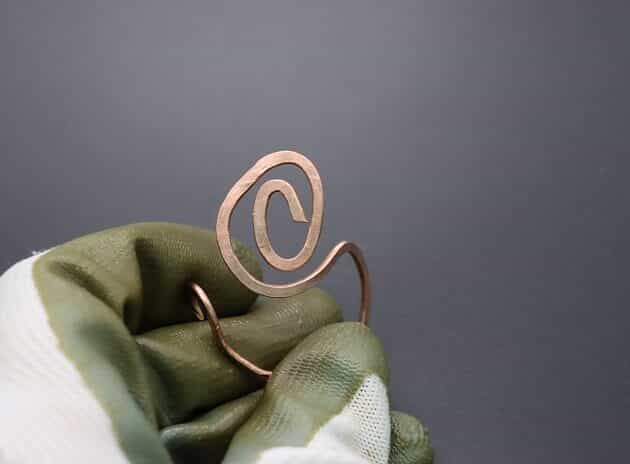
Step 12 of 17
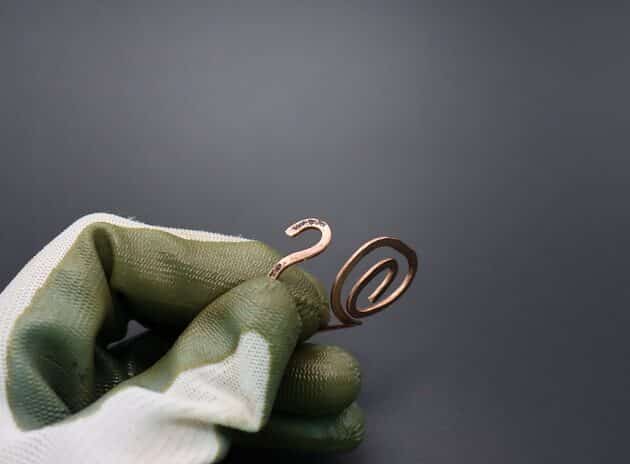
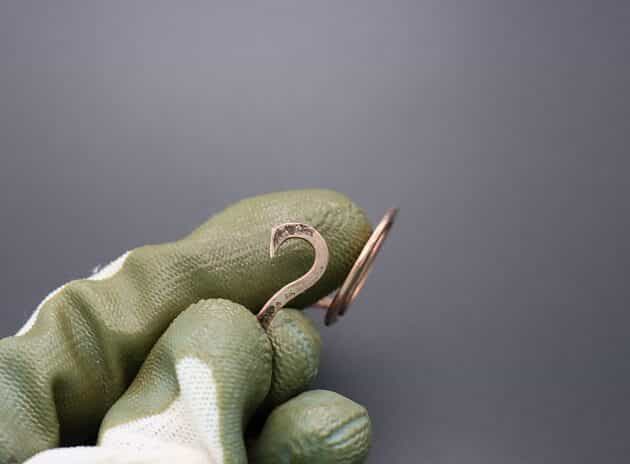
Repeat the same refining process for the back curly design piece by sharpening the blunt ends with a triangle diamond needle file.
- Front curl (fig. 12a, 12b, 12c, 12d).
- End spiral curl (fig. 12e, 12f, 12g, 12h).
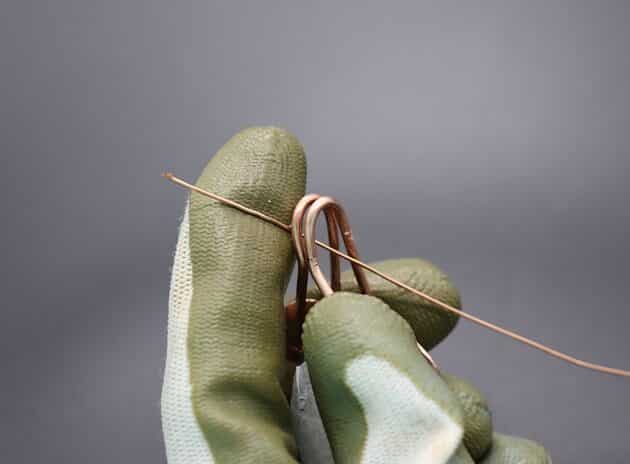
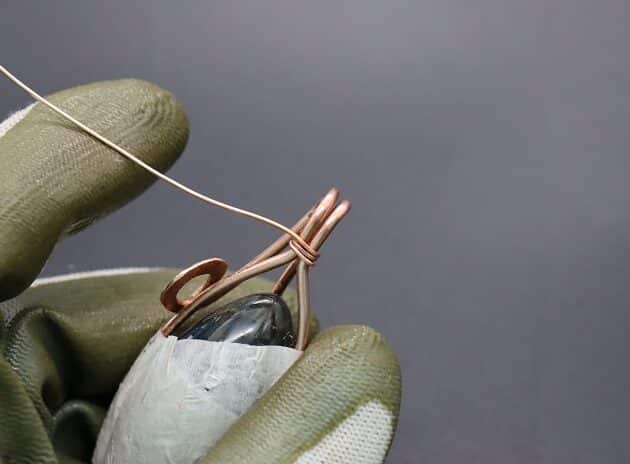
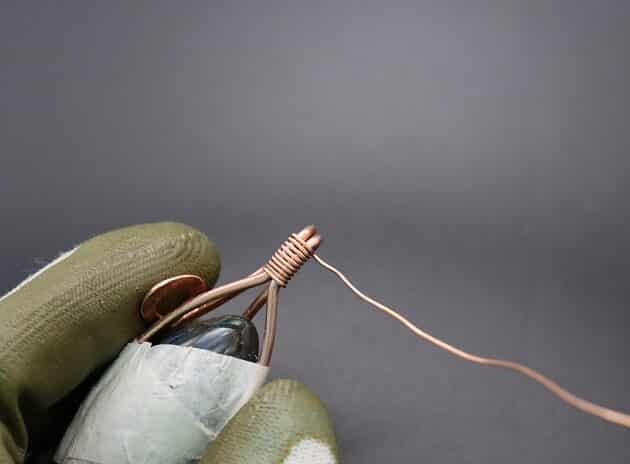
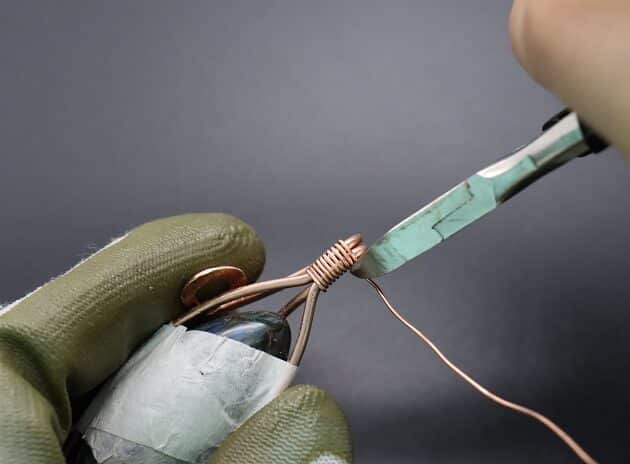
Step 13 of 17
For the third part of this tutorial, you will use the wire weaving technique to assemble your pendant.
On your pendant bail, use a 18-gauge gold copper wire and weave the 12-gauge wires together with 3 starting coils (fig. 13a, 13b, 13c).
Proceed to make 7 more coils along your bail (fig. 13d).
Trim off the excess 18-gauge wire with a wire cutter (fig. 13e, 13f).
Checkpoint: This is how your pendant bail should look (fig. 13g, 13h).