Step 11 of 13
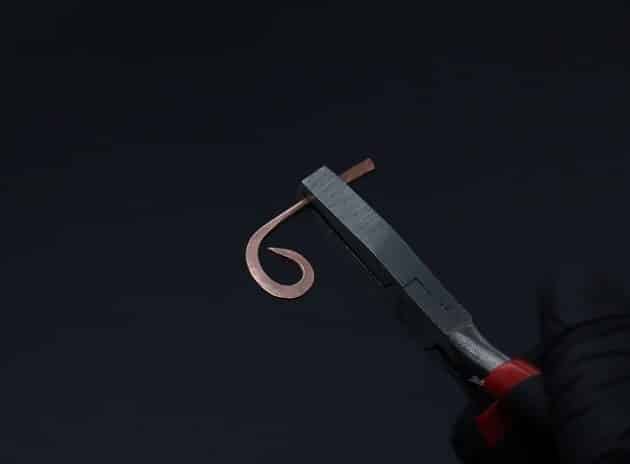
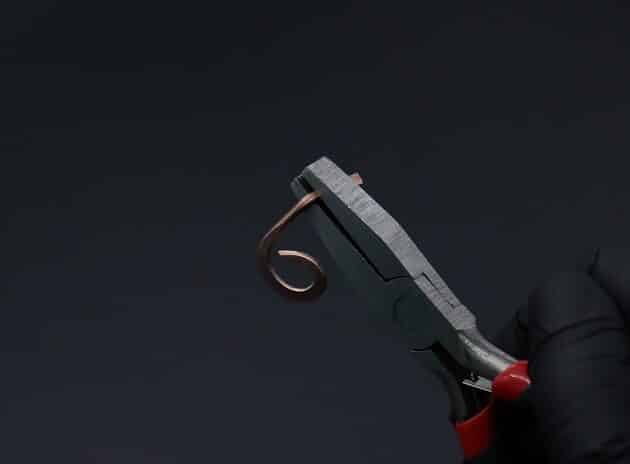
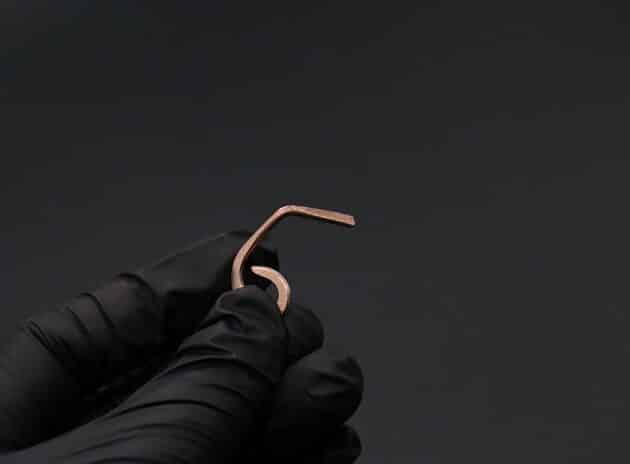
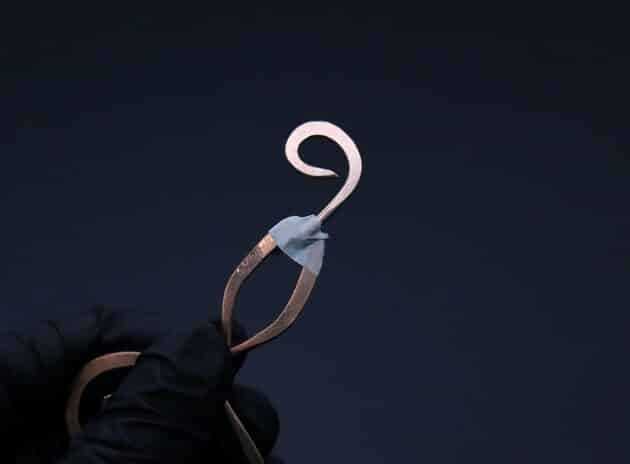
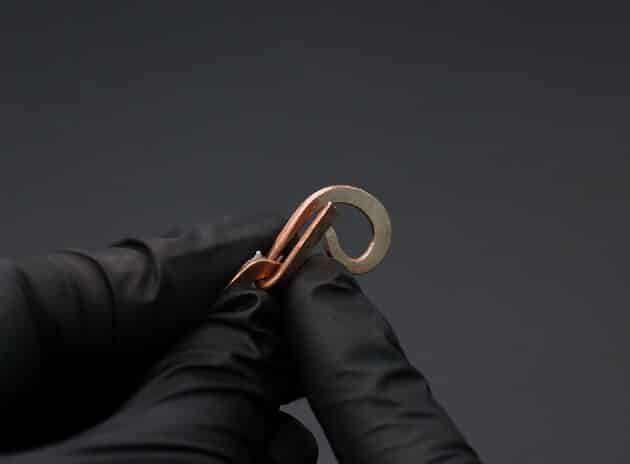
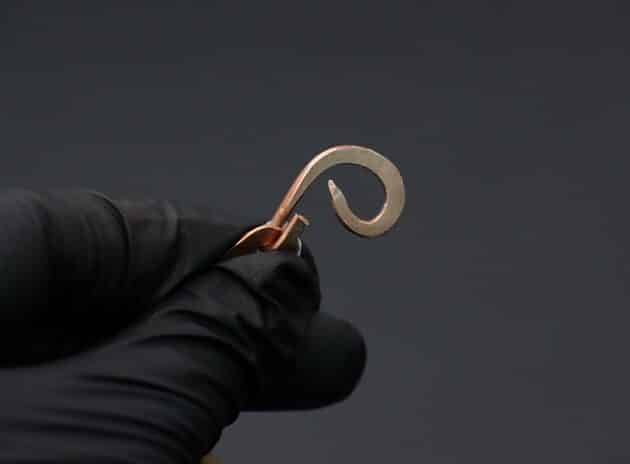
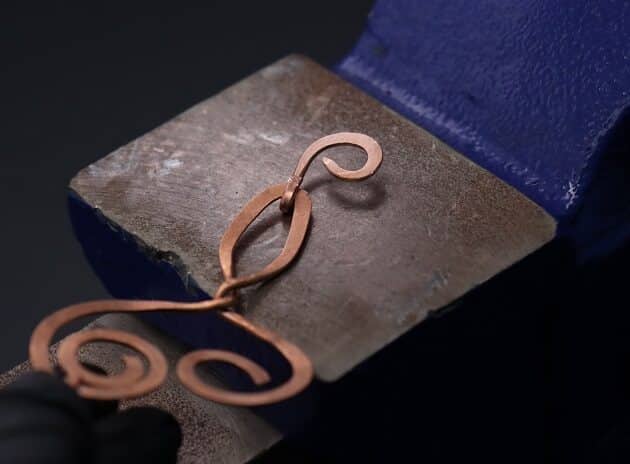
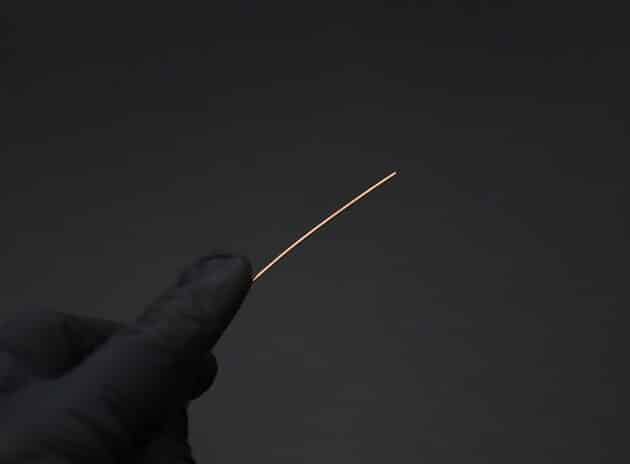
Next, bend your third frame piece using a flat nose pliers (fig. 11a, 11b, 11c.
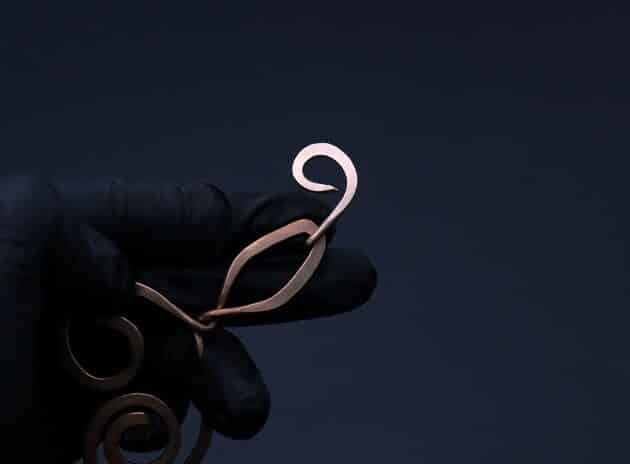
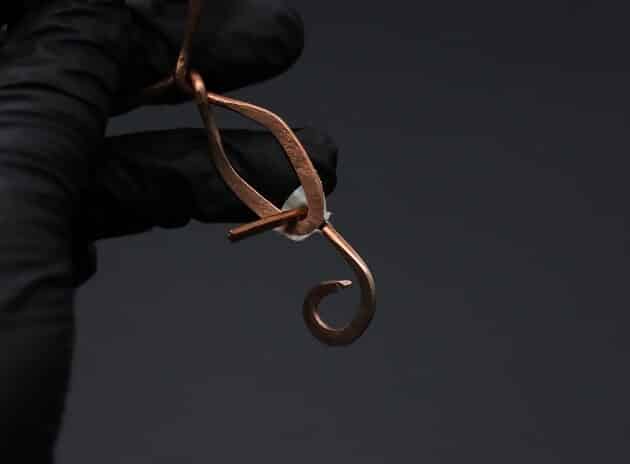
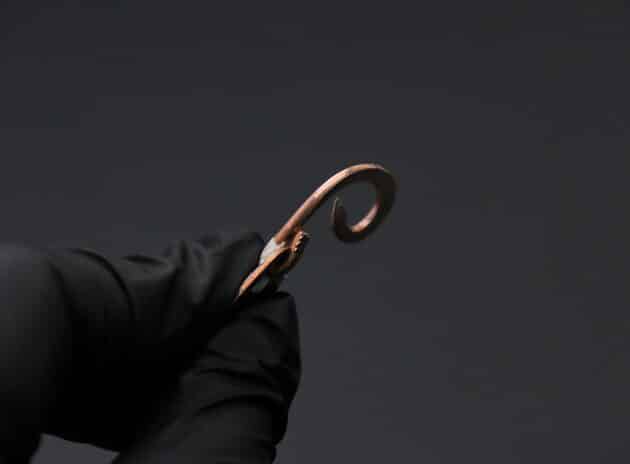
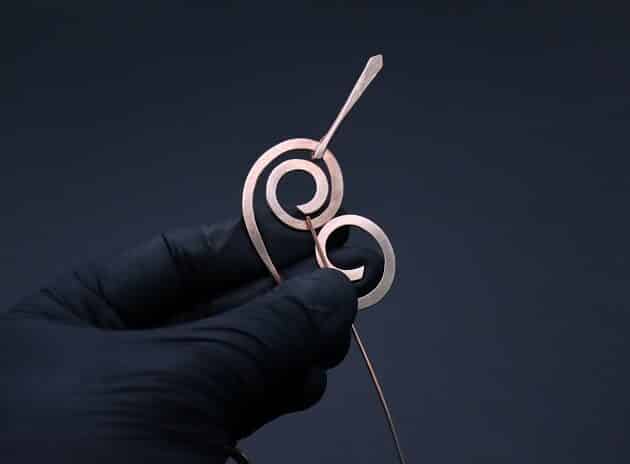
Then, tape the third frame piece onto the main wire frame as shown (fig. 11d, 11e.
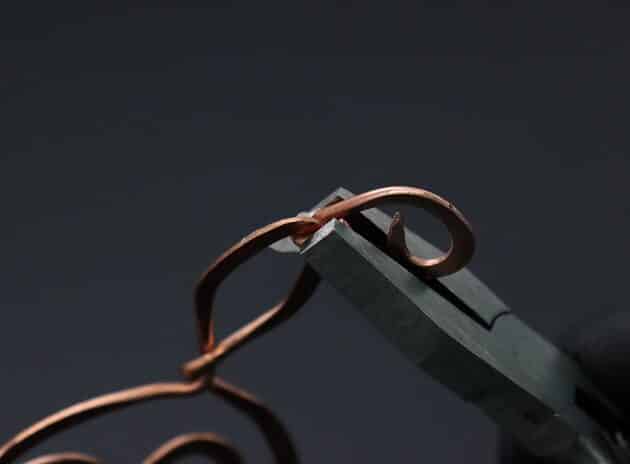
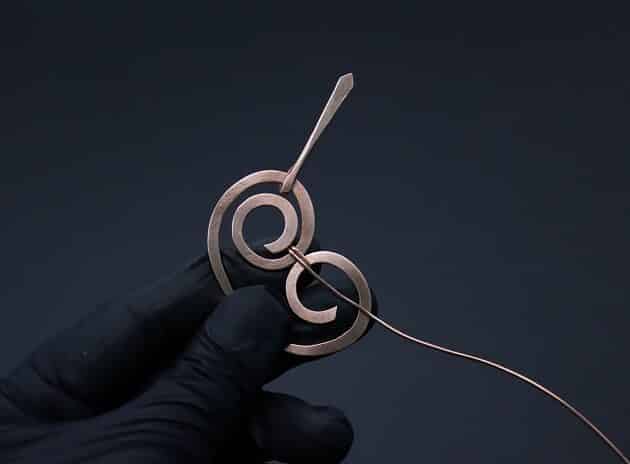
Anchor the frame piece by closing the bent wire with a flat nose pliers (fig. 11f, 11g, 11h).

FREE WIRE-WRAPPING GUIDE TO YOUR EMAIL!
JOIN NEWSLETTER
We respect your privacy. Unsubscribe at anytime.
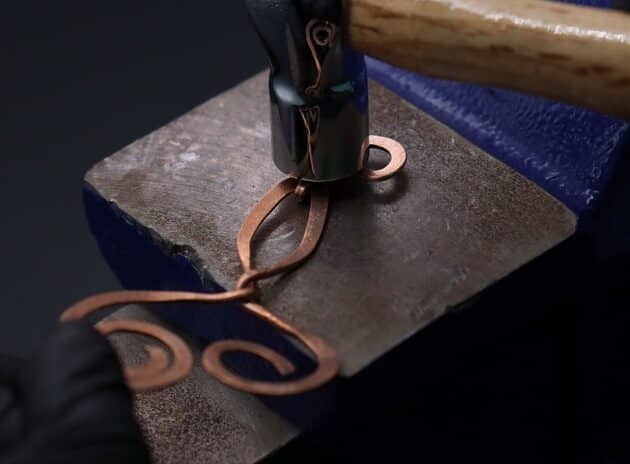
Step 12 of 13
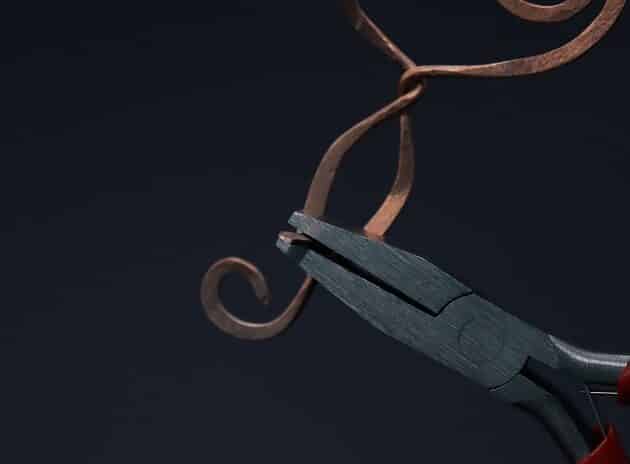
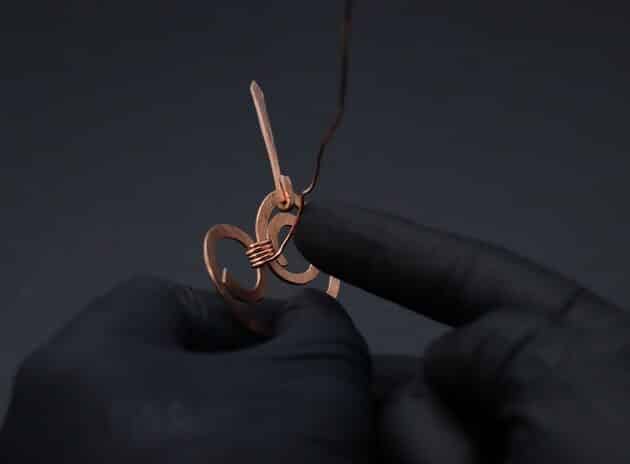
Proceed to trim off the excess wire frame with a small wire cutter (fig. 12a, 12b, 12c.
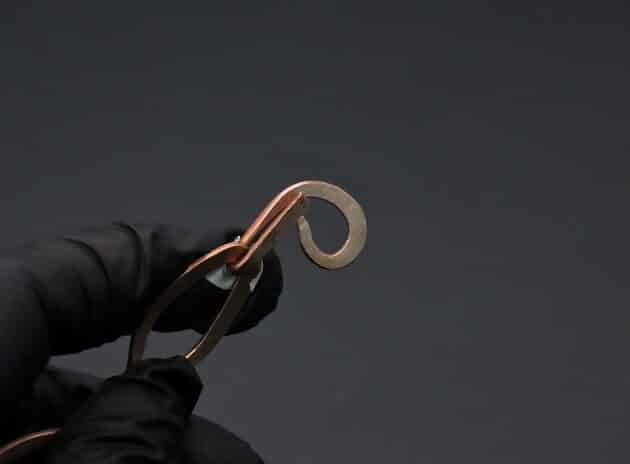
Tighten the connection using a flat nose pliers (fig. 12d, 12e.
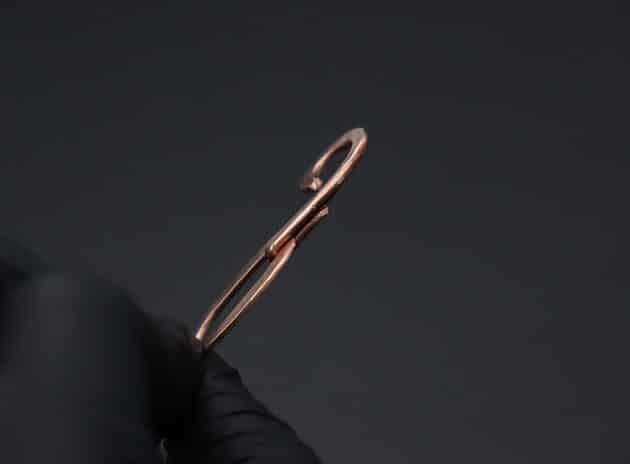
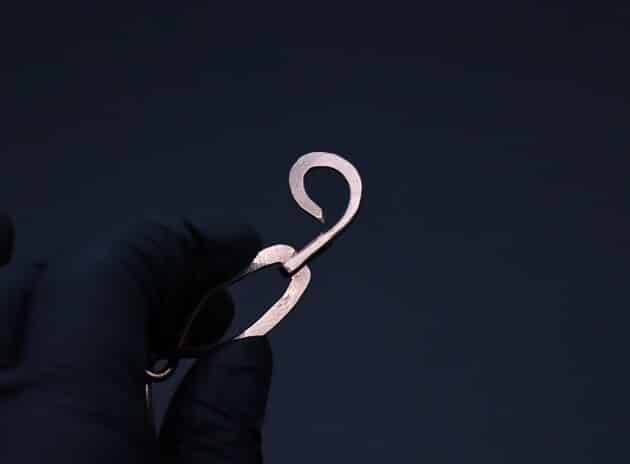
On your base metal plate, hammer to secure the connection point (fig. 12f, 12g, 12h, 12i.
Checkpoint: this is how your artistic shawl pin design should look (fig. 12j).

Step 13 of 13
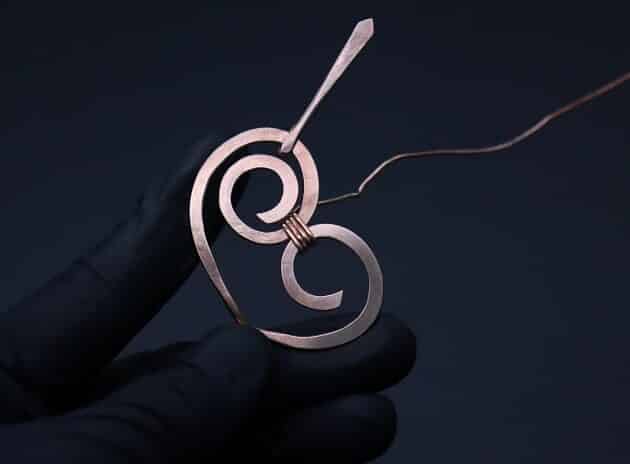
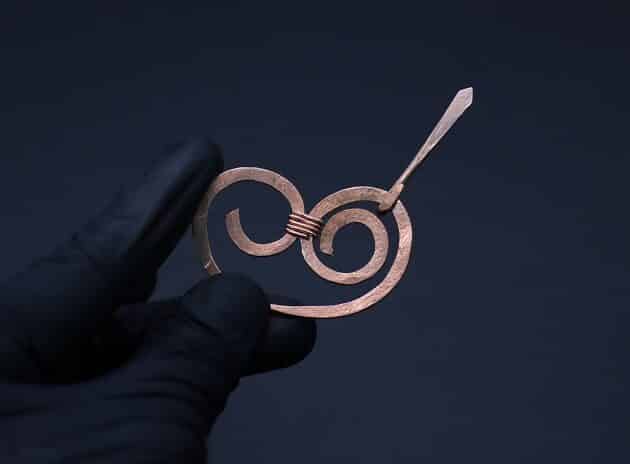
Final step, let’s add a touch of texture to the main wire frame.
Use a 18-gauge gold copper wire and make a coil between the two main frame curves (fig. 13a, 13b, 13c, 13d).
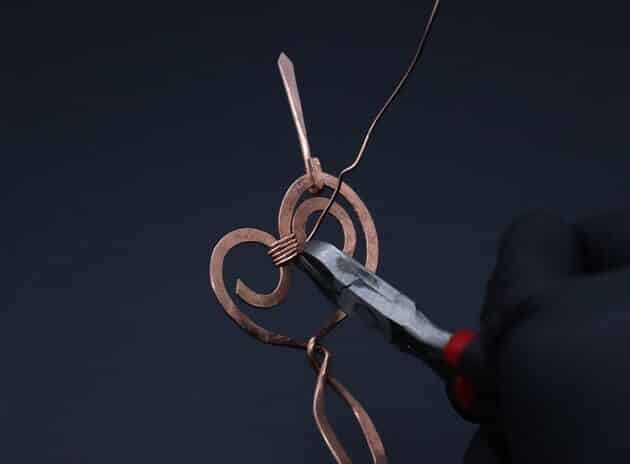
Then, trim off the excess wire using a small wire cutter (fig. 13e, 13f).
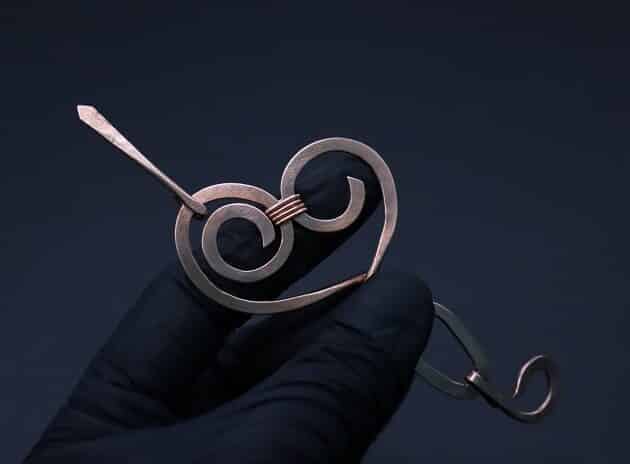
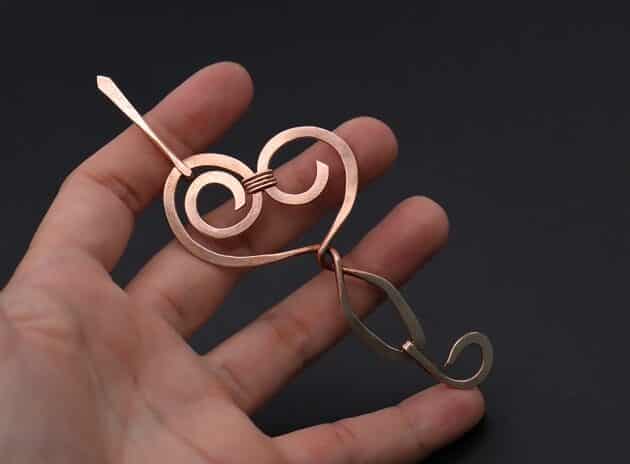
Checkpoint: this is how the front and back of the coils look like (fig. 13g, 13h).
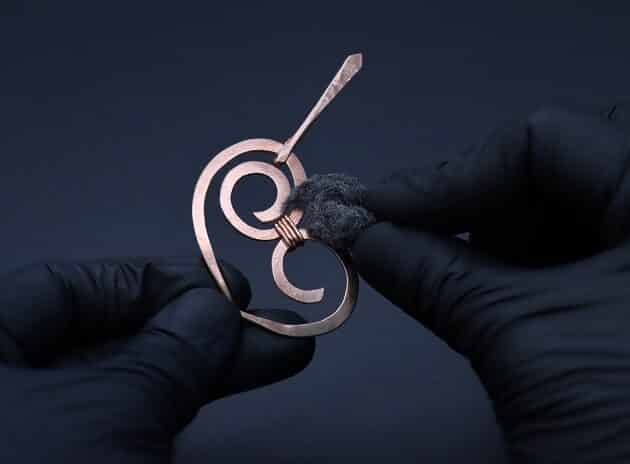
Polish the coils with a finest steel wire wool (fig. 13i).
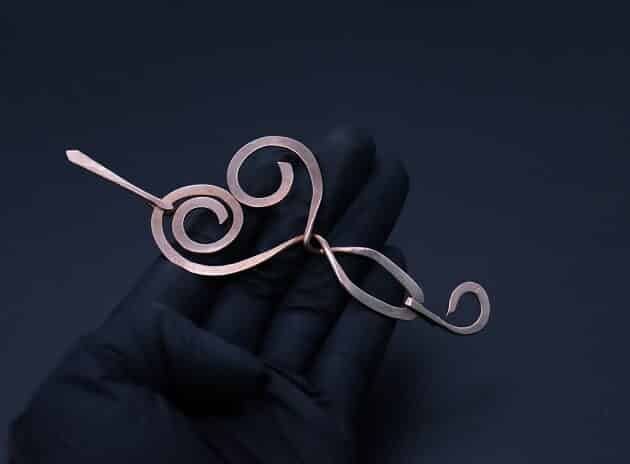
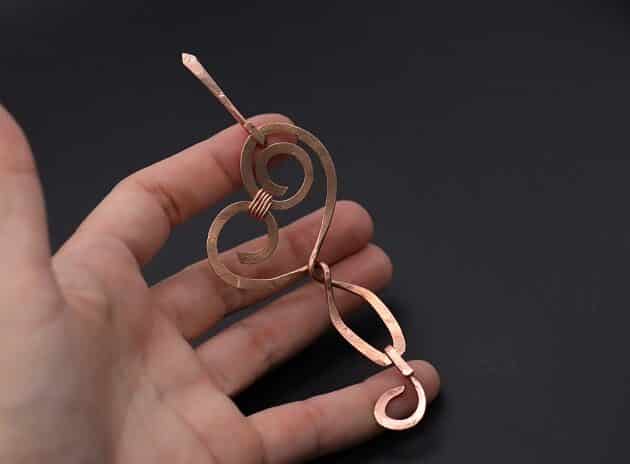
Congratulations! You have completed your tutorial.
COMPLETED WIRE-WRAPPING HAND-HAMMERED ARTISTIC SHAWL PIN
Want to Support me?
If you enjoyed my content, please consider support me on Patreon:). This helps me to create more amazing free content to share with you 🙂
If you’d like to see my work and follow my wire journey, you can find me here:
Facebook Instagram Twitter Pinterest YouTube Etsy

