Step 5 of 13
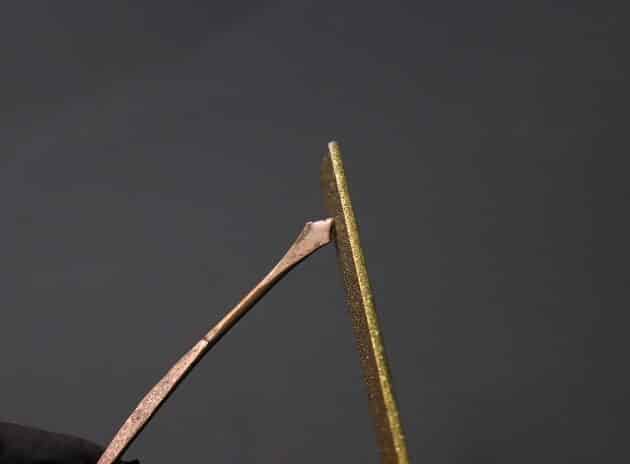
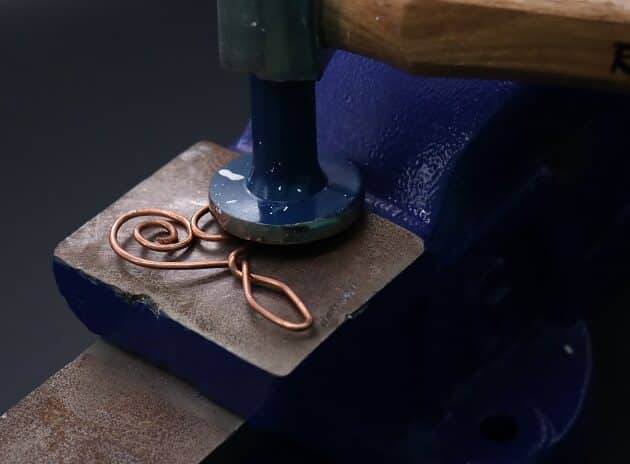
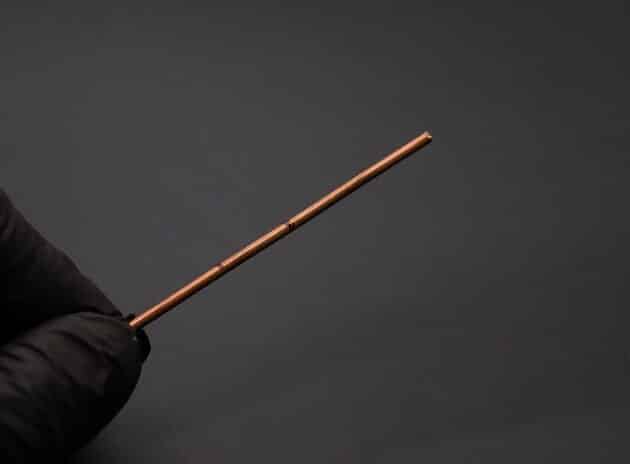
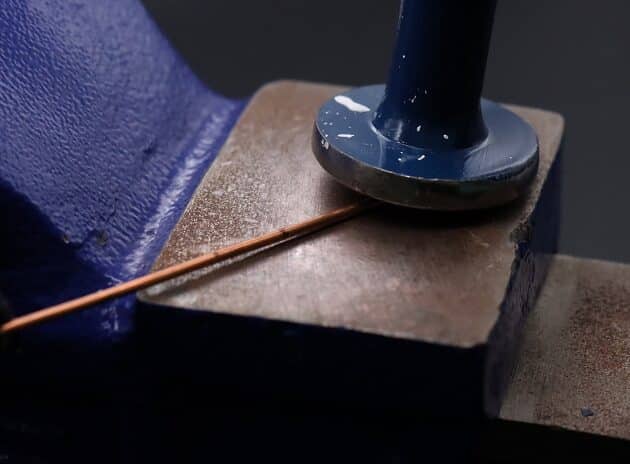
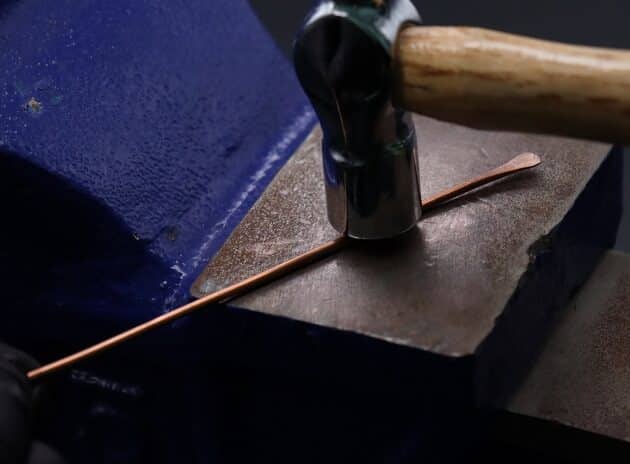
Place your wire frame on a base metal plate or a jewelry anvil (fig. 5a).
Then flatten your wire frame using a flat round face hammer (fig. 5b, 5c).
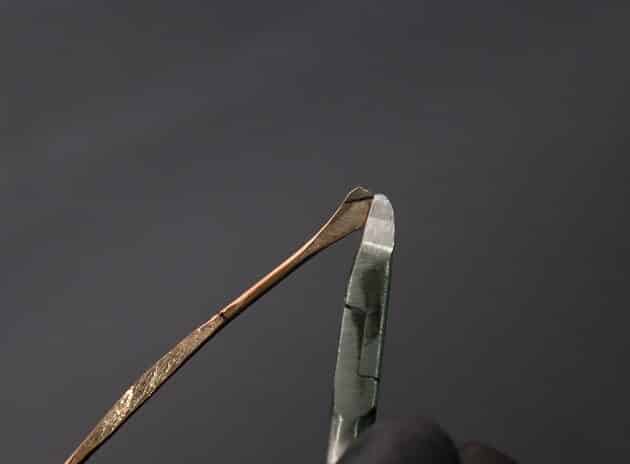
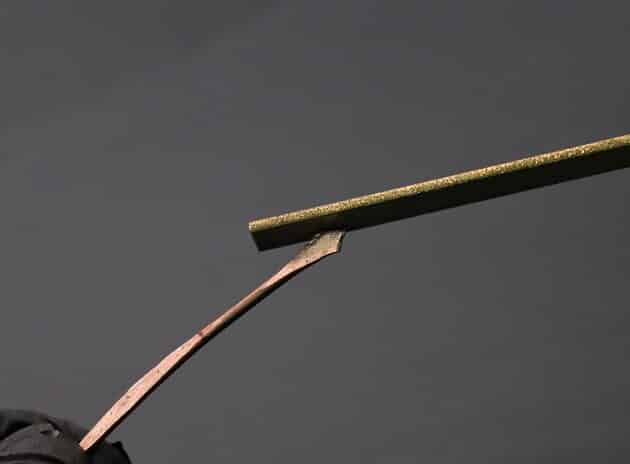
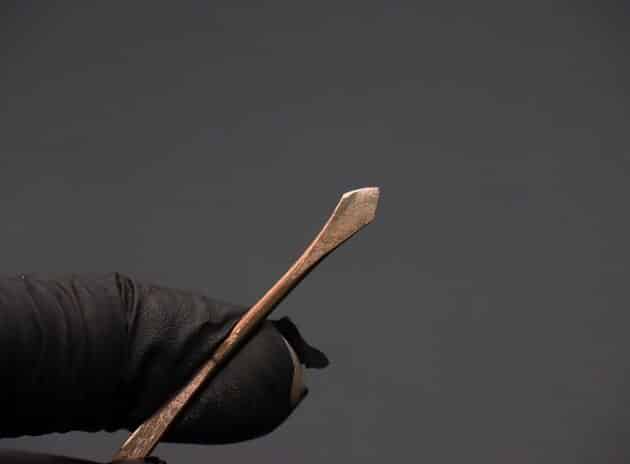
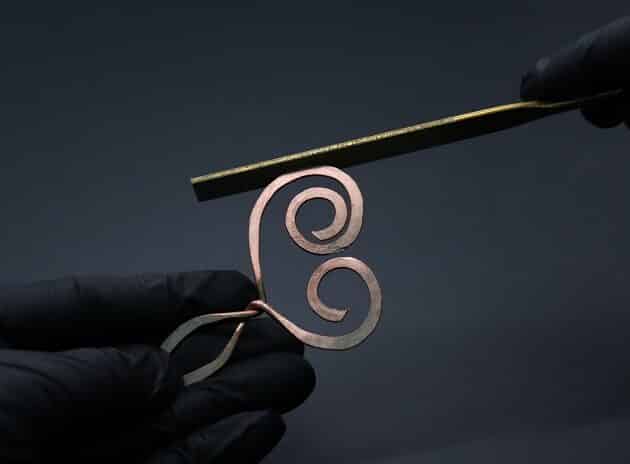
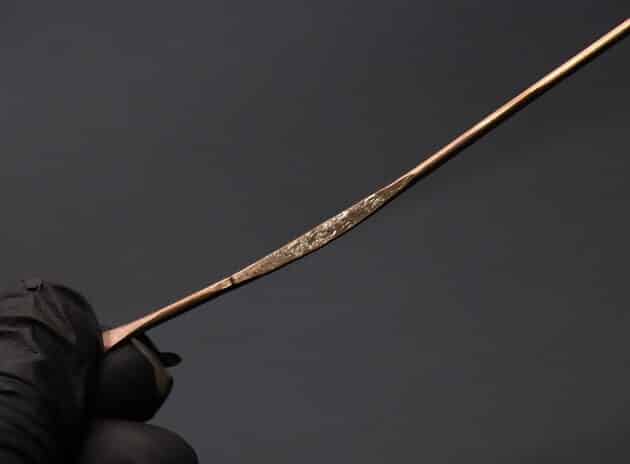
Adjust the edge of your flat wire frame with a flat diamond needle files (fig. 5d, 5e).

FREE WIRE-WRAPPING GUIDE TO YOUR EMAIL!
JOIN NEWSLETTER
We respect your privacy. Unsubscribe at anytime.
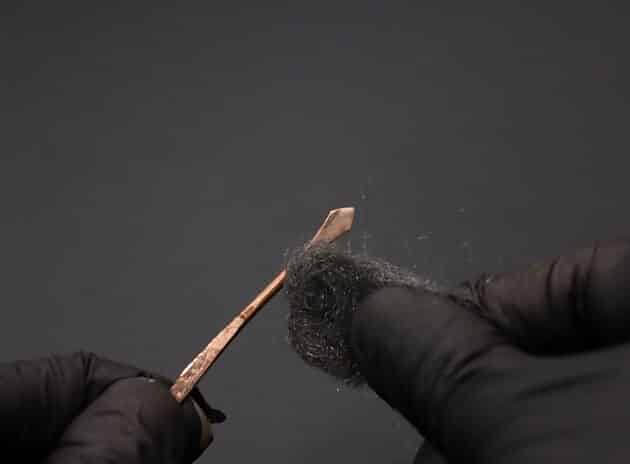
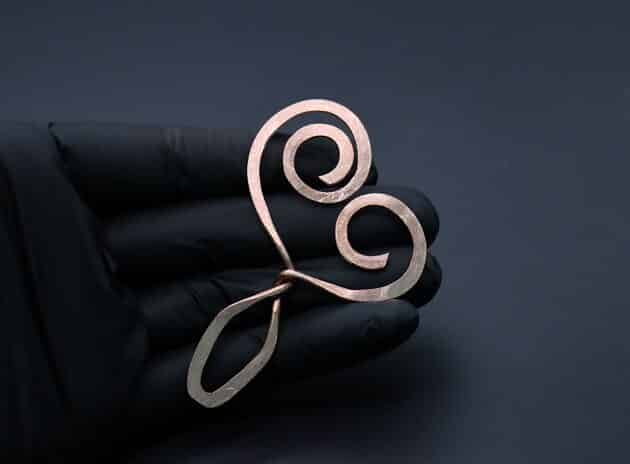
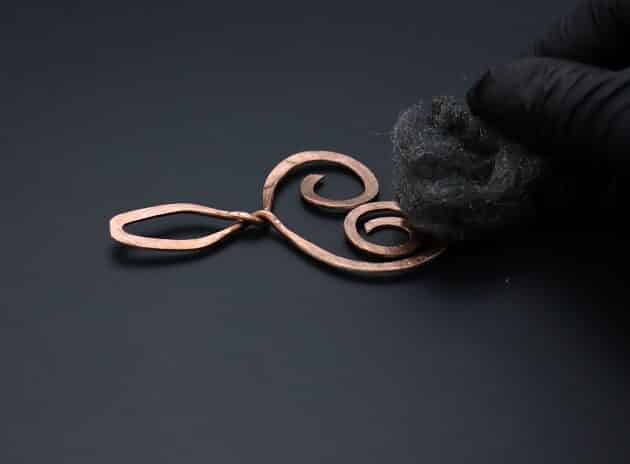
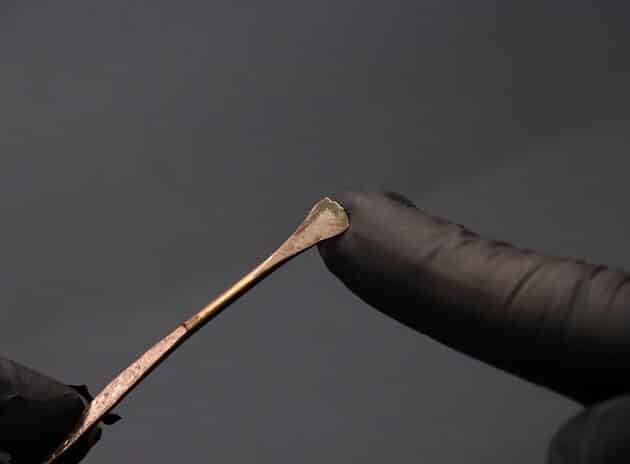
And use a finest steel wire wool to polish your wire frame surface (fig. 5f).
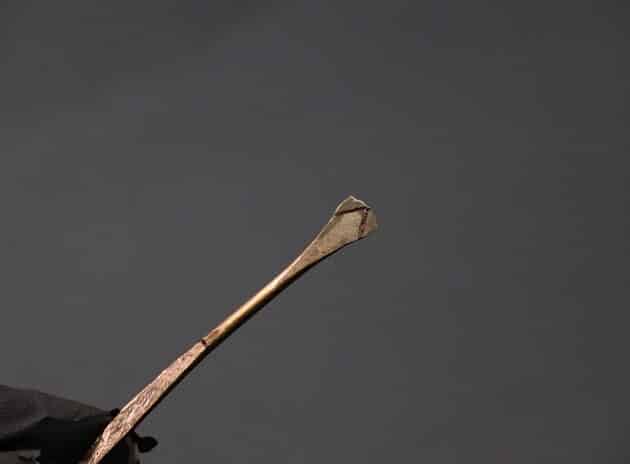
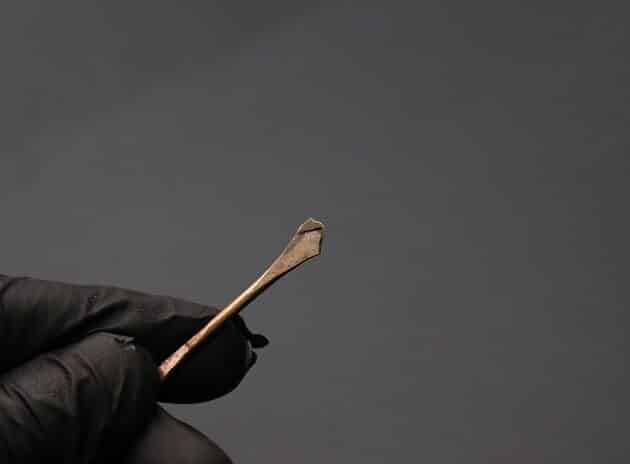
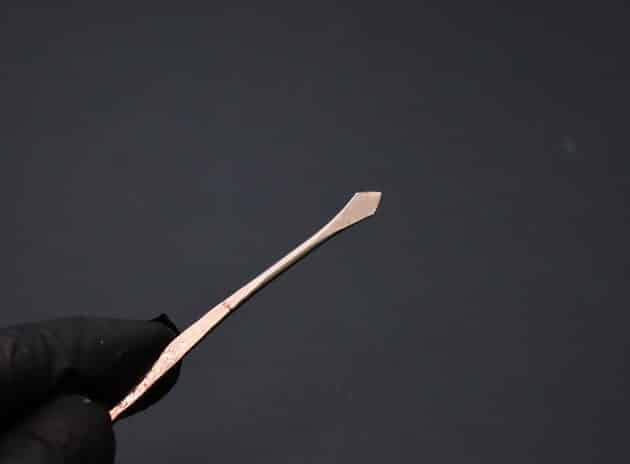
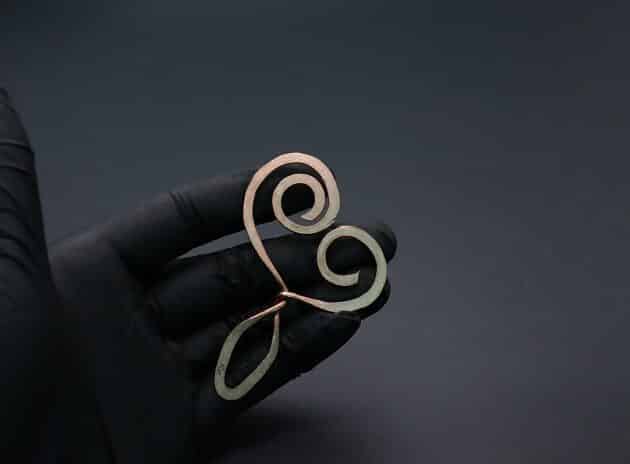
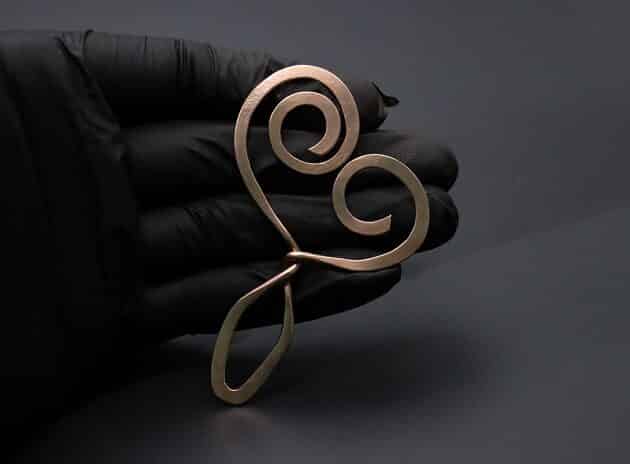
Your main wire frame piece is complete (fig. 5g).

Step 6 of 13
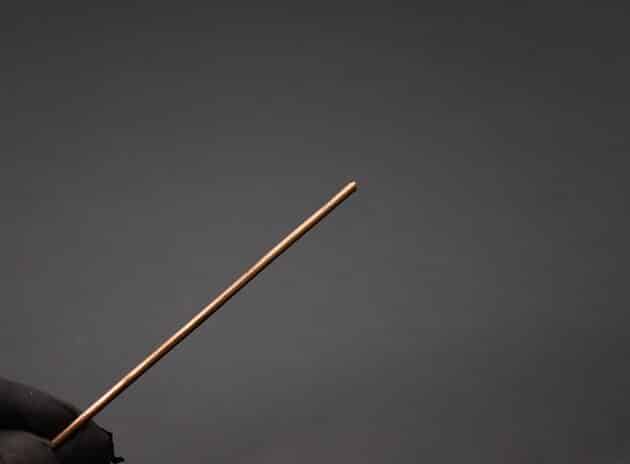
Moving on, let’s work on the second wire frame piece.
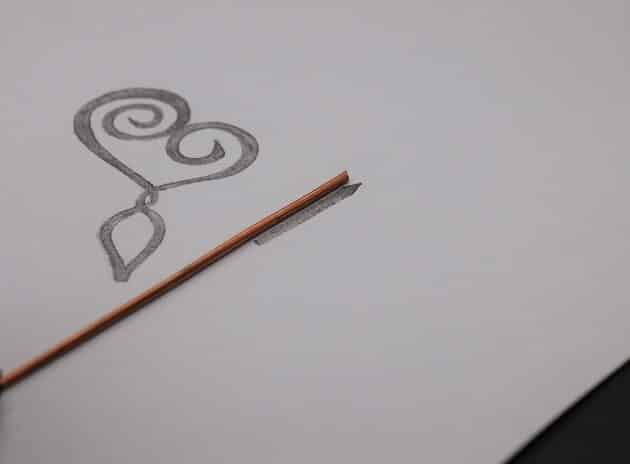
Take a string of 12-gauge copper wire and trace its length on the design template (fig. 6a, 6b).
Make two markings on your wire, where the second marking will be the connector (fig. 6c).
Then, flatten the top end of your wire with a flat round face hammer (fig. 6d, 6e).
Next, swap to a ball peen hammer and flatten the second marking with the flat side (fig. 6f, 6g, 6h).
Checkpoint: This is how your hammered second wire frame should look (fig. 6i).
Step 7 of 13
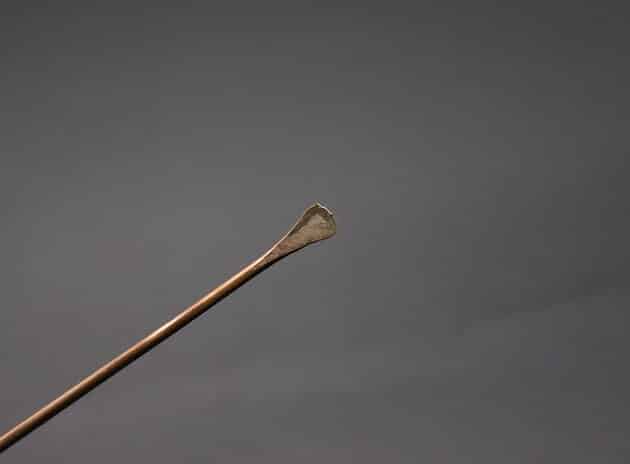
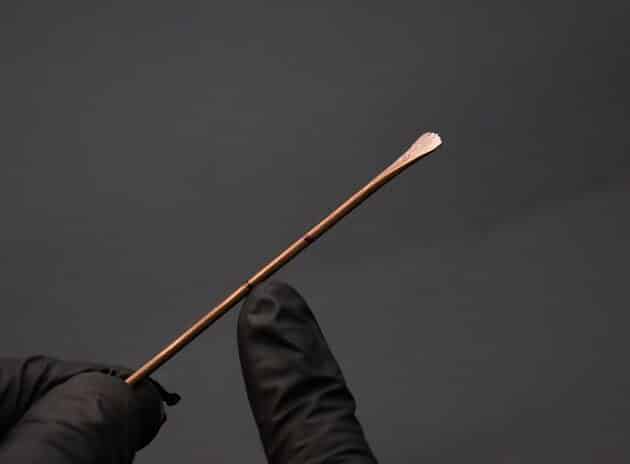
Draw an arrowhead for the top wire end design (fig. 7a).
Then trim the wire into shape using a small wire cutter (fig. 7b, 7c, 7d).
Smoothen the edges with a flat diamond needle files to avoid surface scratching (fig. 7e, 7f, 7g).
Use a finest steel wire wool to polish the wire surface (fig. 7h, 7i).