Step 8 of 13
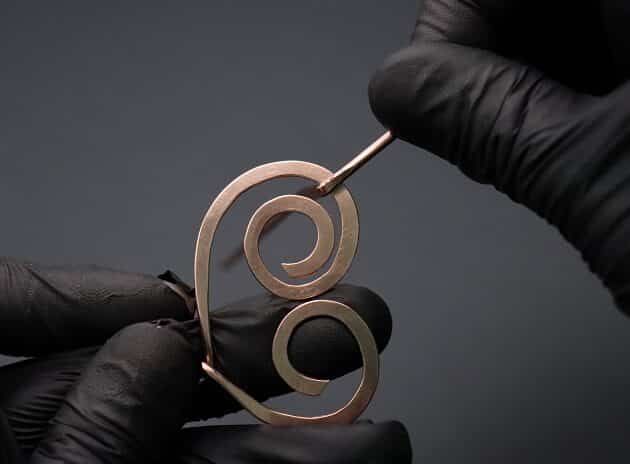
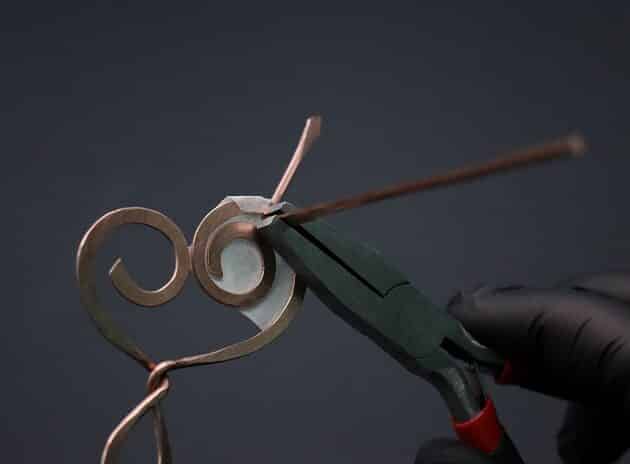
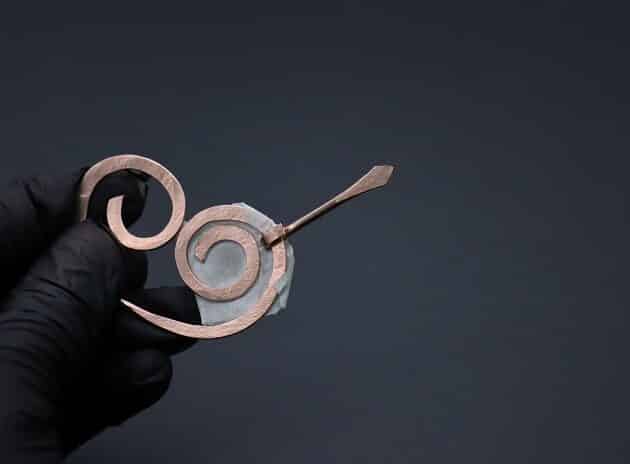
Place your second frame piece onto the main wire frame with marking as shown (fig. 8a).
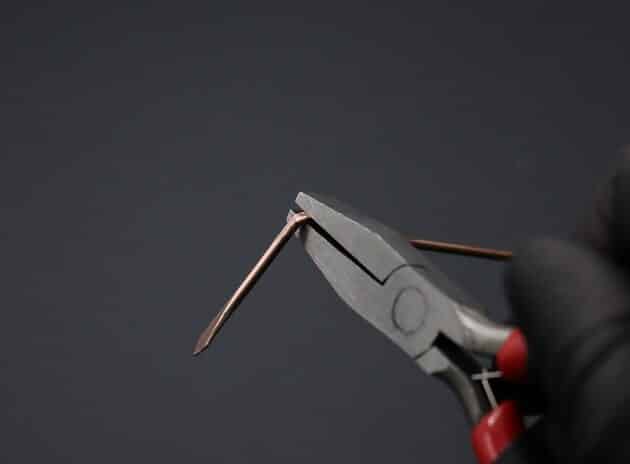
Then, use a flat nose pliers and make a bend on the marking (fig. 8b, 8c).
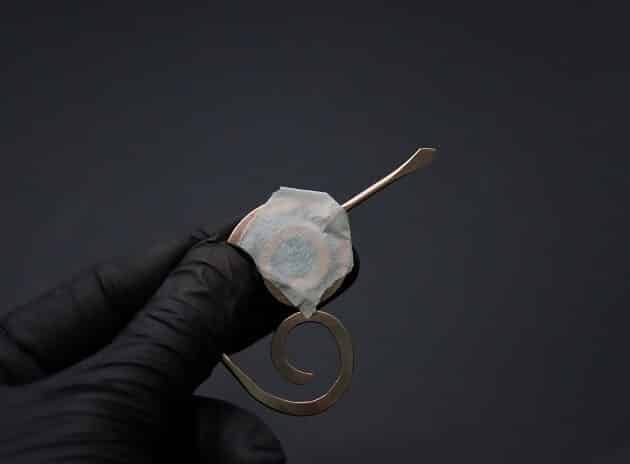
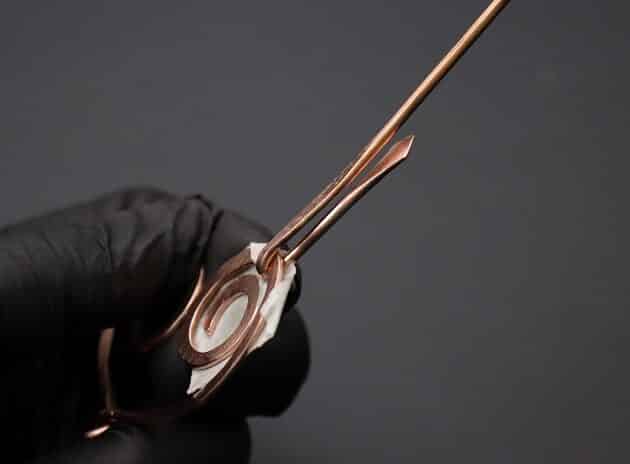
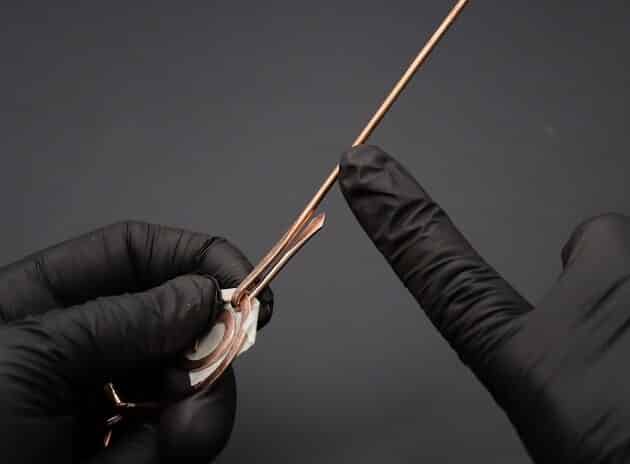
Slip the bent wire back into the main wire frame and tape the second frame in place (fig. 8d, 8e).

FREE WIRE-WRAPPING GUIDE TO YOUR EMAIL!
JOIN NEWSLETTER
We respect your privacy. Unsubscribe at anytime.
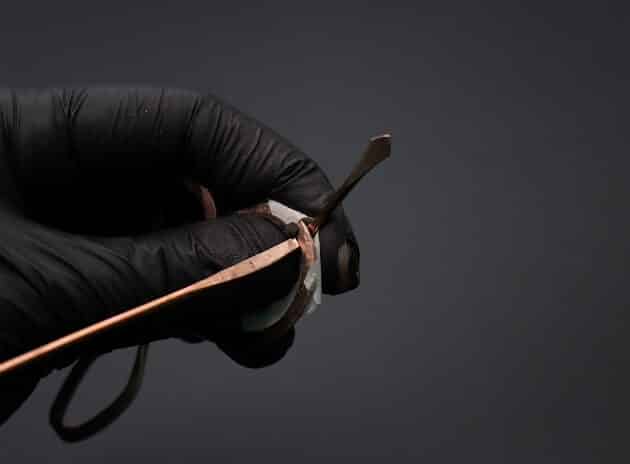
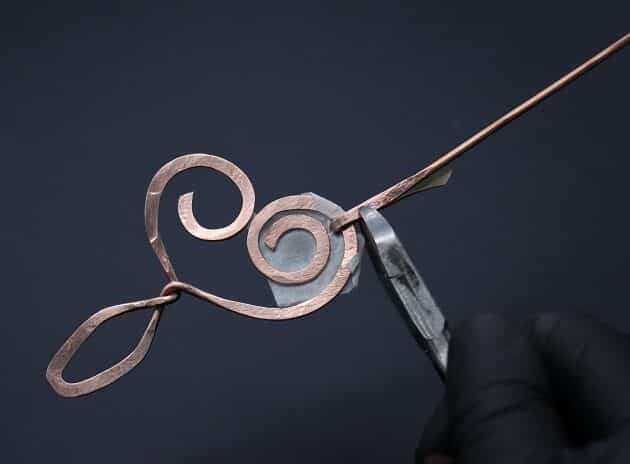
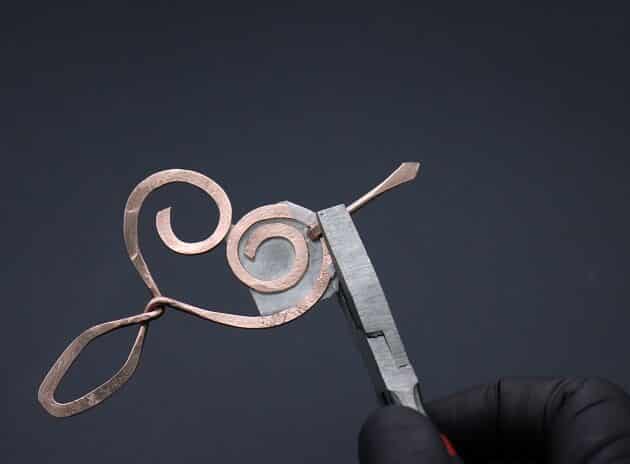
After that, close the bent wire using a flat nose pliers where the flat surface meets the main frame (fig. 8f, 8g, 8h).

Step 9 of 13
At the back of your main frame, trim off the excess wire with a small wire cutter (fig. 9a, 9b, 9c).
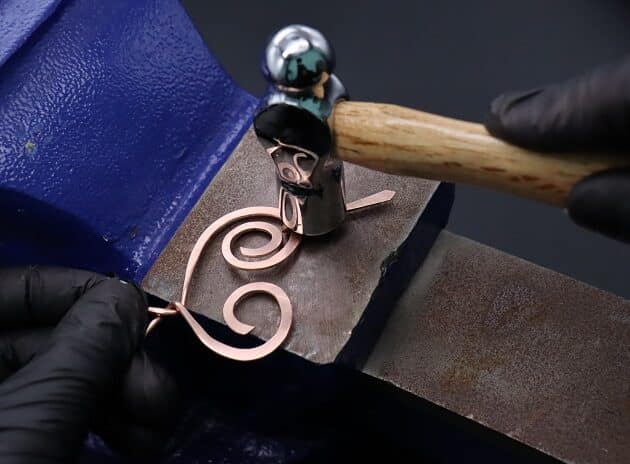
Tighten the second frame connection using a flat nose pliers (fig. 9d).
Then, secure the connection with a ball peen hammer by hitting it with the flat side (fig. 9e, 9f).
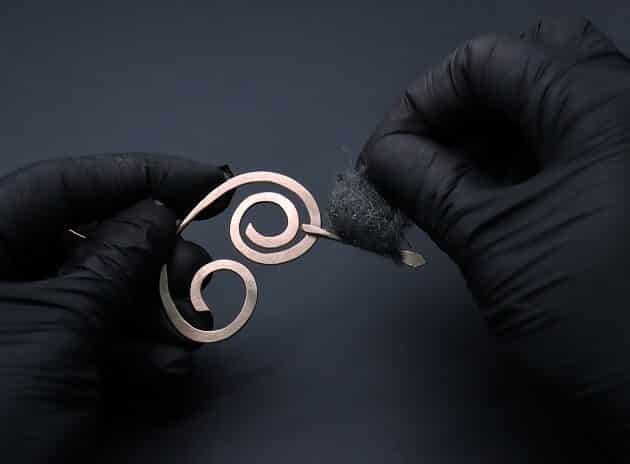
Lastly, use a finest steel wire wool to polish the second frame piece (fig. 9g, 9h).


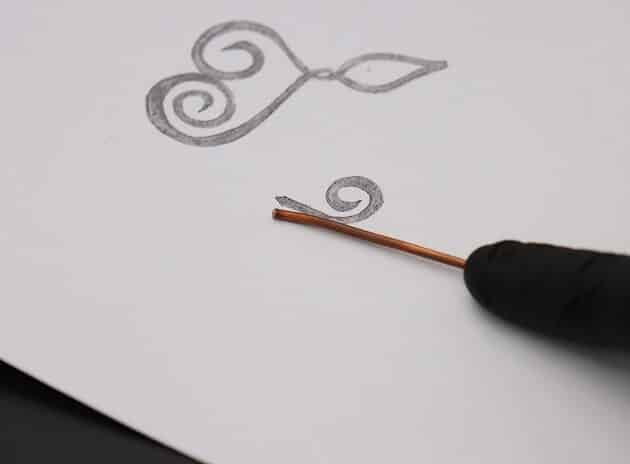
Step 10 of 13
Now, we will work on the third frame piece.
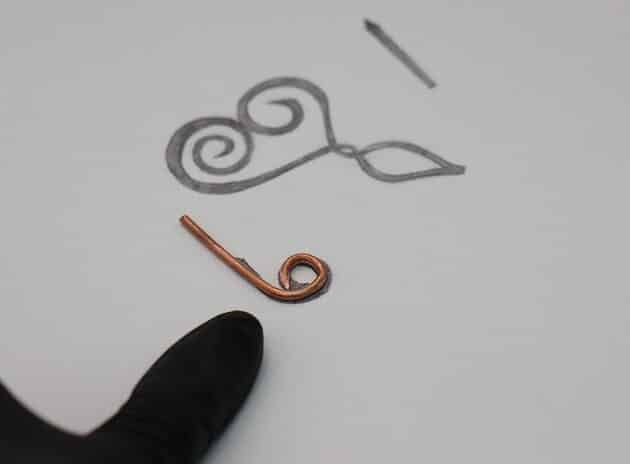
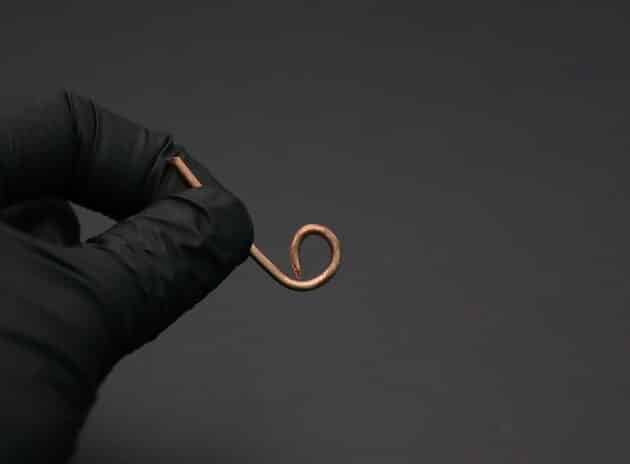
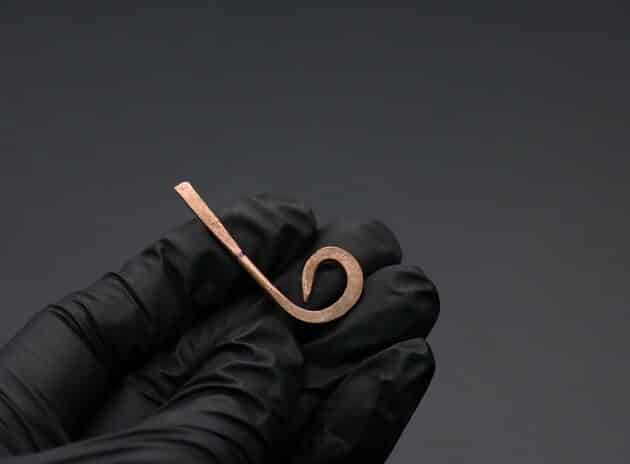
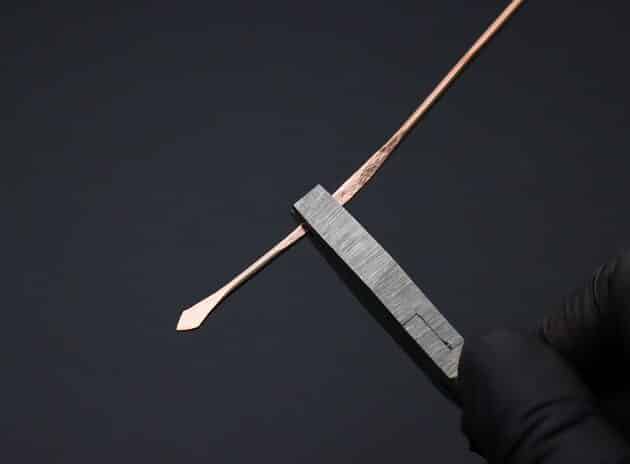
Take the remaining 12-gauge copper wire and trace the template design (fig. 10a, 10b, 10c).
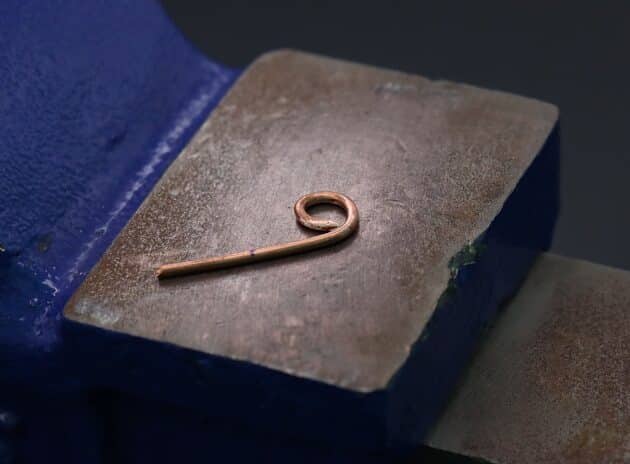
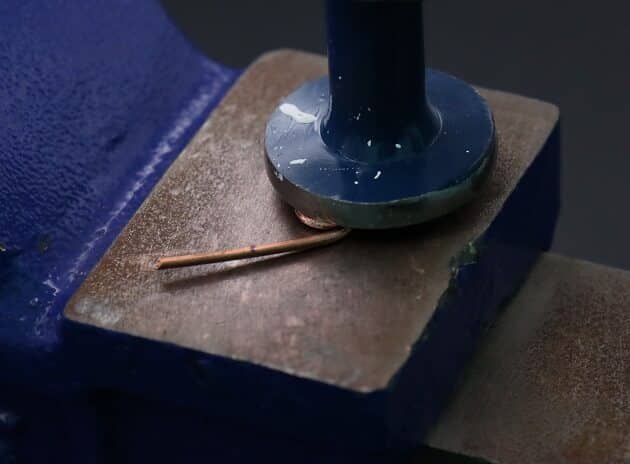
Then, flatten the curly and ending part using a flat round face hammer on the base metal plate (fig. 10d, 10e, 10f).
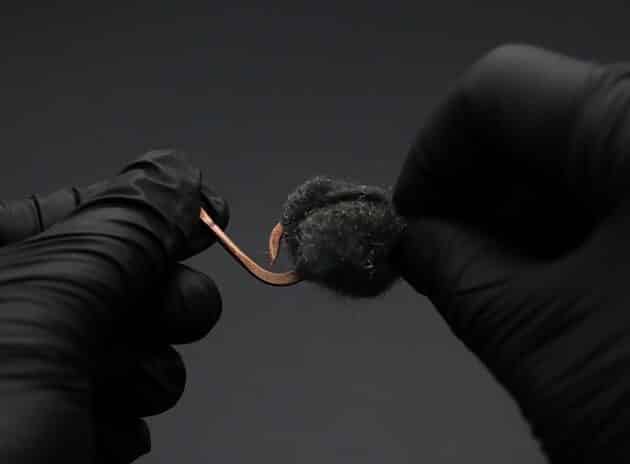
Polish the frame surface with a finest steel wire wool (fig. 10g, 10h).