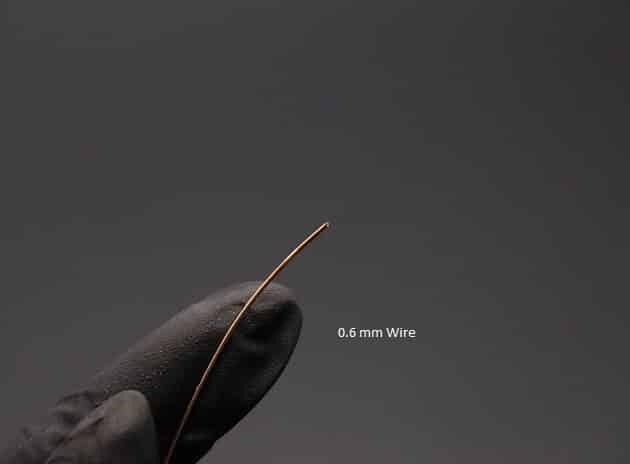
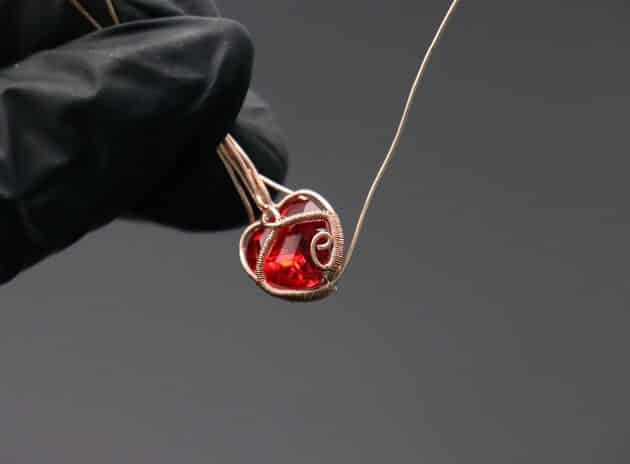
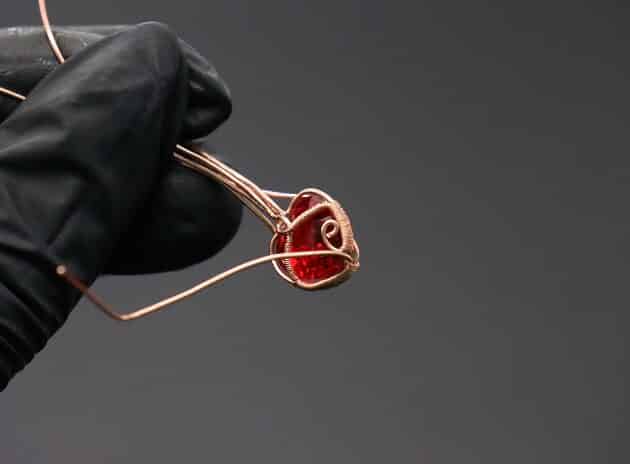
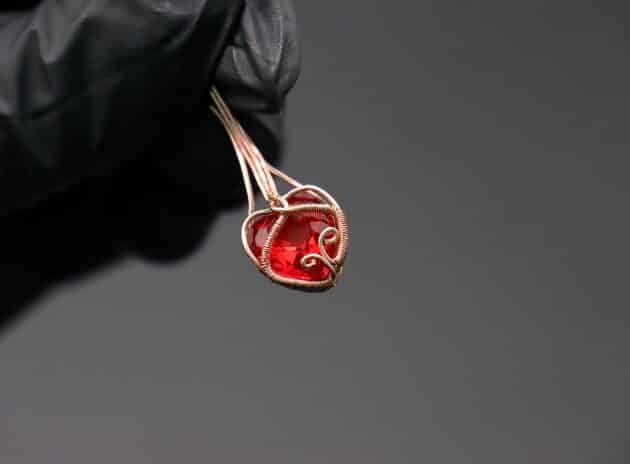
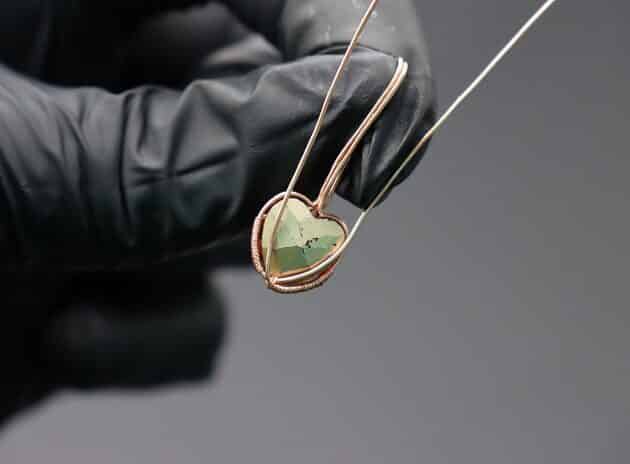
Step 4 of 11
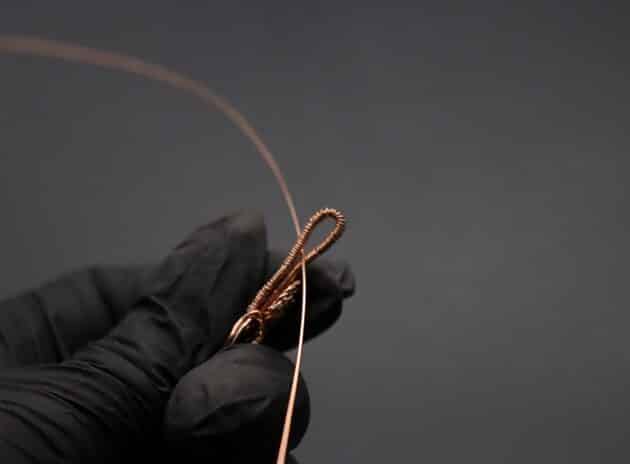
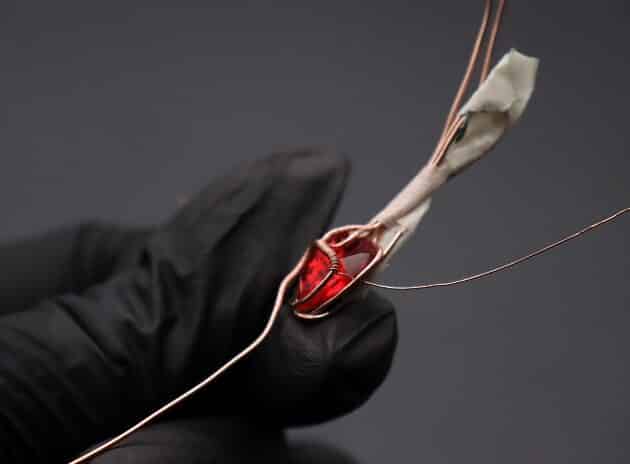
Now, let’s weave the front and back wire frames using a 32-gauge copper wire (fig. 4a).
Start by coiling the front bottom right wire loop (fig. 4b).
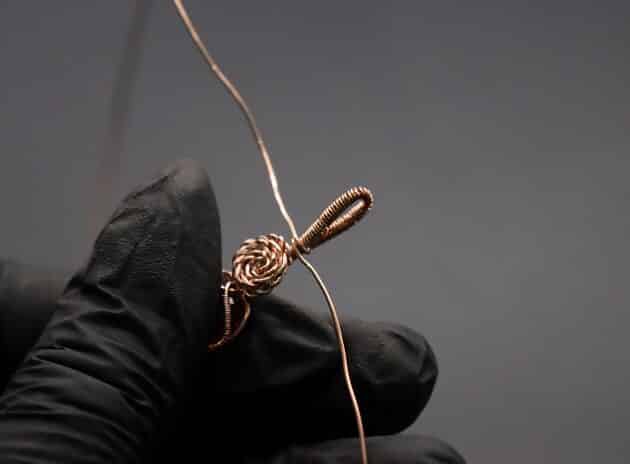
Once the coils touch the back frame, weave the wire frames together using the same coiling technique (fig. 4c, 4d).

FREE WIRE-WRAPPING GUIDE TO YOUR EMAIL!
JOIN NEWSLETTER
We respect your privacy. Unsubscribe at anytime.
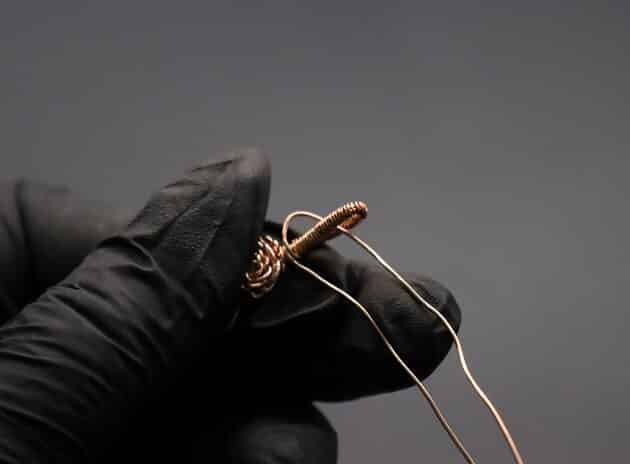
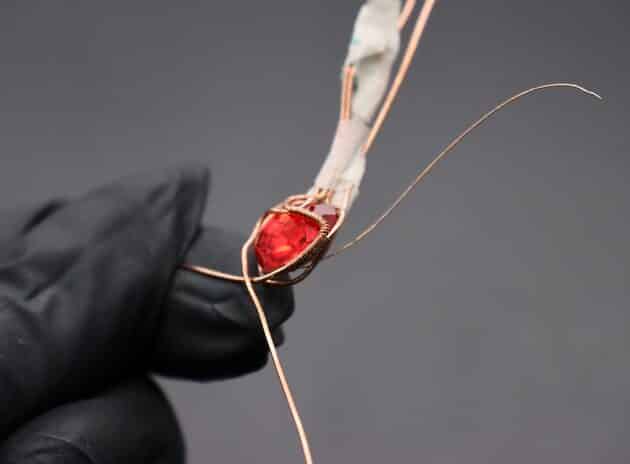
Repeat the coiling process on the bottom left side of your wire frames (fig. 4e).
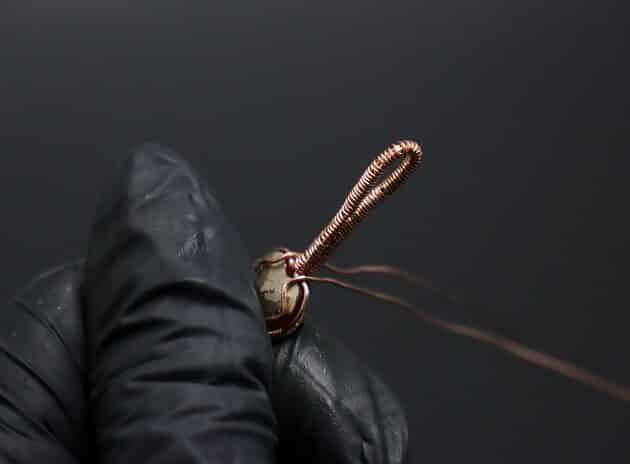
Then, leave a short length of 22-gauge wires to add accents, and trim off the excess wires using a wire cutter (fig. 4f, 4g, 4h).
Prefer this wire-wrapping tutorial in a PRINTABLE FORMAT? (High Resolution Photos)
Step 5 of 11
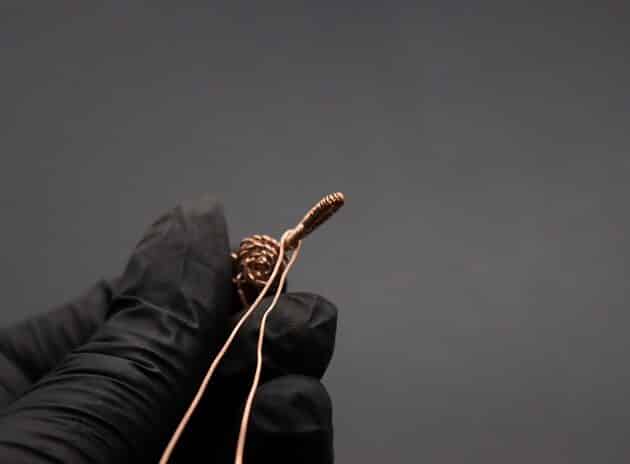
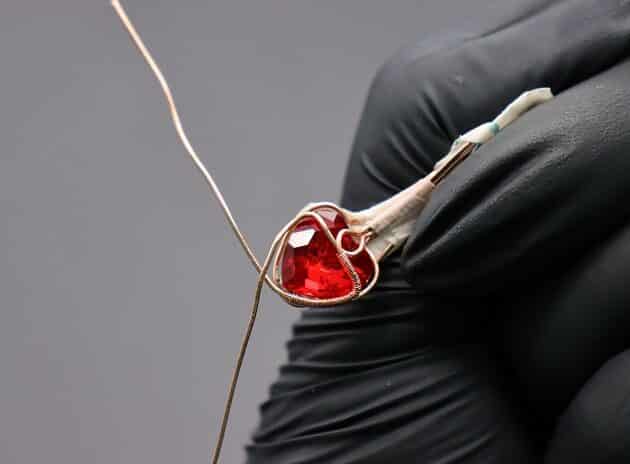
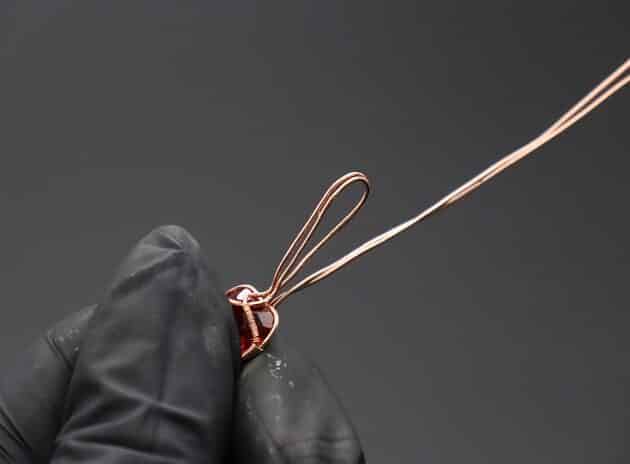
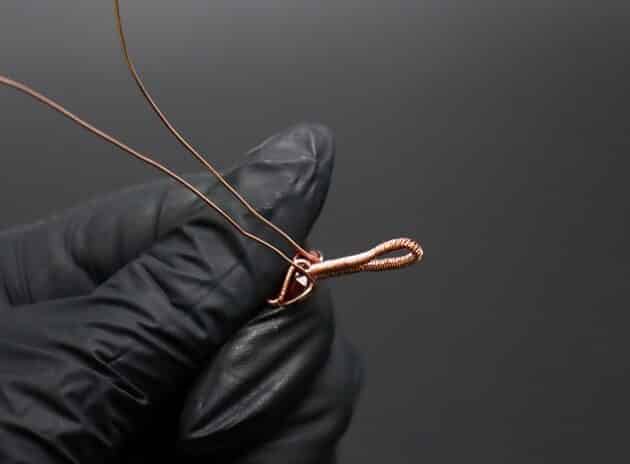
At the pendant back, bend the extra 22-gauge copper wire into an arrow shape (fig. 5a, 5b).
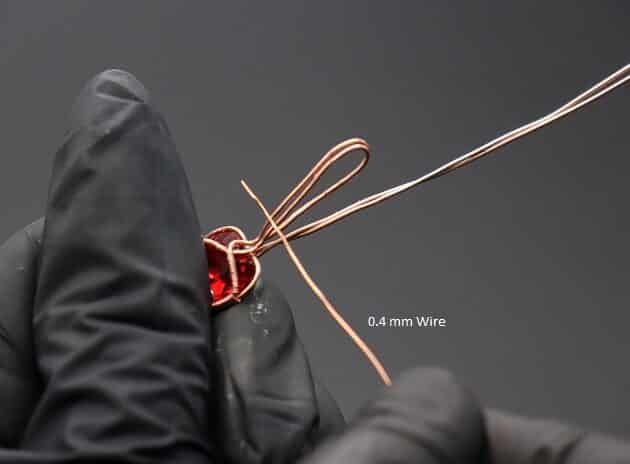
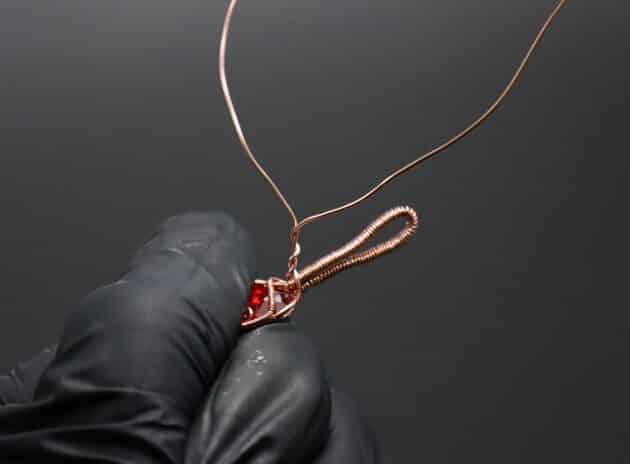
Then, coil the wire bail using a 26-gauge copper wire (fig. 5c, 5d, 5e, 5f).
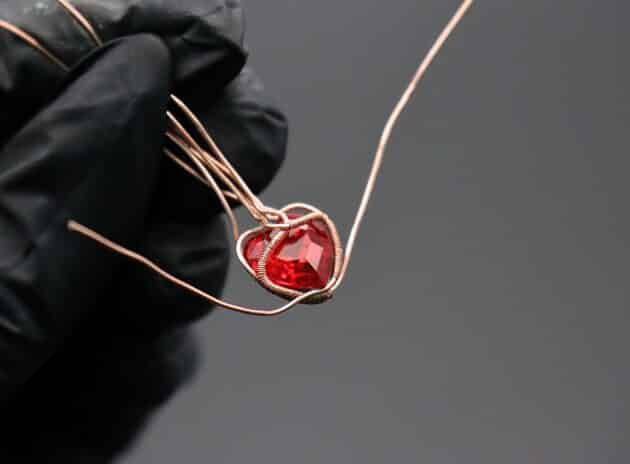
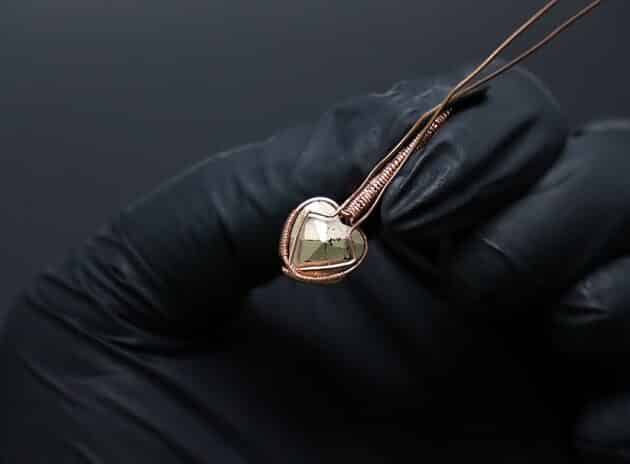
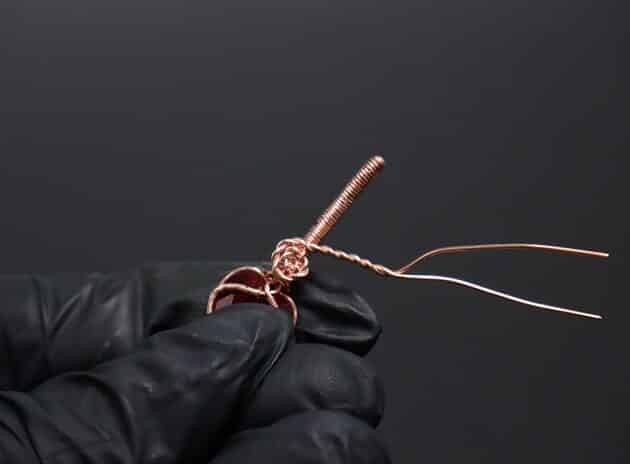
After that, pull the loose 22-gauge wires from the back frame to the front direction (fig. 5g).

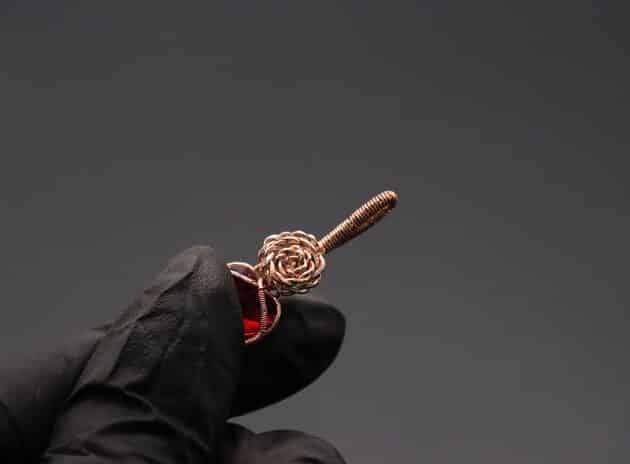
Step 6 of 11
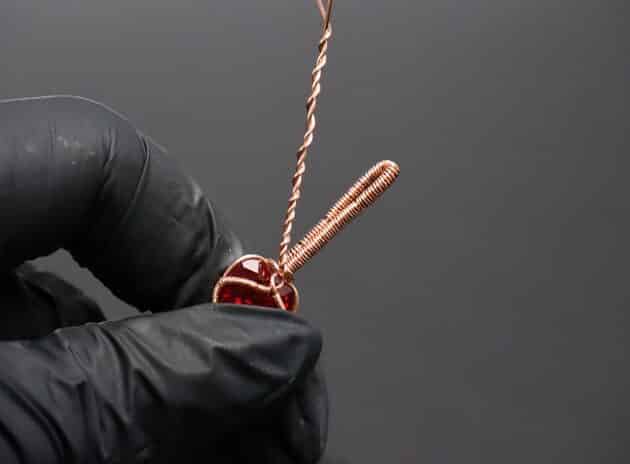
Next, let’s form the copper rose for your pendant.
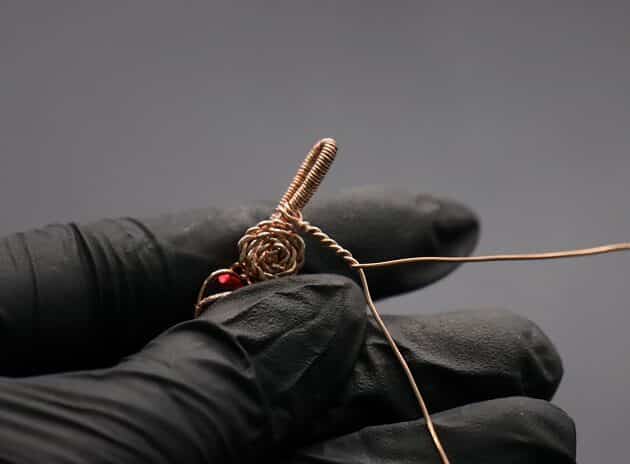
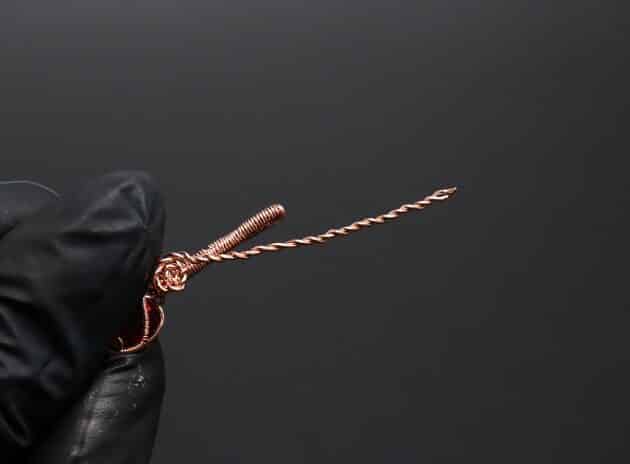
Twist the loose 22-gauge copper wires into a wire rope, leaving out 1 inch at the end (fig. 6a, 6b, 6c).
At the front bail neck, twist the wire rope into a spiral from the inside out (fig. 6d, 6e).
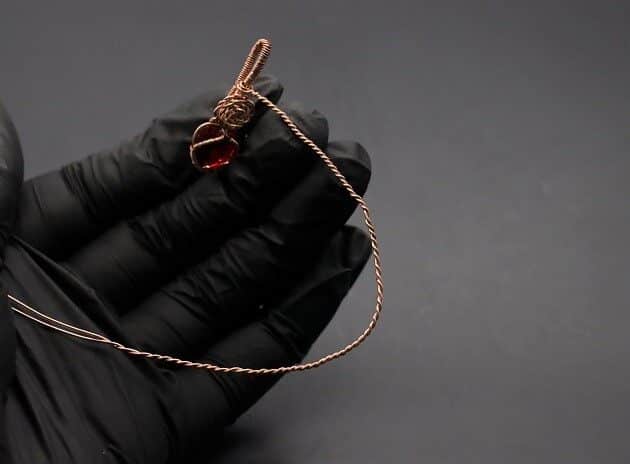
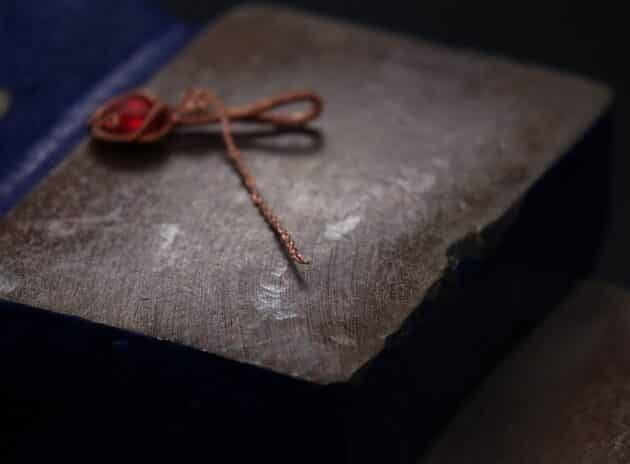
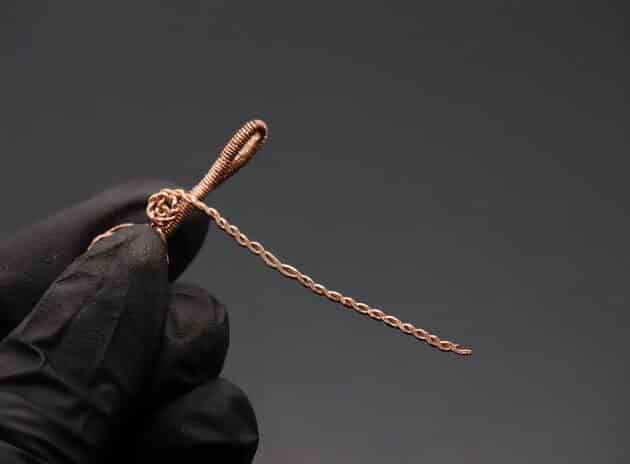
Finish twisting the remaining wire rope and hammer it on a base metal plate (fig. 6f, 6g, 6h, 6i).
It gives the illusion of a blooming copper rose petals (fig. 6j).


Step 7 of 11
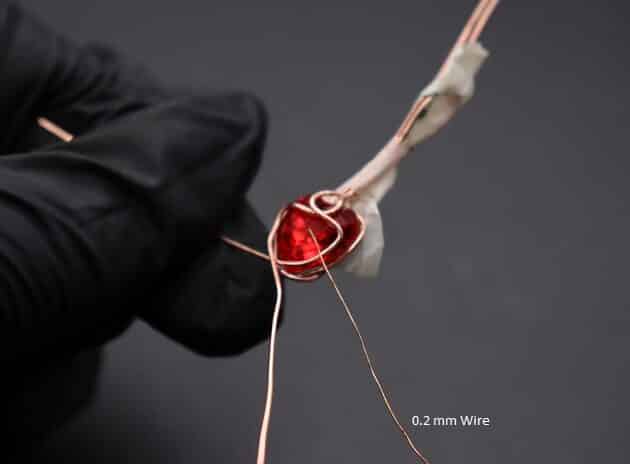
Moving on, take a new 22-gauge copper wire and anchor it with a loop on the pendant bail, right above the wire rose (fig. 7a, 7b, 7c, 7d, 7e).
Twist the extra 22-gauge copper wire as a wire rope extension (fig. 7f, 7g).