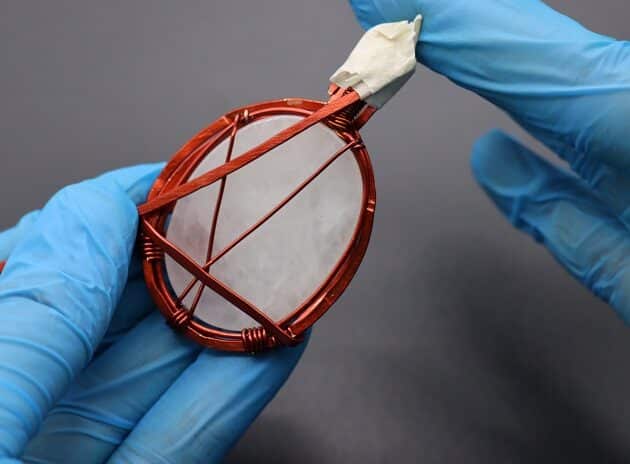
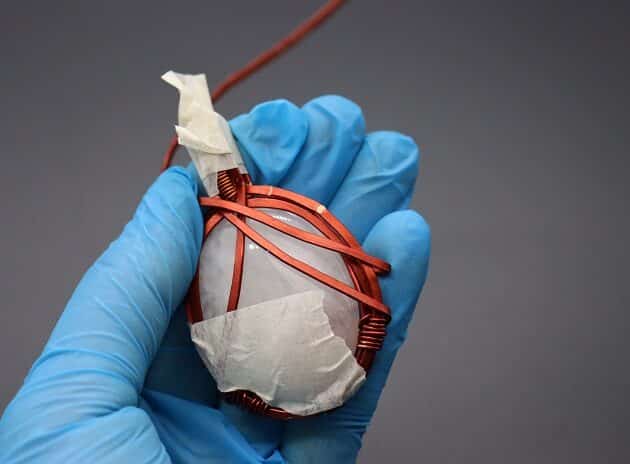
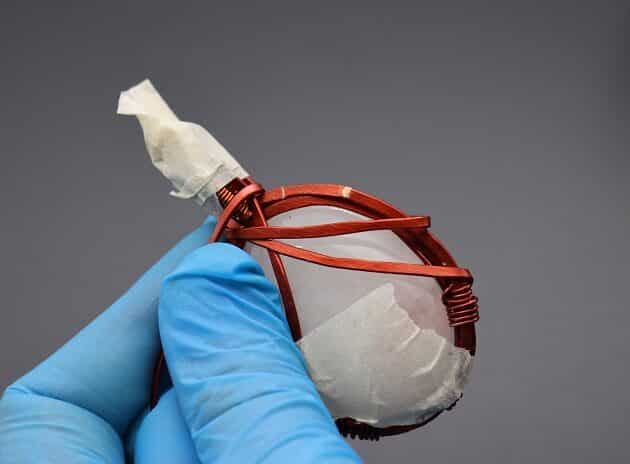
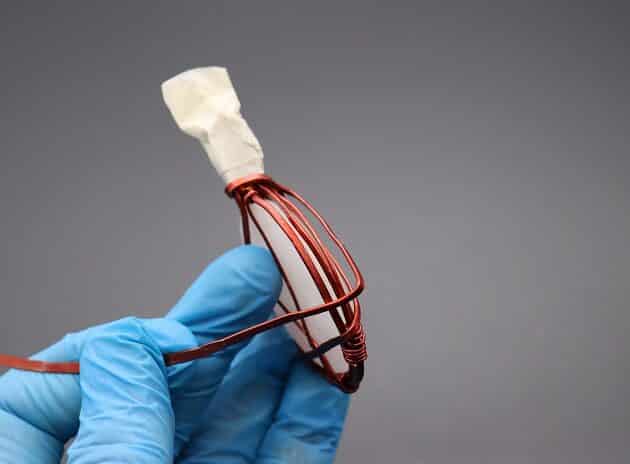
Step 11 of 13
This time the remaining wire will be towards the back side of the pendant.
Pull the wire towards the bottom right point and bend the top for a smooth curve (fig. 11a, 11b).
Then, wrap the wire to the front side and upwards to the bail (fig. 11c, 11d, 11e).

FREE WIRE-WRAPPING GUIDE TO YOUR EMAIL!
JOIN NEWSLETTER
We respect your privacy. Unsubscribe at anytime.
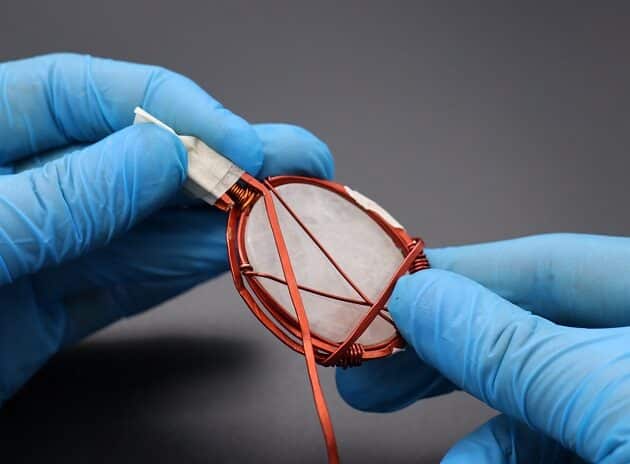
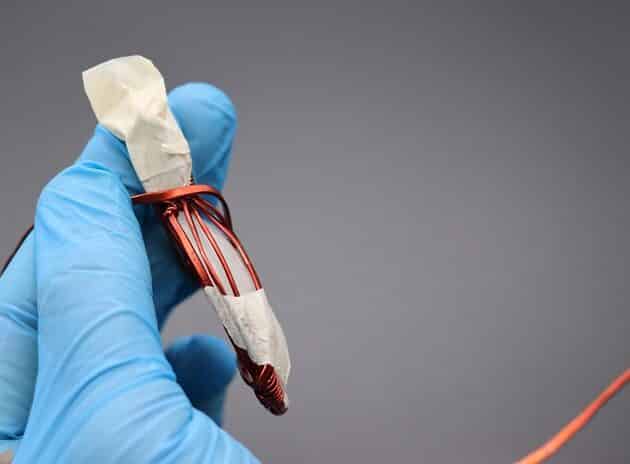
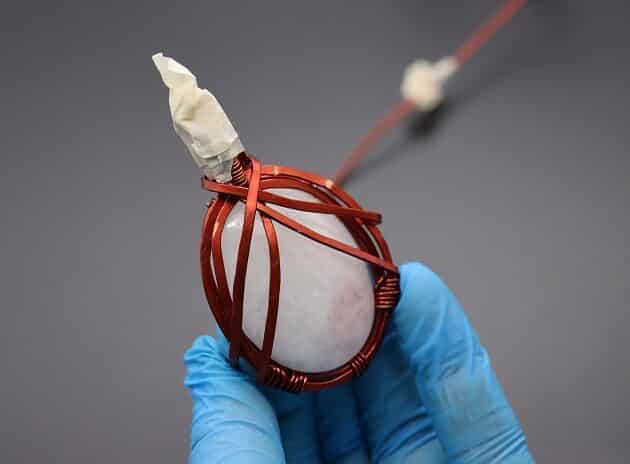
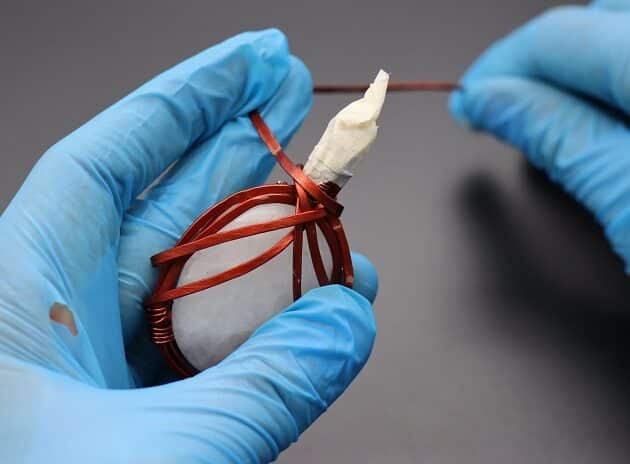
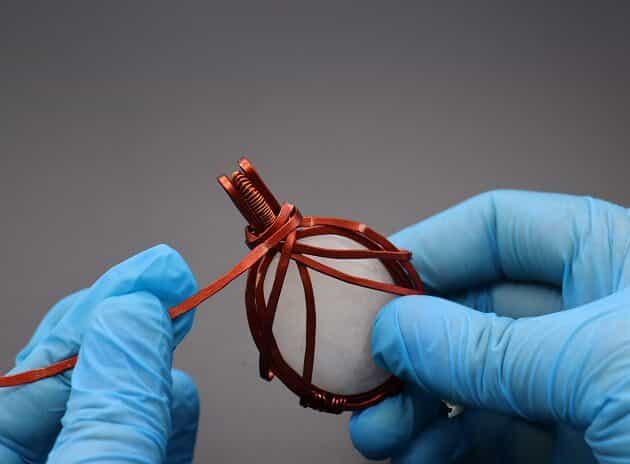
Make a wrap over the bail as shown (fig. 11f, 11g).
From the top front side, pull the wire down right front side of the frame (fig. 11h, 11i) and wrap it around the back top side (fig. 11j).
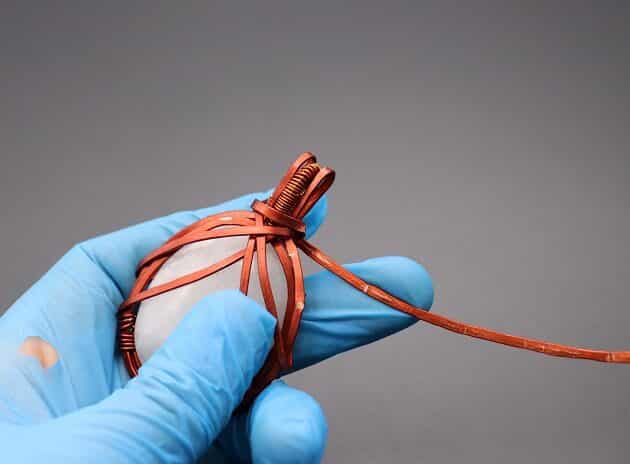
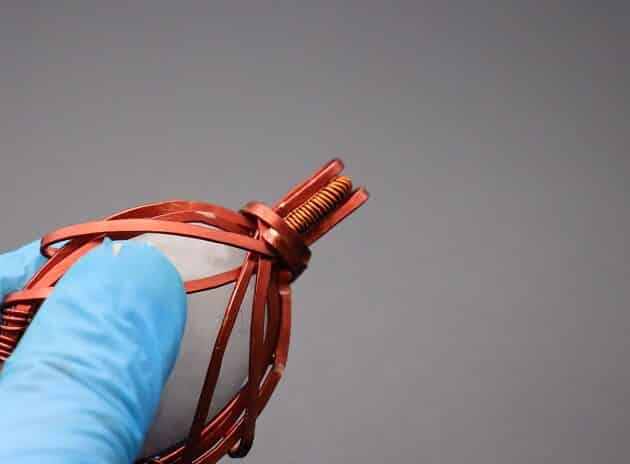
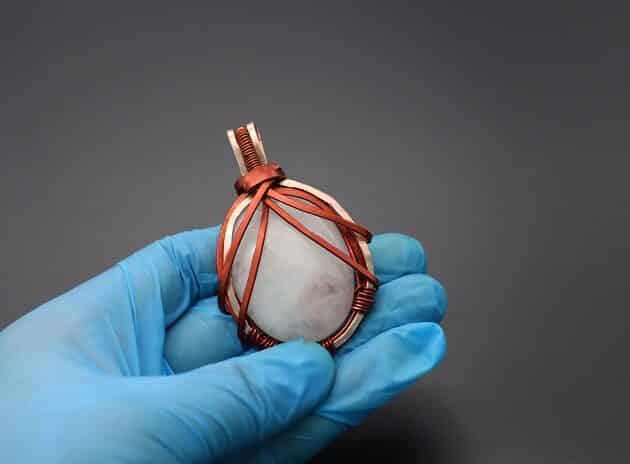
Finish the structure by making two loops over the bail (fig. 11k, 11l, 11m, 11n).
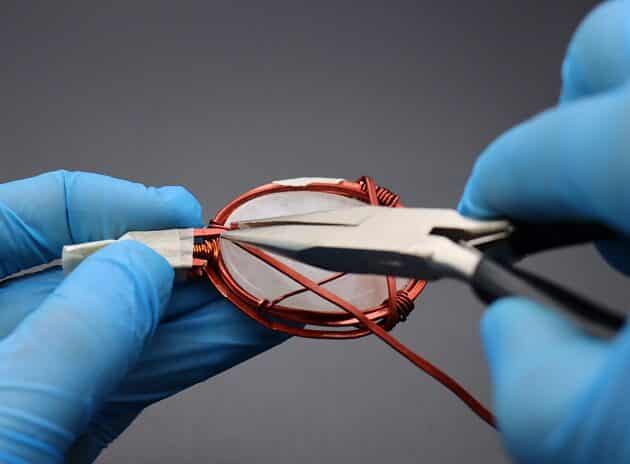

Step 12 of 13
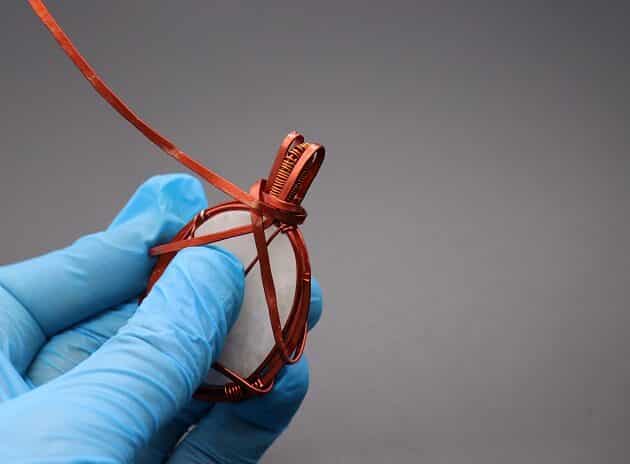
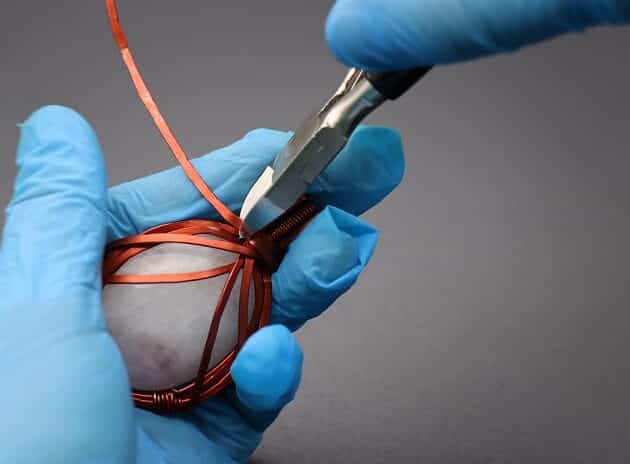
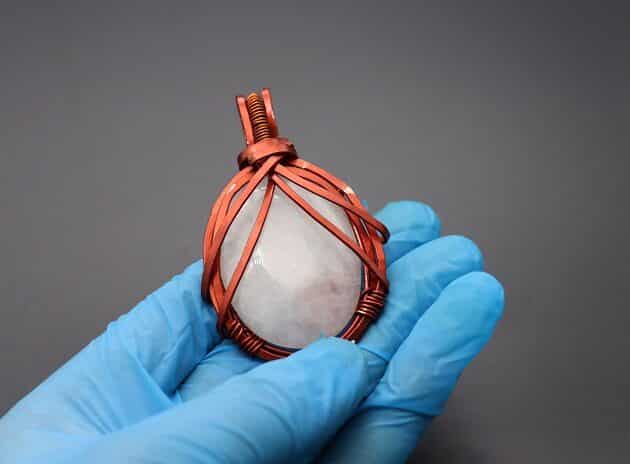
To complete the wire structure, trim off the excess 18-gauge wire (fig. 12a, 12b).
Use a round nose pliers to tug the trimmed wire end to the back to prevent scratching (fig. 12c, 12d, 12e).
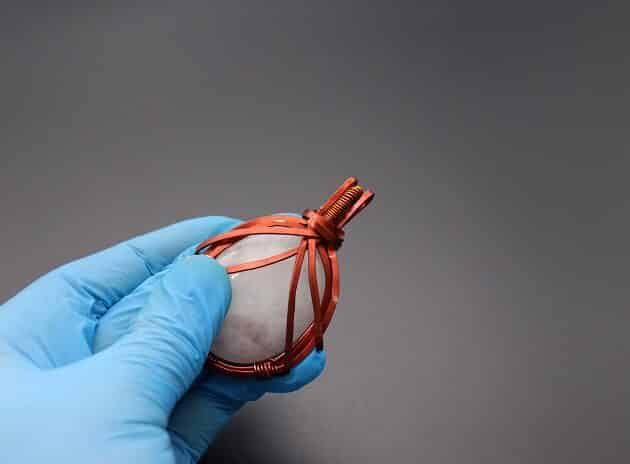
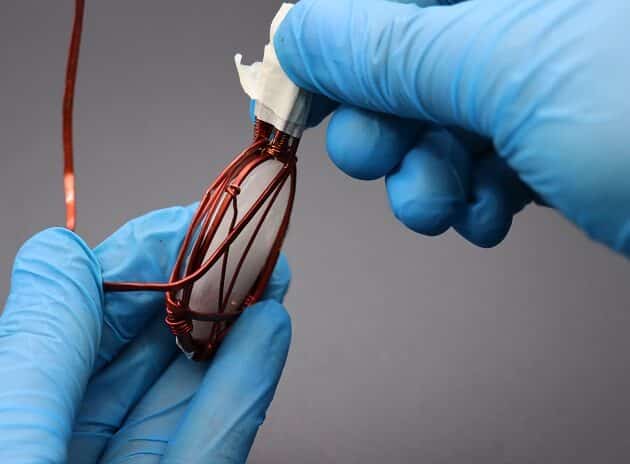
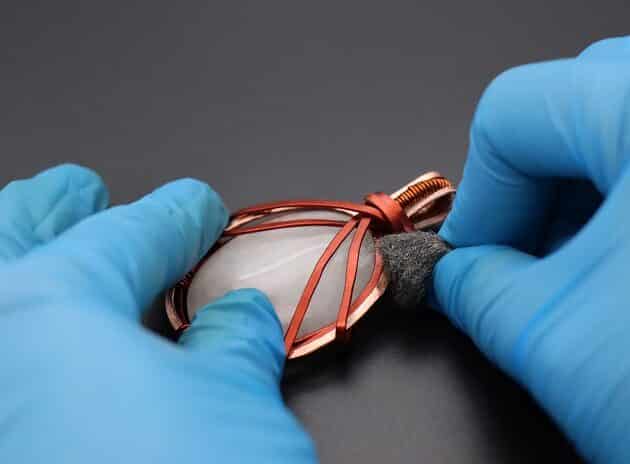
Step 13 of 13
Finally, it is time for polishing and touch up! Well done for making it this far.
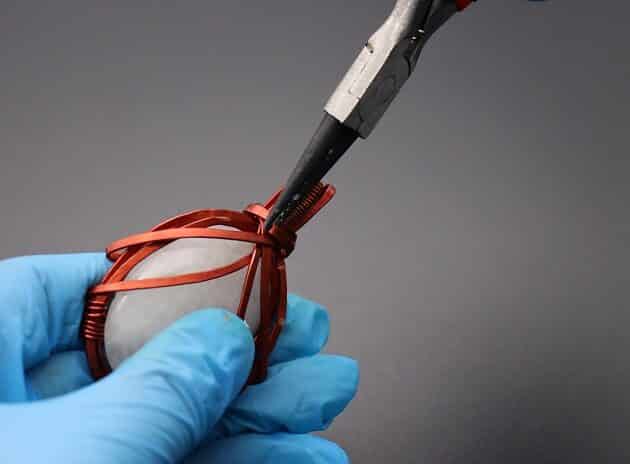
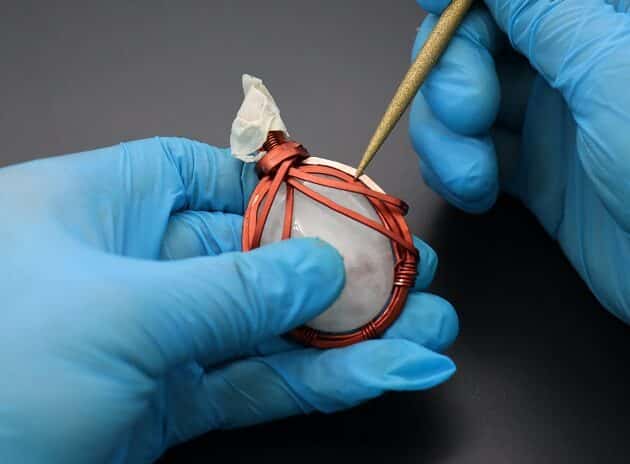
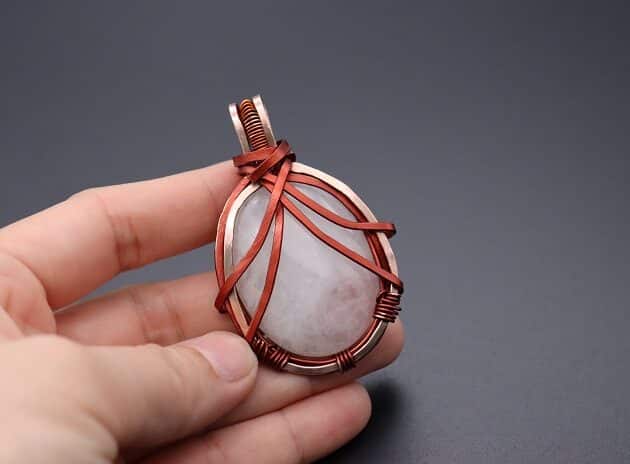
To give the cabochon pendant a contrast, polish off one loop of the 16-gauge flattened wire frame (fig. 13a, 13b).
Then, proceed to polish the two flat sides of the bail (fig. 13c, 13d).
Lastly, brush dust and debris off your cabochon pendant with finest steel wire wool (fig. 13e, 13f).
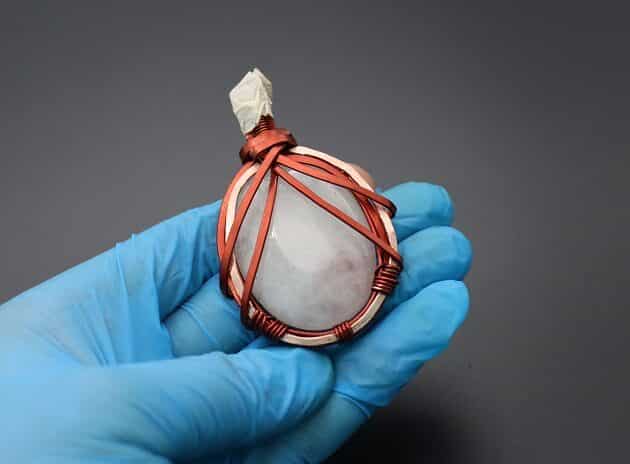


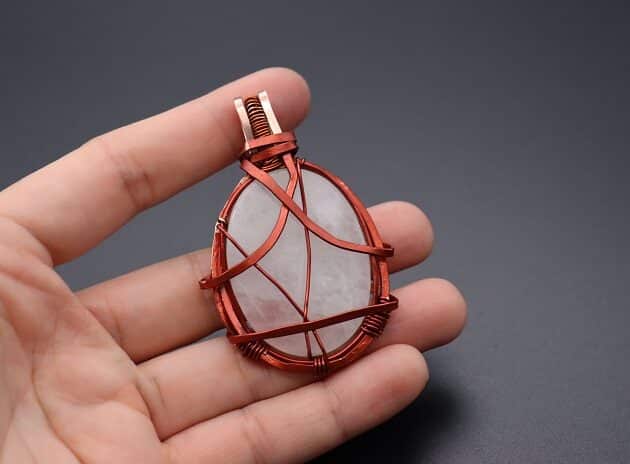
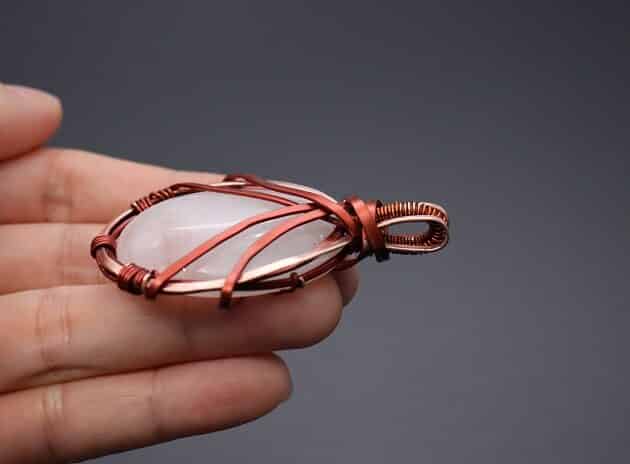
FINISHED WIRE-WRAPPING CLASSIC CABOCHON PENDANT DESIGN
Prefer this wire-wrapping tutorial in a PRINTABLE FORMAT? (High Resolution Photos)
Click here for the PDF version of “Classic Cabochon Wire-Wrapping Tutorial”
Want to Support me?
If you enjoyed my content, please consider support me on Patreon:). This helps me to create more amazing free content to share with you 🙂
If you’d like to see my work and follow my wire journey, you can find me here:
Facebook Instagram Twitter Pinterest YouTube Etsy

