Greetings my lovely wire-wrappers!
I’m back with a new pendant piece for you to add to your cabochon stone collection.
Follow along in this step-by-step Wire-Wrapping Classic Cabochon Tutorial here.
Also, all my wire-wrapping jewelries are made without soldering.

FREE WIRE-WRAPPING GUIDE TO YOUR EMAIL!
JOIN NEWSLETTER
We respect your privacy. Unsubscribe at anytime.
Feel free to browse through the Studio 73 Designs website for jewelry designs you would like to create.

LEVEL: INTERMEDIATE
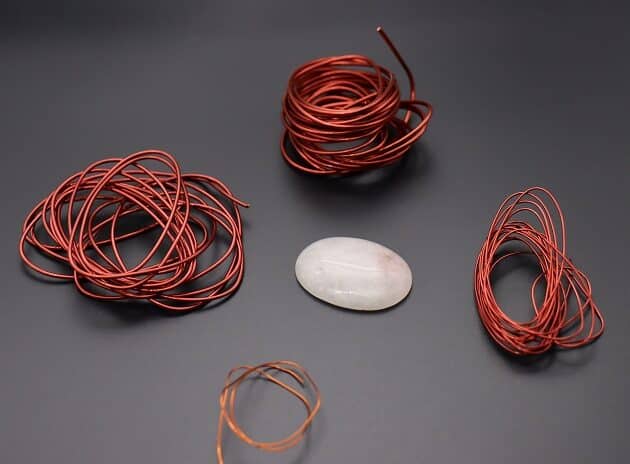
MATERIALS + TOOLS
- White Oval Stone
- Brown Copper Wire (16 gauge)
- Brown Copper Wire (18 gauge)
- Brown Copper Wire (24 gauge)
- Gold Copper Wire (22 gauge)
- Nylon jaw pliers
- Stepped Bail-Making Pliers
- Bent Nose Pliers
- Mini Long Needle Nose Plier
- Round Nose Pliers
- Diamond Needle Files Round
- Small Hammer with Flat Mallet Head
- Metal Base Plate
- Masking Tape
- Finest Steel Wire Wool
- Pen / Marker Pen
- Wire Cutter ( Big , Small)
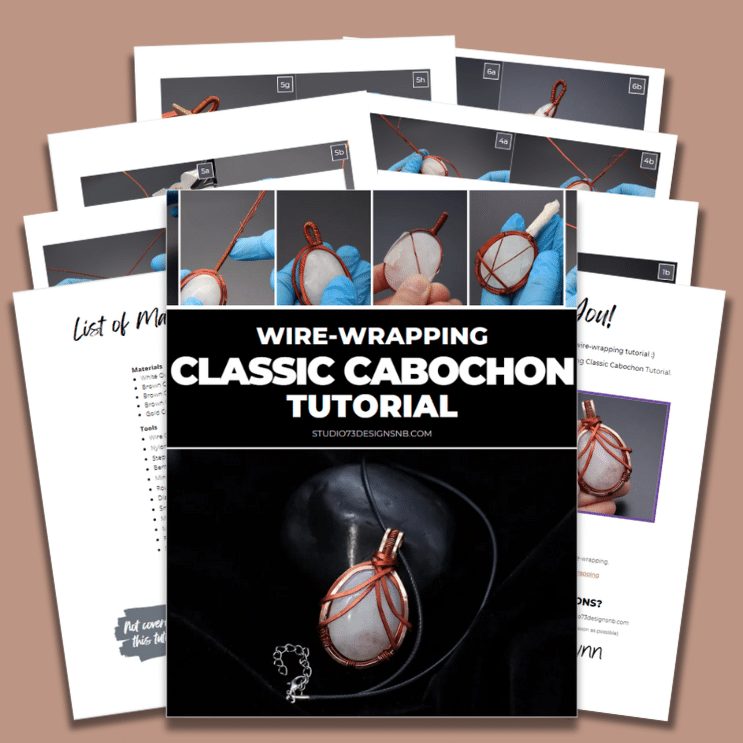
Prefer this wire-wrapping tutorial in a PRINTABLE FORMAT? (High Resolution Photos)
Click here for the PDF version of “Classic Cabochon Wire-Wrapping Tutorial”
WIRE-WRAPPING CLASSIC CABOCHON TUTORIAL
Step 1 of 13
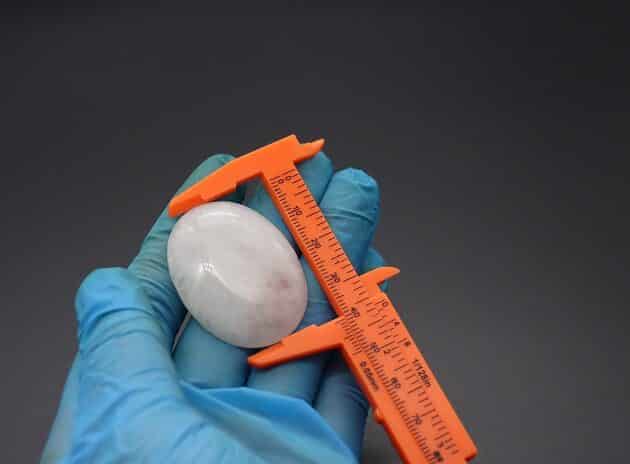
Firstly, prepare all items listed in the Materials and Tools section above (fig. 1a, 1b).
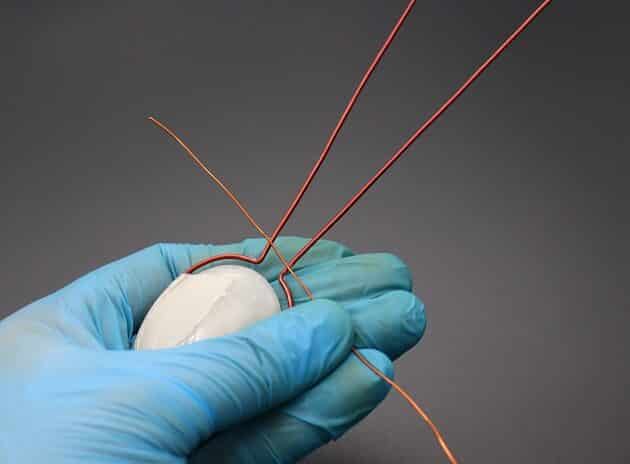
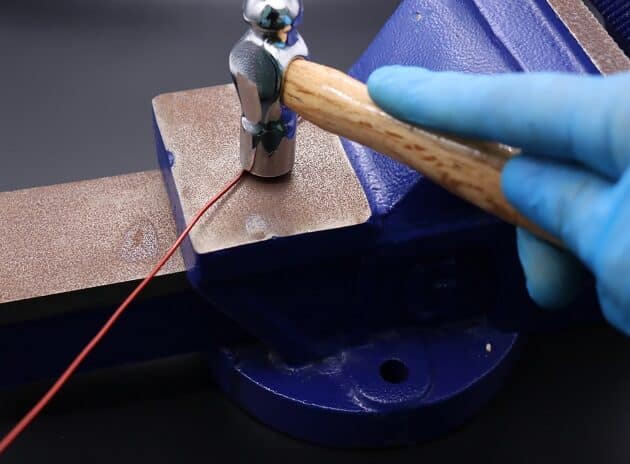
We begin by creating the main wire frame for the cabochon stone.
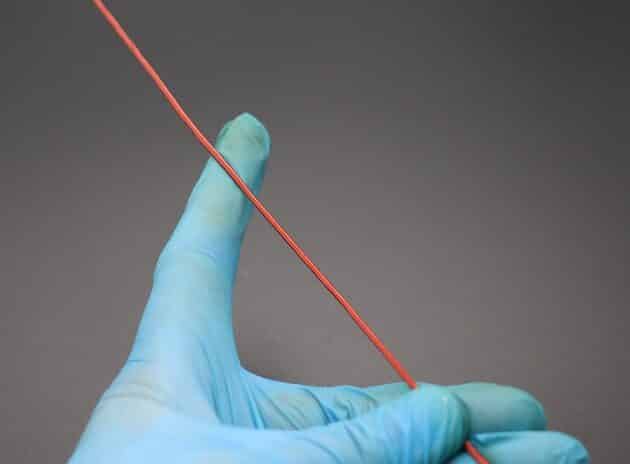
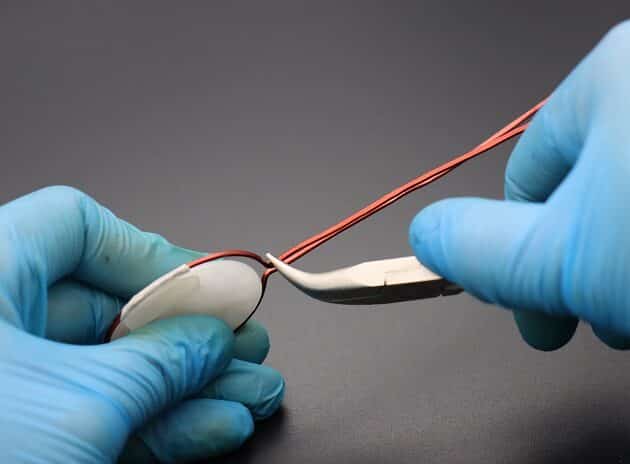
Lightly hammer a string of 16-gauge brown copper wire and flatten its side (fig. 1c, 1d).
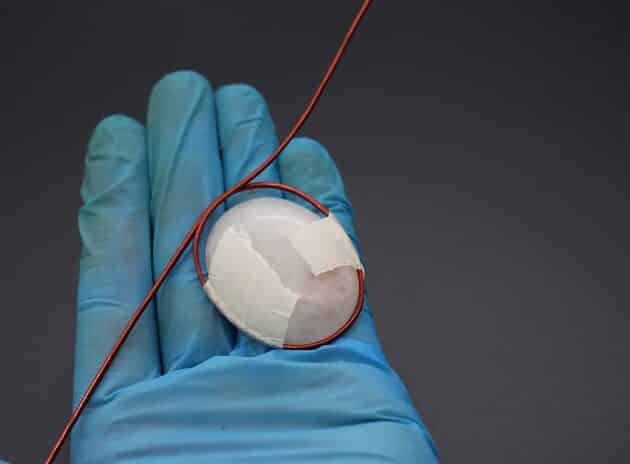
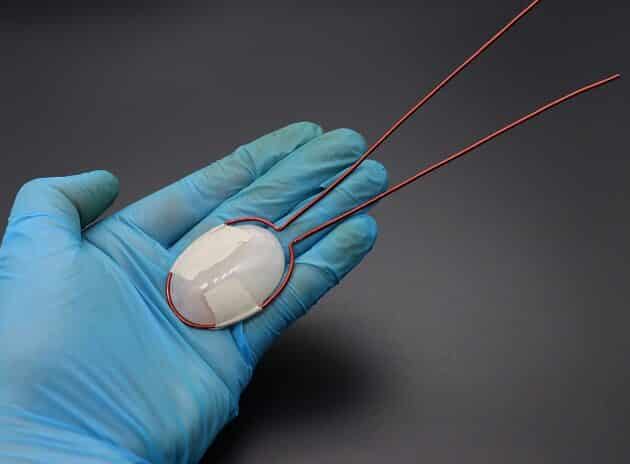
Wrap the flattened wire along the side of your cabochon stone.
Use masking tape to hold the wire frame in place (fig. 1e).
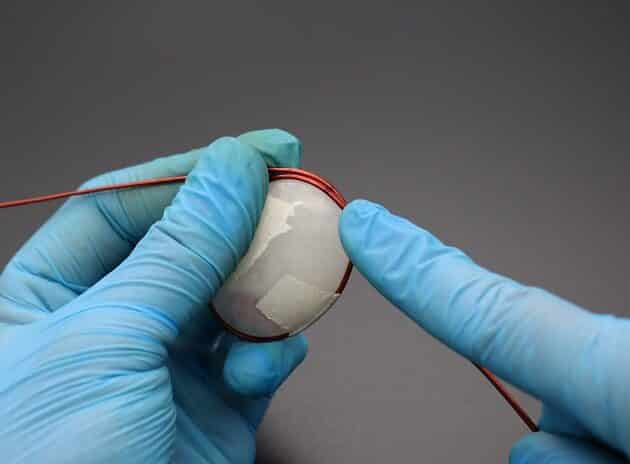
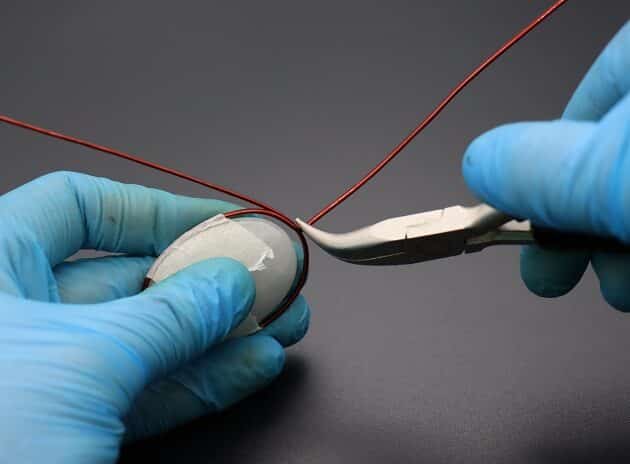
Mark the end point of the wire frame with a pen and bend out the excess wire with a bent nose pliers (fig. 1f, 1g, 1h, 1i, 1j).
Step 2 of 13
Prefer this wire-wrapping tutorial in a PRINTABLE FORMAT? (High Resolution Photos)
Click here for the PDF version of “Classic Cabochon Wire-Wrapping Tutorial”
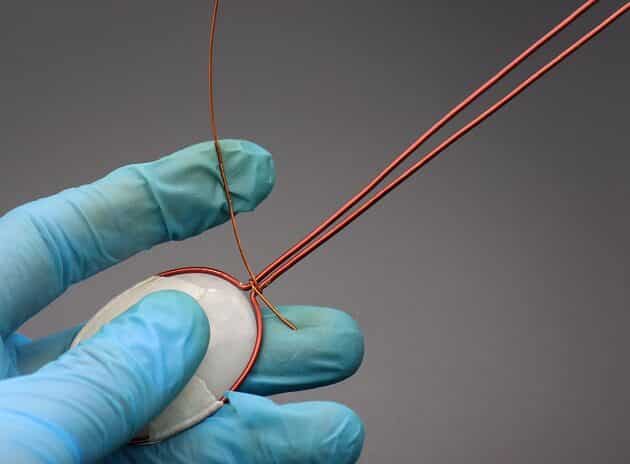
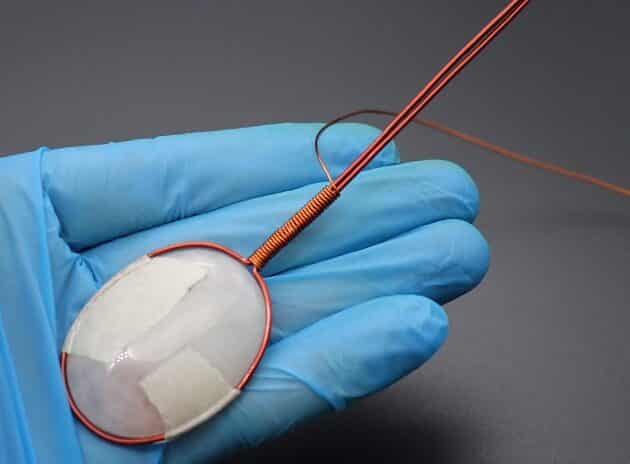
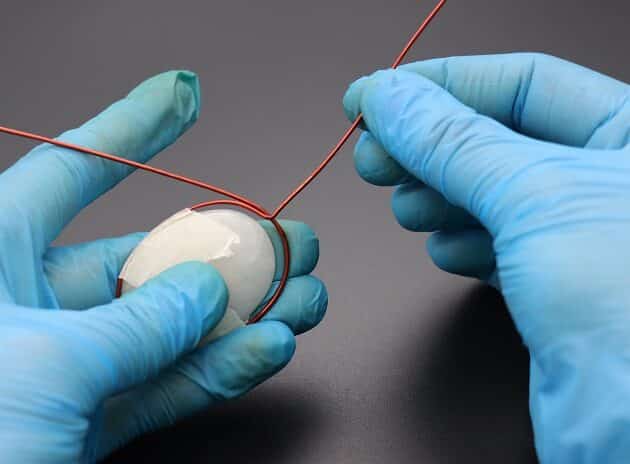
Next, take a new string of 22-gauge gold copper wire and wrap the bent wires together to close the frame (fig. 2a, 2b).
Continue wrapping through the straight wires around 1.5 inches for pendant bail-making later in the tutorial (fig. 2c).