This step-by-step wire-wrapping tutorial for beginners will teach you how to wire-wrap a bead pendant using 16 gauge wire.
This tutorial is part of my “Beginner Series” of simple wire wrapping techniques.
It’s a great introduction to working with thicker wire and you can use any gemstone bead you have on hand.
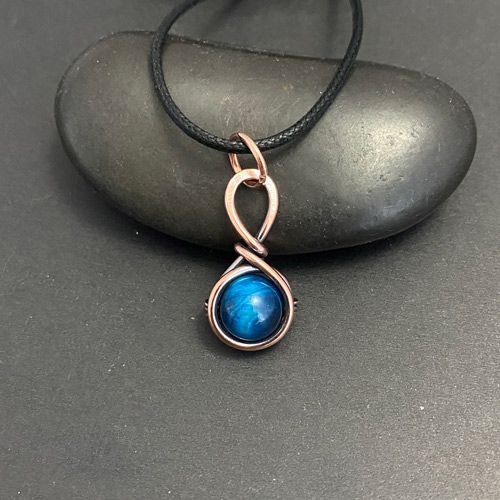
This wire-wrapped bead pendant is simple and elegant – a perfect tutorial for beginners!
Practice Later - Get This Limited Time Free Wire-Wrapping PDF Guide
You missed out!
")
FREE SIMPLE BEAD PENDANT WIRE-WRAPPING GUIDE
(Printable Clean & No Ads PDF Version)
Get This PDF Tutorial & Join Newsletter
We respect your privacy. Unsubscribe at anytime.
LEVEL: BEGINNER
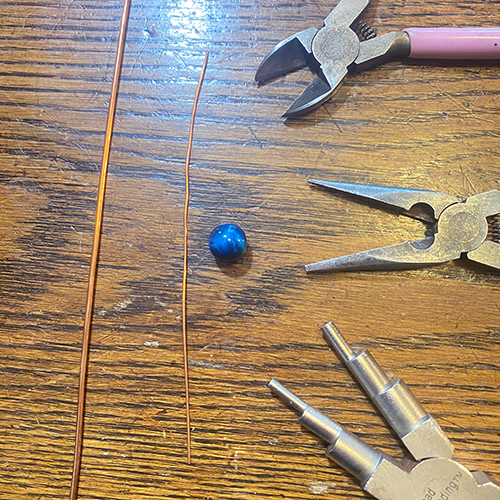
MATERIALS + TOOLS
- 8″ – 16 gauge wire (dead soft)
- 4″ – 22 gauge wire
- 1 Gemstone Bead of your choice (10 mm)
- Needle Nose Pliers
- Wire Cutters
- 6-Step Barrel Pliers
- Heavy duty cutters
- Anvil or bench block
- Hammer
- Liver of sulfur (optional)

HOW TO WIRE-WRAP A BEAD PENDANT
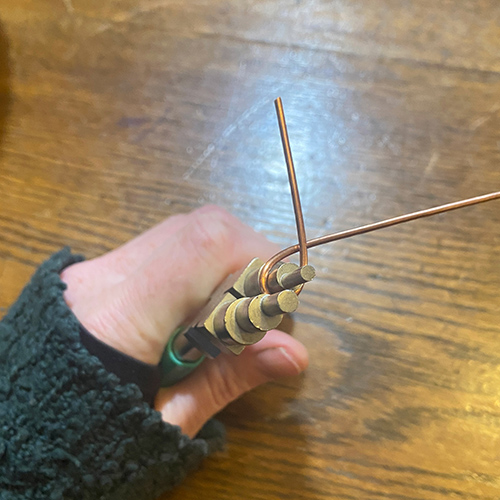
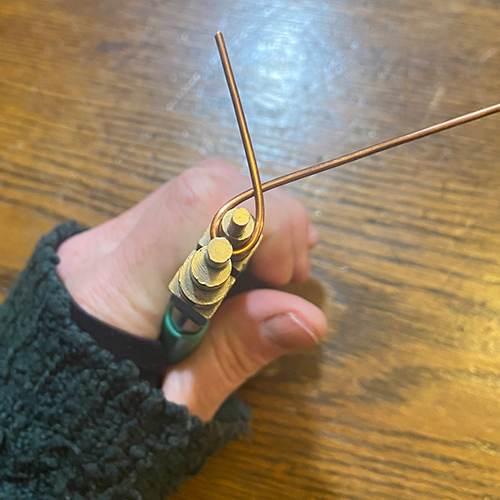
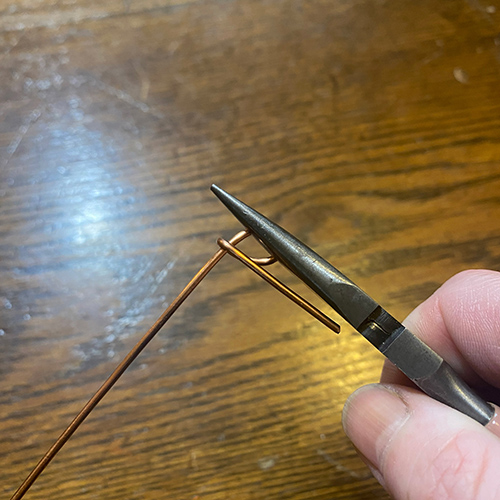
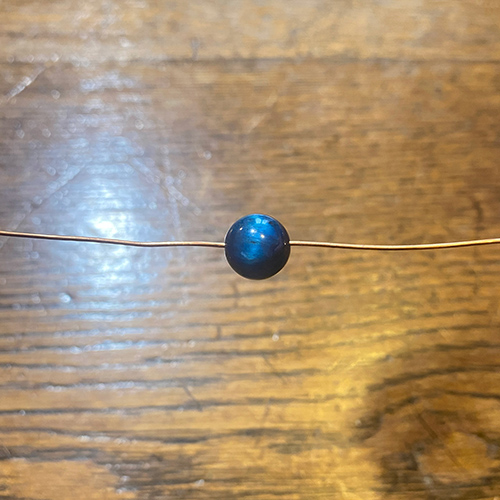
STEP 1
Gather your materials (fig. 1a). Using your 6-step barrel pliers, start shaping the bail as shown (fig. 1b, 1c, 1d).

Prefer this tutorial in a PRINTABLE FORMAT?
Click here for the PDF version of “Simple Bead Pendant” tutorial
RELATED CONTENT
- Grab your 2 FREE Wire-Wrapping Guides!
- Wire-Wrapping Tools & Supplies for Beginners
- How to Wire-Wrap Crystals
- How to Wire-Wrap a Simple Brooch Wire-Wrapping Tutorial
- Beginner’s Guide to Jewelry Wire for Wire-Wrapping
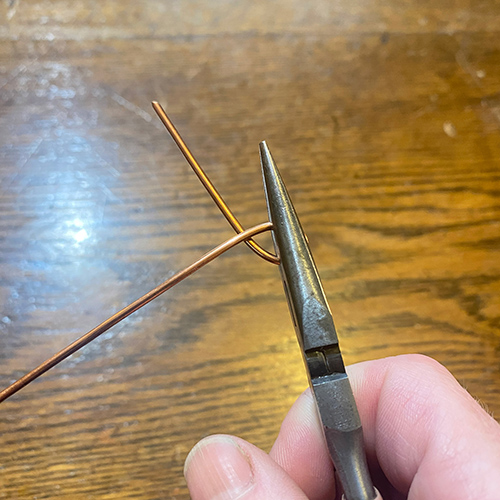
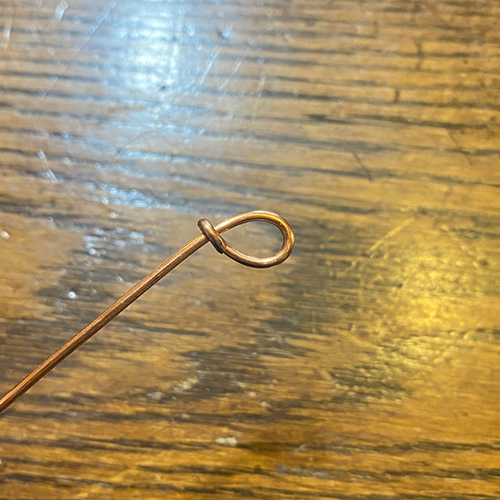
Step 2
Secure the bail with your pliers (fig. 2a). Using your fingers, fold the wire over (fig. 2b). Snip and tuck wire in (fig. 2c).
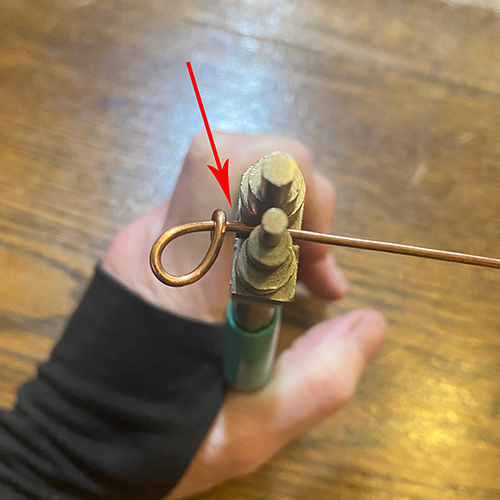
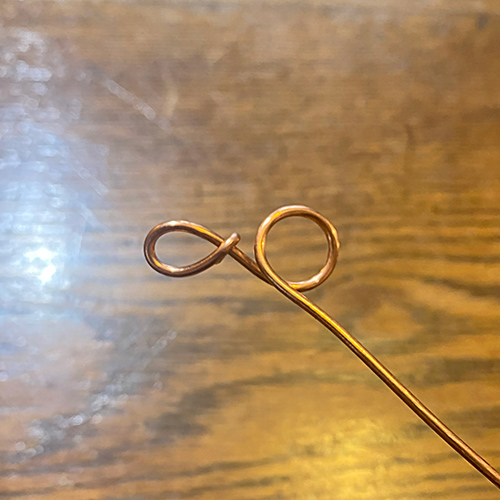
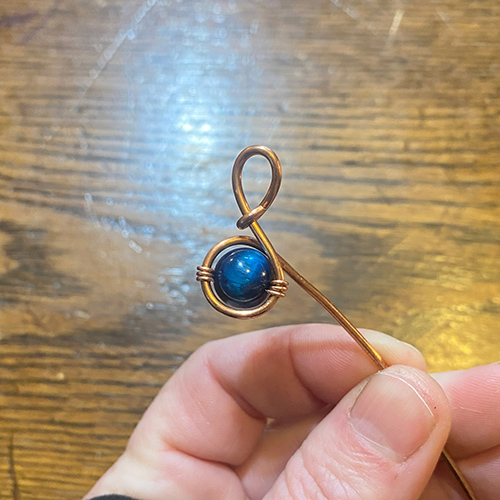
Step 3
Using the biggest barrel on your pliers, leave a little space (fig. 3a) and start shaping the wire (fig. 3b, 3c, 3d).


Prefer this tutorial in a PRINTABLE FORMAT?
Click here for the PDF version of “Simple Bead Pendant” tutorial

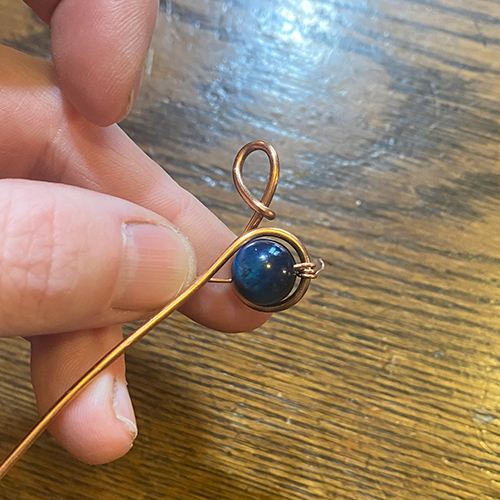
Step 4
Using your 22 gauge wire, feed through gemstone bead (fig. 4a) and place over pendant as shown (fig. 4b).

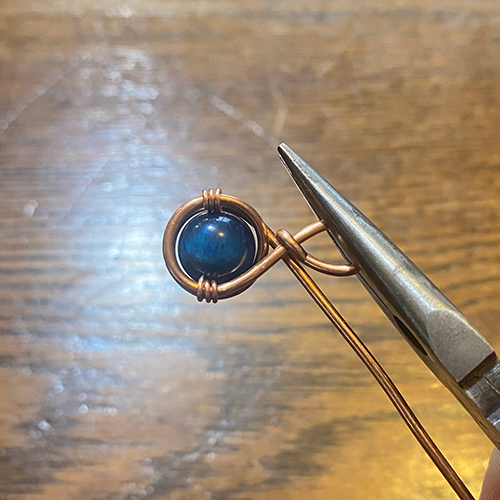
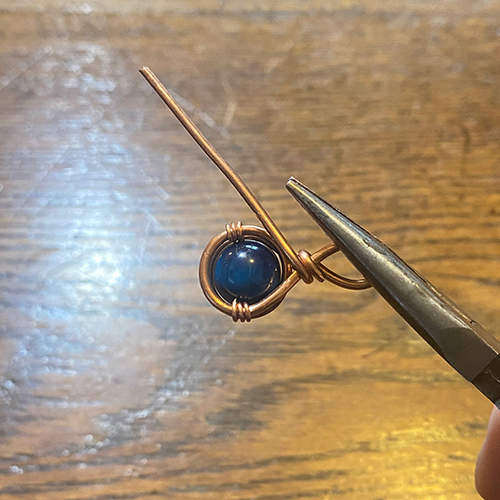
Step 5
Wrap the wire 3 times around one side, then the other side. Snip excess wire and tuck in the ends (fig. 5a, 5b, 5c, 5d).
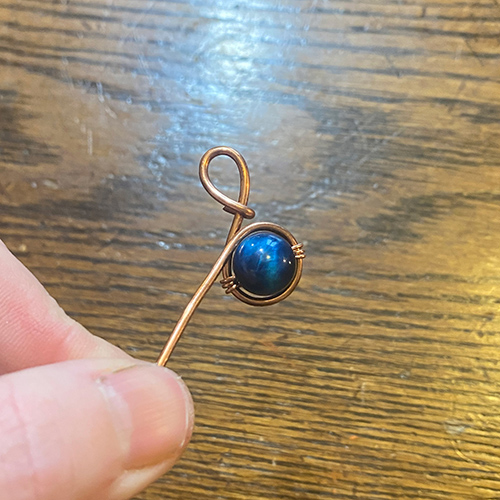
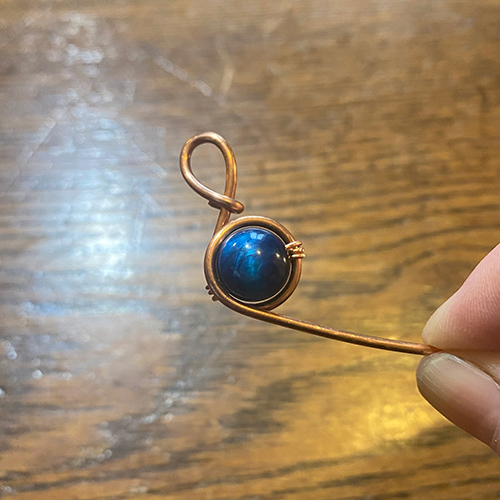
Step 6
Using your fingers, shape the wire around the bead as shown (fig. 6a, 6b).
Prefer this tutorial in a PRINTABLE FORMAT?
Click here for the PDF version of “Simple Bead Pendant” tutorial
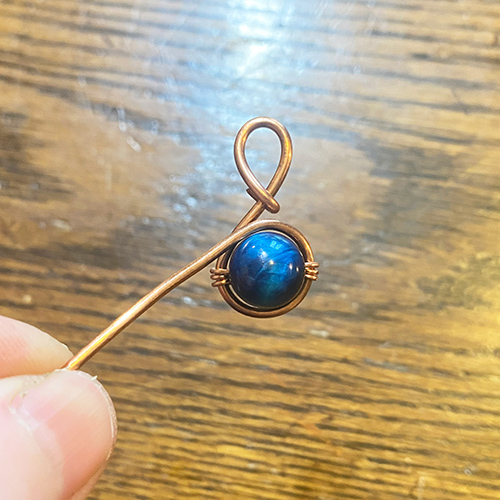
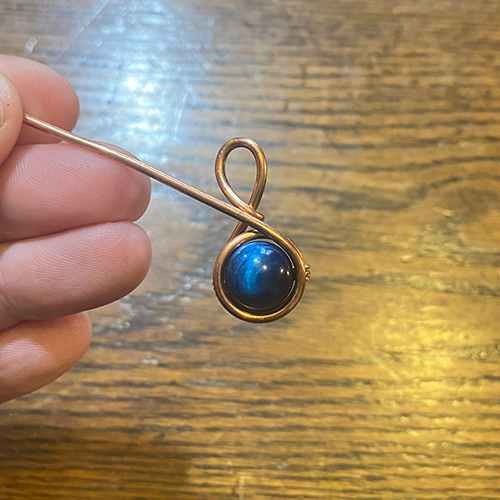
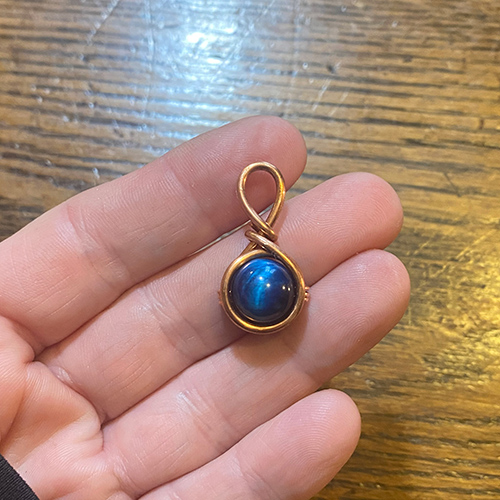
Step 7
Secure the bail with your pliers (fig. 7a). Flip wire over the back of your pendant (fig. 7b). Cut excess wire and tuck away in the back (fig. 7c). This is the front of the pendant (fig. 7d).

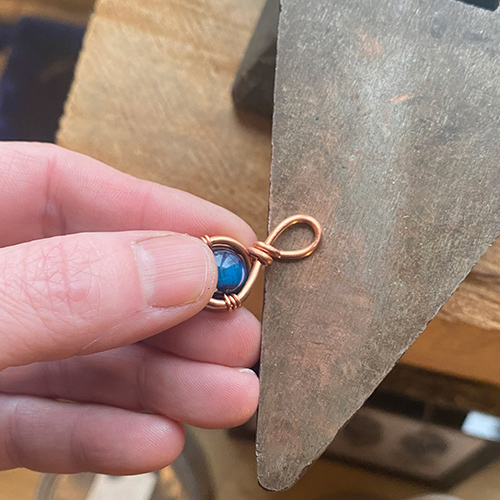
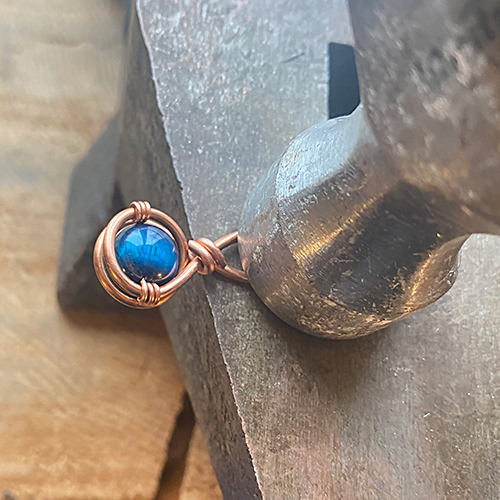
Step 8
Place the front of the bail on your anvil or bench as shown (fig. 8a). Gently hammer until desired effect is achieved (fig. 8b, 8c).
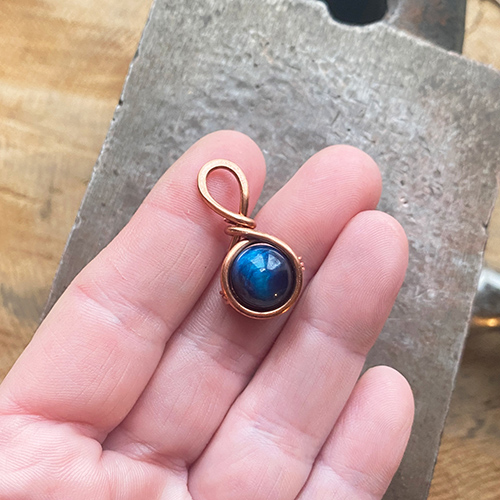
That’s it! You’re all done!
At this point, I use liver of sulfur as patina – this gives an antiqued look to my copper wire 🙂
Prefer this tutorial in a PRINTABLE FORMAT?
If you’d like to see my work and follow my wire journey, you can find me here:
Facebook
Instagram
Twitter
Pinterest
YouTube
Etsy


[…] How to Wire-Wrap Beads – a Simple Bead Pendant […]