Step 10 of 12 – POLISHING
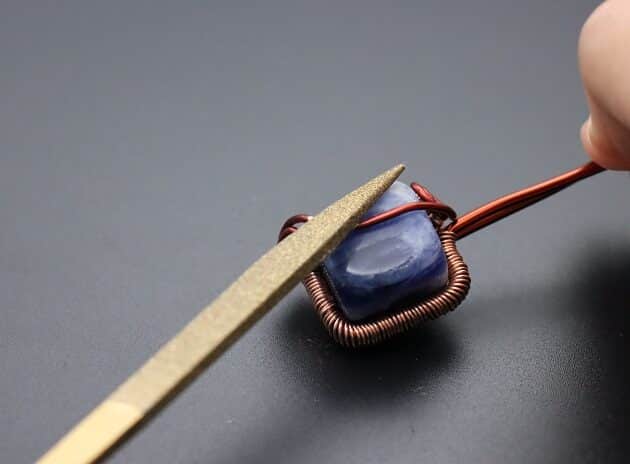
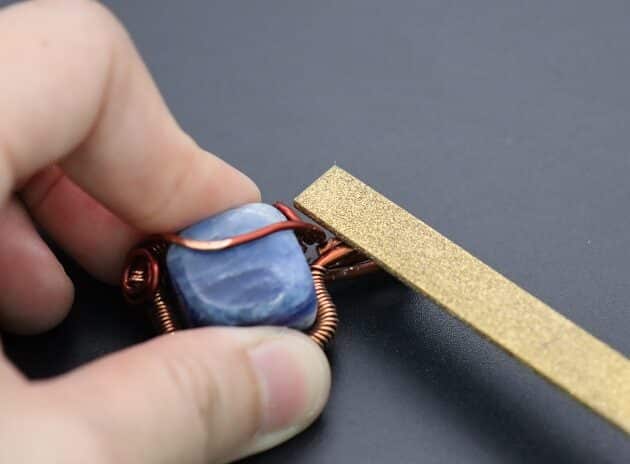
Use a V-shape diamond needle file to polish half of the vine decoration (fig. 10a, 10b).
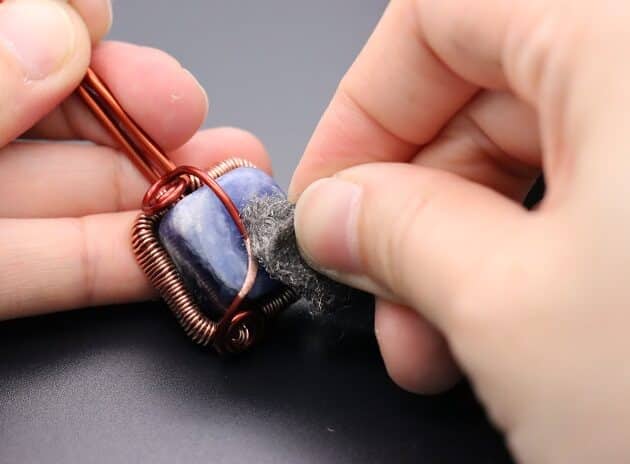
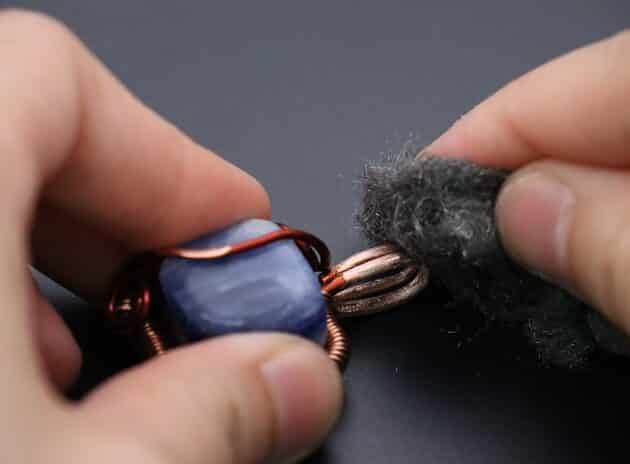
Smoothen the polished surface with a finest steel wire wool (fig. 10c).
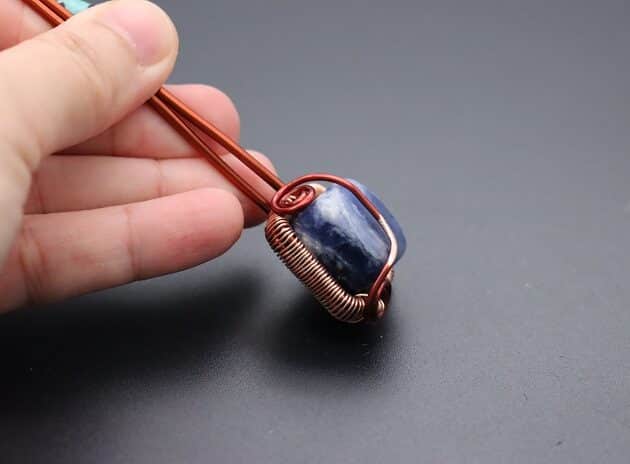
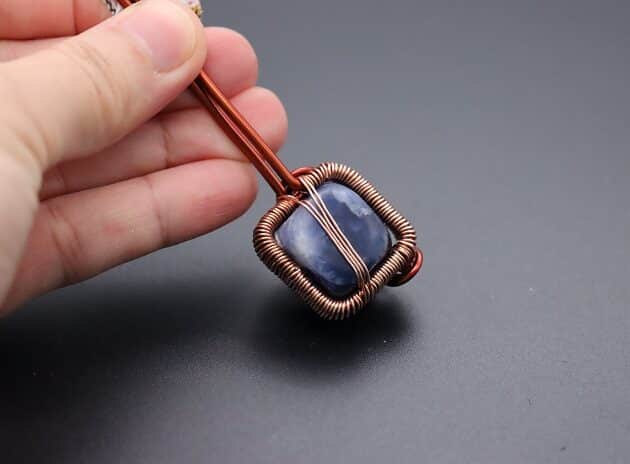
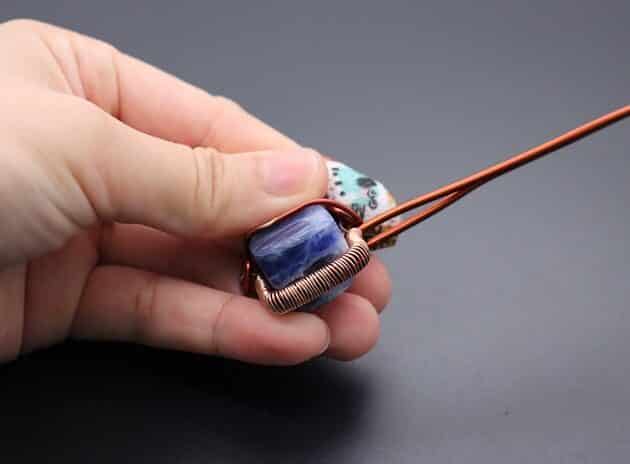
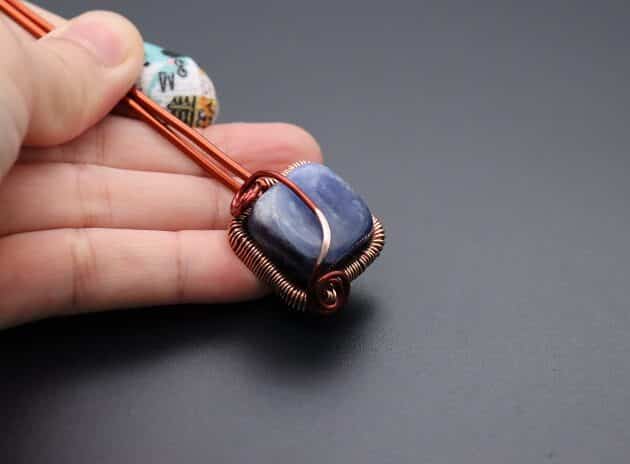
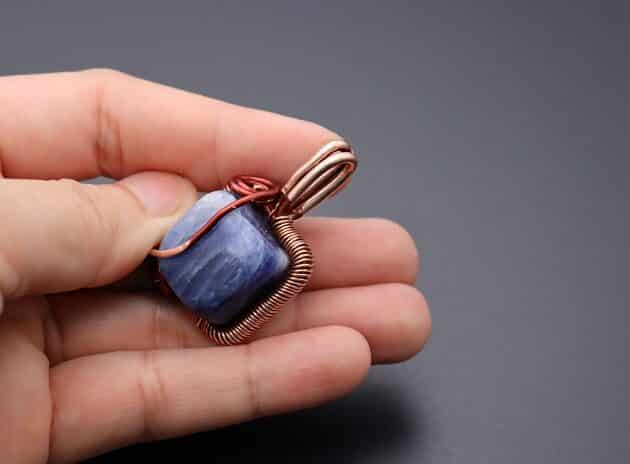
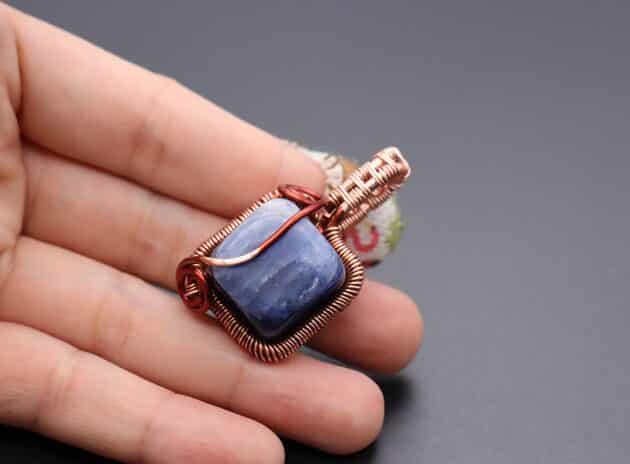
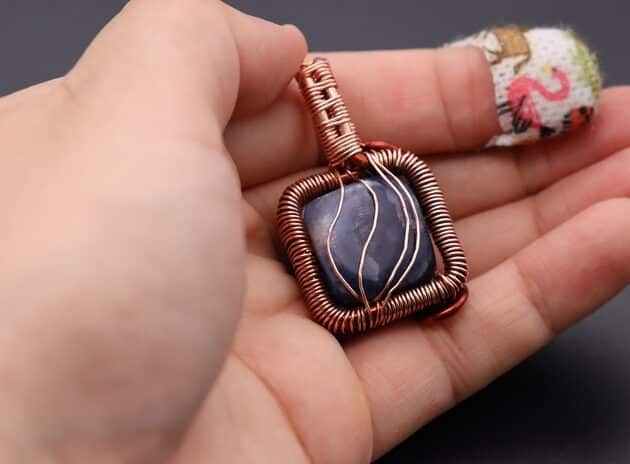
Checkpoint – Your wire-wrapping square cabochon pendant should look like this:

FREE WIRE-WRAPPING GUIDE TO YOUR EMAIL!
JOIN NEWSLETTER
We respect your privacy. Unsubscribe at anytime.
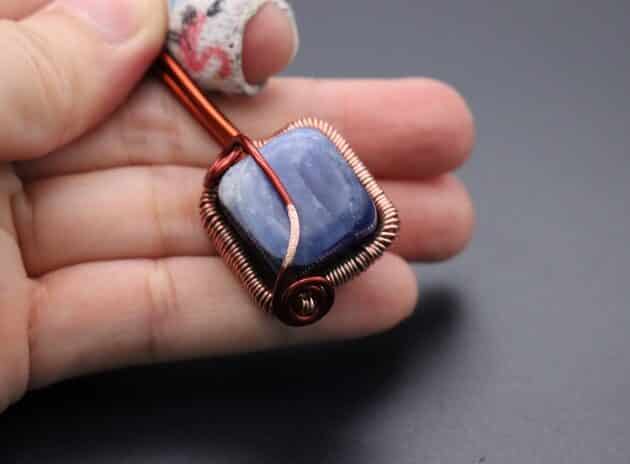
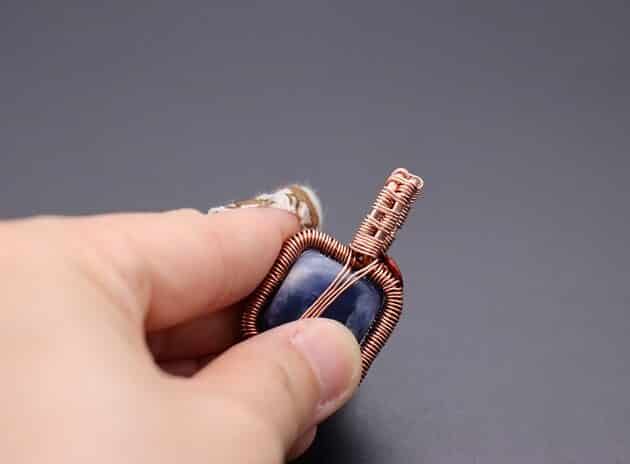
- Front view: (fig. 10d)
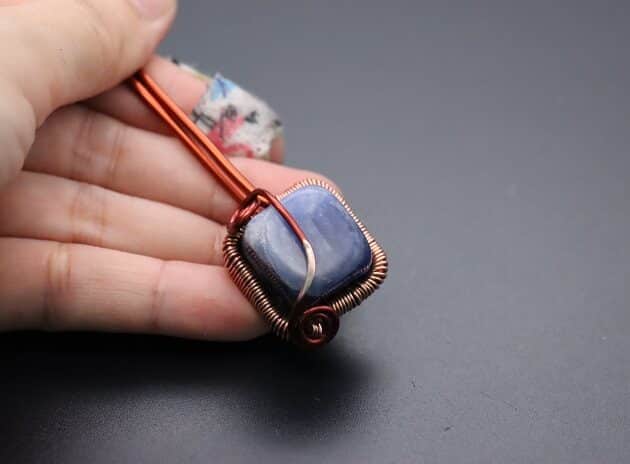
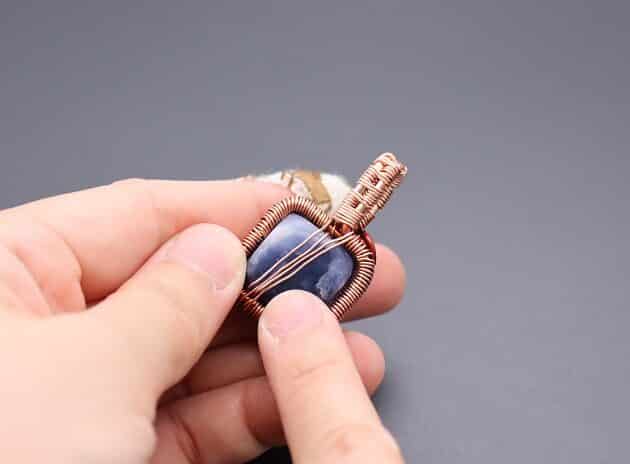
- Left view: (fig. 10e)
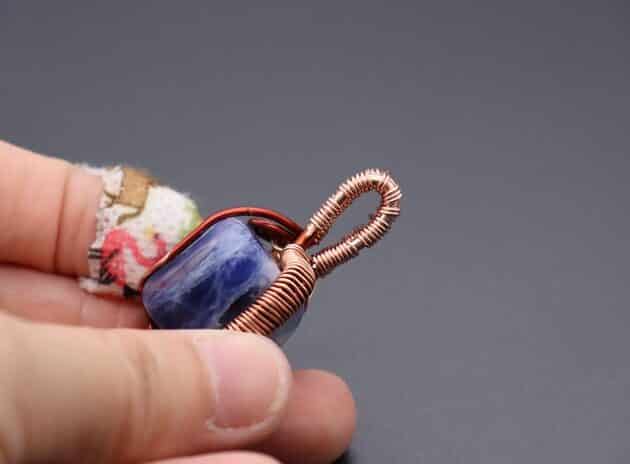
- Back view: (fig. 10g)
- Right view: (fig. 10h)
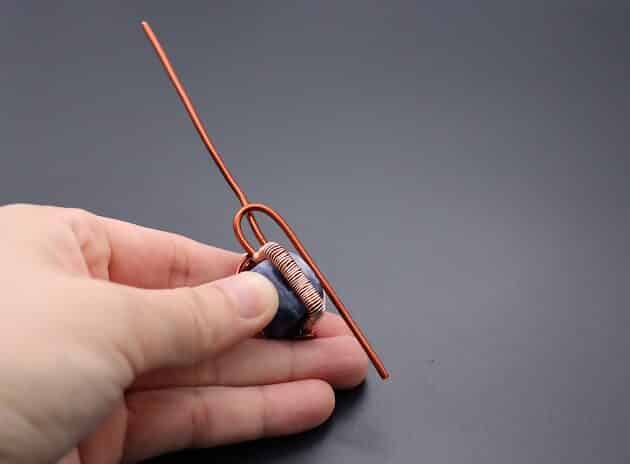
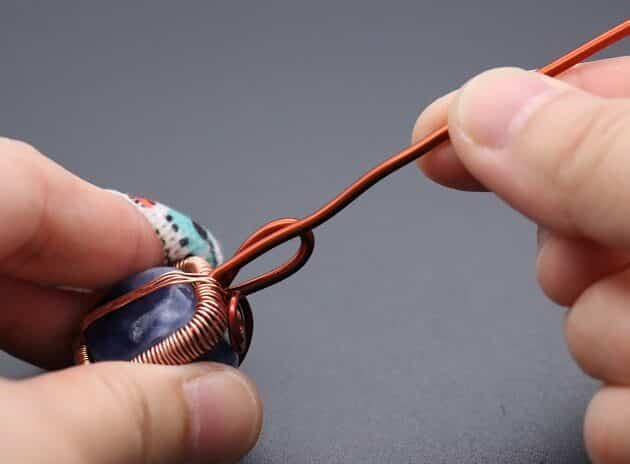
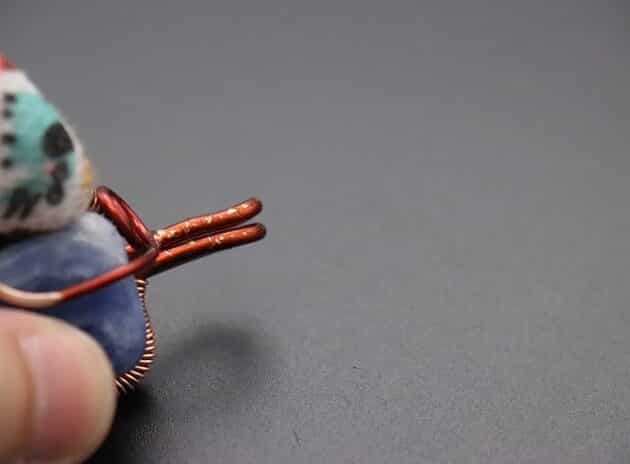
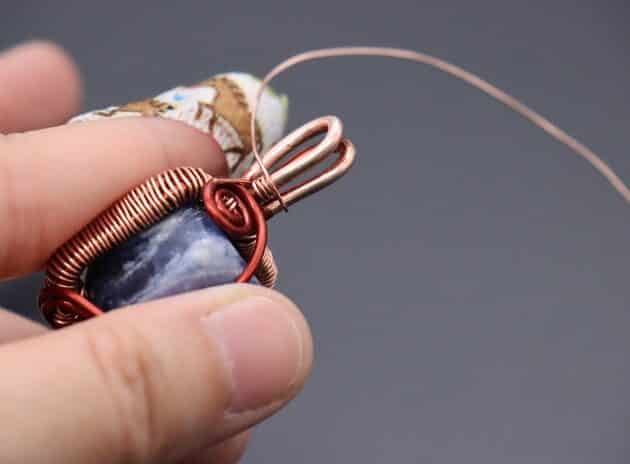
Step 11 of 12 – BAIL MAKING
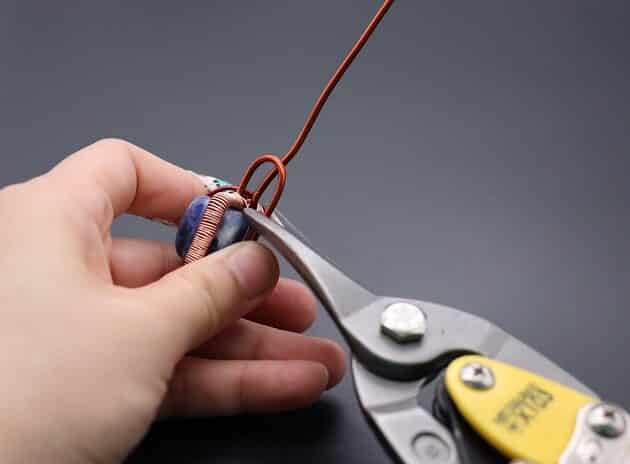
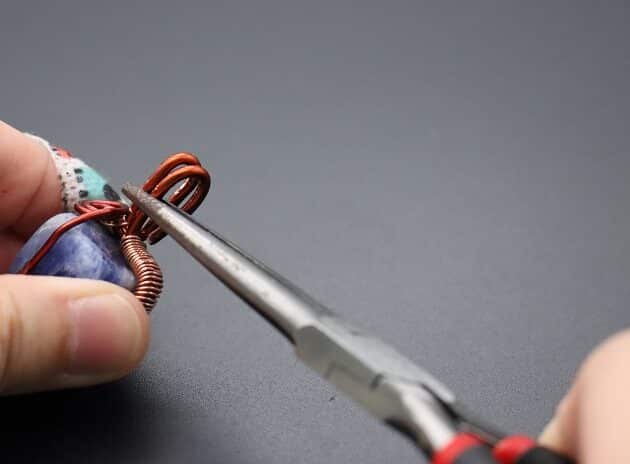
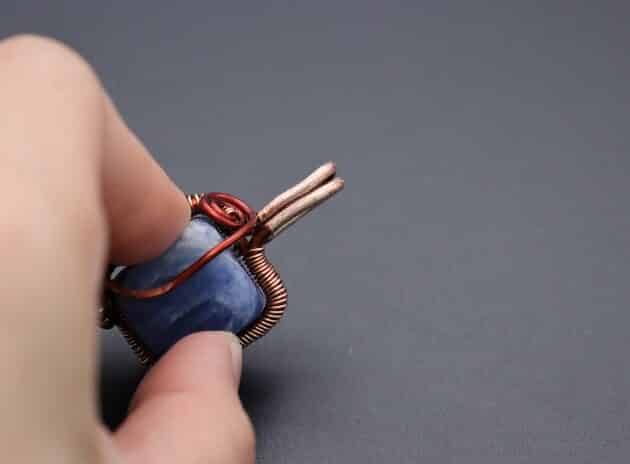
Bend the both the wire ends downwards and trim off the excess (fig. 11a, 11b, 11c, 11d, 11e, 11f, 11g).
Use a flat diamond needle file to smoothen the sharp wire end (fig. 11h).
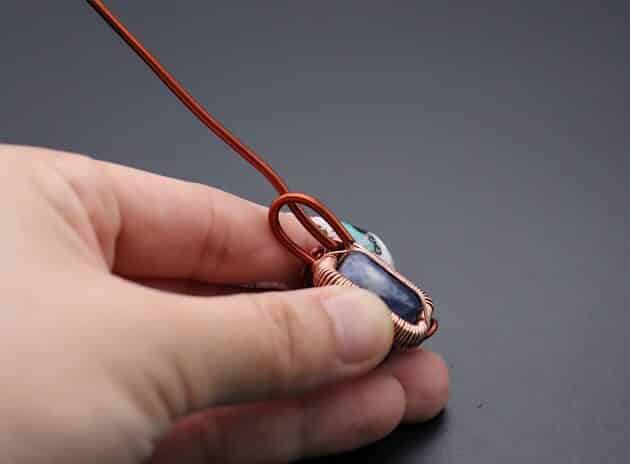
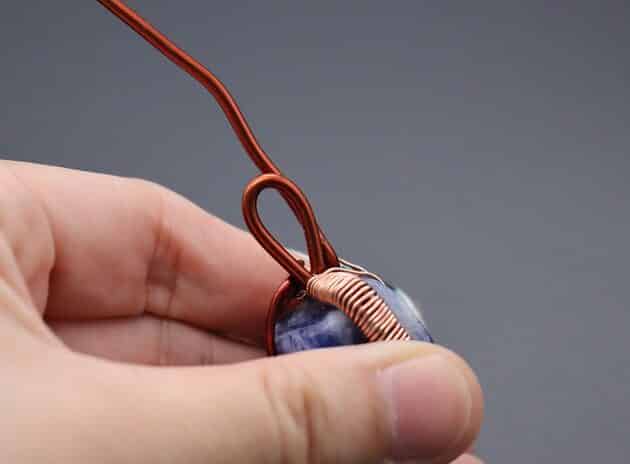
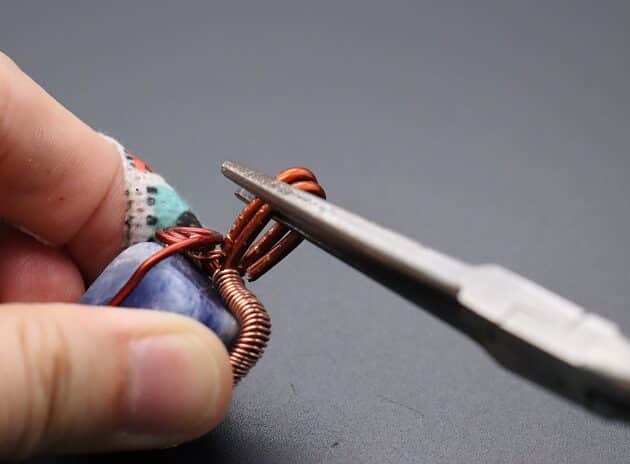
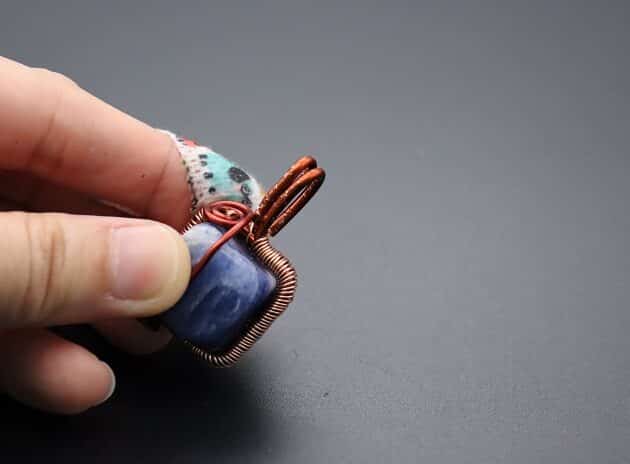
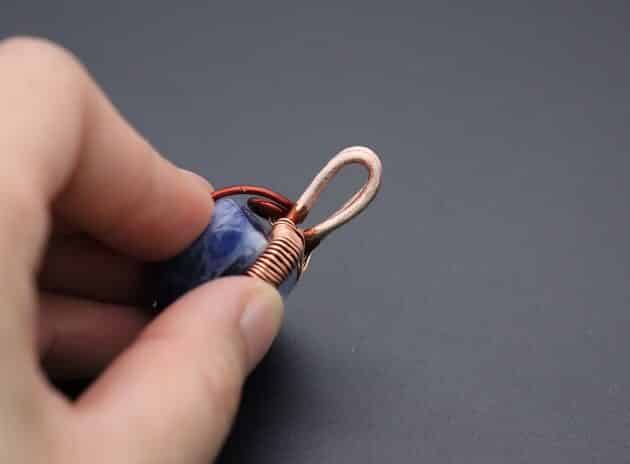
Use a flat nose pliers to adjust the shape of the bail as desired (fig. 11i, 11j, 11k, 11l, 11m).
Lastly, polish the bail surface with flat diamond needle file and finest steel wire wool (fig. 11n, 11o, 11p, 11q, 11r, 11s).


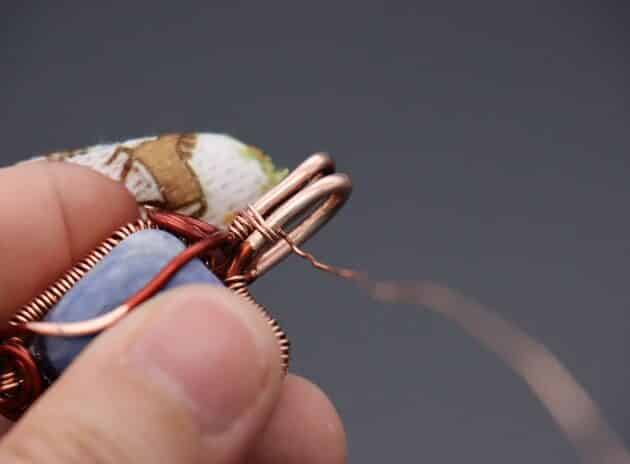
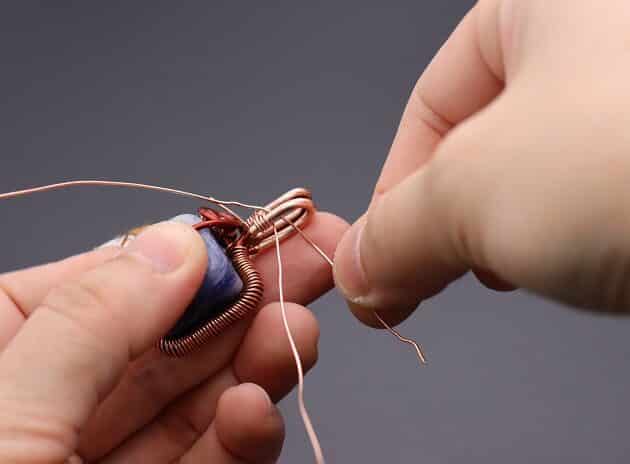
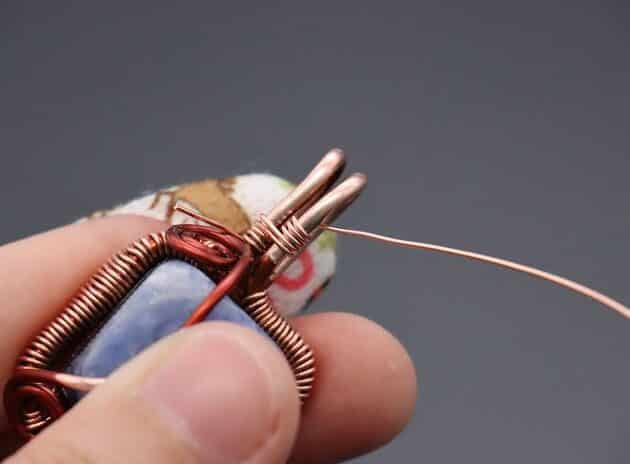
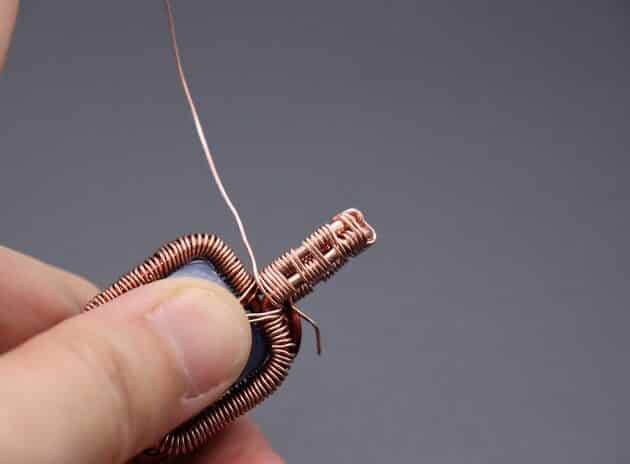
Step 12 of 12 – BAIL WEAVING
The main pattern for bail weaving are as follow:
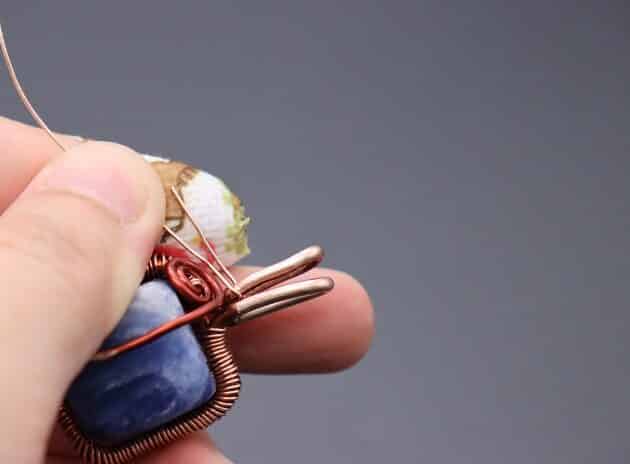
- Start with 3 small coils on the left wire (fig. 12a, 12b, 12c).
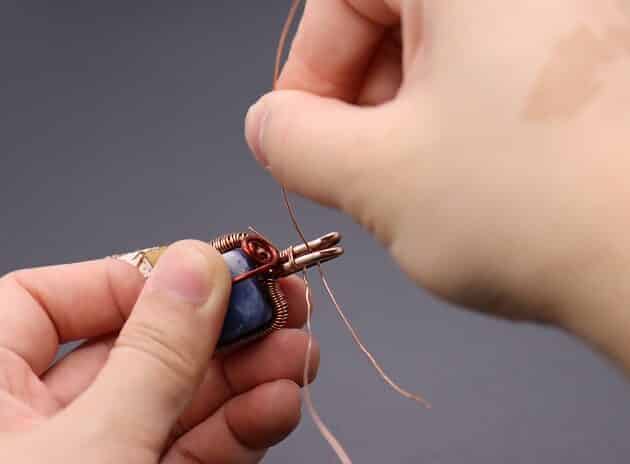
- Then, make 2 big coils on both the wire (fig. 12d, 12e).
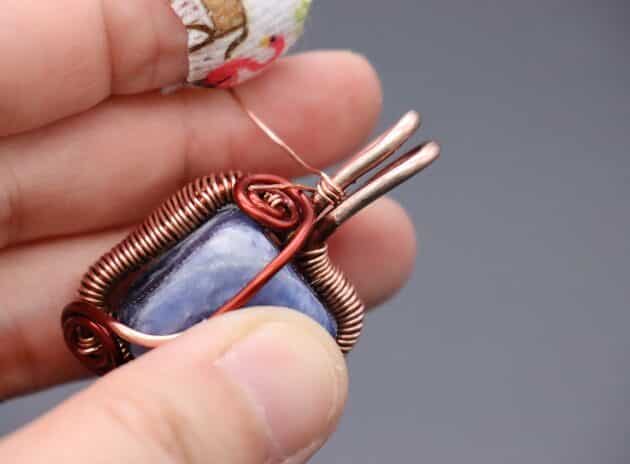
- Next, make 3 small coils on the right wire (fig. 12f, 12g, 12h, 12i, 12j, 12k).
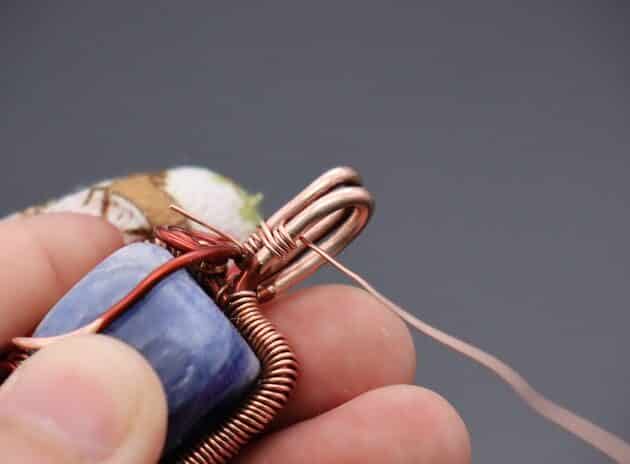
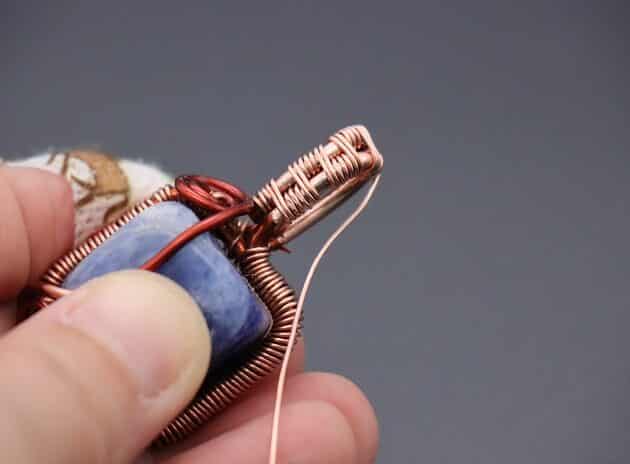
And repeat the weaving pattern until the end of bail (fig. 12l, 12m, 12n).
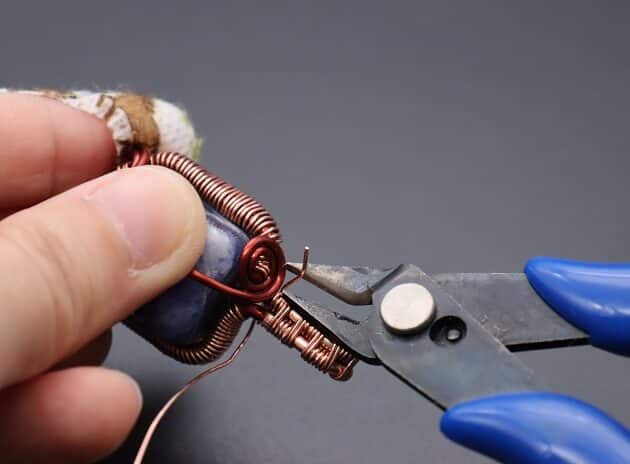
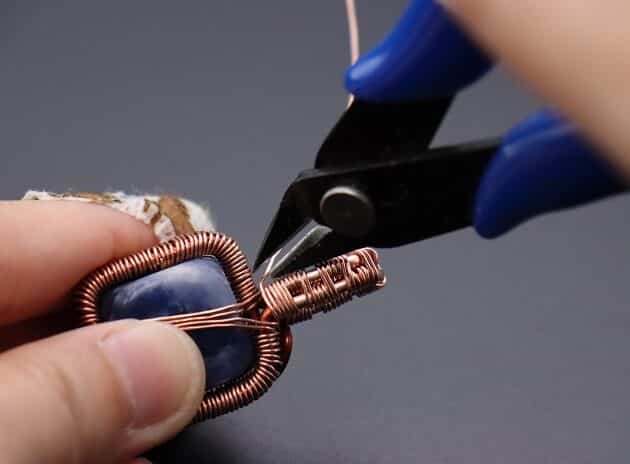
Trim off excess wires with wire cutter (fig. 12o, 12p, 12q).
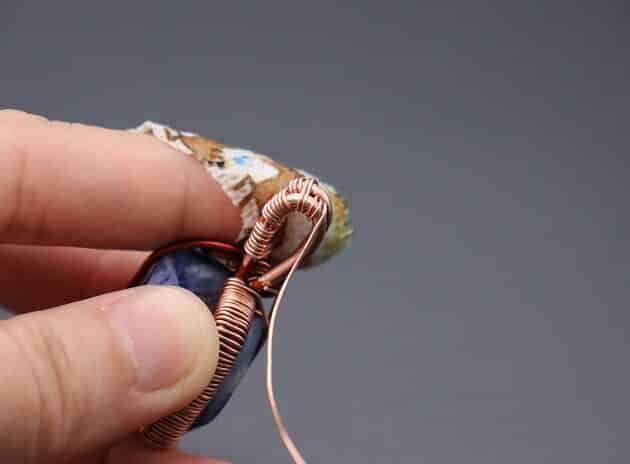
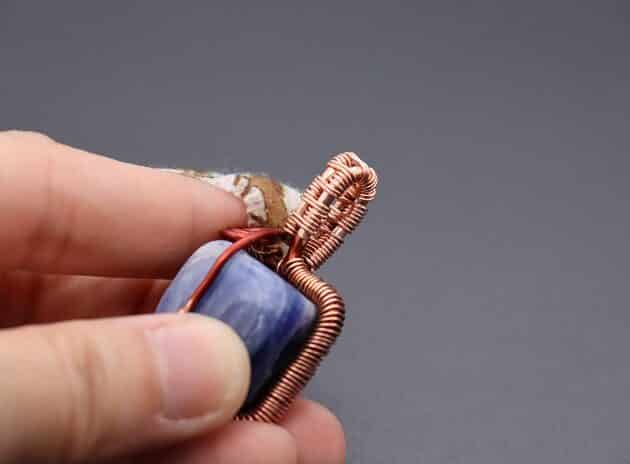
Checkpoint: This is how your pendant should look like at the end (fig. 12r, 12s, 12t).
For final touch, separate the wires at the back like tiny vines.


FINISHED WIRE-WRAPPING SQUARE CABOCHON PENDANT DESIGN
Prefer this wire-wrapping tutorial in a PRINTABLE FORMAT? (High Resolution Photos)
Click here for the PDF version of “Square Cabochon Wire-Wrapping Tutorial”
Want to Support me?
If you enjoyed my content, please consider support me on Patreon:). This helps me to create more amazing free content to share with you 🙂
If you’d like to see my work and follow my wire journey, you can find me here:
Facebook Instagram Twitter Pinterest YouTube Etsy

