Greetings my lovely wire-wrappers!
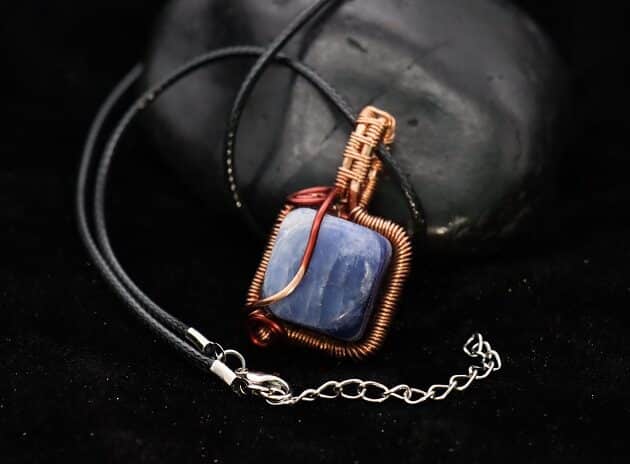
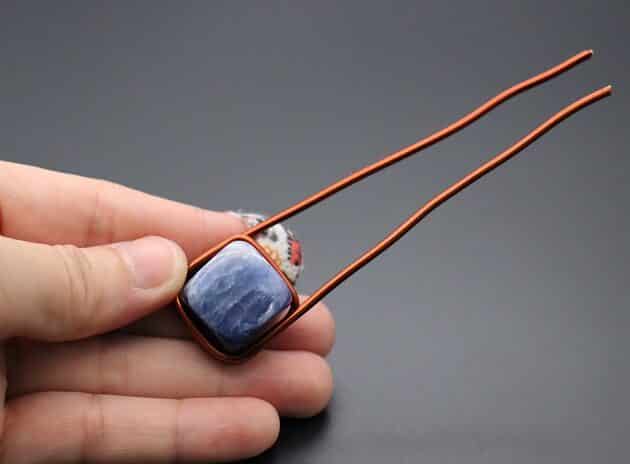
Are you looking for a new frame to hold your precious square cabochon?
Well, I have made an Intermediate Level Wire-Wrapping Square Cabochon Pendant Tutorial just for you!
What I love about this piece is the bail weaving. It brings a texture POP to the pendant.

FREE WIRE-WRAPPING GUIDE TO YOUR EMAIL!
JOIN NEWSLETTER
We respect your privacy. Unsubscribe at anytime.
Good news – you will be able to make this piece too!
Just follow my step-by-step tutorial here!
Happy wrapping!
LEVEL: INTERMEDIATE
MATERIALS + TOOLS
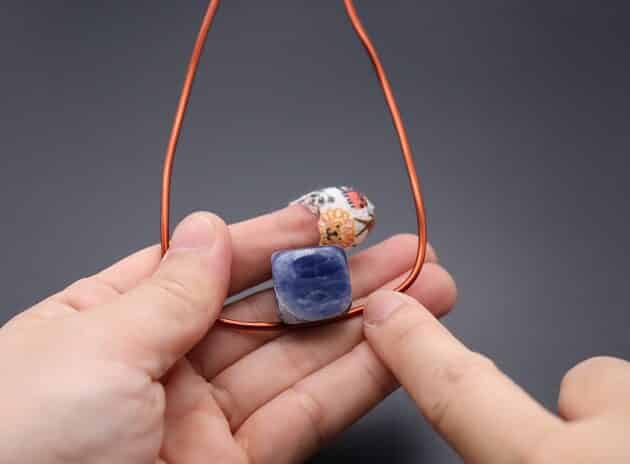
- Square Shape Stone
- Red Copper Wire (12 Gauge): Length (12″)
- Brown Copper Wire (22 Gauge)
- Wire Cutter (Big + Small)
- Nylon jaw pliers
- Round Nose Plier
- Bent Nose Plier
- Diamond Needle Files Flat
- Diamond Needle Files V shape
- Finest Steel Wire Wool (Optional)
- Pen / Marker Pen
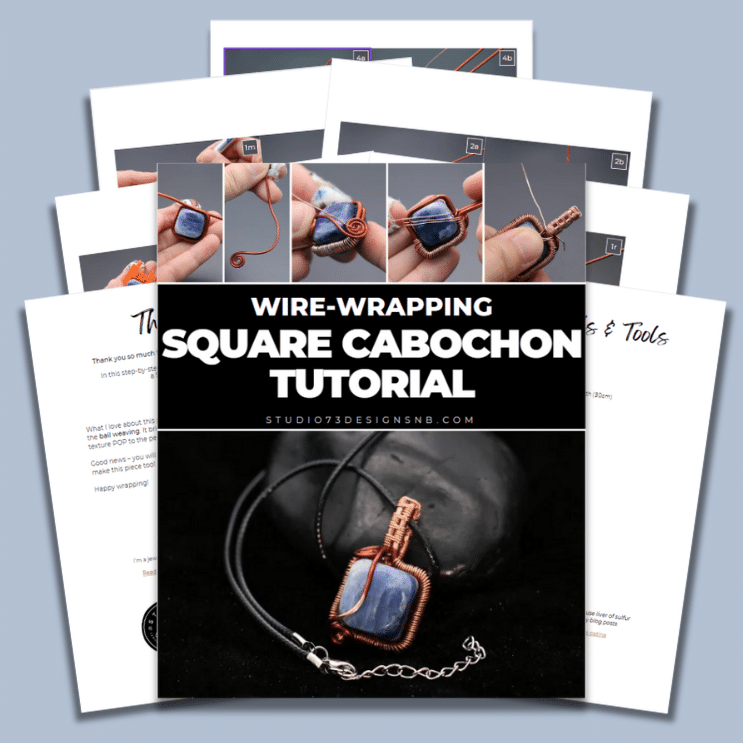
Prefer this wire-wrapping tutorial in a PRINTABLE FORMAT? (High Resolution Photos)
Click here for the PDF version of “Square Cabochon Wire-Wrapping Tutorial”
WIRE-WRAPPING SQUARE CABOCHON TUTORIALS
Step 1 of 12 – WIRE FRAMING
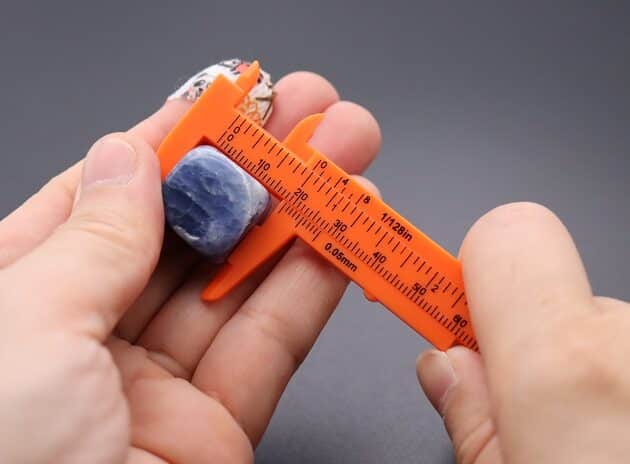
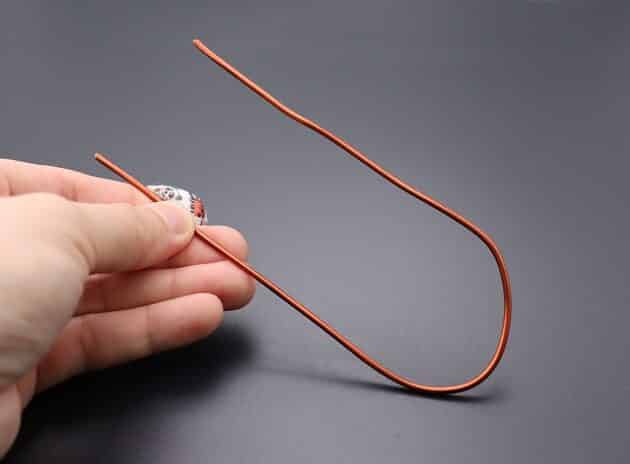
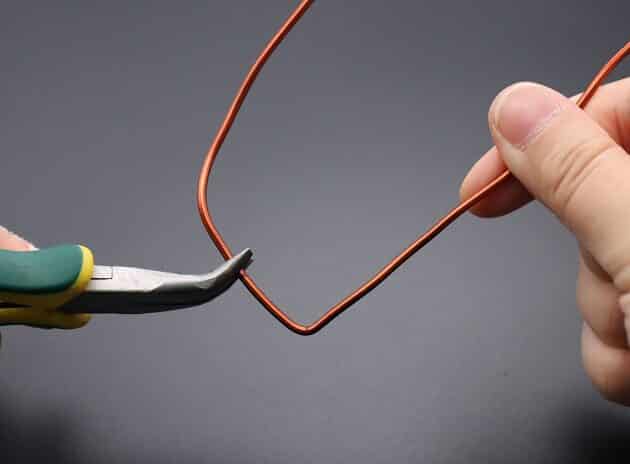
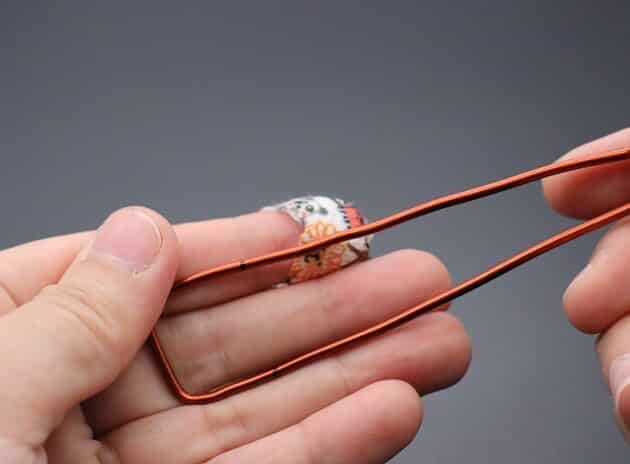
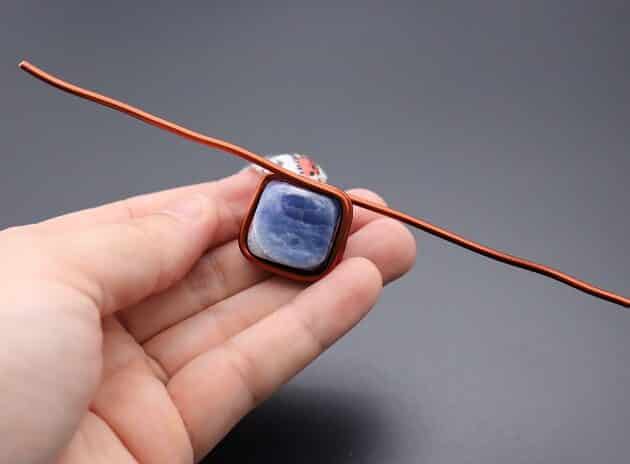
Firstly, measure the size of your square cabochon stone (fig. 1a).
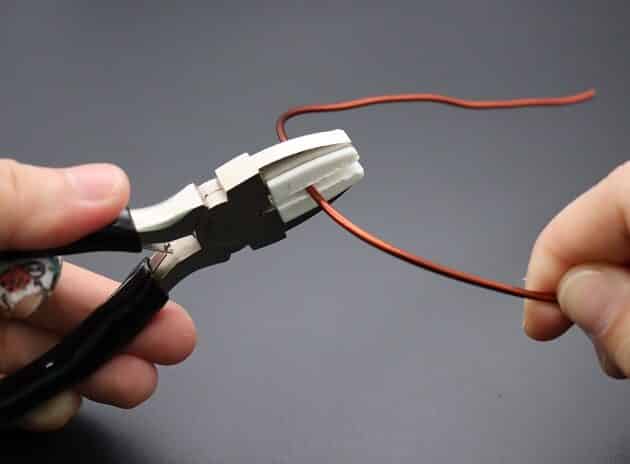
Then, cut a length of 12-gauge red copper wire that is 12 inches long (fig. 1b).
Use a nylon jaw pliers to straighten out the copper wire’s middle part (fig. 1c, 1d).
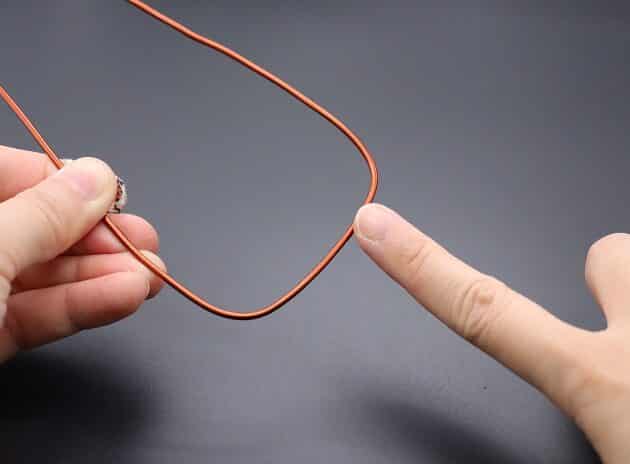
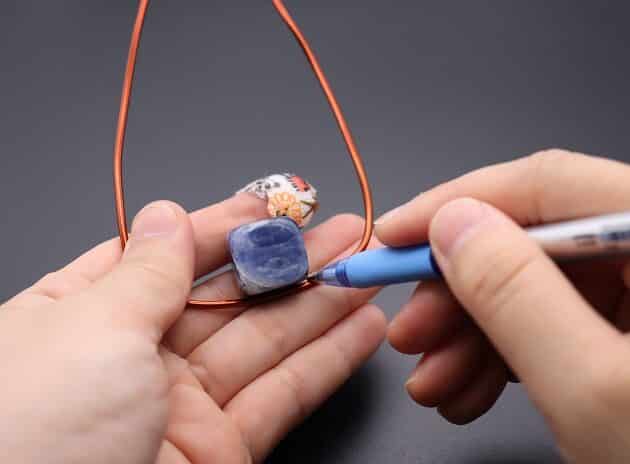
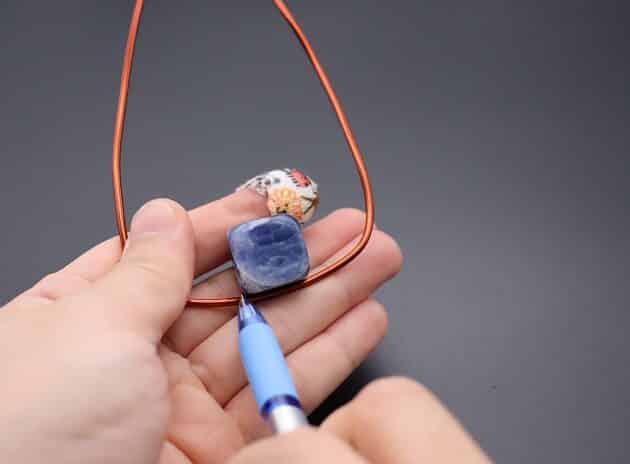
Next, place the stone on the wire and mark its width for framing purposes (fig. 1e, 1f, 1g).
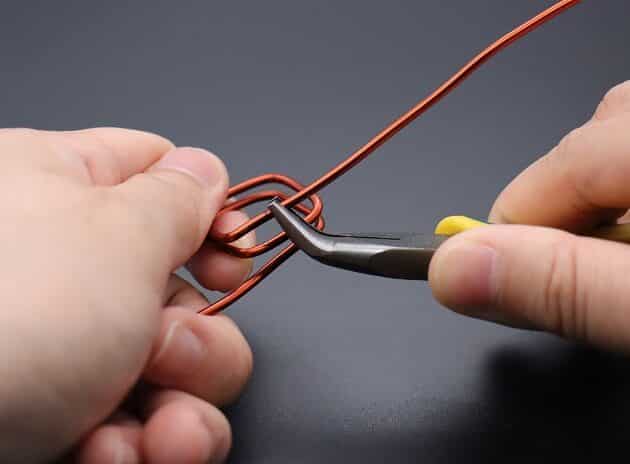
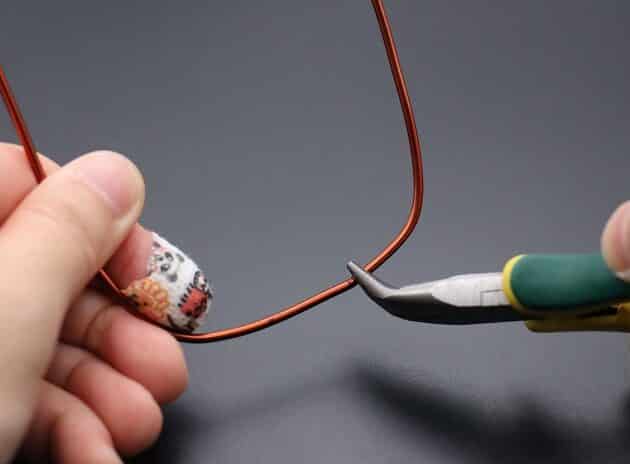
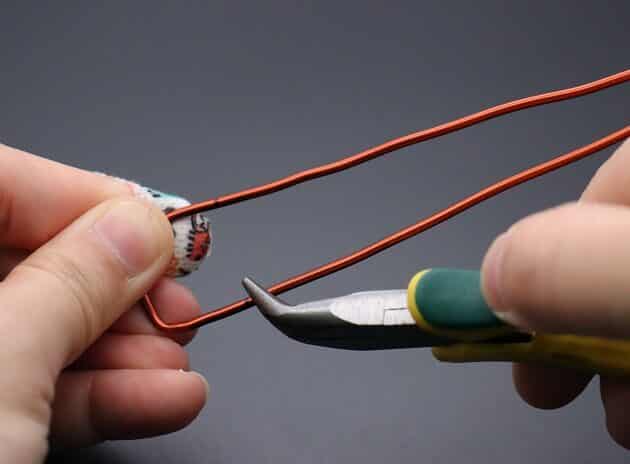
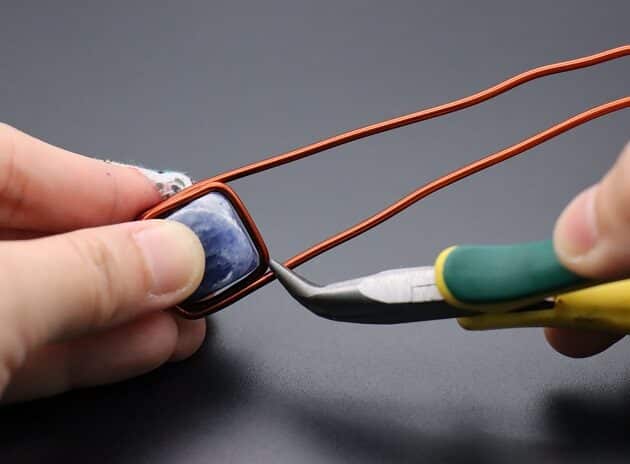
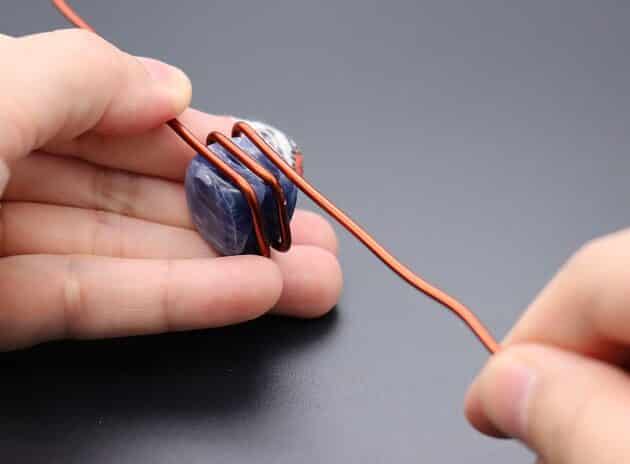
Start the framing process by making a 90-degree bend on the wire markings with a bent nose pliers (fig. 1h, 1i, 1j, 1k).
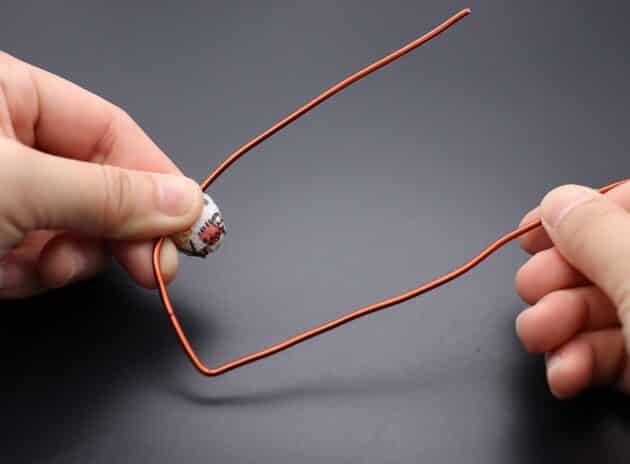
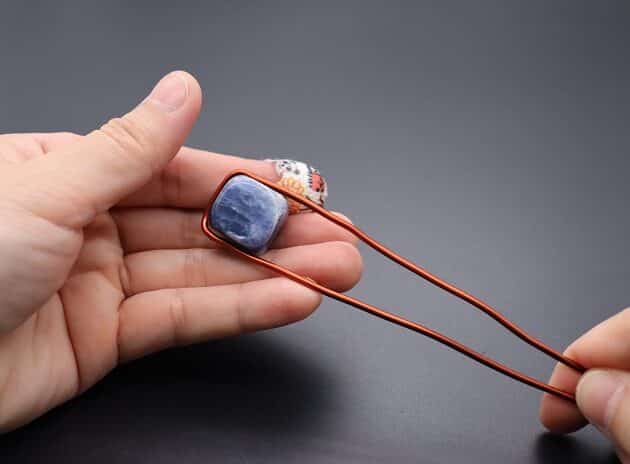
Repeat the process until your square cabochon stone is framed on all sides (fig. 1l, 1m, 1n, 1o, 1p, 1q, 1r).
Step 2 of 12 – WIRE FRAMING
Prefer this wire-wrapping tutorial in a PRINTABLE FORMAT? (High Resolution Photos)
Click here for the PDF version of “Square Cabochon Wire-Wrapping Tutorial”
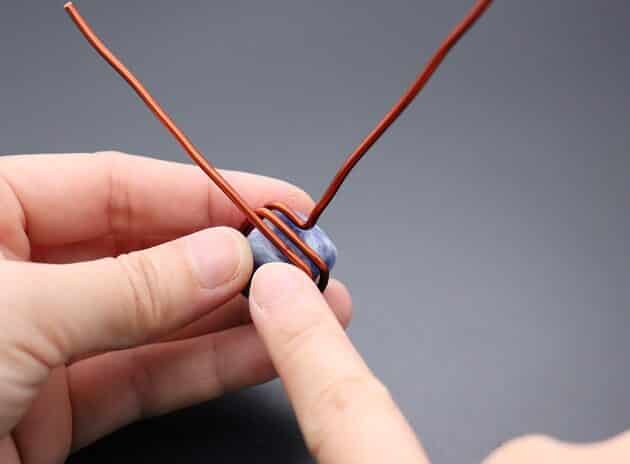
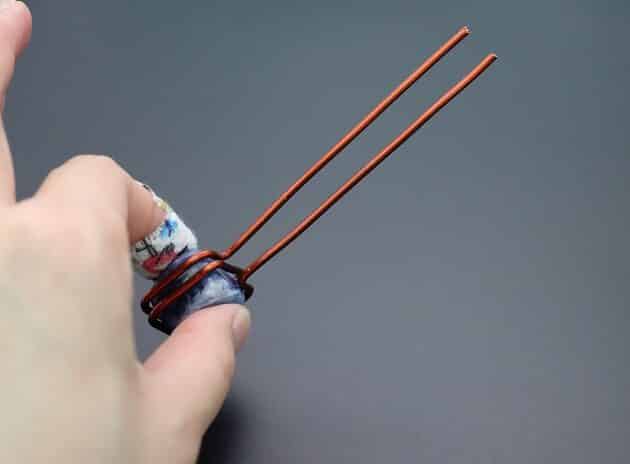
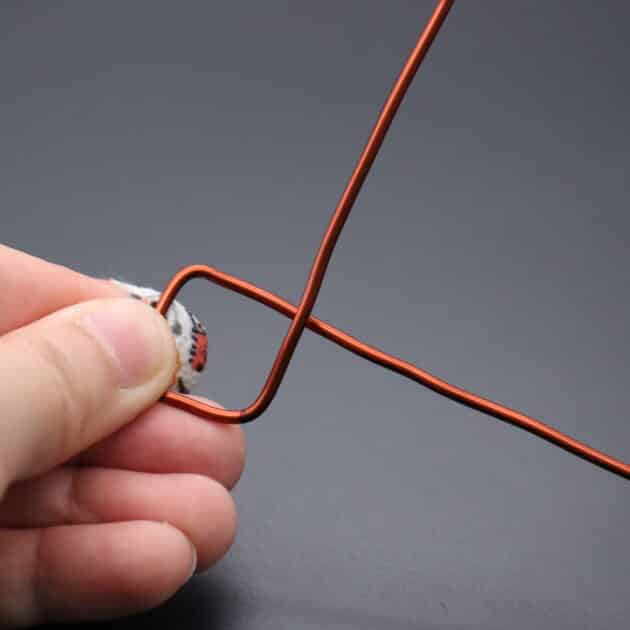
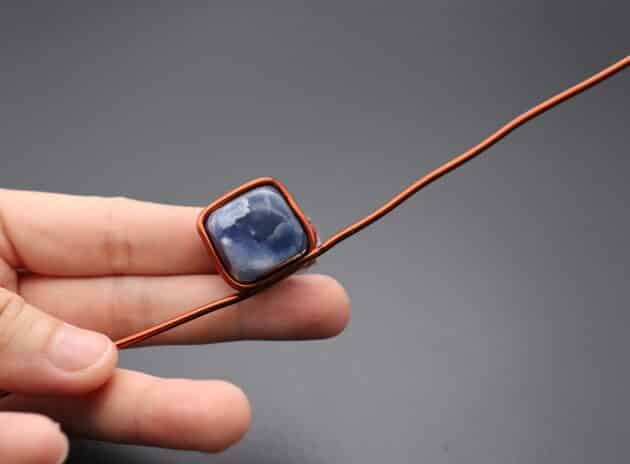
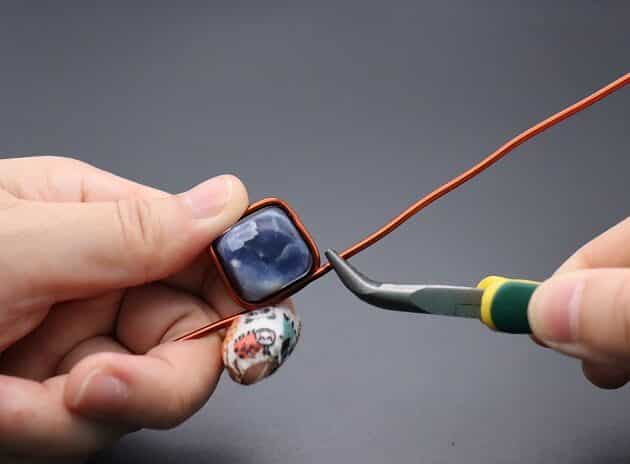
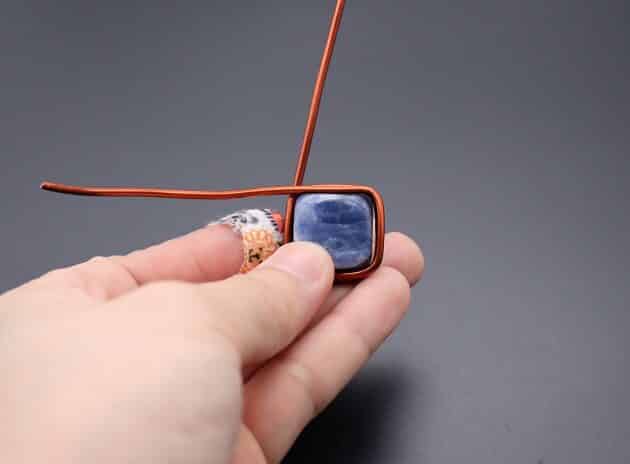
Secondly, continue to make 2 extra 90-degree bends on both end of the 12-gauge wire around the stone (fig. 2a, 2b, 2c, 2d, 2e, 2f, 2g, 2h).
At last, the free ends of the wire should be on top of the stone (fig. 2i).
Step 3 of 12 – WIRE FRAMING
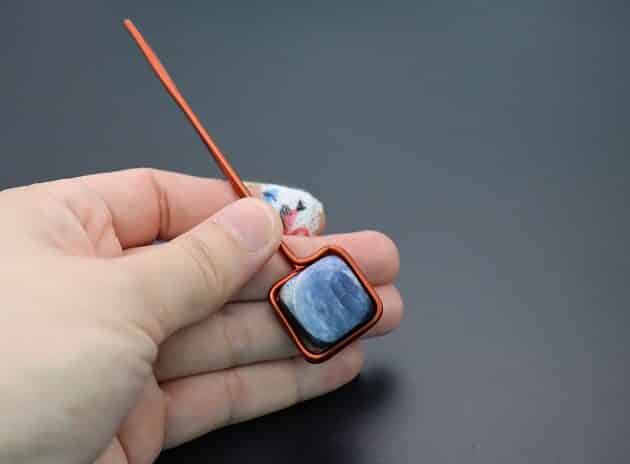
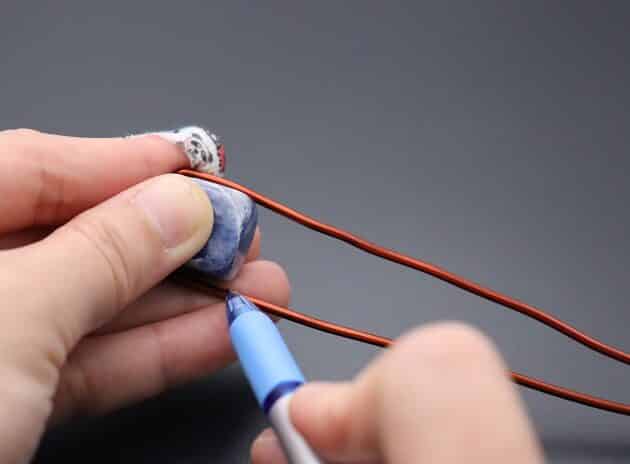
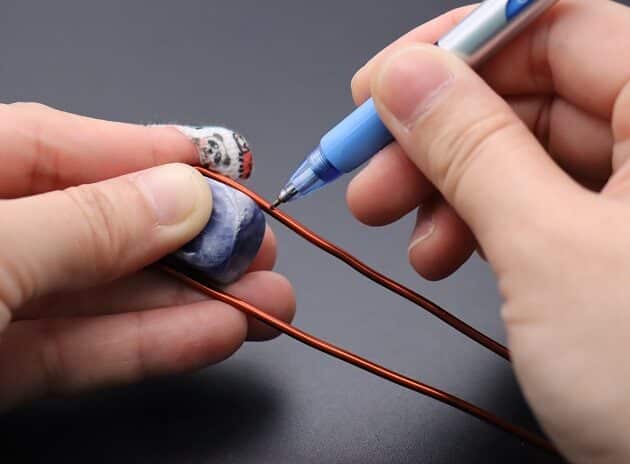
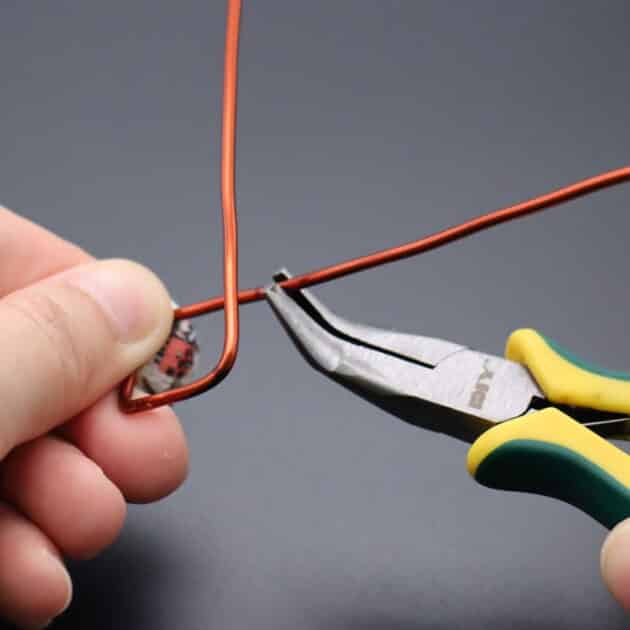
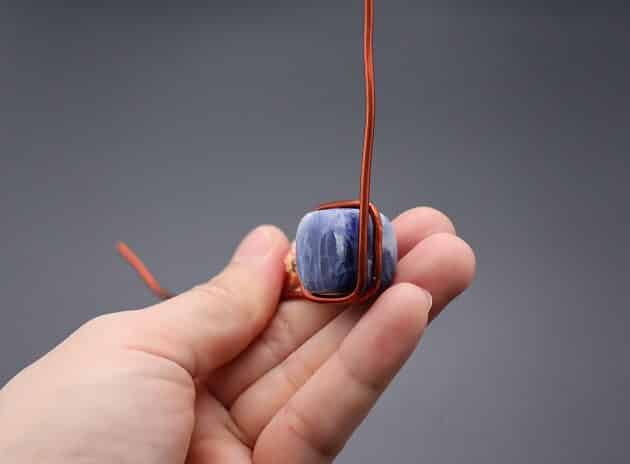
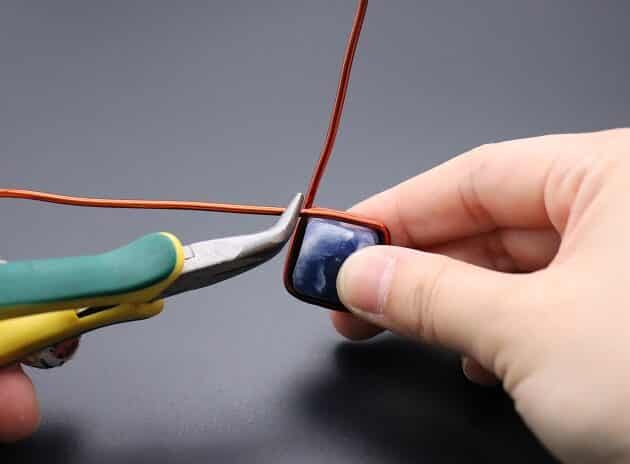
Thirdly, mark the midpoint on the top wire for the pendant bail (fig. 3a).
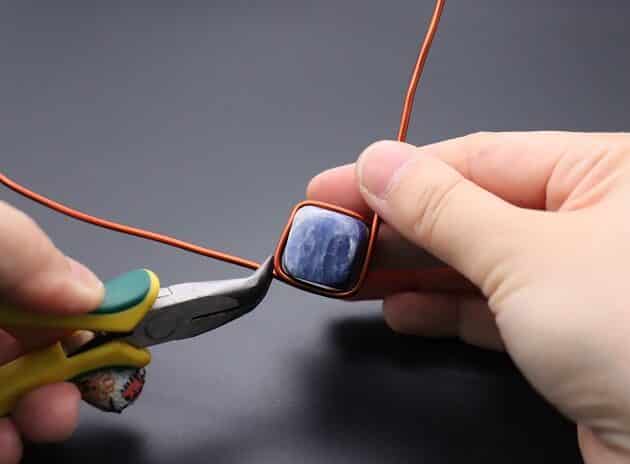
Make a 90-degree bend upwards on the markings (fig. 3b, 3c, 3d, 3e).
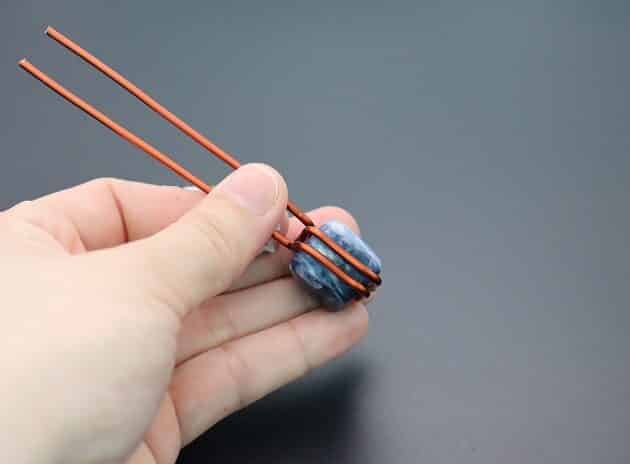
Checkpoint: Your frame should look something like this (fig. 3f, 3g).