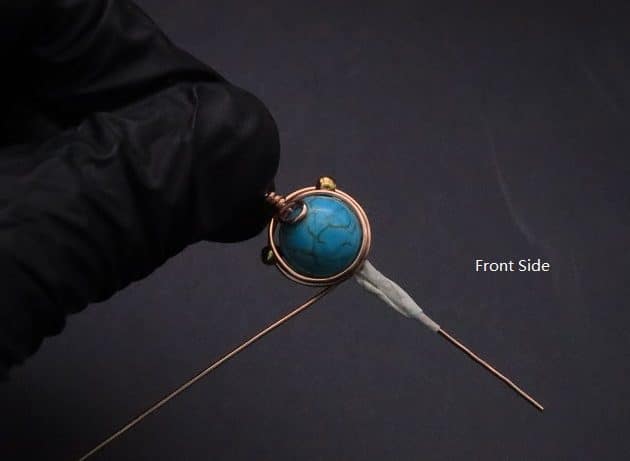
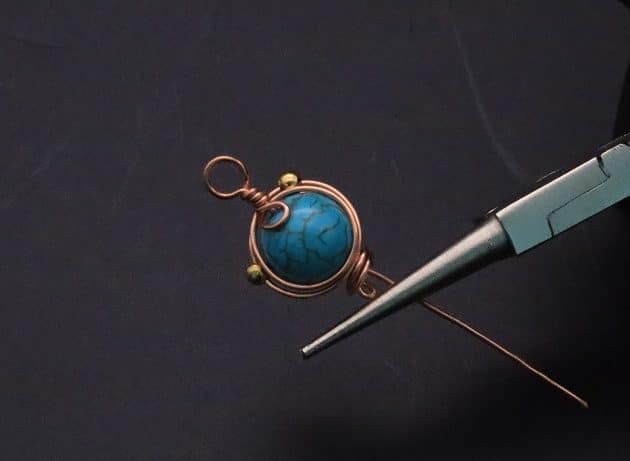
Step 4 of 7
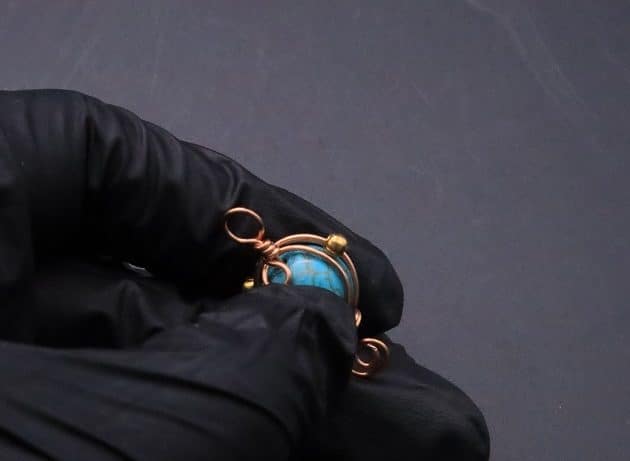
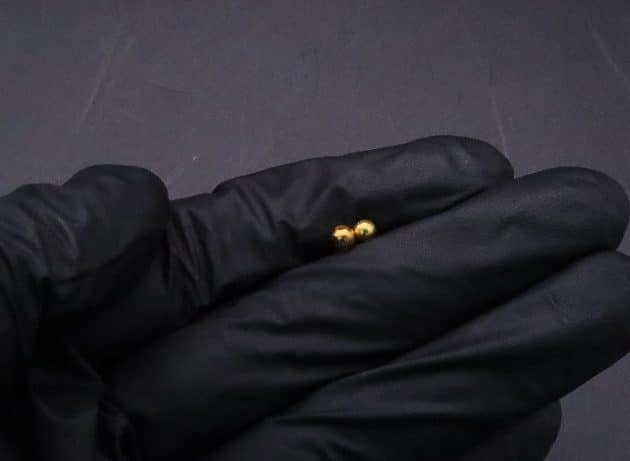
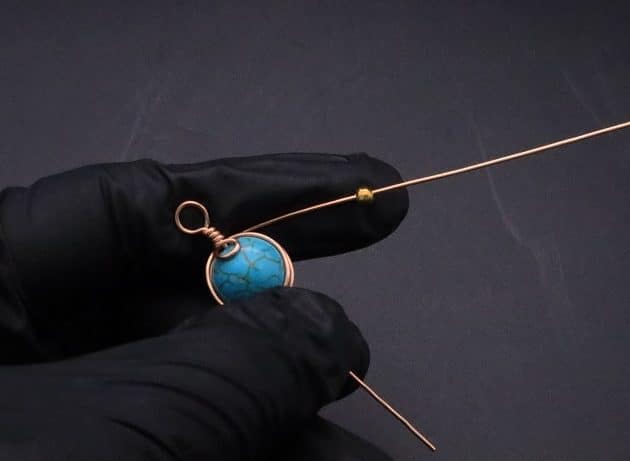
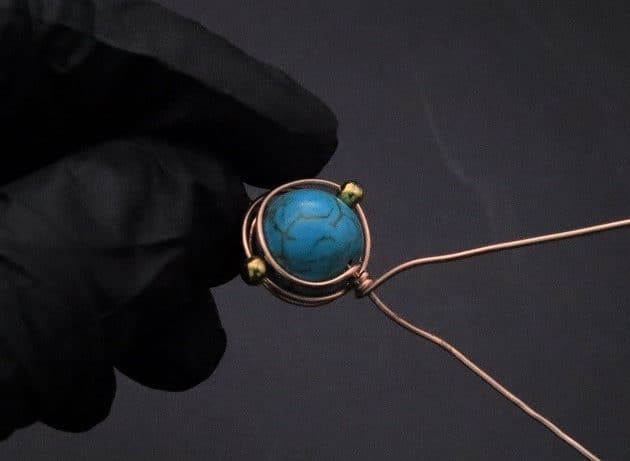
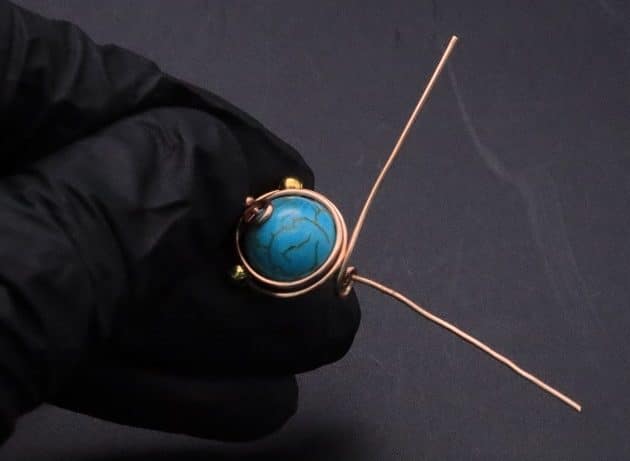
Slide in 2 golden spacer beads for frame detailing (fig. 4a, 4b):
- Bead on the right frame (fig. 4c).
- Bead on the left frame (fig. 4d).
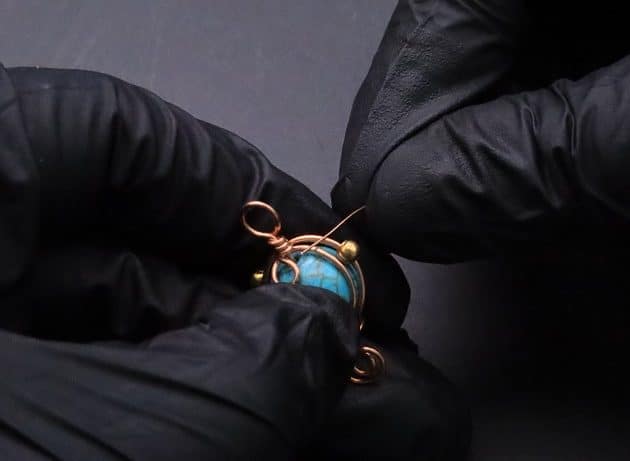
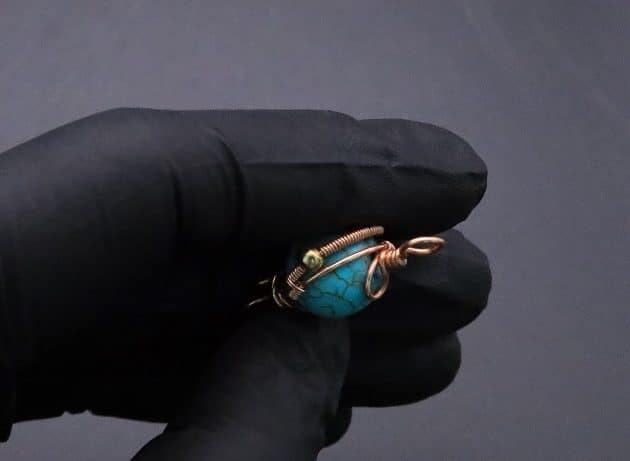
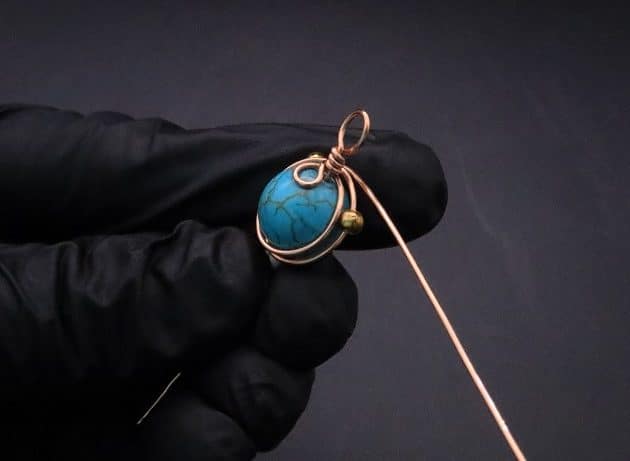
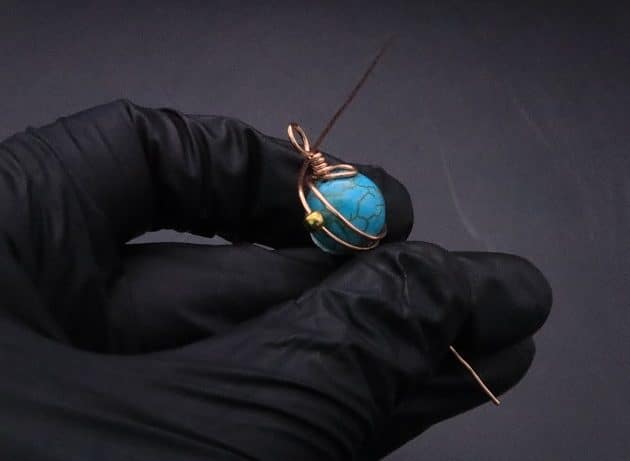
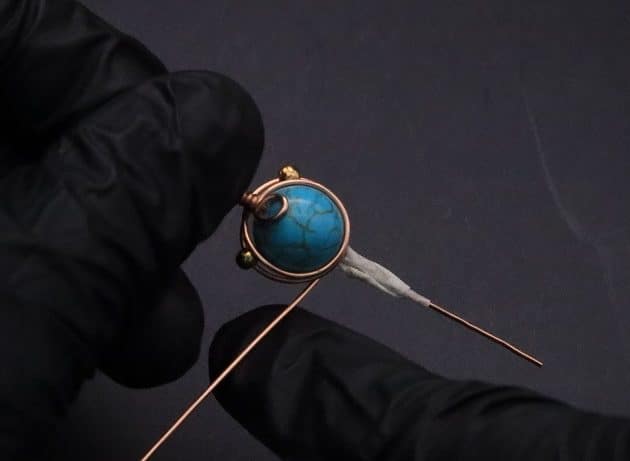
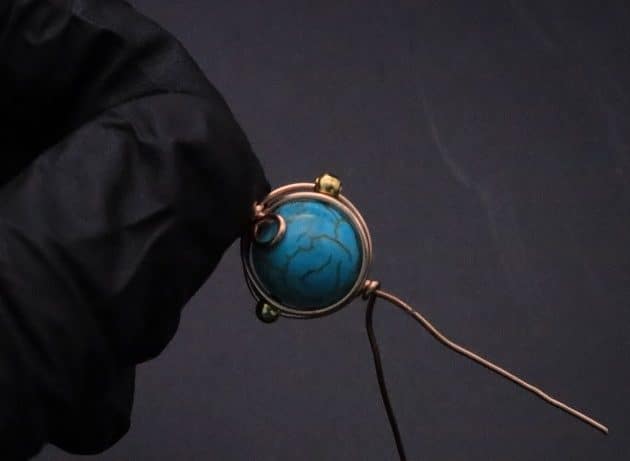
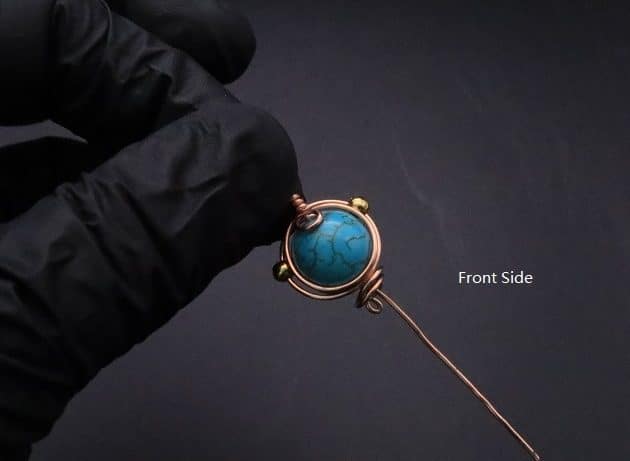
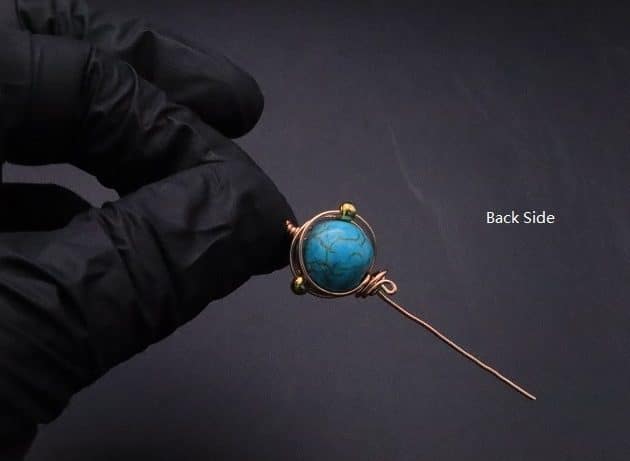
At the back side, wrap the loose 20-gauge copper wire along the frame and stop at the bottom (fig. 4e, 4f, 4g).


FREE WIRE-WRAPPING GUIDE TO YOUR EMAIL!
JOIN NEWSLETTER
We respect your privacy. Unsubscribe at anytime.
Prefer this wire-wrapping tutorial in a PRINTABLE FORMAT? (High Resolution Photos)
Click here for the PDF version of “Wire-Wrapping Elegant Blue Turquoise Bead Charm Pendant Tutorial”
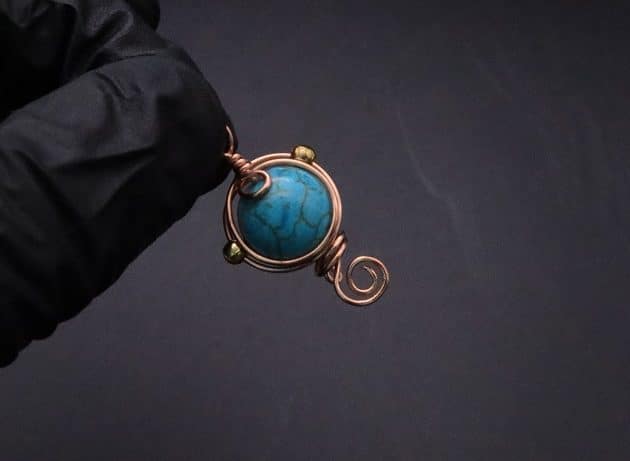
Step 5 of 7
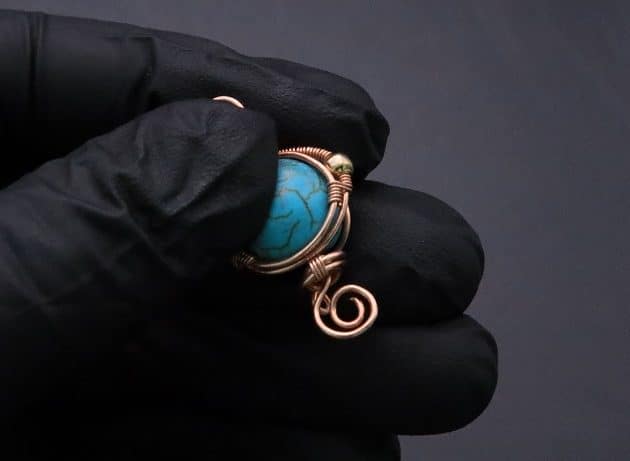
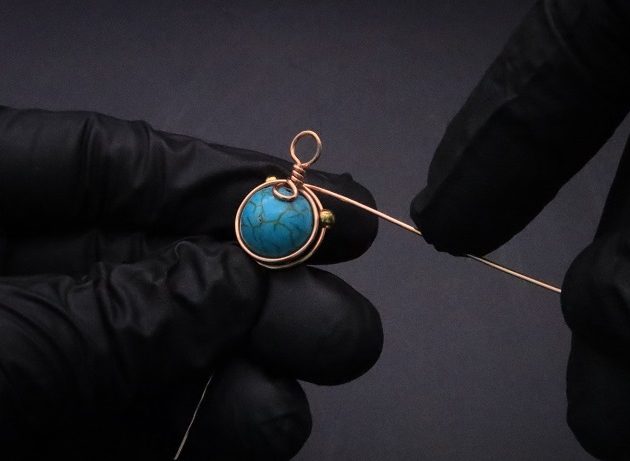
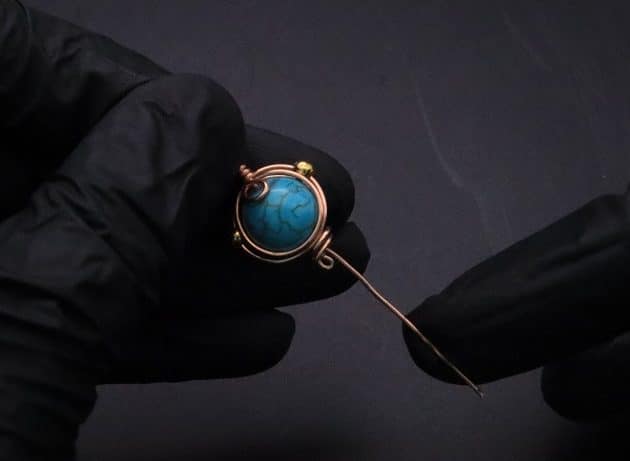
After that, anchor the remaining loose 20-gauge copper wire onto bottom shorter wire end (fig. 5a, 5b, 5c).
On the back side, trim and curl the anchored wire end (fig. 5d, 5e, 5f).
Lastly, form a wire spiral design with the bottom shorter 20-gauge copper wire using a round nose pliers (fig. 5g, 5h, 5i).
Step 6 of 7
Now, let’s add texture onto the plain charm pendant frame using a 26-gauge copper wire as coiling wire (fig. 6a, 6b, 6c):
- Top right frame coiling design (fig. 6d).
- Top left frame coiling design (fig. 6e).
- Bottom frame coiling design (fig. 6f).
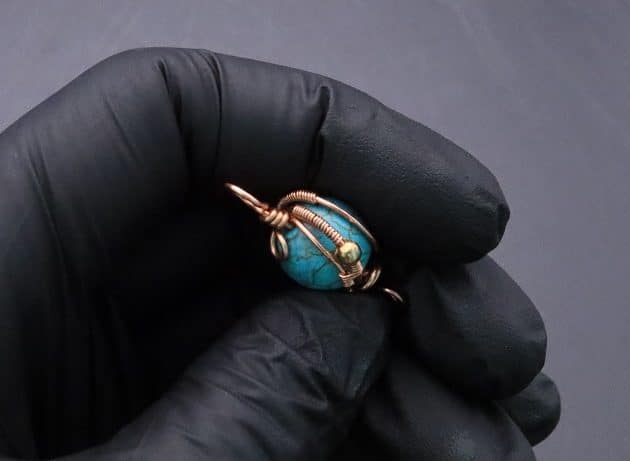
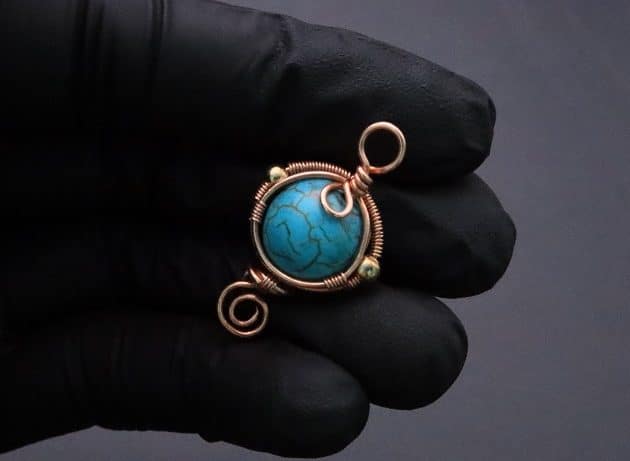
This is how your coiled charm pendant should like so far (fig. 6g).