Step 7 of 11
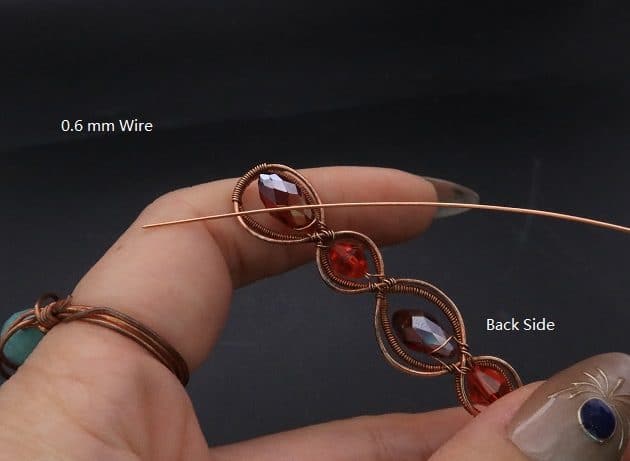
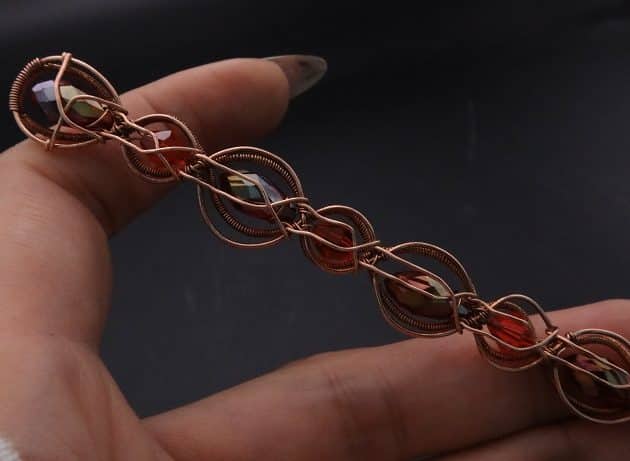
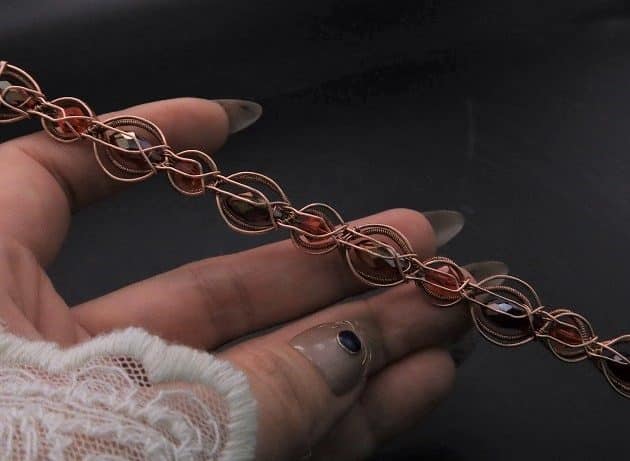
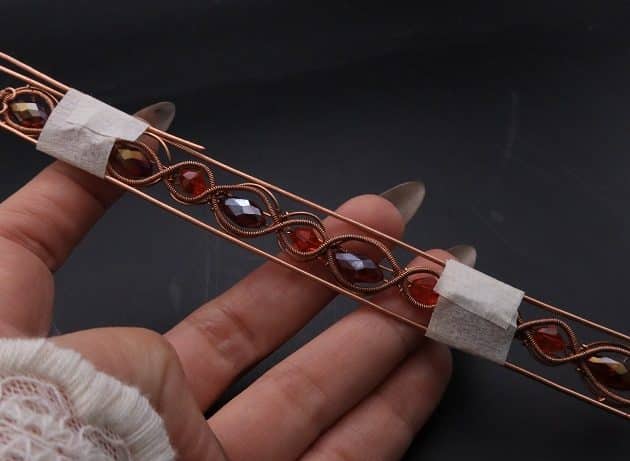
Now, let’s add the crystal back holder frame with two strings of 22 gauge copper wire on the back side of your cuff (fig. 7a).
Anchor the first wire string on the bottom frame of the first wire loop, and then connect with the rest in a S-pattern link (fig. 7b).
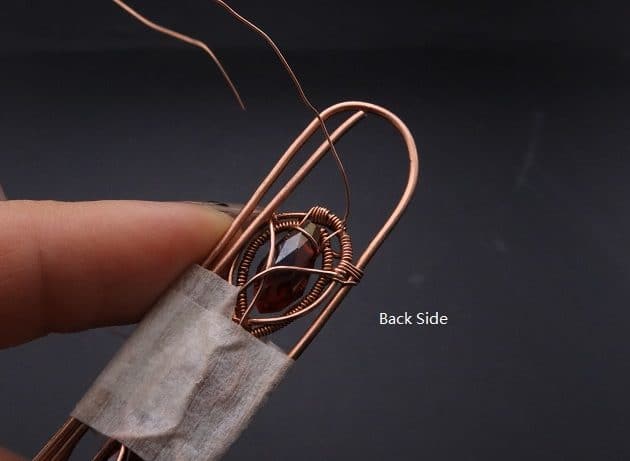
Repeat the loop linking process with the second wire string in the opposite direction to form a crisscross back frame (fig. 7c, 7d).
FREE WIRE-WRAPPING GUIDE TO YOUR EMAIL!
JOIN NEWSLETTER
We respect your privacy. Unsubscribe at anytime.
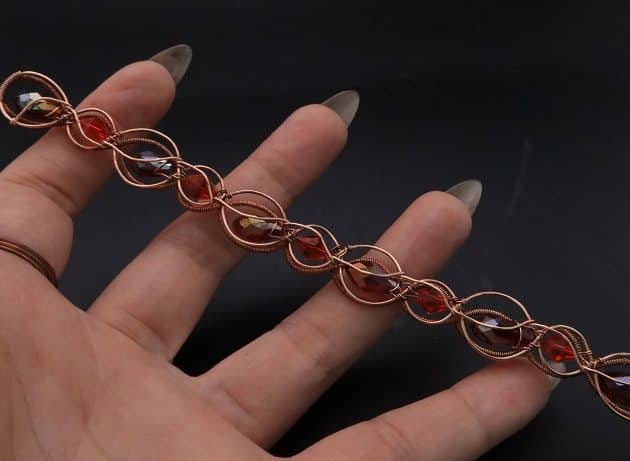
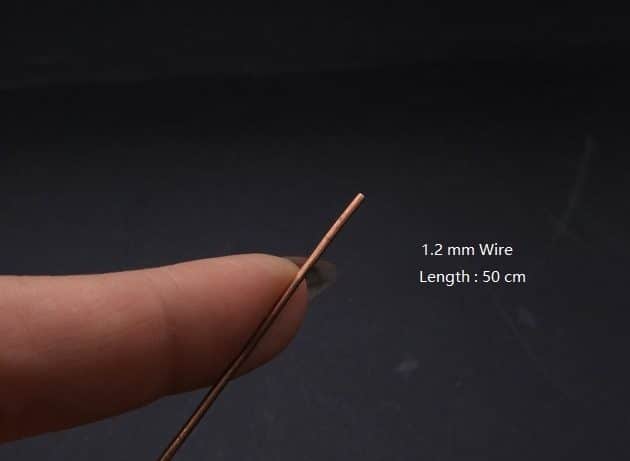
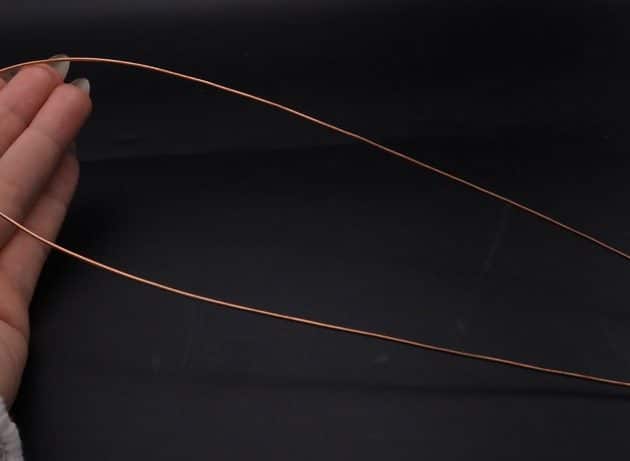
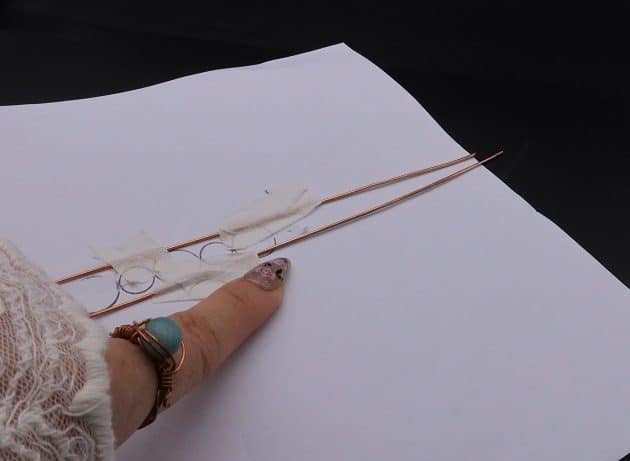
After that, form a thick outer frame using a 16 gauge copper wire that is 20 inches long (fig. 7e, 7f, 7g, 7h, 7i).
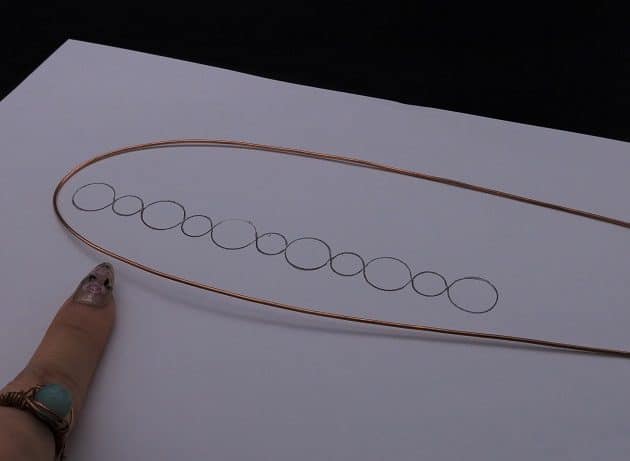
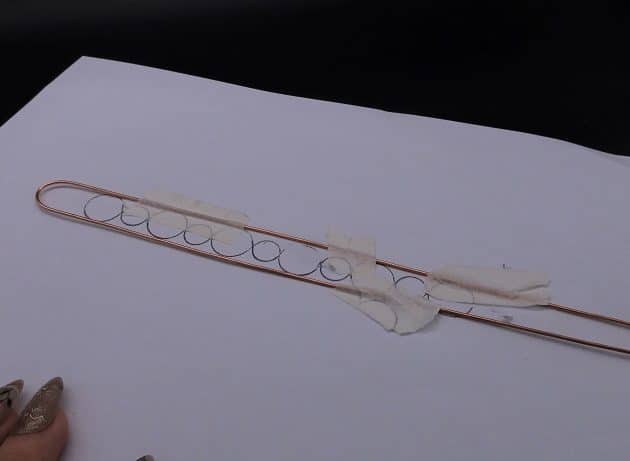
Outline the outer frame on the designed template so that the red crystal frame can fit inside (fig. 7j).
Prefer this wire-wrapping tutorial in a PRINTABLE FORMAT? (High Resolution Photos)
Step 8 of 11
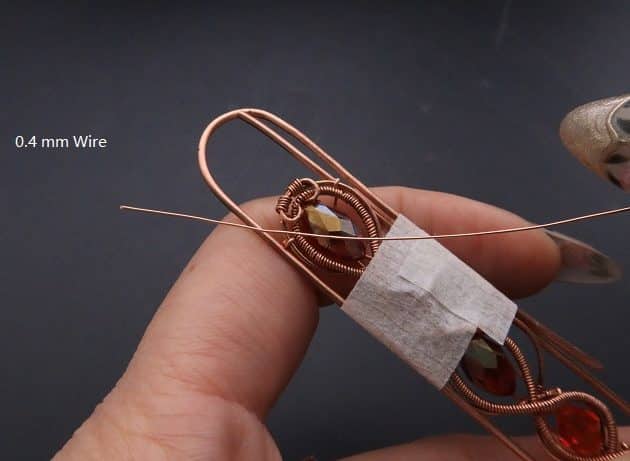
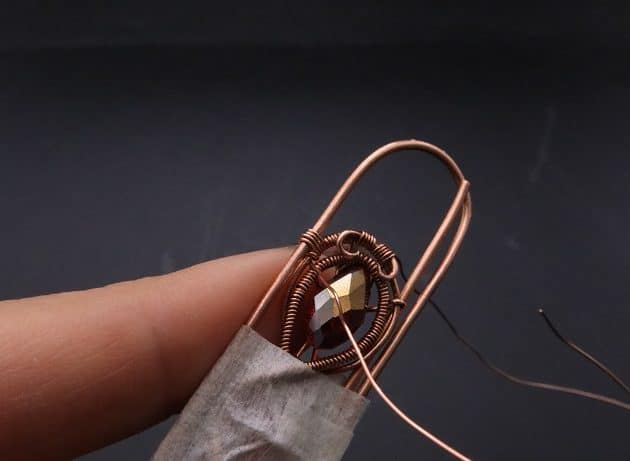
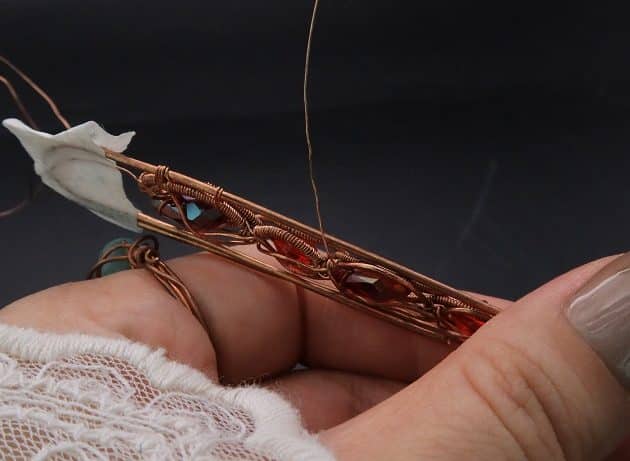
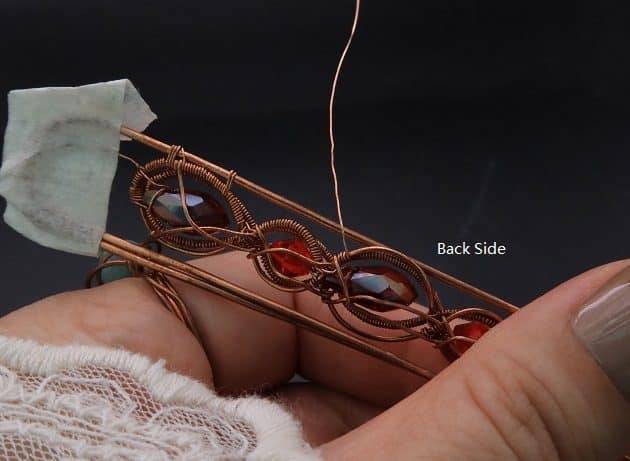
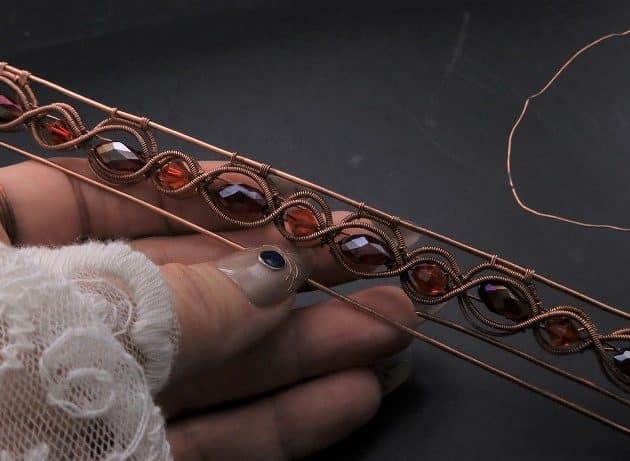
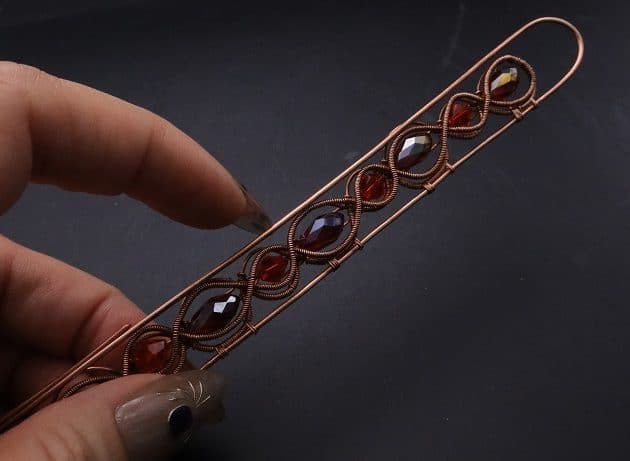
Next, use a new 26 gauge copper wire to combine the outer frame and coil the remaining naked red crystal frame (fig. 8a).
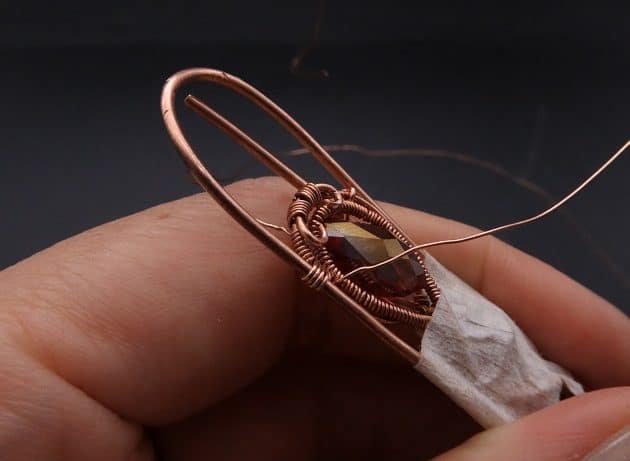
On the big wire loop frame, coil the naked frame from the start point, and then combine the outer frame with 4 coils at the top left frame (fig. 8b, 8c).
Continue coiling the naked inner frame, and then combine the outer frame with 2 coils at the bottom left frame (fig. 8d, 8e).
Proceed coiling the naked small wire loop frame with no anchor points (fig. 8f).
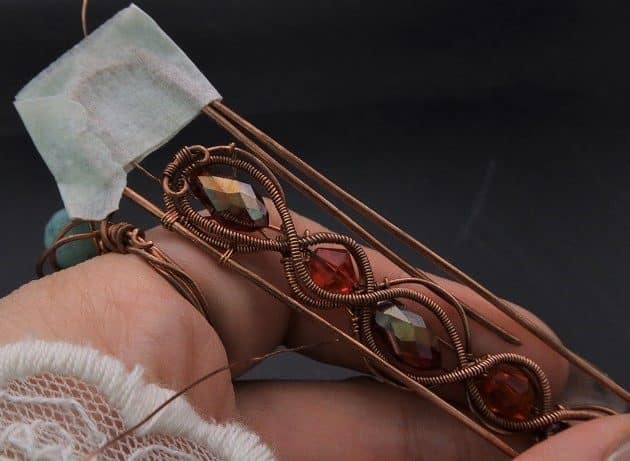
Repeat the coiling process on both sides of the cuff bracelet (fig. 8g, 8h, 8i, 8j, 8k).
Step 9 of 11
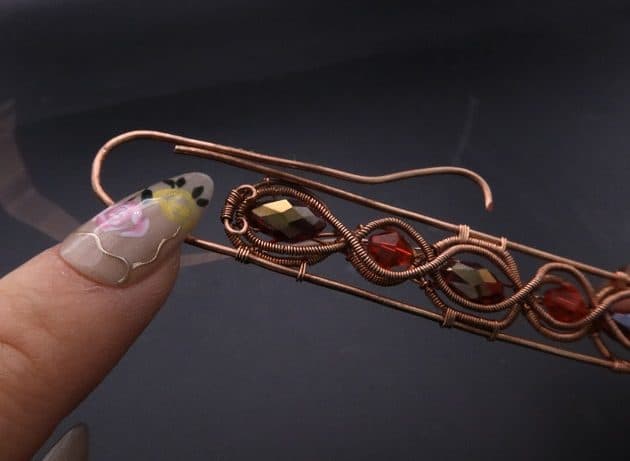
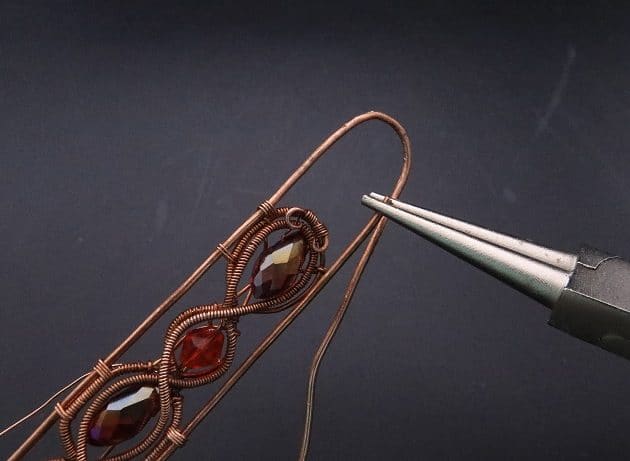
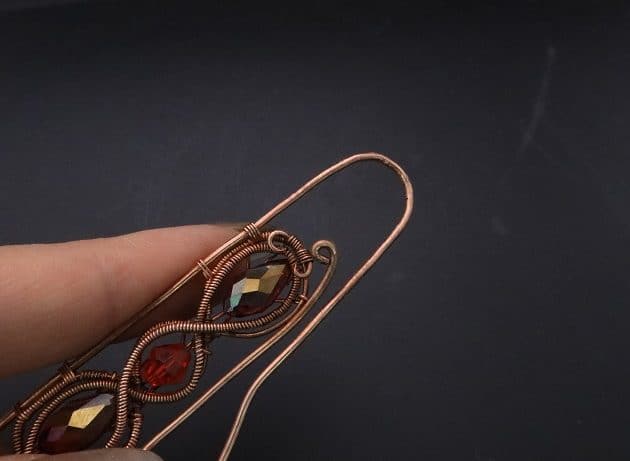
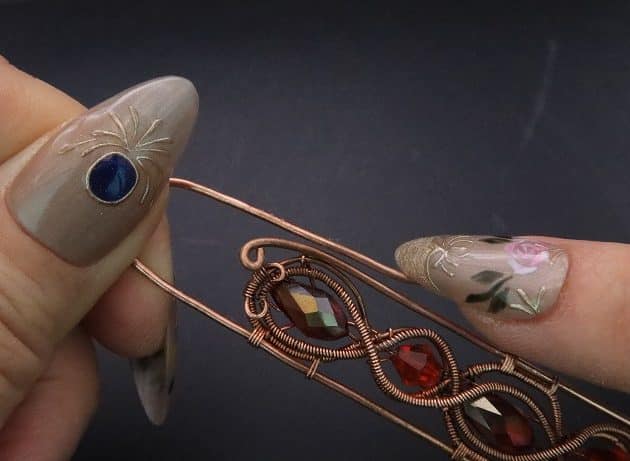
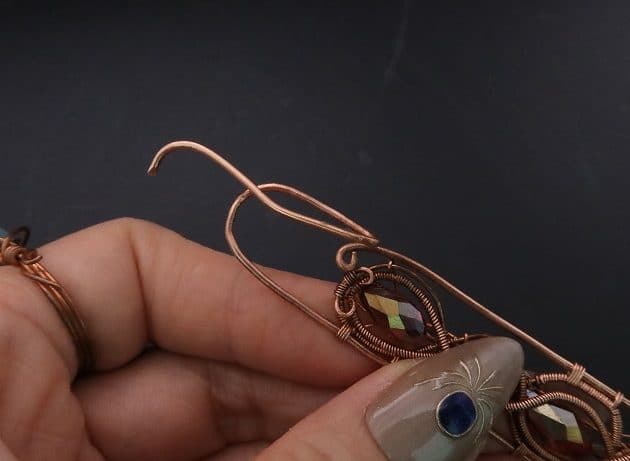
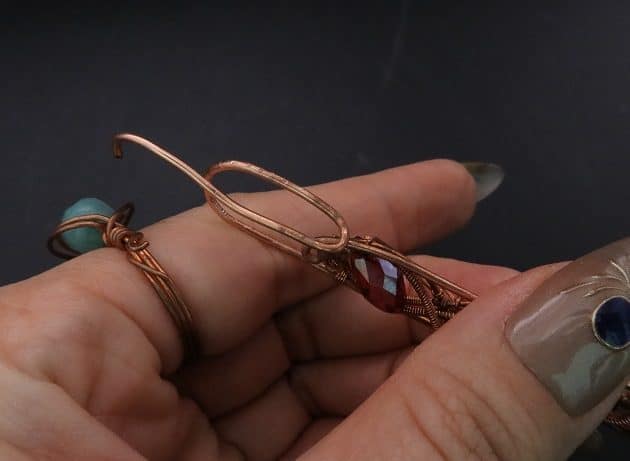
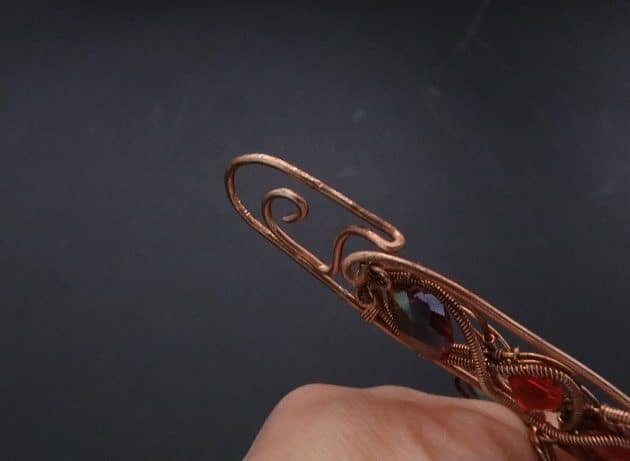
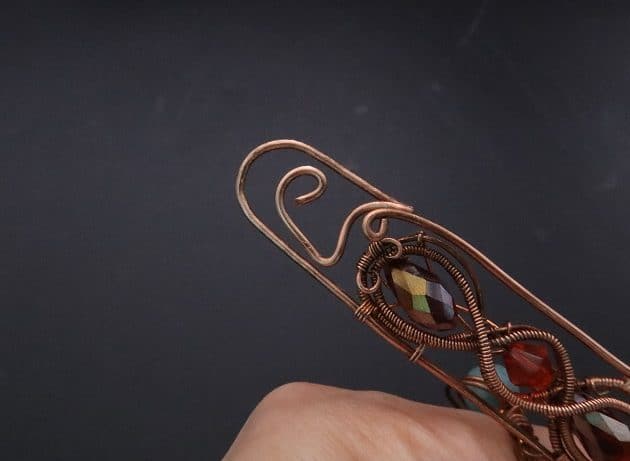
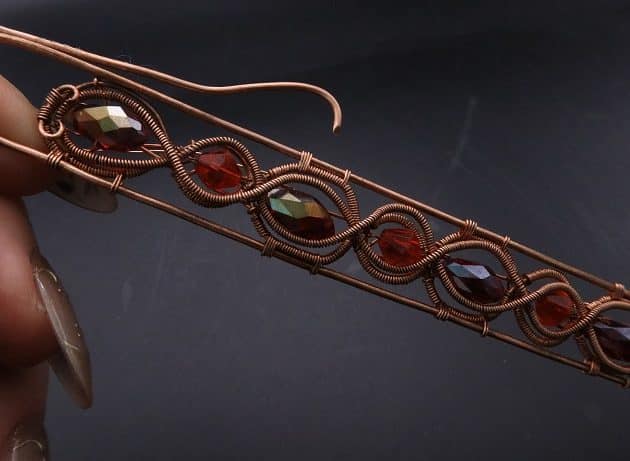
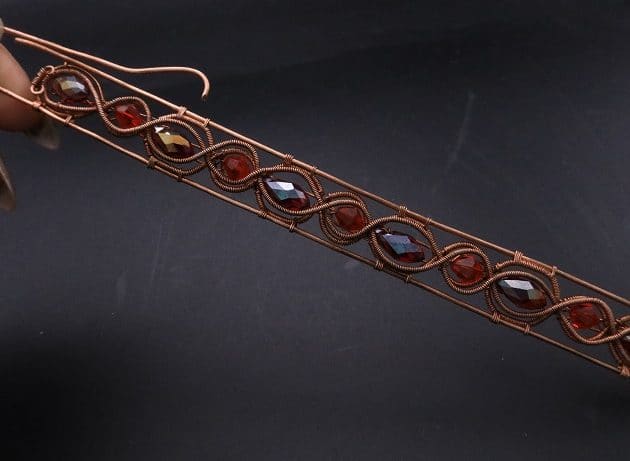
Refine the excess 16 gauge outer frame wire with swirly design using a round nose pliers (fig. 9a, 9b).
- Shorter wire end design (fig. 9c).
- Longer wire end design (fig. 9d, 9e, 9f, 9g, 9h).