Hi my dear wire wrapper!
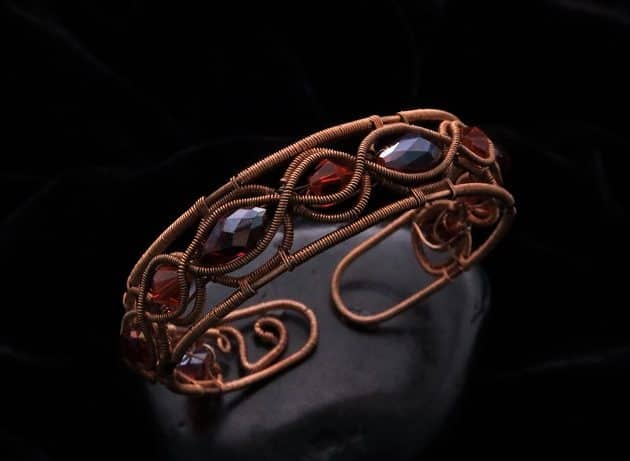
Learn how to make a copper wire cuff bracelet with red crystal beads.
In my Wire-Wrapping Earthy Red Crystal Wire Loop Cuff Bracelet Tutorial, you will practice wire jewelry making skills such as wire measuring, framing, designing, polishing, tool handling and more.
Follow along my simple step-by-step instructions and detailed progress picture guide to get started.
FREE WIRE-WRAPPING GUIDE TO YOUR EMAIL!
JOIN NEWSLETTER
We respect your privacy. Unsubscribe at anytime.
Happy wrapping!
LEVEL: INTERMEDIATE
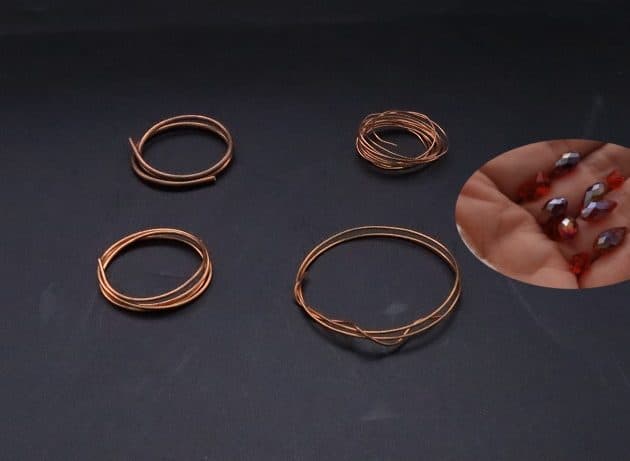
MATERIALS + TOOL
- Copper Wire (16 AWG)
- Copper Wire (20 AWG)
- Copper Wire (22 AWG)
- Copper Wire (26 AWG)
- Red Crystal Beads (5 pcs)
- Preciosa Crystal Drop (6 pcs)
- Wire Cutter
- Chain Nose Pliers
- Nylon Jaw Pliers
- Round Nose Pliers
- Finest Steel Wire Wool
- Masking Tape
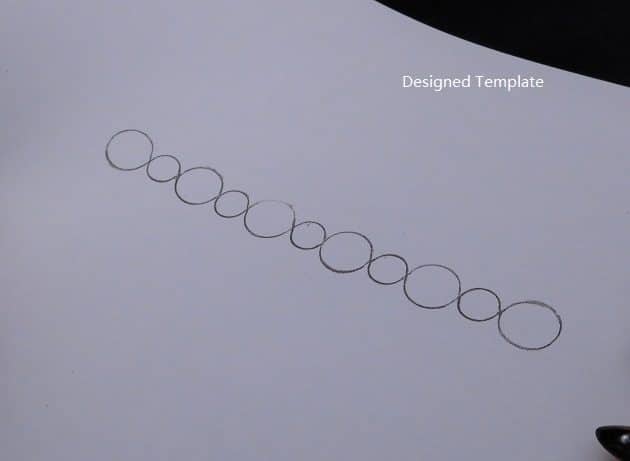
- Designed Template
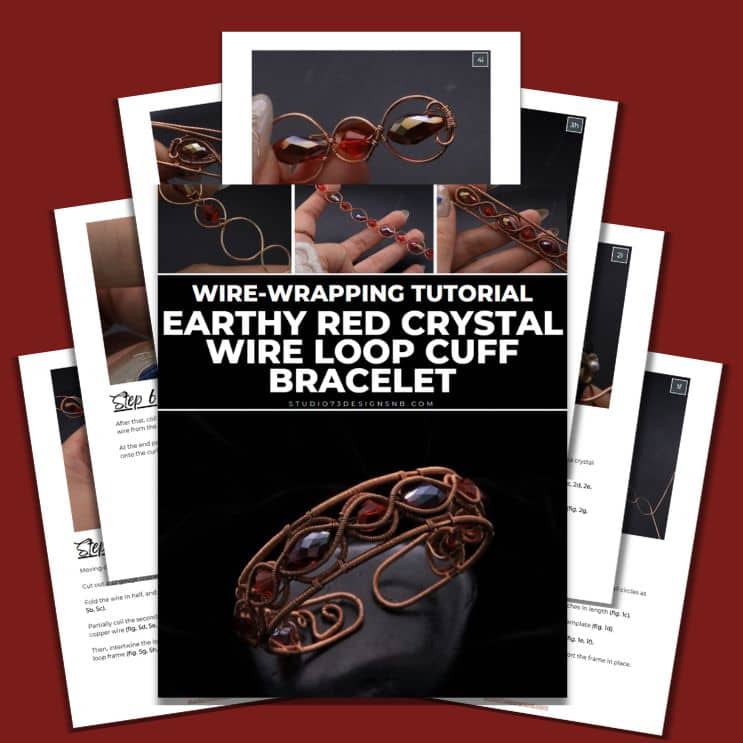
Prefer this wire-wrapping tutorial in a PRINTABLE FORMAT? (High Resolution Photos)
WIRE-WRAPPING EARTHY RED CRYSTAL WIRE LOOP CUFF BRACELET TUTORIAL
Step 1 of 11
Ready all items from the Materials and Tool list (fig. 1a).
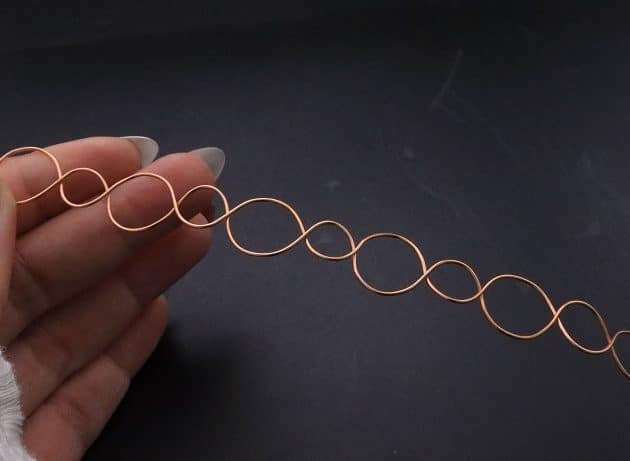
Draw a loop design template that consists of 6 big circles and 5 small circles as shown (fig. 1b).
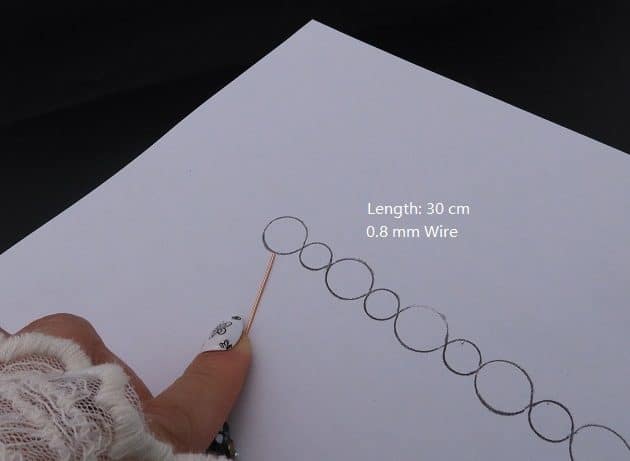
Measure and cut a 20 gauge copper wire that is 12 inches in length (fig. 1c).
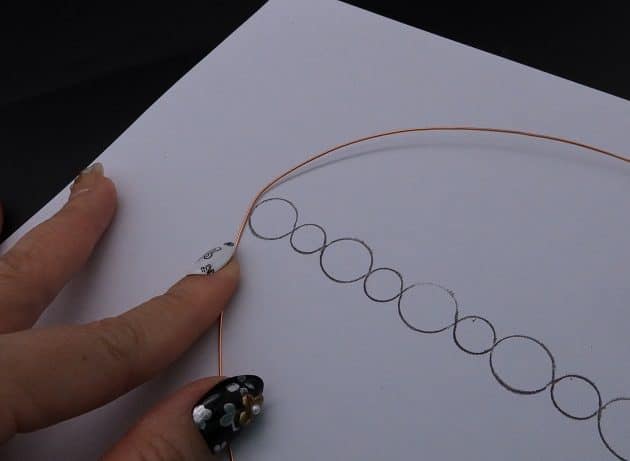
Line the midpoint of the wire at the front end of the template (fig. 1d).
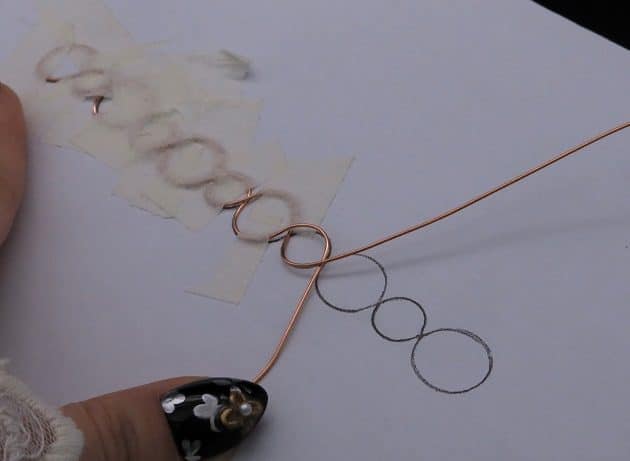
Then, intertwine the wire to form the wire loop frame (fig. 1e, 1f).
Tips: Use coins to draw the circles and use tape to support the frame in place.
Step 2 of 11
Next, let’s add red crystal beads into the wire loop frame.
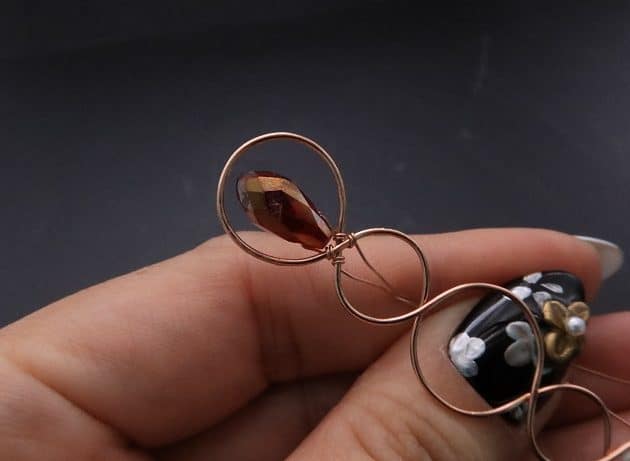
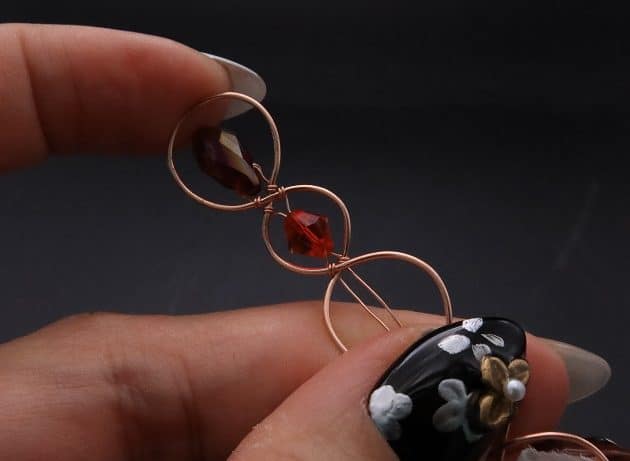
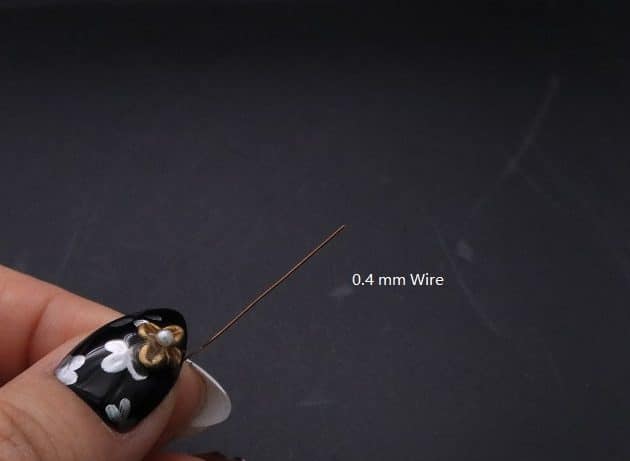
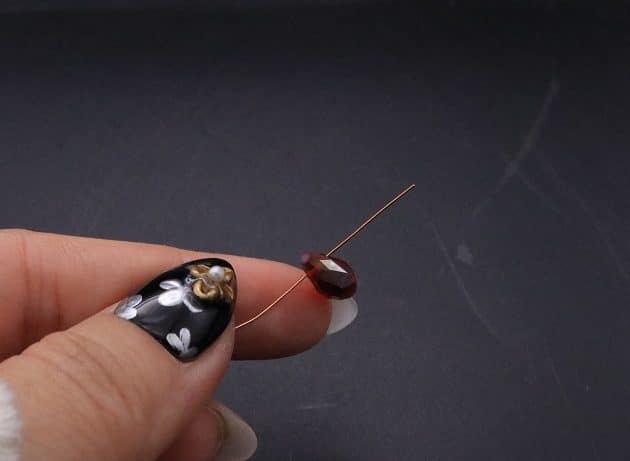
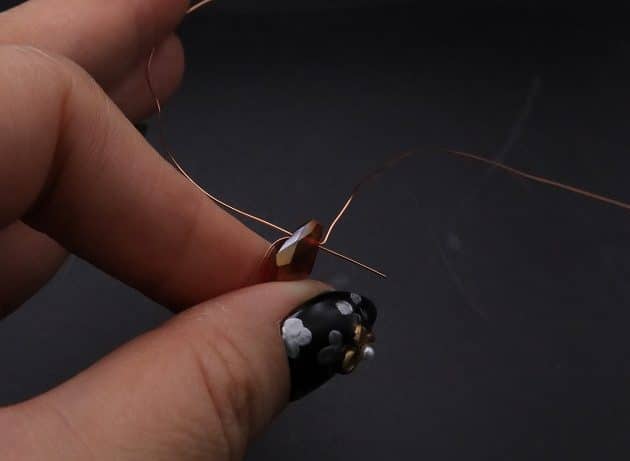
Take one long 26 gauge copper wire string, and slip on one red Preciosa crystal drop bead (fig. 2a, 2b).
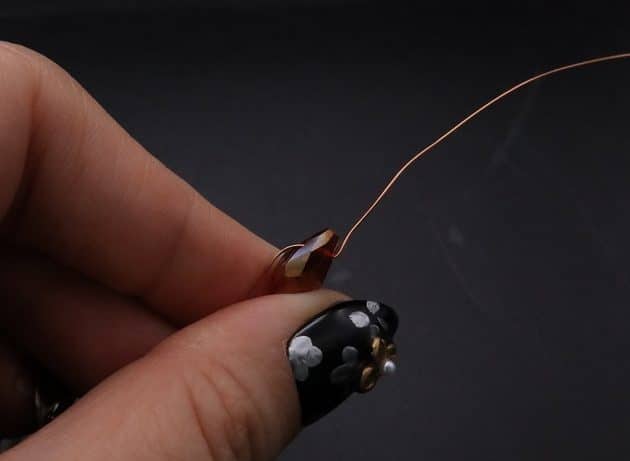
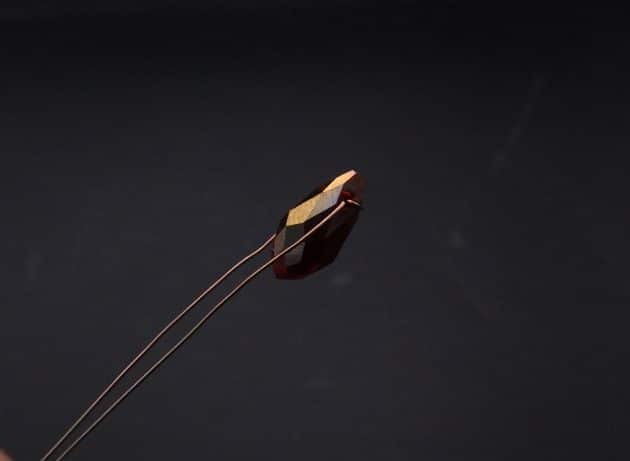
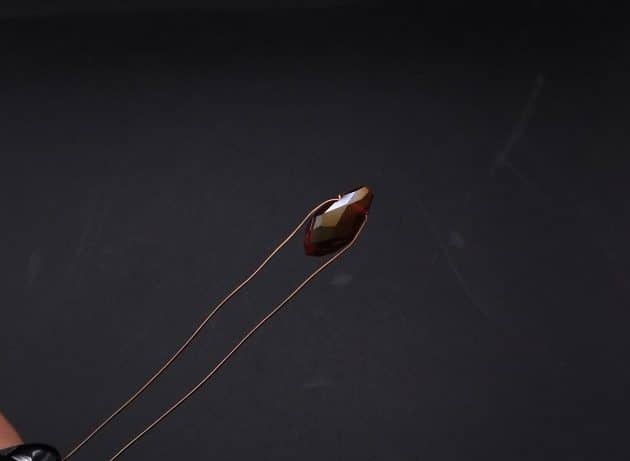
Tie the bead at wire midpoint with a wrap through the bead hole (fig. 2c, 2d, 2e, 2f).
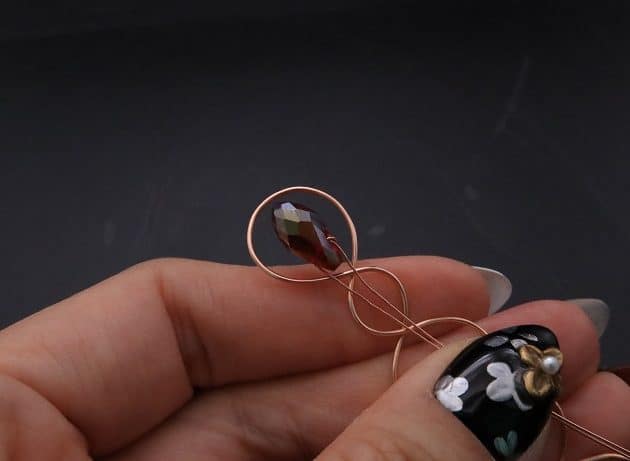
Then, attach the bead onto the big wire loop frame with the loose wires (fig. 2g, 2h, 2i).
Step 3 of 11
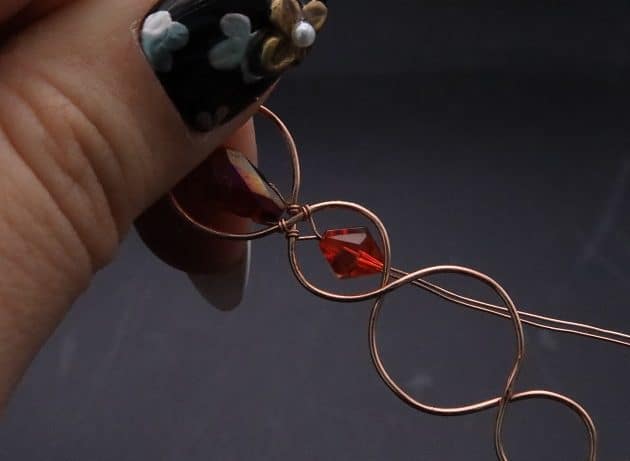
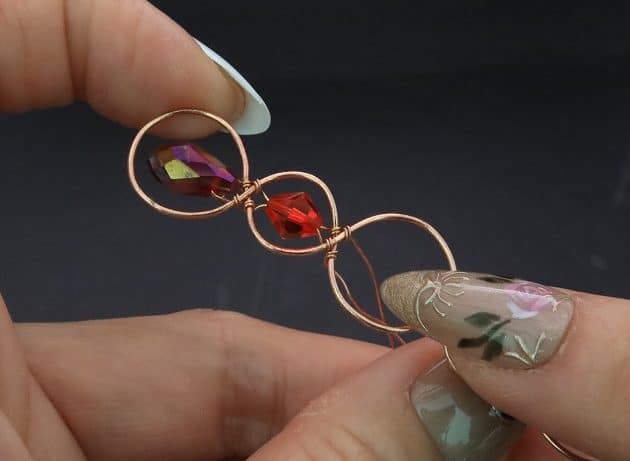
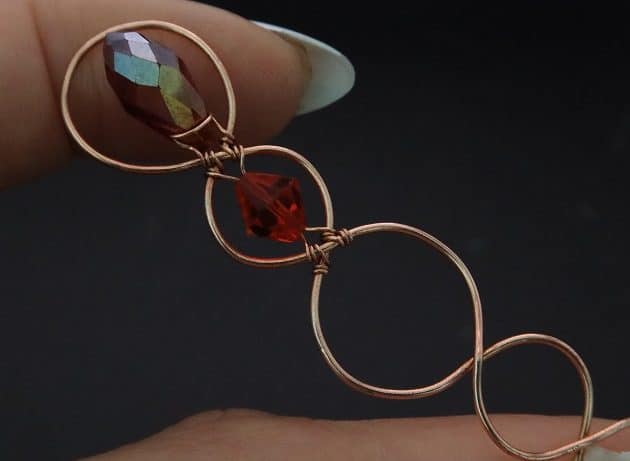
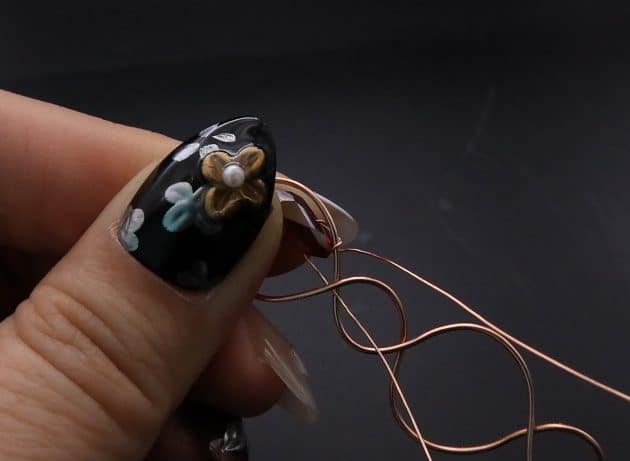
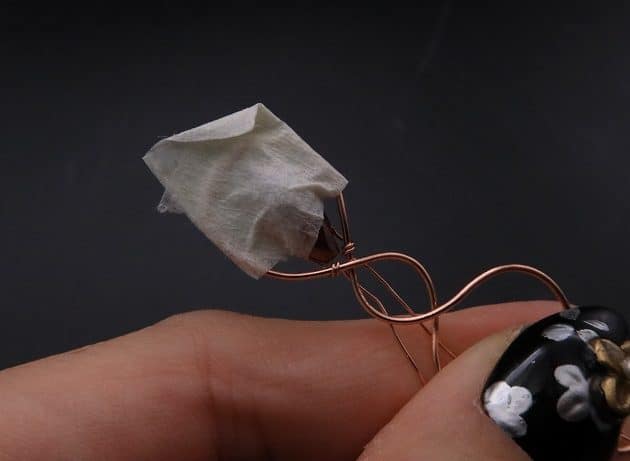
Anchor the loose 26 gauge copper wires onto the next small wire loop frame (fig. 3a).
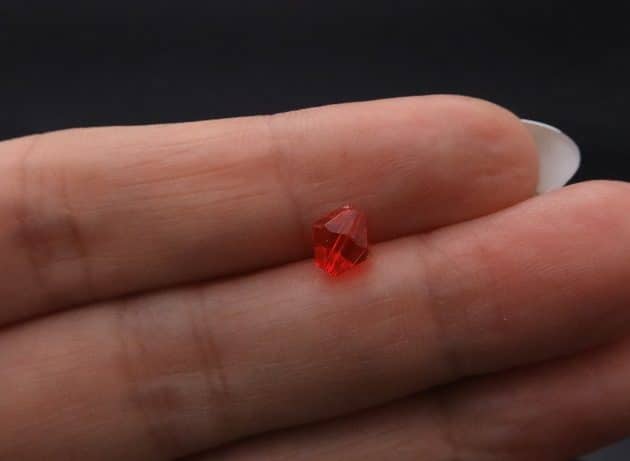
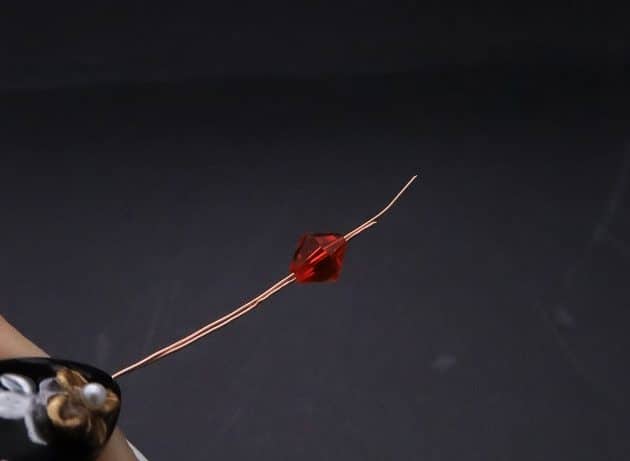
Slide one red crystal bead through the loose wires (fig. 3b, 3c, 3d).
Then, make another two wire anchor points:
- The end of the small wire loop (fig. 3e).
- The front of the next big wire loop (fig. 3f).
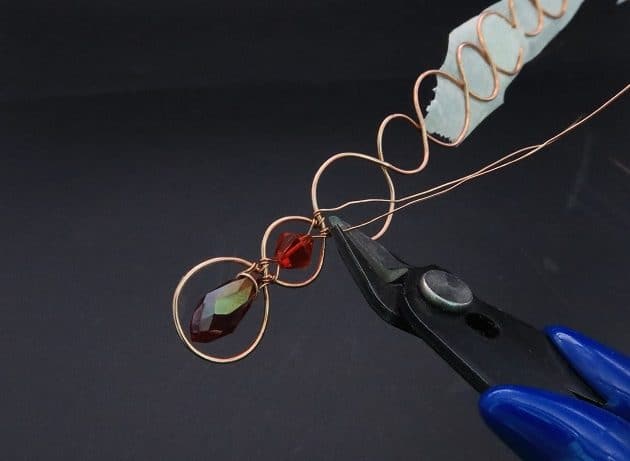
Lastly, trim off the excess wire using a wire cutter (fig. 3g, 3h).