Step 14 of 18
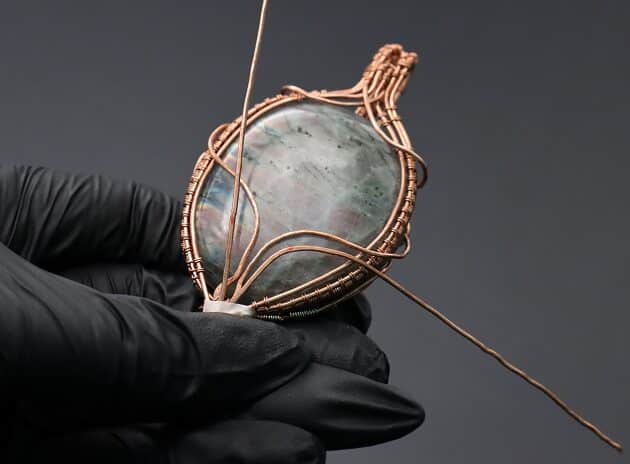
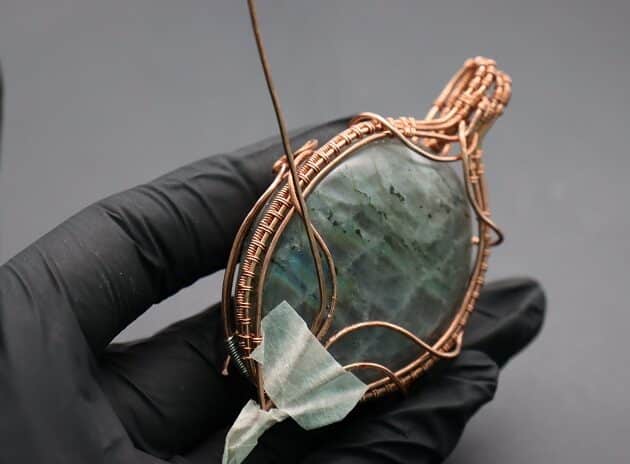
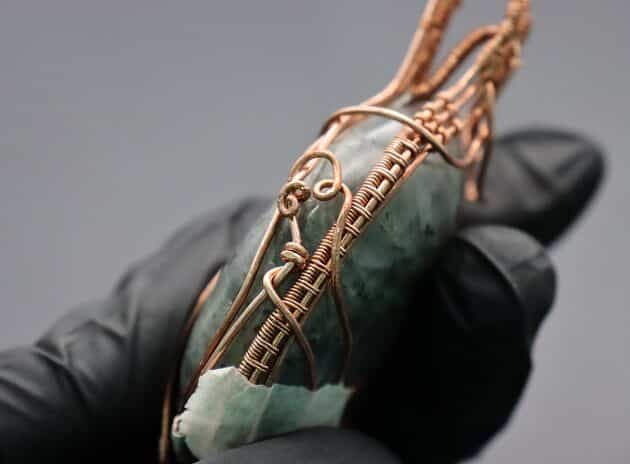
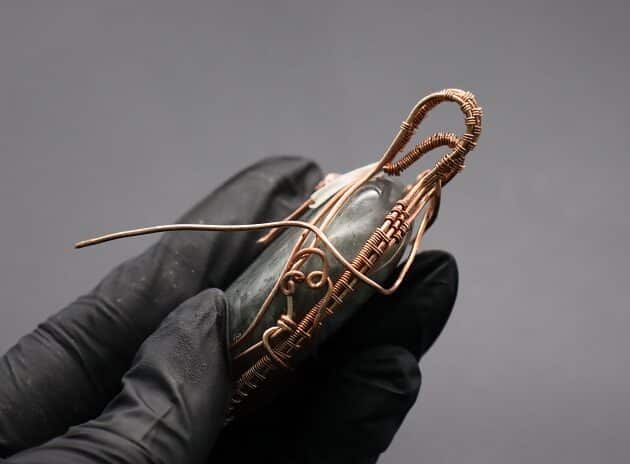
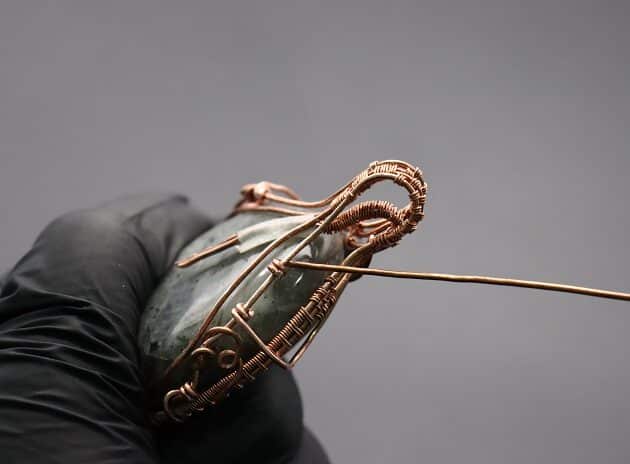
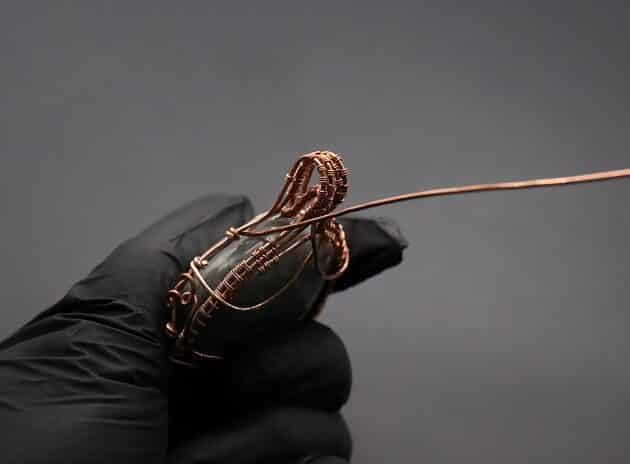
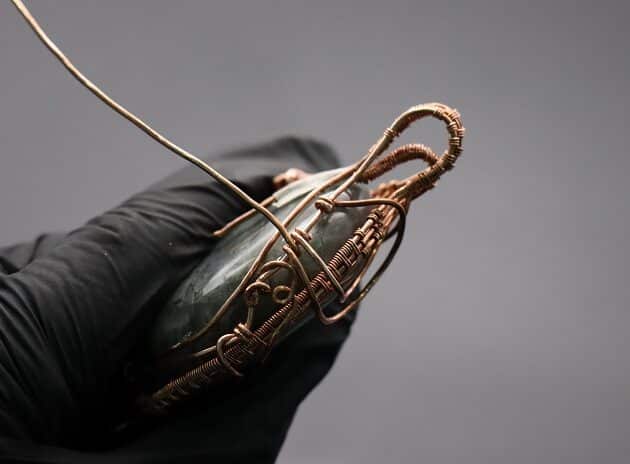
Next, redo the same beautiful wavy wire curves on the remaining 18-gauge copper wire (fig. 14a, 14b).
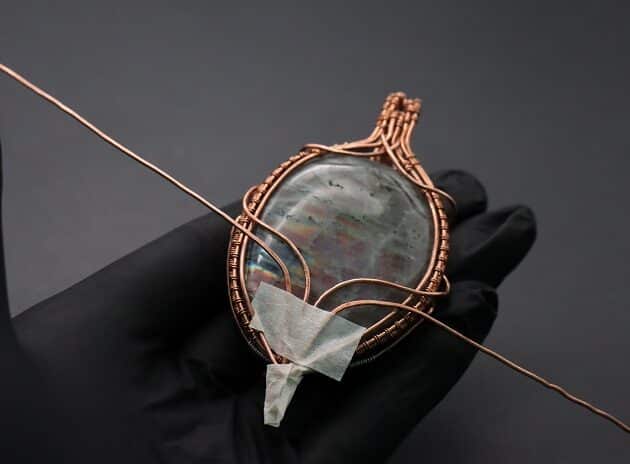
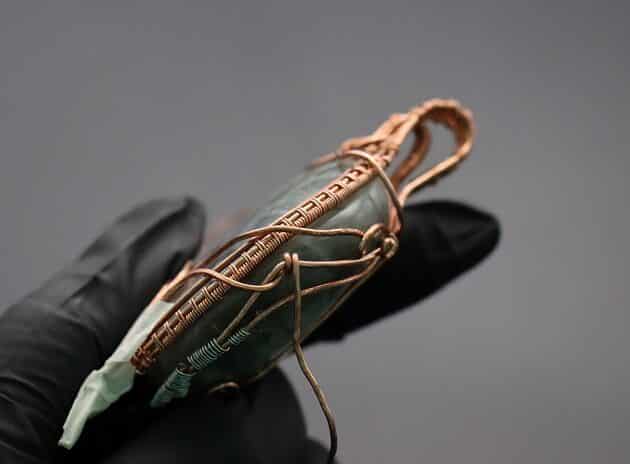
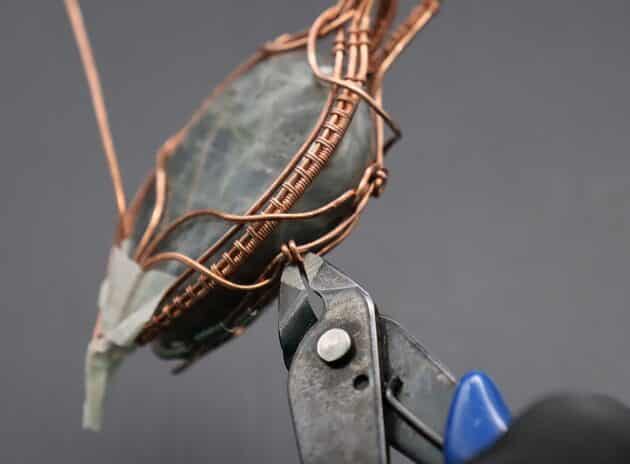
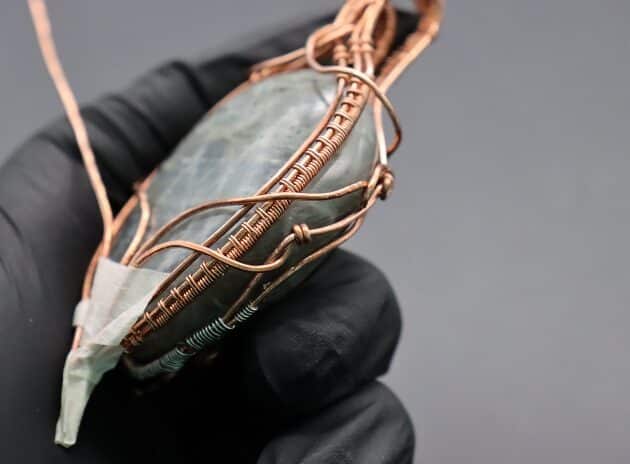
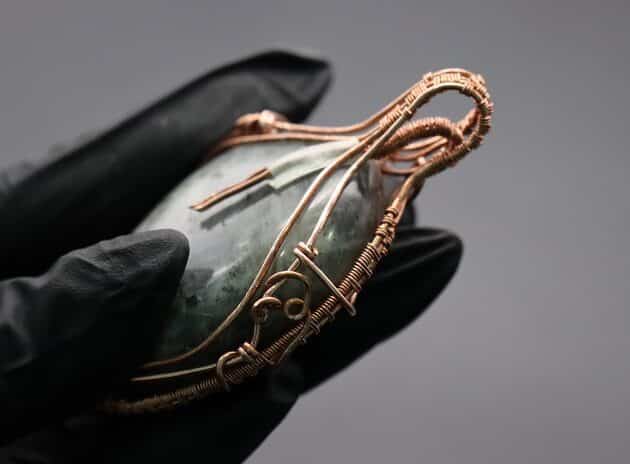
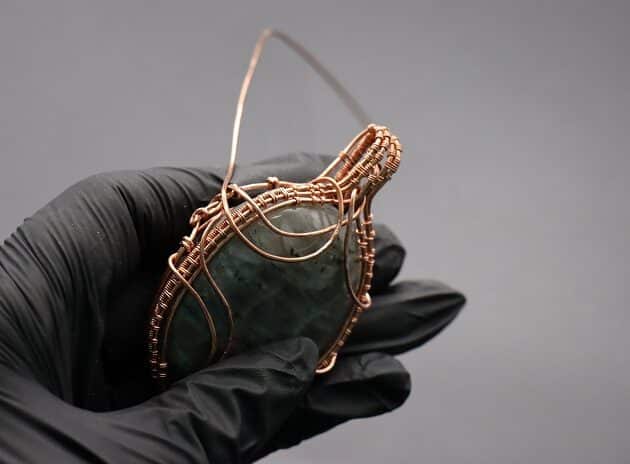
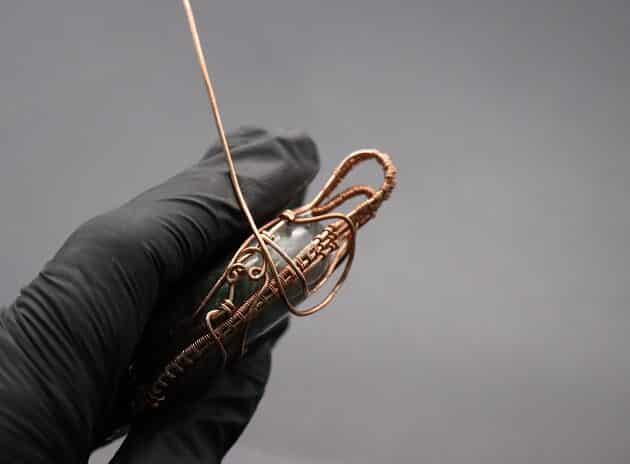
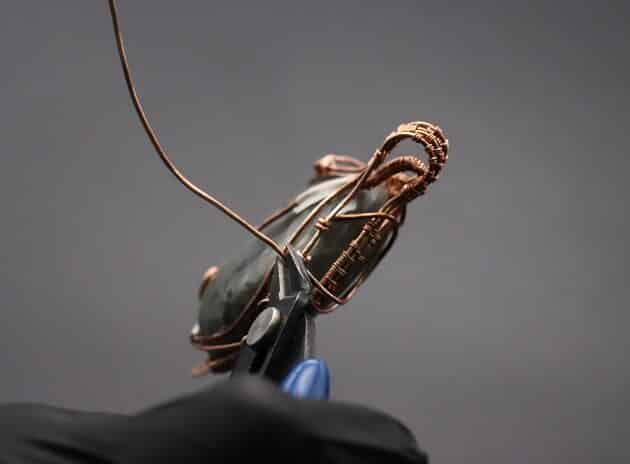
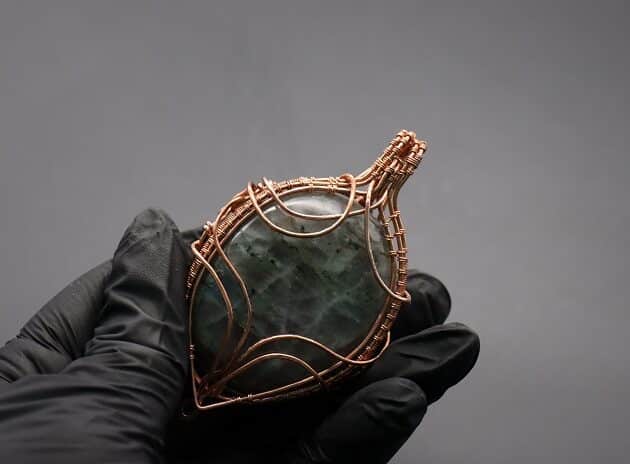
Then, anchor the wires onto the side frames with 2 coils, and trim off the excess:
- Right frame (fig. 14c, 14d, 14e, 14f, 14g, 14h).
- Left frame (fig. 14i, 14j, 14k).


FREE WIRE-WRAPPING GUIDE TO YOUR EMAIL!
JOIN NEWSLETTER
We respect your privacy. Unsubscribe at anytime.
Prefer this wire-wrapping tutorial in a PRINTABLE FORMAT? (High Resolution Photos)
Click here for the PDF version of “Wire-Wrapping Dreamy Oval Labradorite Copper Pendant Tutorial”
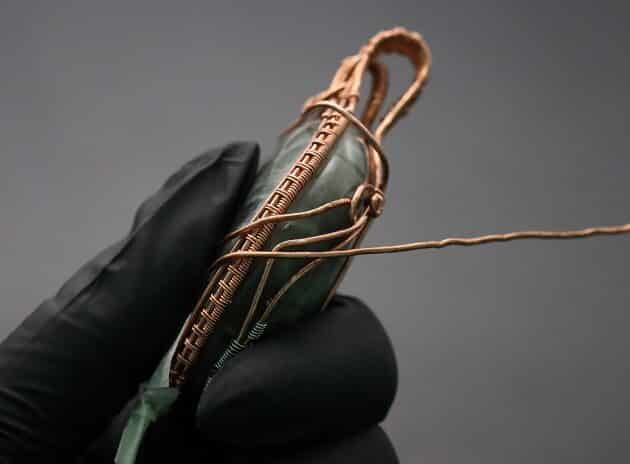
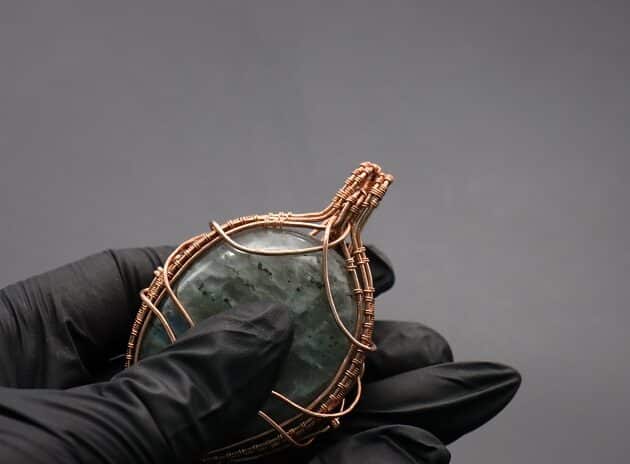
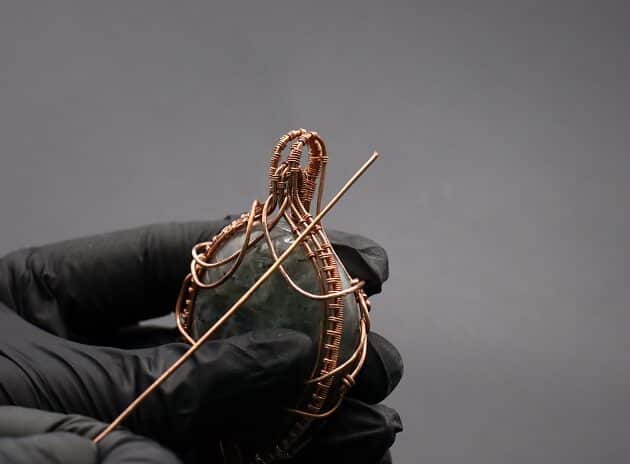
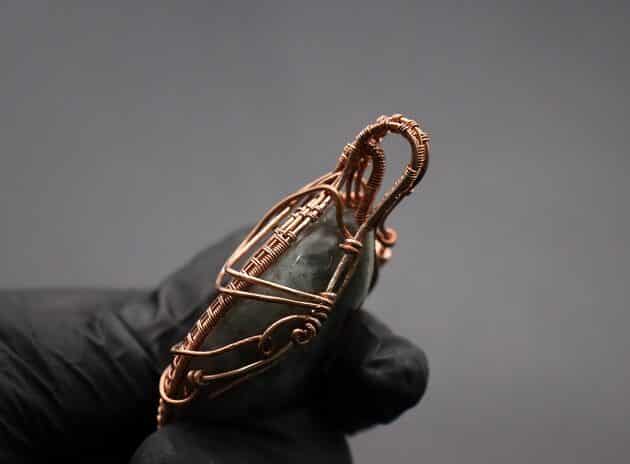
Step 15 of 18
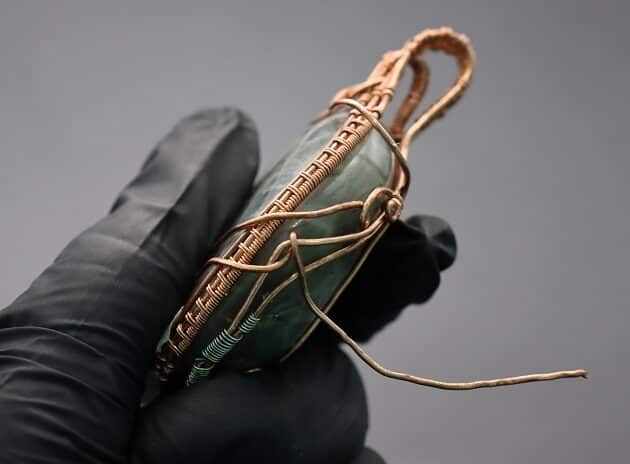
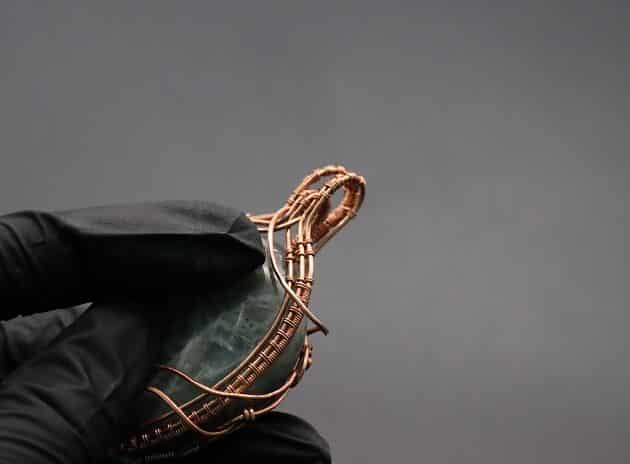
Back to the top of your pendant, anchor the loose wavy wires onto the side frames with 2 coils.
- Right frame (fig. 15a, 15b, 15c).
- Left frame (fig. 15d, 15e, 15f).
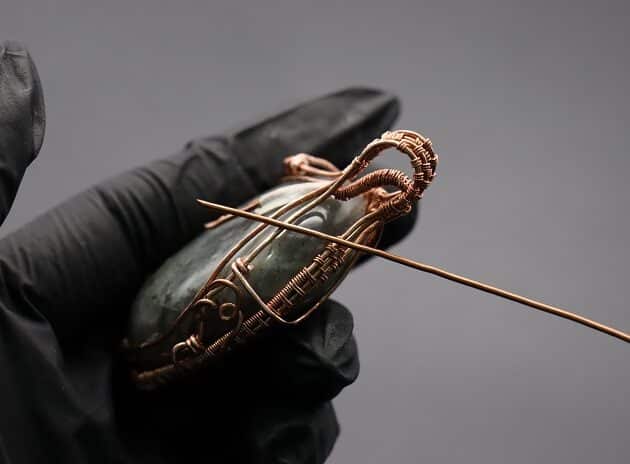
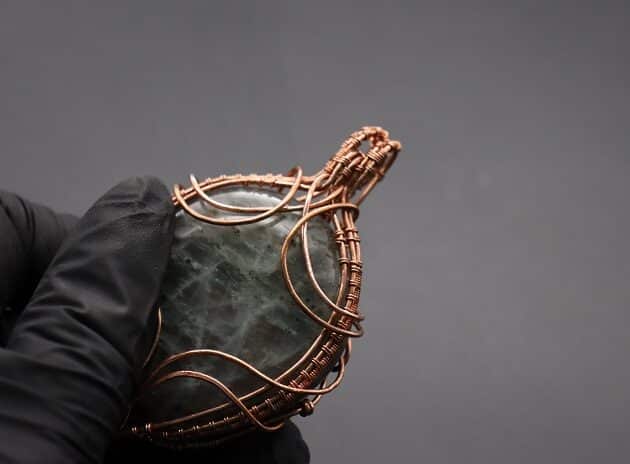
Step 16 of 18
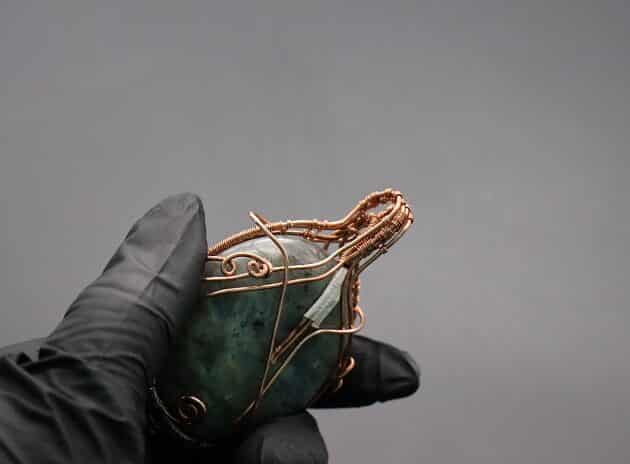
Now, let’s add an extra layer of dreamy wavy wires on your pendant top with 18-gauge copper wire.
Anchor on the left back frame near the wire bail (fig. 16a, 16b).
Then, form a C-curve on the top left side of your pendant (fig. 16c, 16d, 16e).
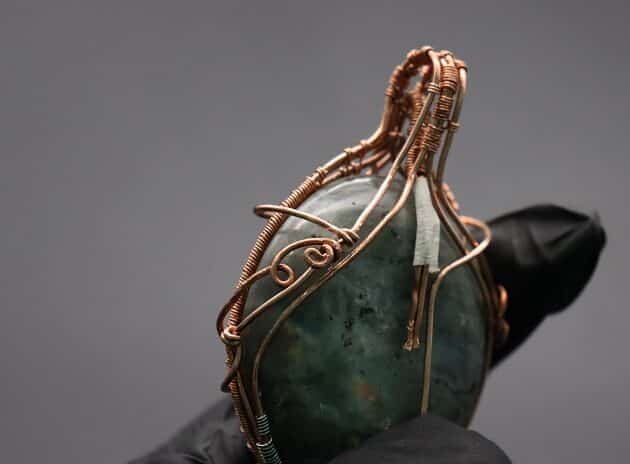
Finish the design with an anchor point on the back frame and trim the excess wire (fig. 16f, 16g, 16h).
Repeat the wire curving process on the top right side of your pendant (fig. 16i, 16j, 16k).
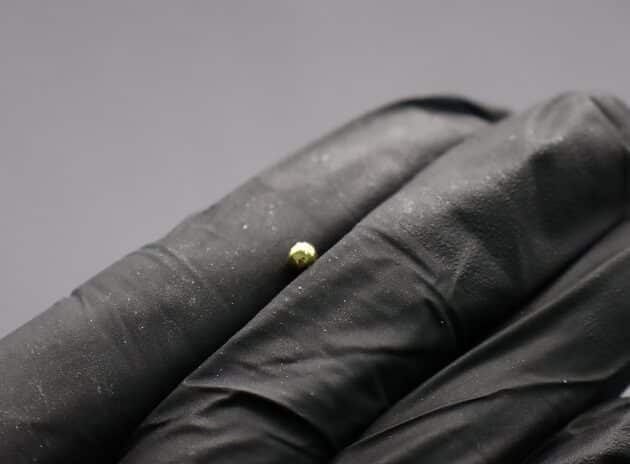
Step 17 of 18
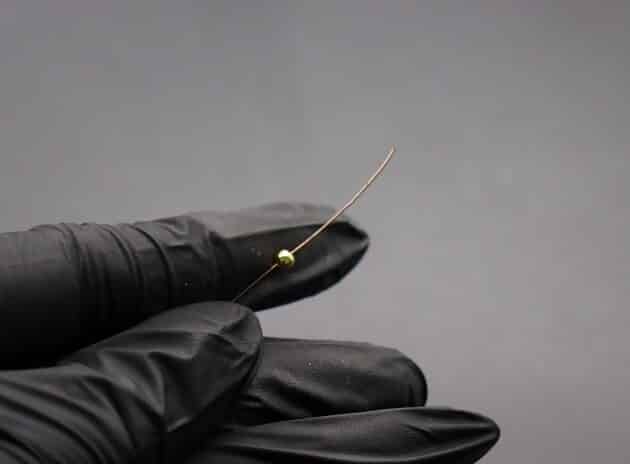
Take a small golden spacer bead and slip it onto a 26-gauge copper wire (fig. 17a, 17b).
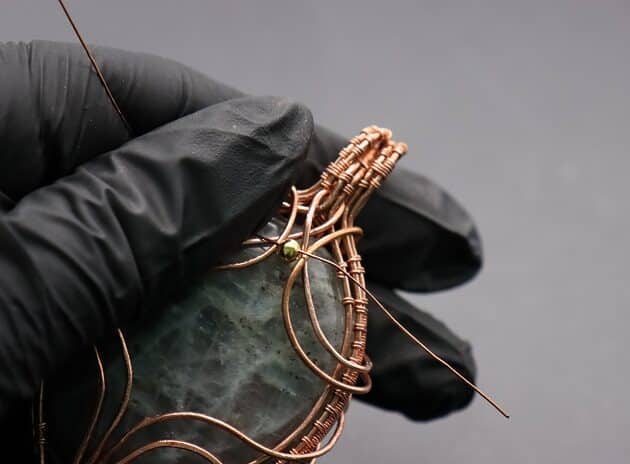
Then, place the golden bead in the middle of the top wavy wires (fig. 17c).
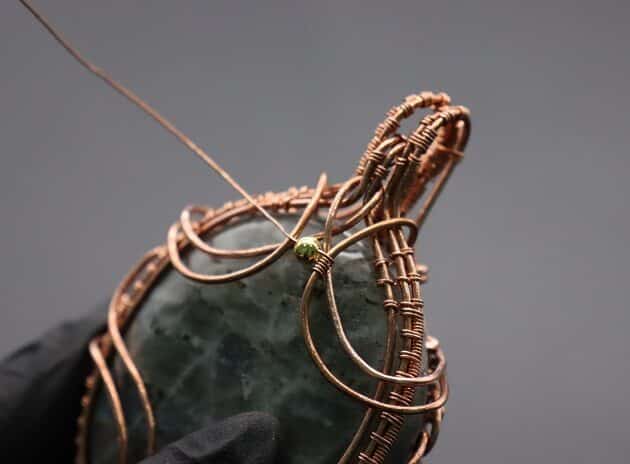
Coil the golden bead in place (fig. 17d, 17e).