Step 11 of 18
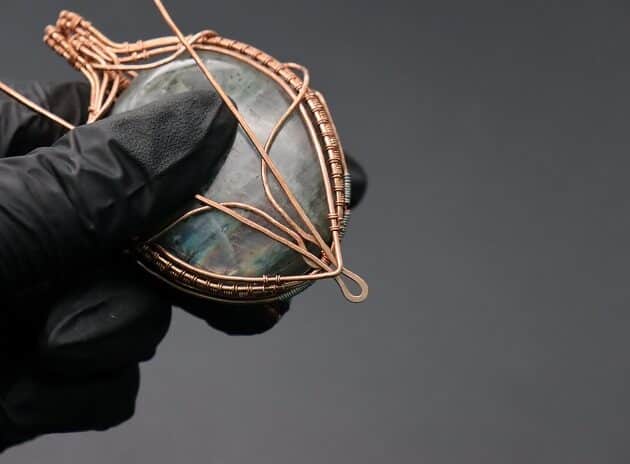
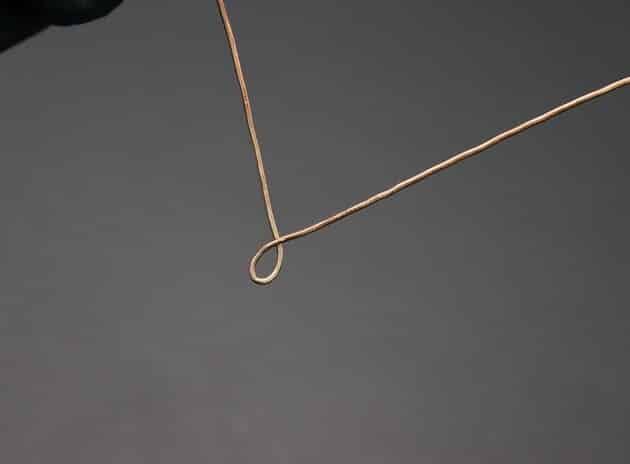
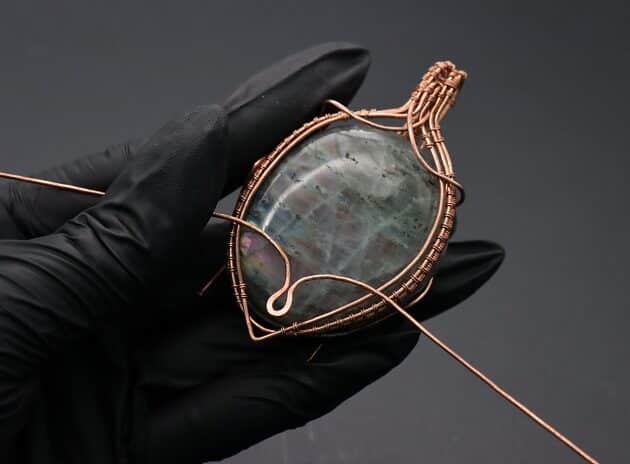
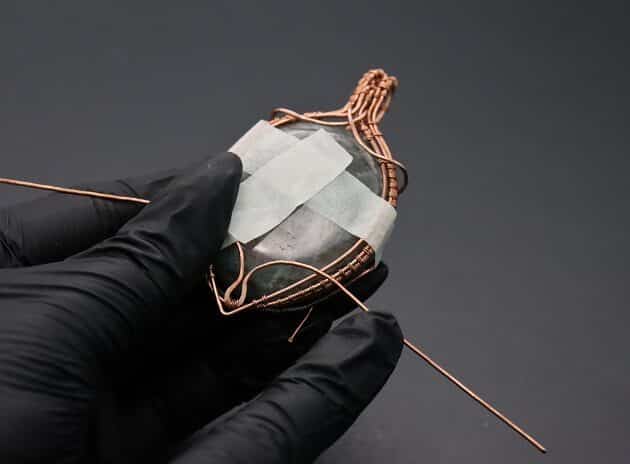
Now, let’s focus on the bottom wavy frame design for your pendant.
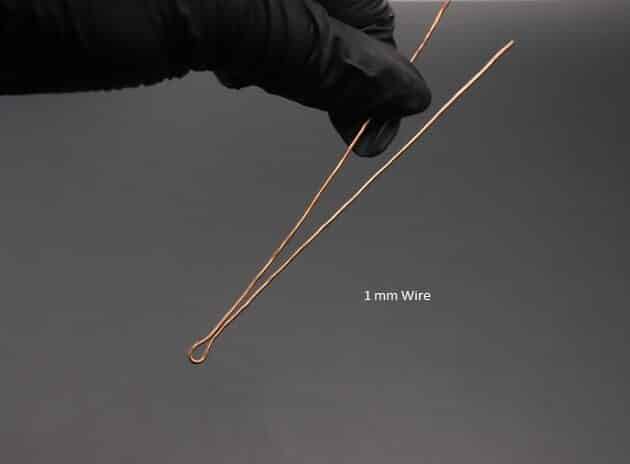
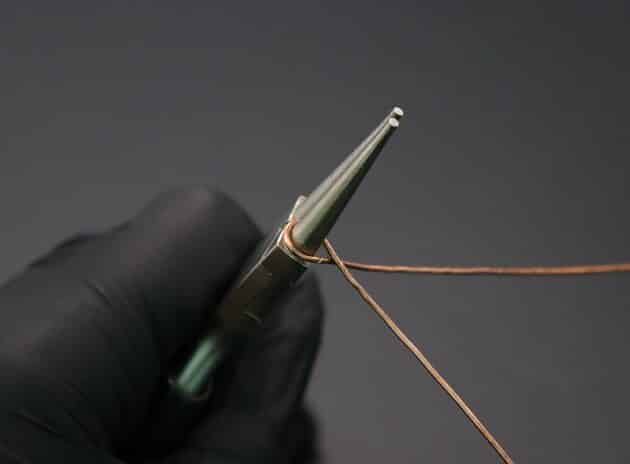
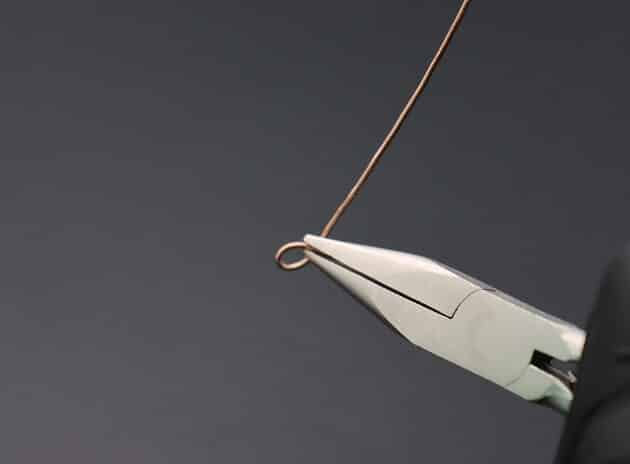
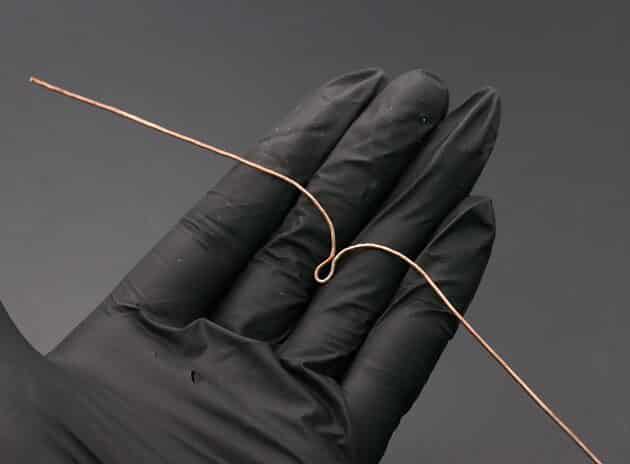
Make a wire loop using a 18-gauge copper wire and round nose pliers (fig. 11a, 11b, 11c).
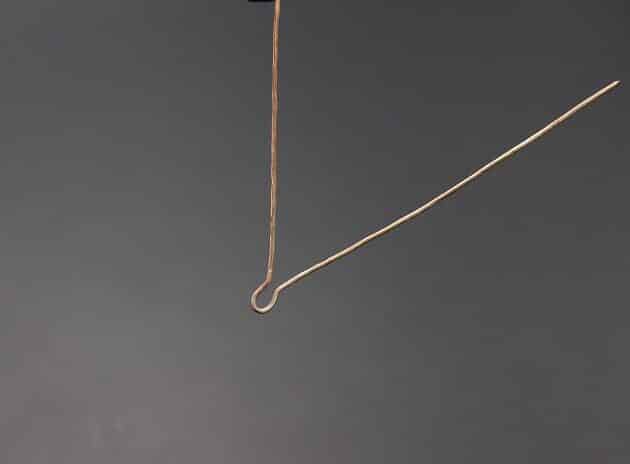
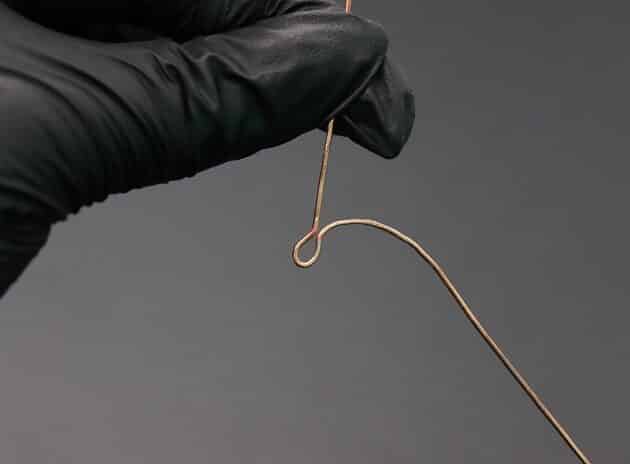
Then, keep the wire curve base, and bend the extra wires away with a chain nose pliers (fig. 11d, 11e).

FREE WIRE-WRAPPING GUIDE TO YOUR EMAIL!
JOIN NEWSLETTER
We respect your privacy. Unsubscribe at anytime.
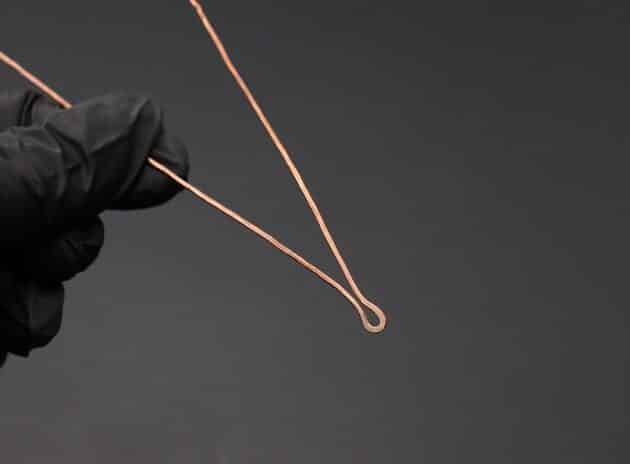
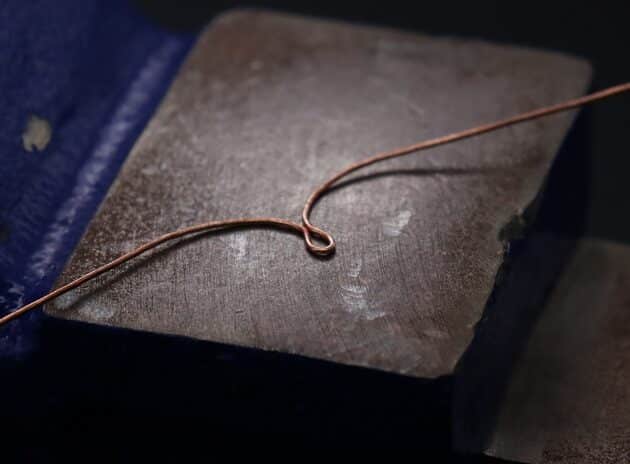
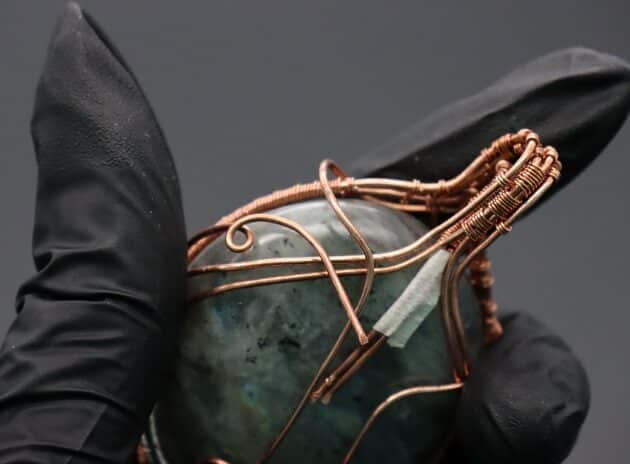
Make elegant curves with the loose wires as shown (fig. 11f, 11g).
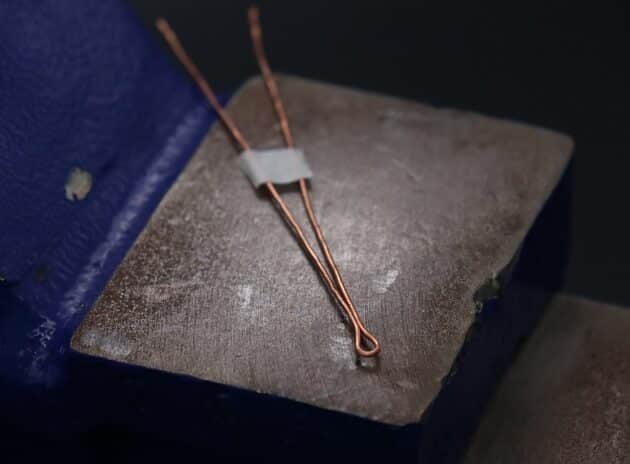
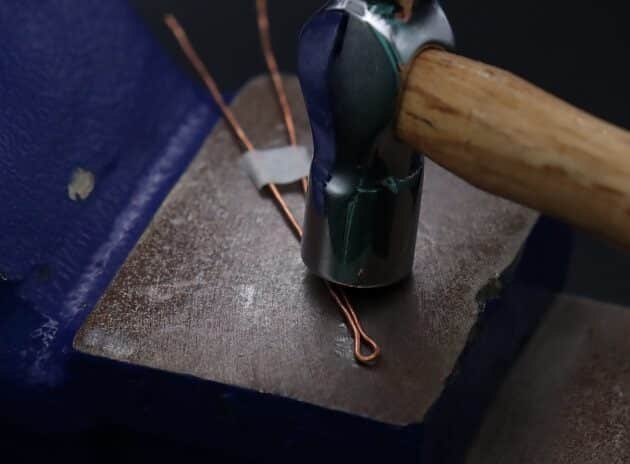
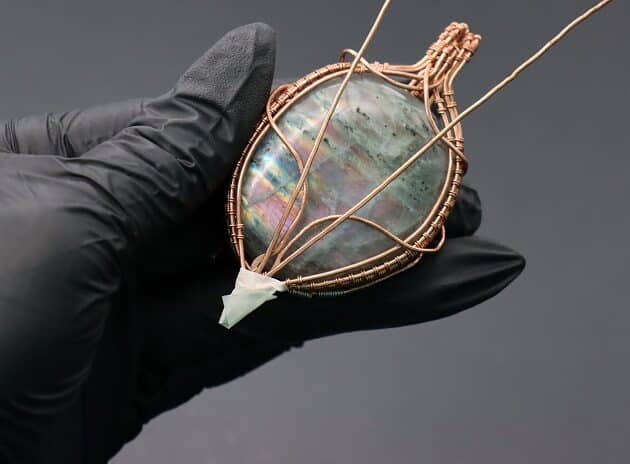
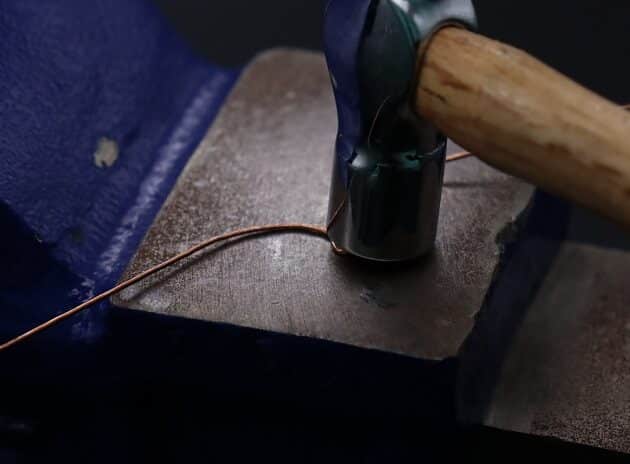
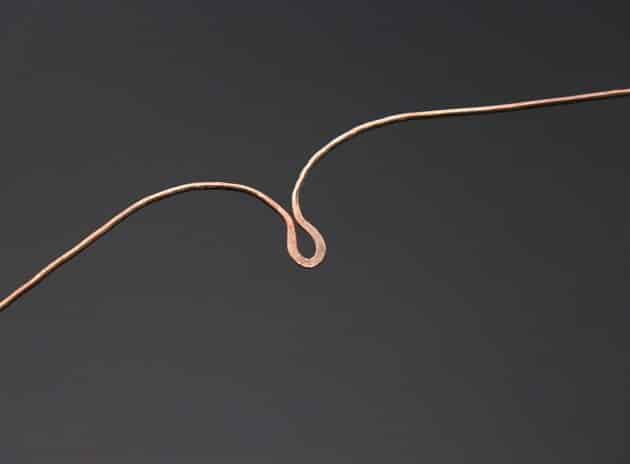
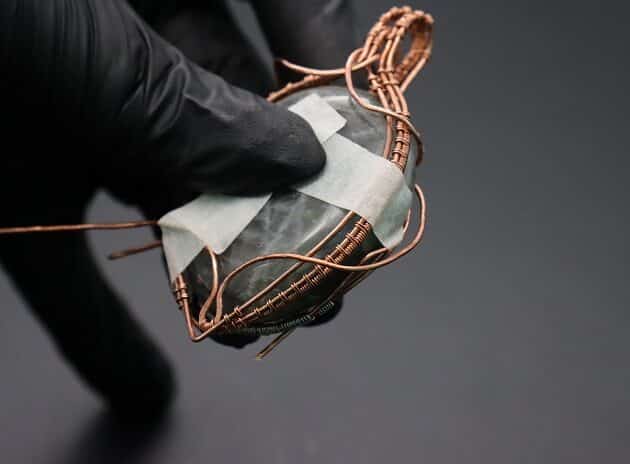
Next, hammer the wire curve base flat on a base metal plate (fig. 11h, 11i, 11j).
Coil to attach the flat wire curve onto the bottom middle frame (fig. 11k, 11l, 11m, 11n).
Prefer this wire-wrapping tutorial in a PRINTABLE FORMAT? (High Resolution Photos)
Click here for the PDF version of “Wire-Wrapping Dreamy Oval Labradorite Copper Pendant Tutorial”
Step 12 of 18
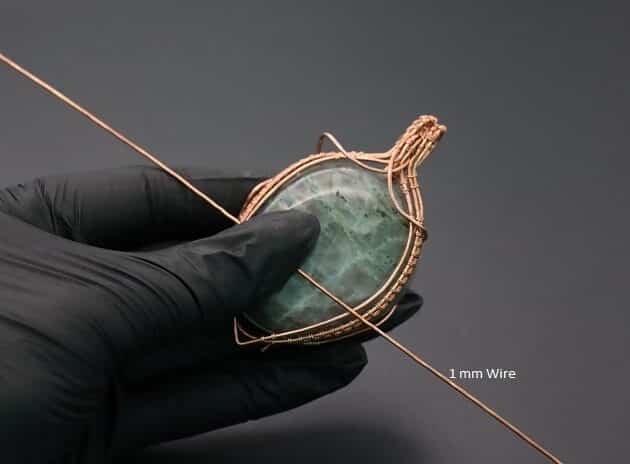
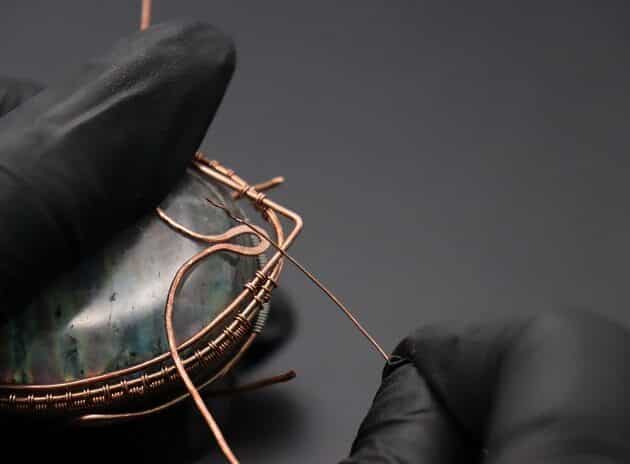
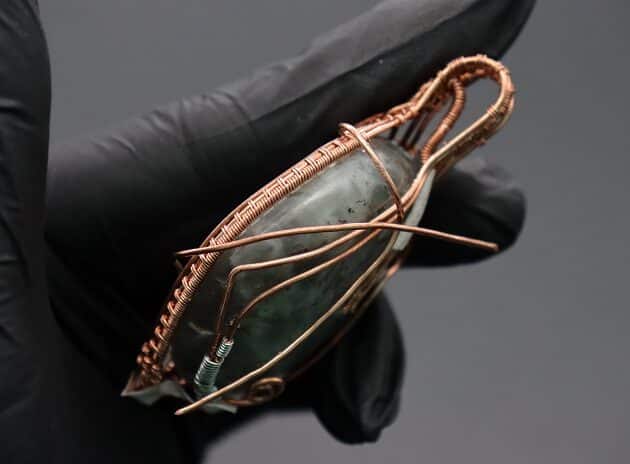
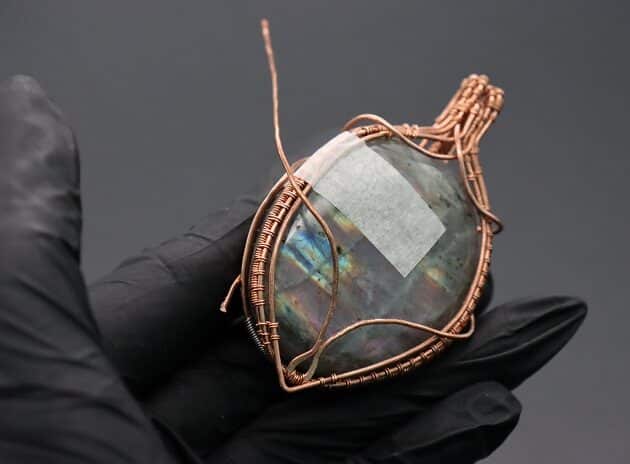
After that, pull the right loose 18-gauge wavy wire to the right side of your pendant and make a small loop (fig. 12a, 12b, 12c, 12d).
Then, anchor the wire onto the back frame and curl the wire end to prevent scratching (fig. 12e, 12f).
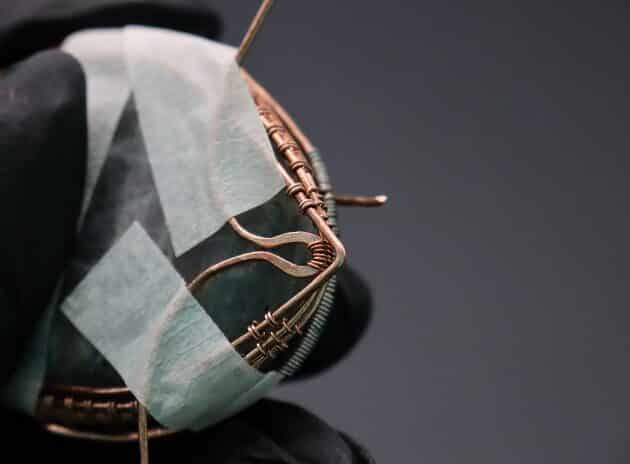
Repeat the same design on the left side of your pendant (fig. 12g, 12h, 12i, 12j).


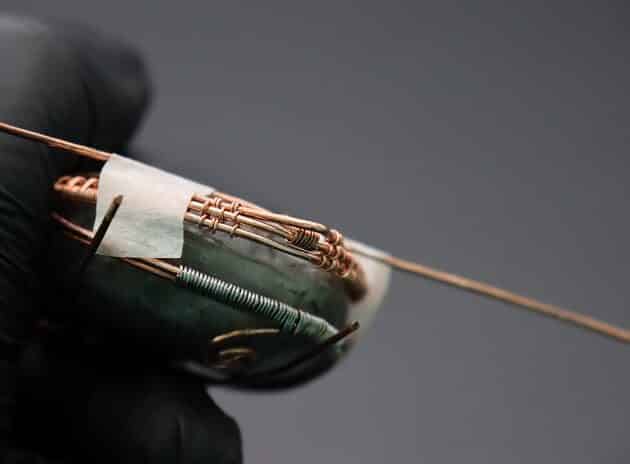
Step 13 of 18
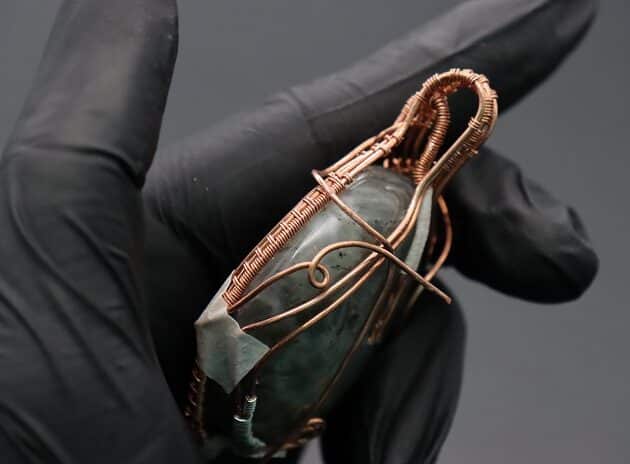
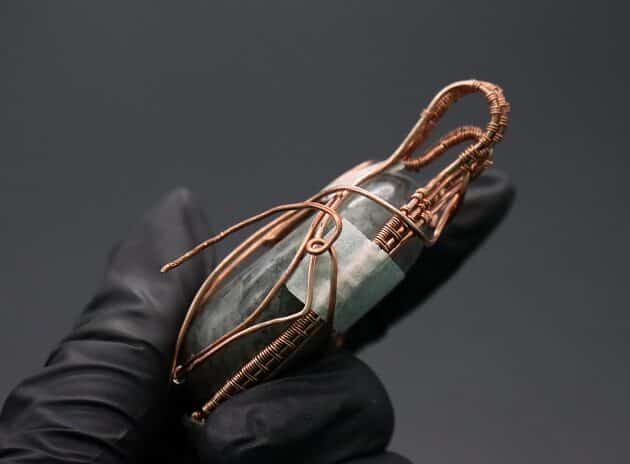
Form a second curved wire base with a new 18-gauge copper wire (fig. 13a).
Then, hammer it flat on a base metal plate (fig. 13b, 13c, 13d).
Place the flatten curved wire base on top of the first one and extend it outwards from the bottom frame (fig. 13e, 13f).