Step 3 of 9
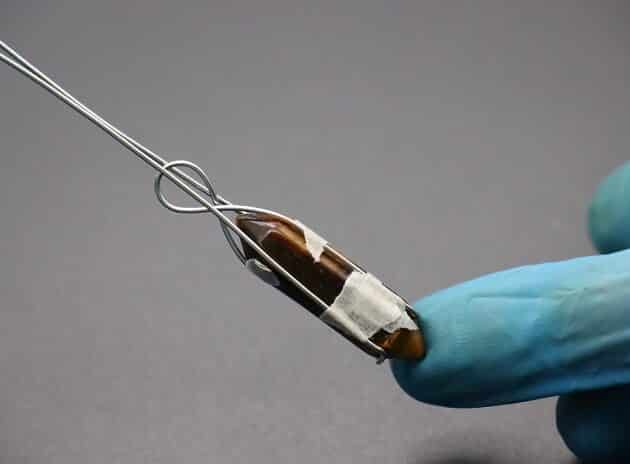
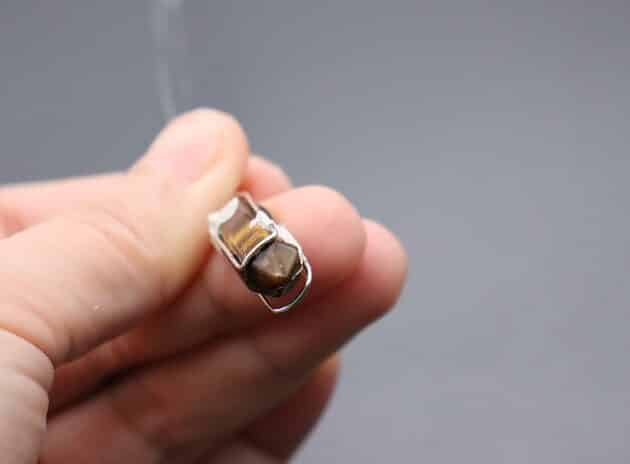
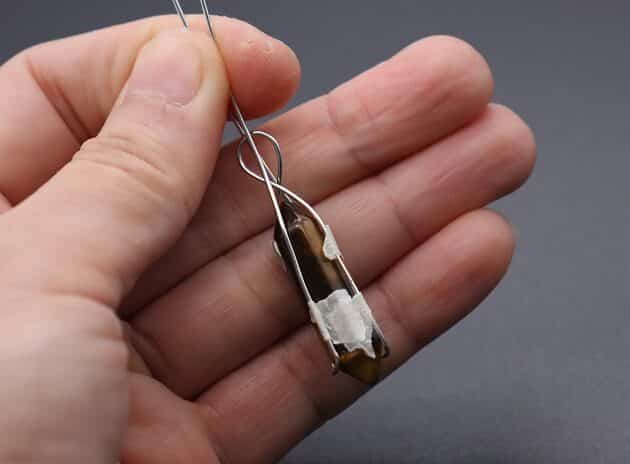
After completing Step 2, the completed wire frame should look like as shown: front (fig. 3a), bottom (fig. 3b), back (fig. 3c).
Step 4 of 9
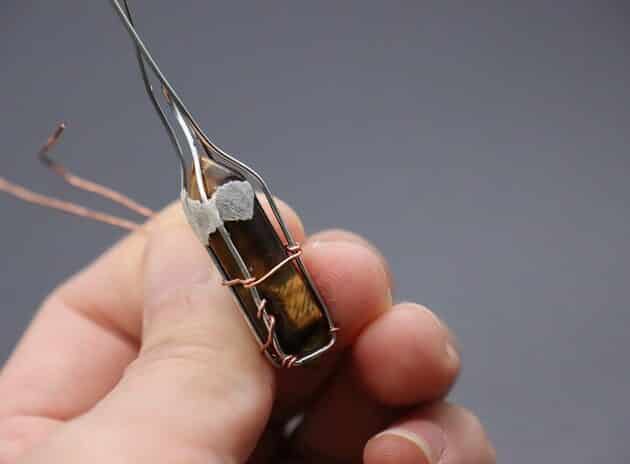
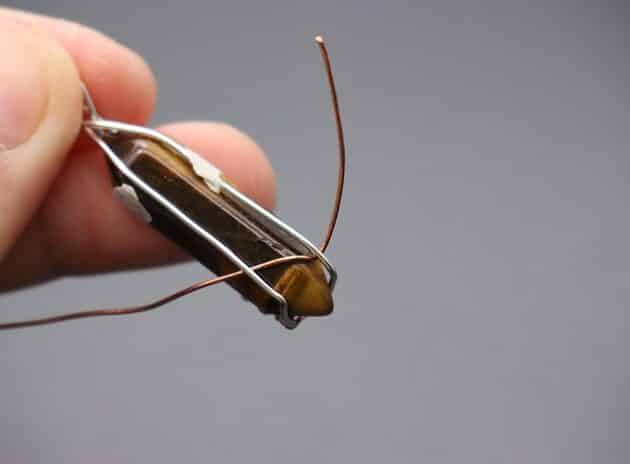
We give the silver wire frame a firm hold on the crystal stone by weaving.

FREE WIRE-WRAPPING GUIDE TO YOUR EMAIL!
JOIN NEWSLETTER
We respect your privacy. Unsubscribe at anytime.
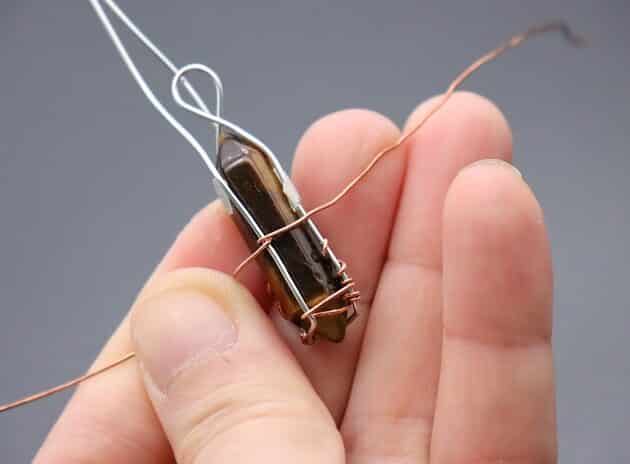
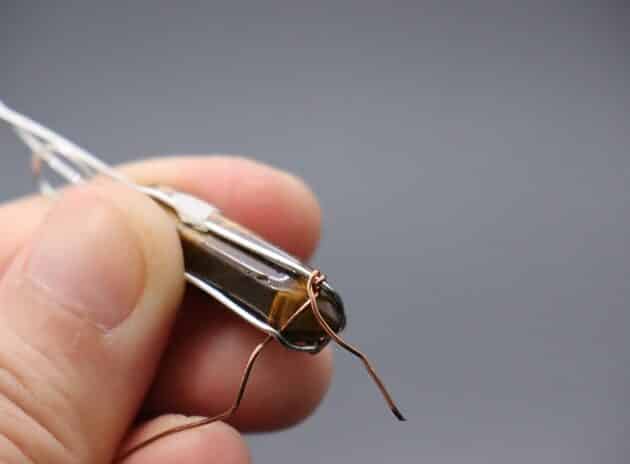
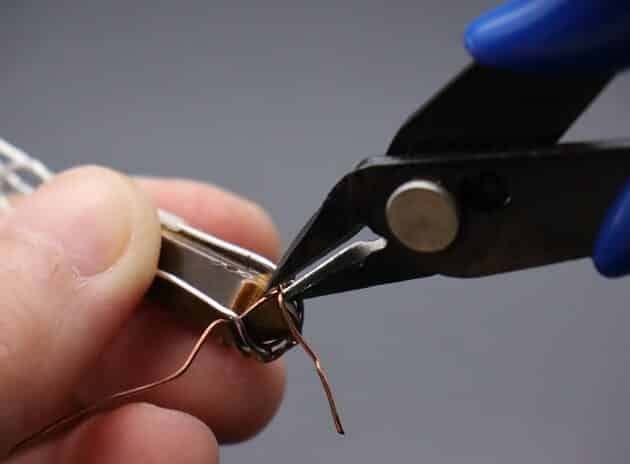
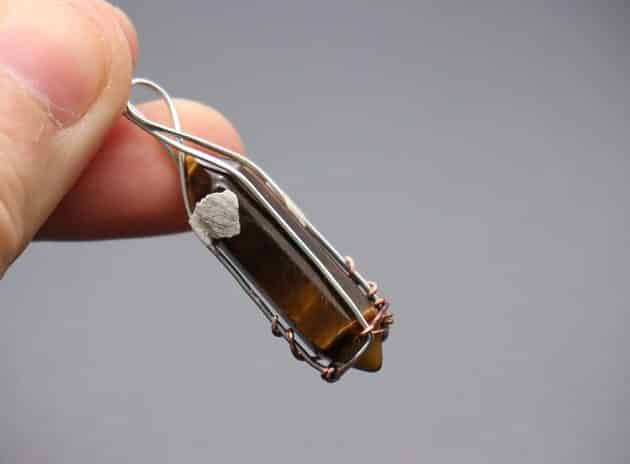
Start a new length of 22-gauge copper wire and anchor it at the bottom frame as shown (fig. 4a, 4b).
Cut the excess wire from the anchor site with a wire cutter (fig. 4c).
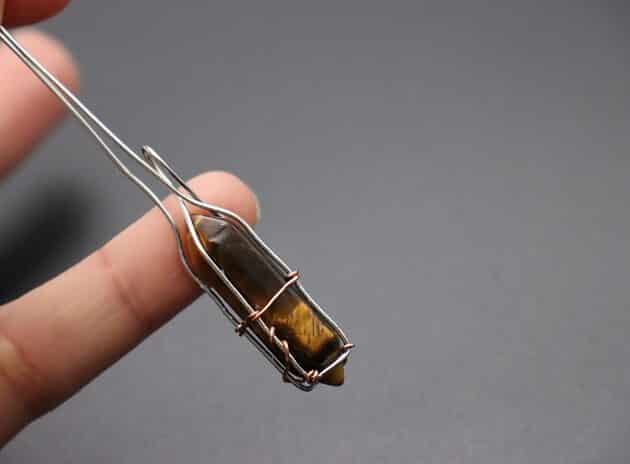
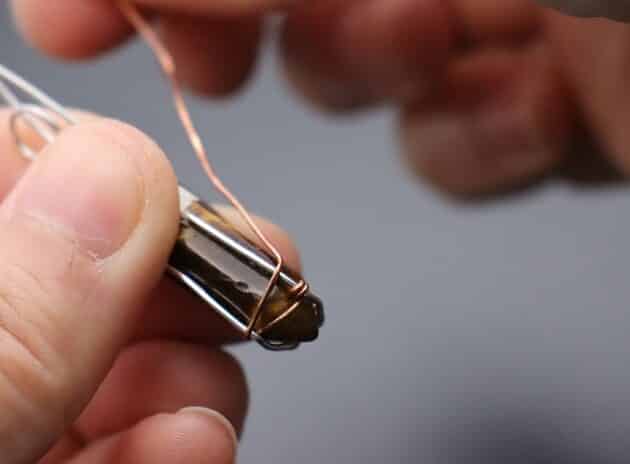
Then, continue to weave the copper wire with a simple coil decoration on the silver wire frame (fig. 4d, 4e).
Cut the excess wire to finish up the design (fig. 4f).
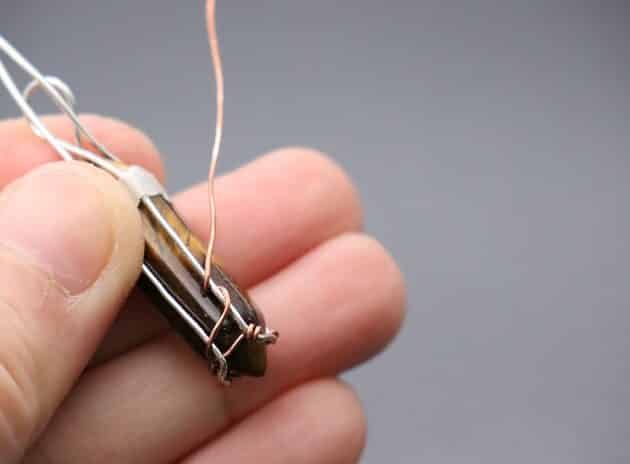
Repeat the process on the other side with a similar decoration (fig. 4g, 4h, 4i, 4j).
Note: After cutting the wire, make sure it is close to frame and tugged at the back to avoid getting caught on surfaces.


Step 5 of 9
Prefer this wire-wrapping tutorial in a PRINTABLE FORMAT? (High Resolution Photos)
Click here for the PDF version of “Crystal Tower Point Wire-Wrapping Tutorial”
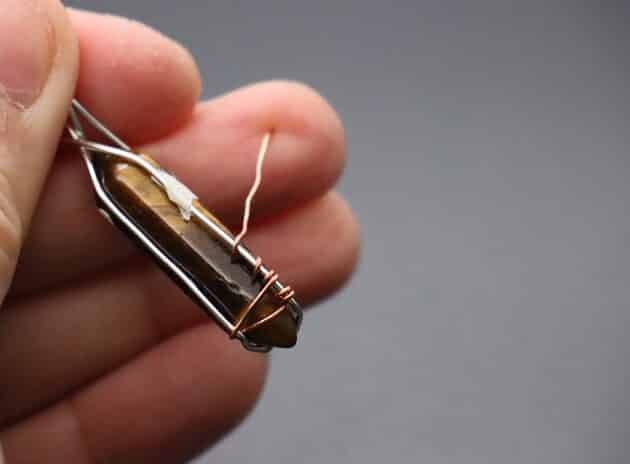
Moving on, start a new length of 22-gauge copper and make a coil on the midpoint of the silver wire frame (fig. 5a).
Then, proceed to make the same coil on the other frames (fig. 5b, 5c).
End the design by making a last coil on the starting frame (Jump to fig. 8f).