Step 6 of 8
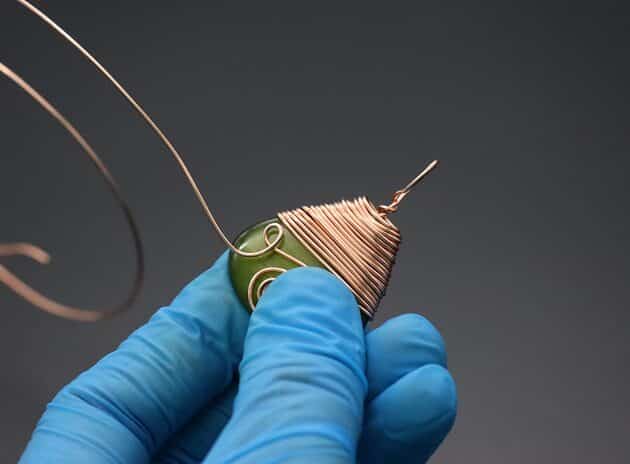
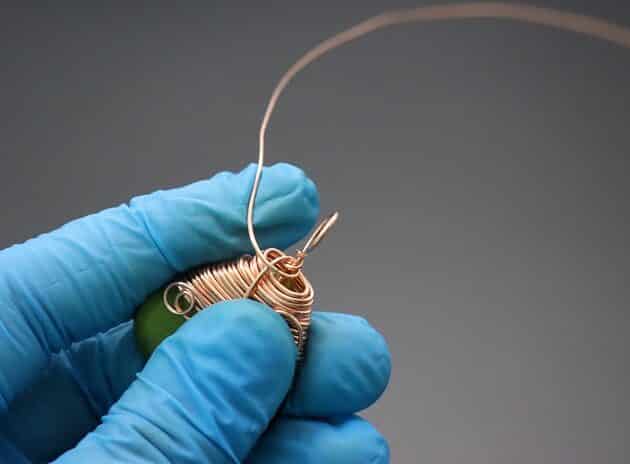
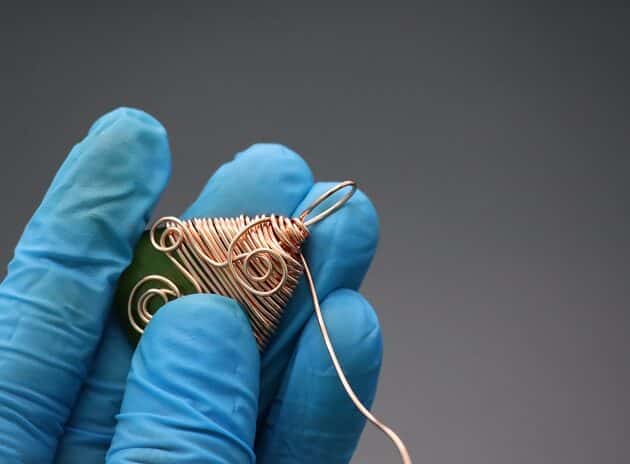
Continue from Step 5, repeat the same looping technique to create flowers:
- Second small flower with one small loop (fig. 6a, 6b).
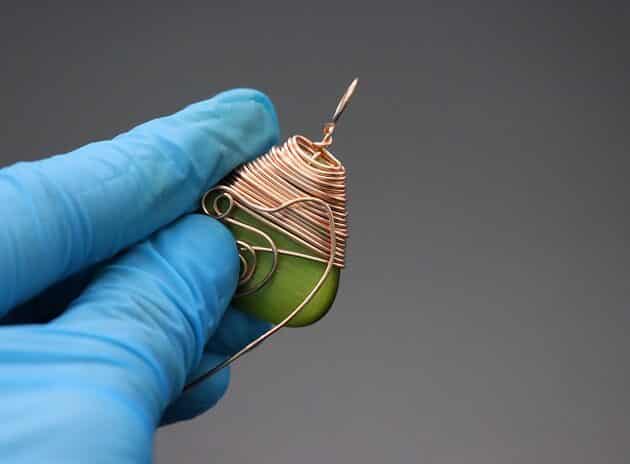
- Third medium flower with two medium loops (fig. 6c, 6d).
Position each flower higher than the previous flower as shown (fig. 6e).
Step 7 of 8
Prefer this wire-wrapping tutorial in a PRINTABLE FORMAT? (High Resolution Photos)
Click here for the PDF version of “Triangle Cabochon Pendant Wire-Wrapping Tutorial”

FREE WIRE-WRAPPING GUIDE TO YOUR EMAIL!
JOIN NEWSLETTER
We respect your privacy. Unsubscribe at anytime.
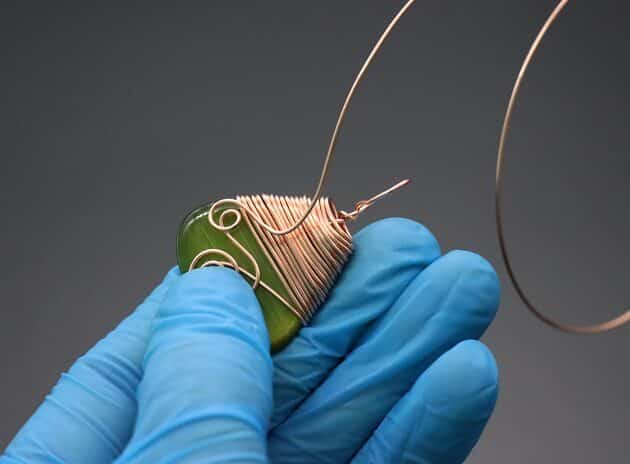
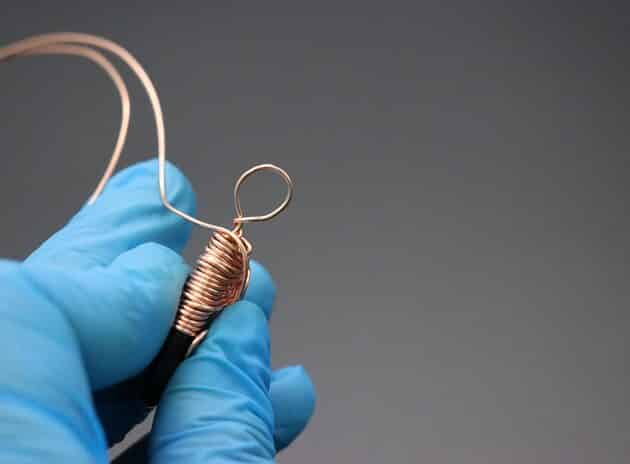
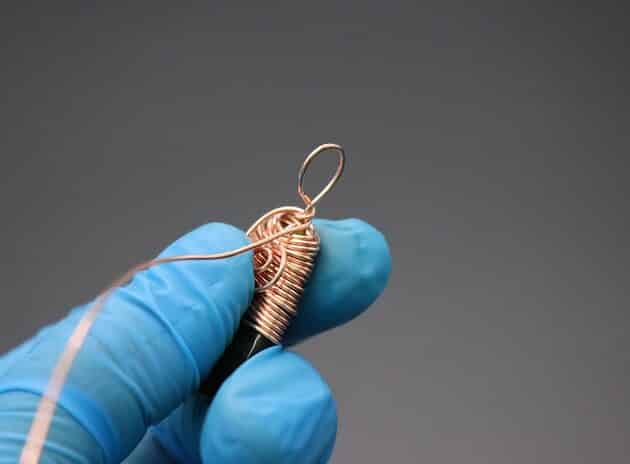
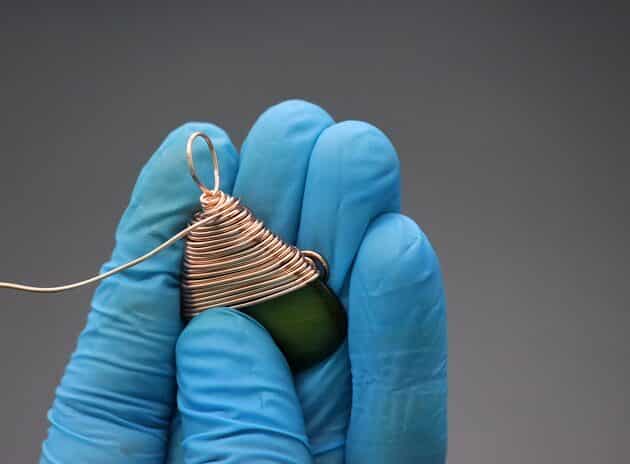
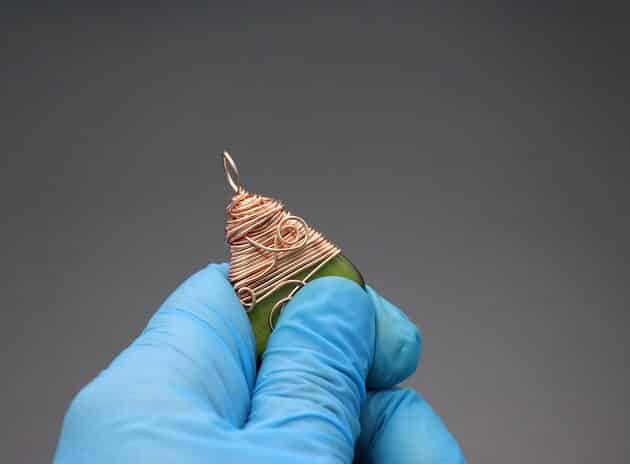
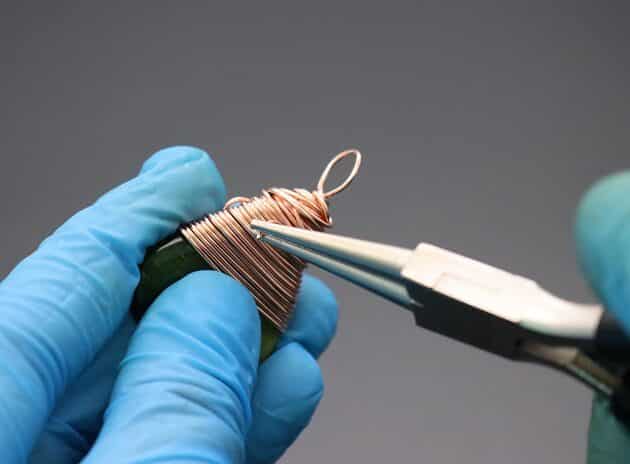
Then, wrap the remaining wire around the bail neck to create a cap (fig. 7a, 7b, 7c, 7d, 7e, 7f).
Keep wrapping the bail neck area until desired thickness is achieved (fig. 7g, 7h).
Note: Cut off the excess 20-gauge wire with a wire cutter after you finished wrapping the cap.

Step 8 of 8
Prefer this wire-wrapping tutorial in a PRINTABLE FORMAT? (High Resolution Photos)
Click here for the PDF version of “Triangle Cabochon Pendant Wire-Wrapping Tutorial”
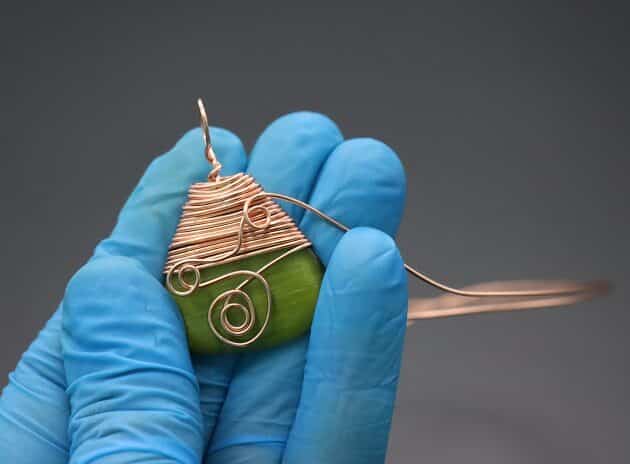
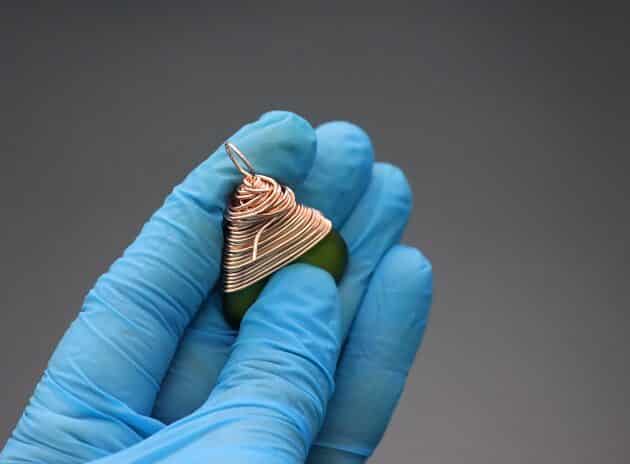
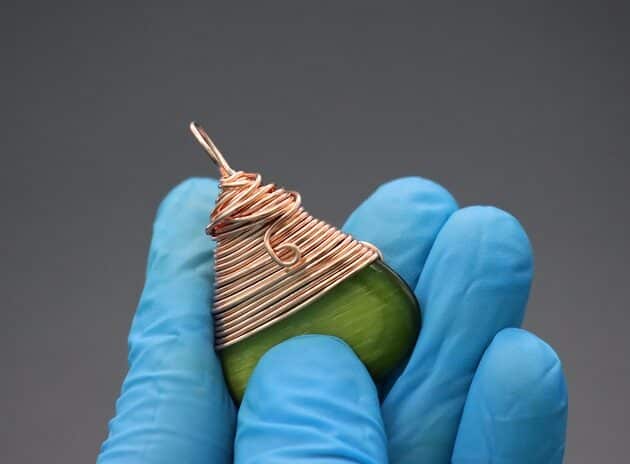
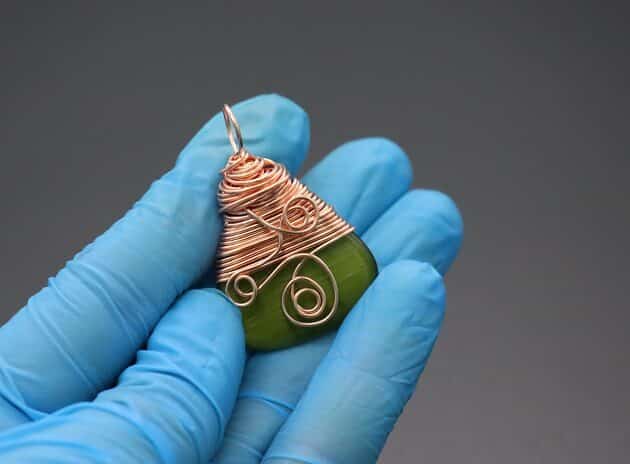
Last step, it’s time for the final touch up.
Use a round nose pliers to make a small loop at the end of your 20-gauge to finish up your charming forest inspired pendant (fig. 8a, 8b).
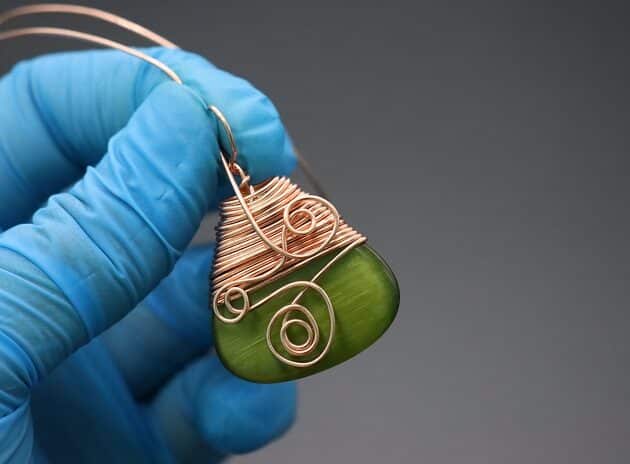
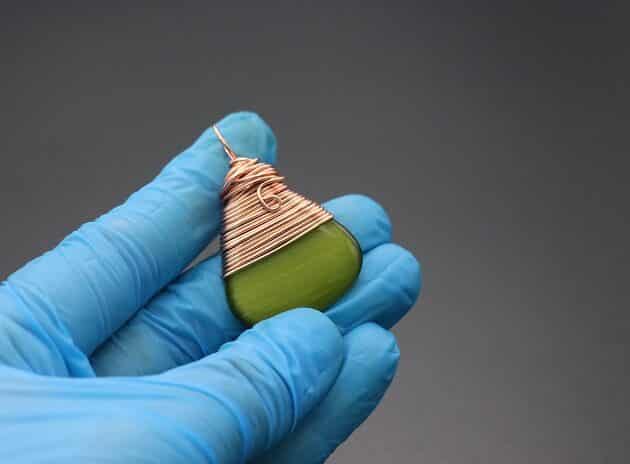
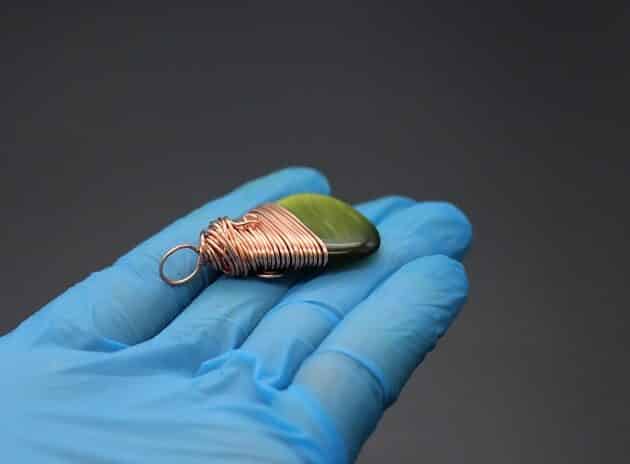
COMPLETED WIRE-WRAPPING CHARMING GREEN TRIANGLE CABOCHON
Want to Support me?
If you enjoyed my content, please consider support me on Patreon:). This helps me to create more amazing free content to share with you 🙂
If you’d like to see my work and follow my wire journey, you can find me here:
Facebook Instagram Twitter Pinterest YouTube Etsy
