Step 3 of 8
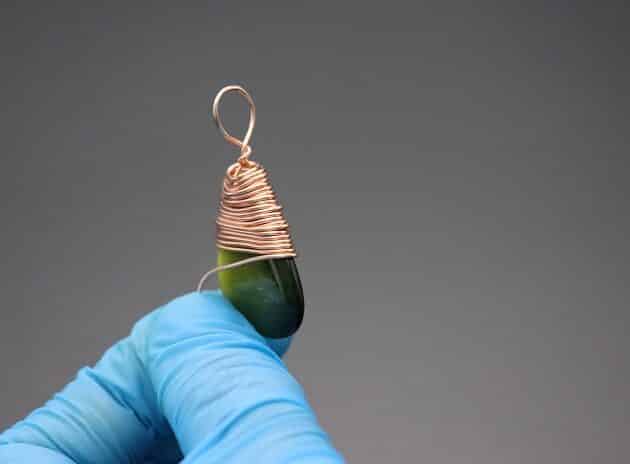
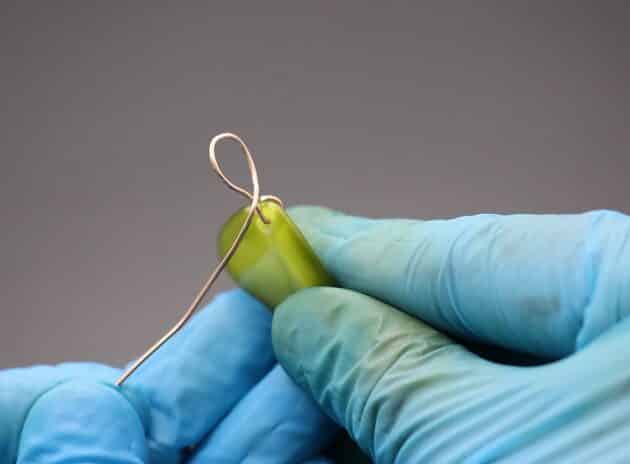
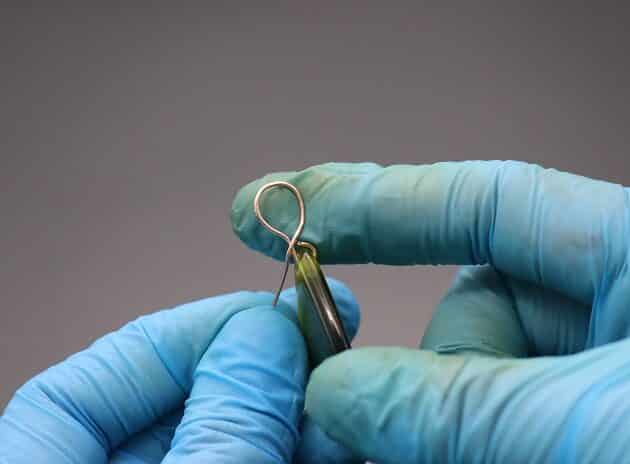
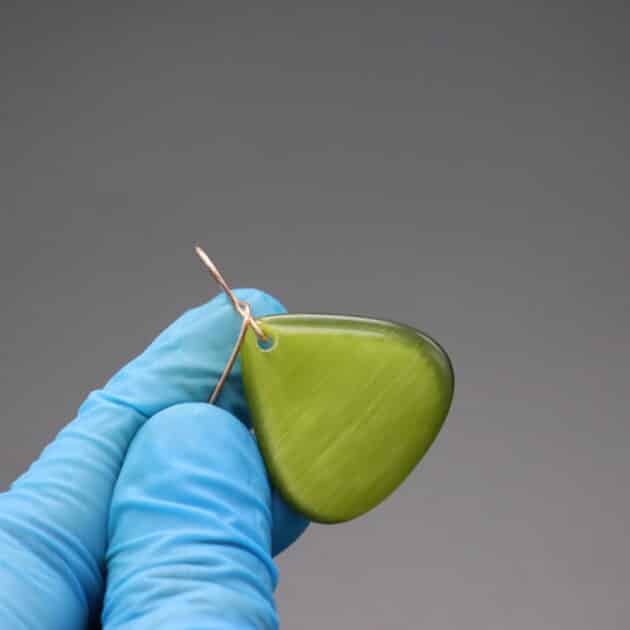
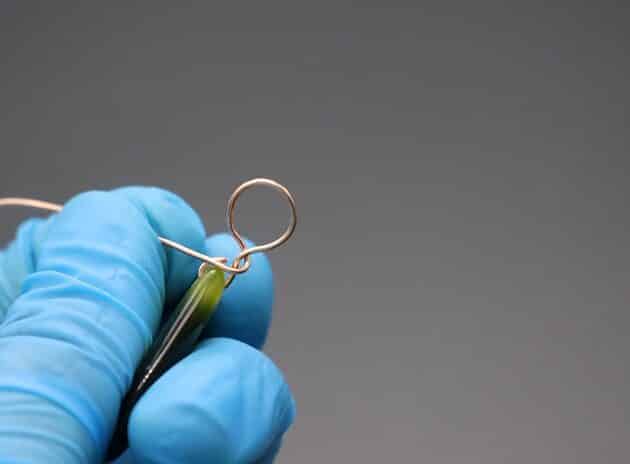
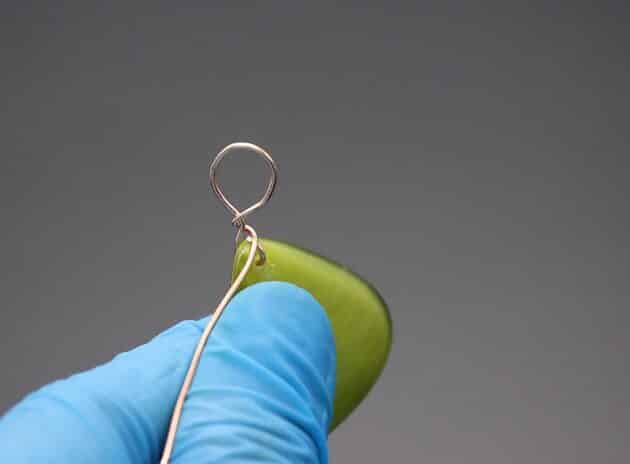
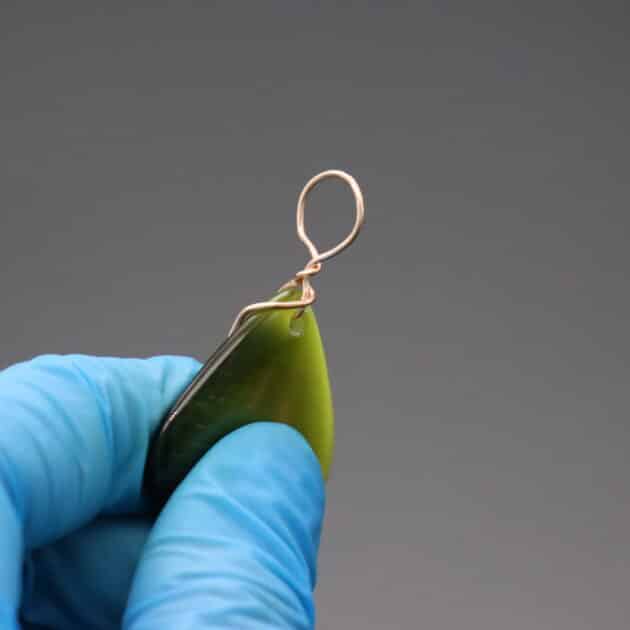
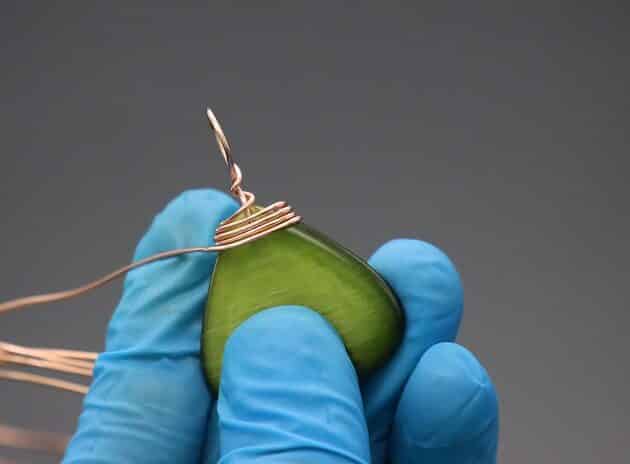
Thirdly, complete the bail by closing the loop in two wraps (fig. 3a, 3b, 3c, 3d, 3e).
Make sure the 20-gauge wire wraps the gap from the wire hoop on the drilled hole (fig. 3f).

FREE WIRE-WRAPPING GUIDE TO YOUR EMAIL!
JOIN NEWSLETTER
We respect your privacy. Unsubscribe at anytime.
Step 4 of 8
Prefer this wire-wrapping tutorial in a PRINTABLE FORMAT? (High Resolution Photos)
Click here for the PDF version of “Triangle Cabochon Pendant Wire-Wrapping Tutorial”
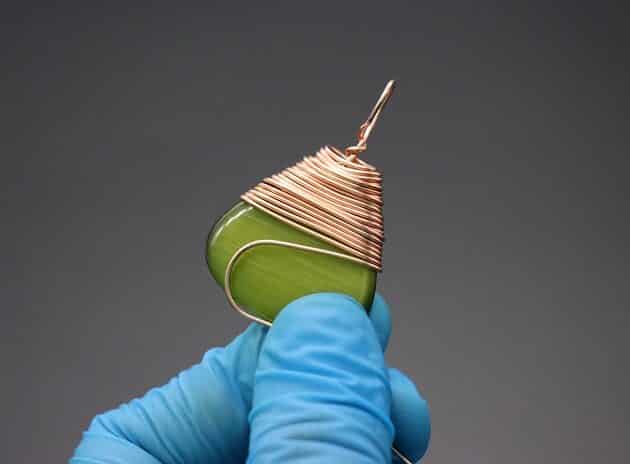
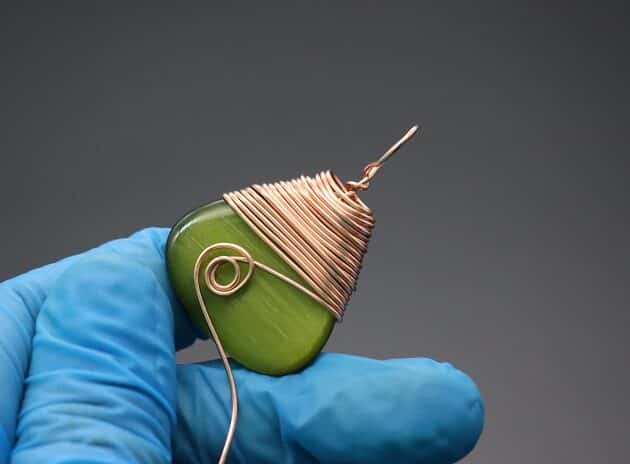
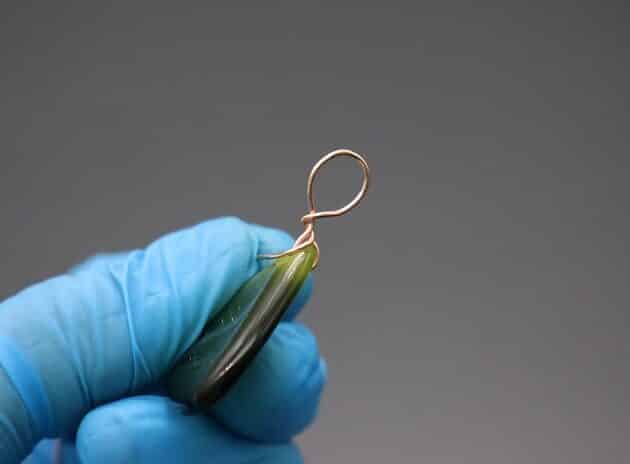
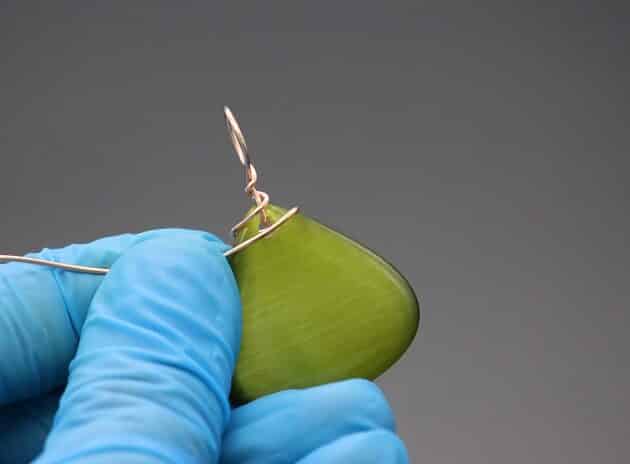
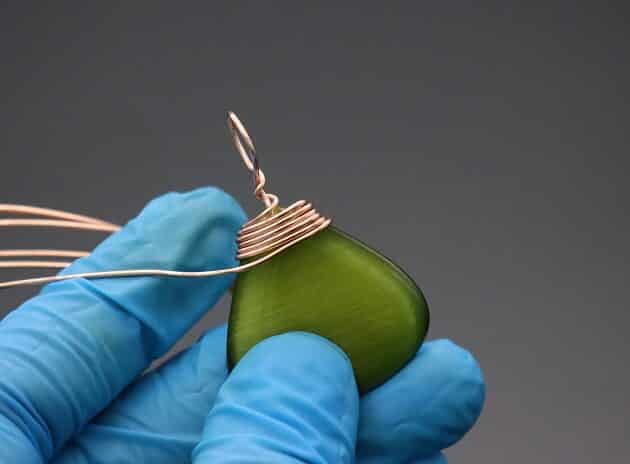
Fourthly, continue to cover the drilled hole on your green triangle cabochon from sight with four wraps (fig. 4a, 4b, 4c, 4d, 4e, 4f, 4g).
Note: If there is gap between your wraps, gently tighten your wire and use your thumb to squeeze the gap shut.
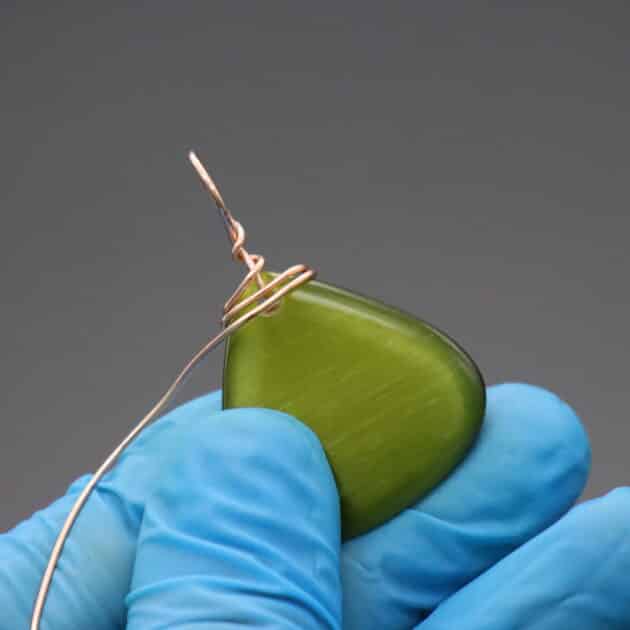
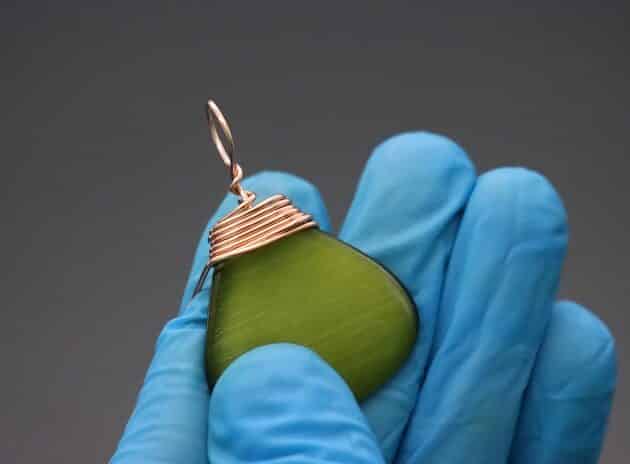
Next, proceed to wrap the top-half side of your cabochon to create a color contrast for your pendant – shimmering copper with gleaming green (fig. 4h, 4i, 4j).


Step 5 of 8
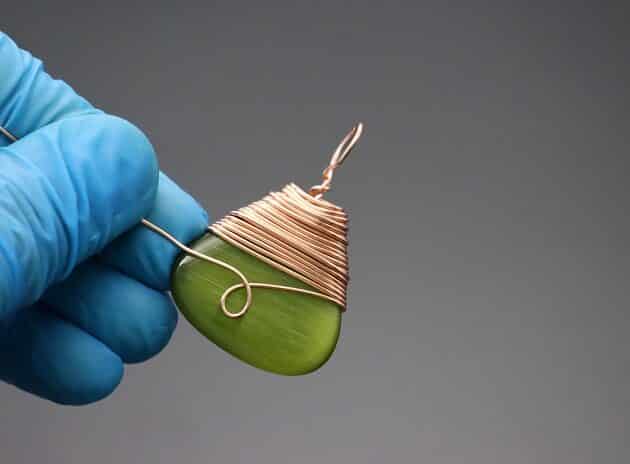
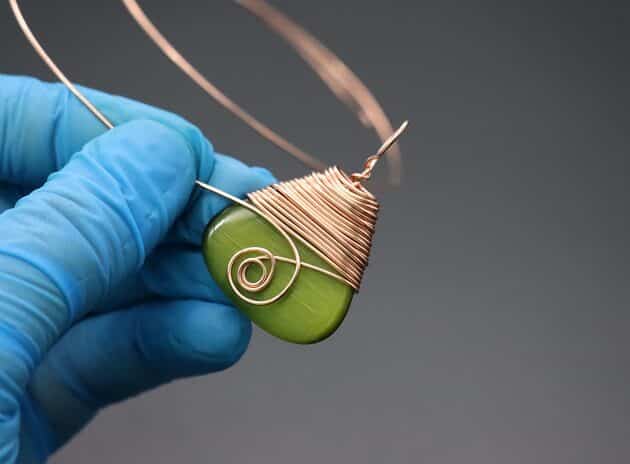
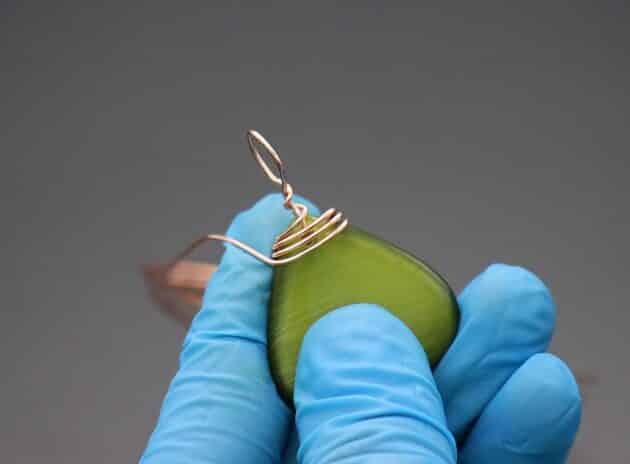
For this step, we will be making three lovely flower wire structures to add a layer of texture for your pendant.
Curve your wire across the pendant as shown (fig. 5a, 5b).
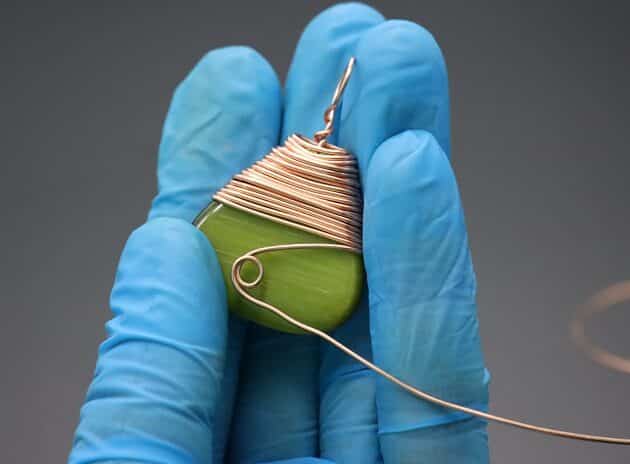
Then, start with a small loop as the center of the flower (fig. 5c).
Continue to gradually increase the size of the wire loops to form the flower petals (fig. 5d, 5e, 5f).