• Skip to main content
  • Skip to secondary menu
  • Skip to primary sidebar
  • Skip to footer
Studio 73 Designs

Studio 73 Designs

Wire Jewelry Making & Wire Wrapping Techniques

  • Start Here!
  • FREE Wire-Wrapping Guides
  • Shop Tutorials
    • Cart
    • Checkout
  • Contact
  • Join Member
  • Member Login
Join PREMIUM MEMBERSHIP (FREE-TRIAL): 70+ Wire Wrapping Tutorials: Gain access to ALL step-by-step tutorials with high-quality images, no ads, plus all future tutorials. Check it out HERE.

Wire-Wrapping Timeless Green Oval Stone Pendant Tutorial

February 25, 2024 by Madelynn

Welcome my lovely readers!

Are you new to wire-wrapping? Do you prefer making your own jewelry?

If yes, then you are in for a good start.

This beginner level Wire-Wrapping Timeless Green Oval Stone Pendant Tutorial will set you to learn basic wire-wrapping techniques such as wire coiling and wire structuring.

wire wrap jewelry

FREE WIRE-WRAPPING GUIDE TO YOUR EMAIL! 

JOIN NEWSLETTER

SEND GUIDE TO EMAIL

We respect your privacy. Unsubscribe at anytime.

Track your progress easily in this step-by-step picture guide.

Happy wrapping!

Wire-Wrapping Timeless Green Oval Stone Pendant Tutorial 0
Wire-Wrapping Timeless Green Oval Stone Pendant Tutorial

LEVEL: BEGINNER

MATERIALS + TOOL

  • Oval Stone With Flat Back
  • Brown Copper Wire (14 AWG)
  • Gold Copper Wire (22 AWG)
  • Wire Cutter
  • Stepped Bail-Making Pliers
  • Mini Long Needle Nose Pliers
  • Masking Tape
  • Frame Design Template

TIMELESS GREEN OVAL STONE PENDANT -Cover


Prefer this wire-wrapping tutorial in a PRINTABLE FORMAT? (High Resolution Photos)

Click here for the PDF version of “Wire-Wrapping Timeless Green Oval Stone Pendant Tutorial”


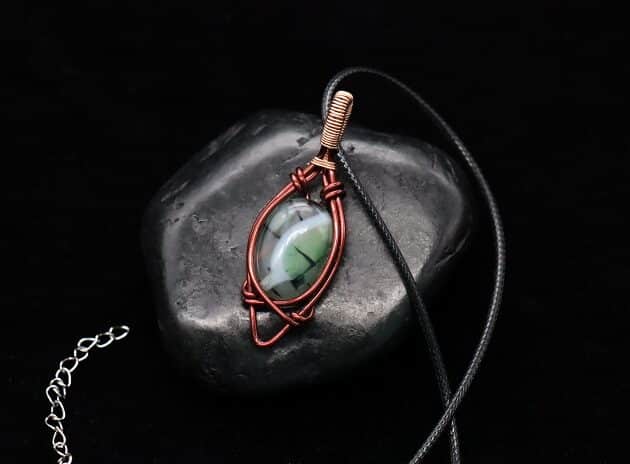
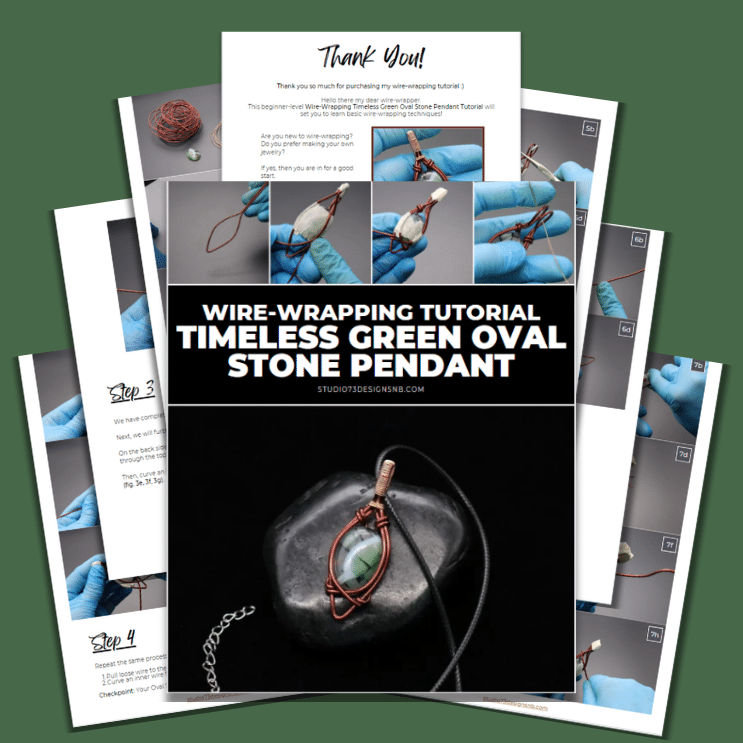
WIRE-WRAPPING TIMELESS GREEN OVAL STONE PENDANT TUTORIAL

Step 1 of 14

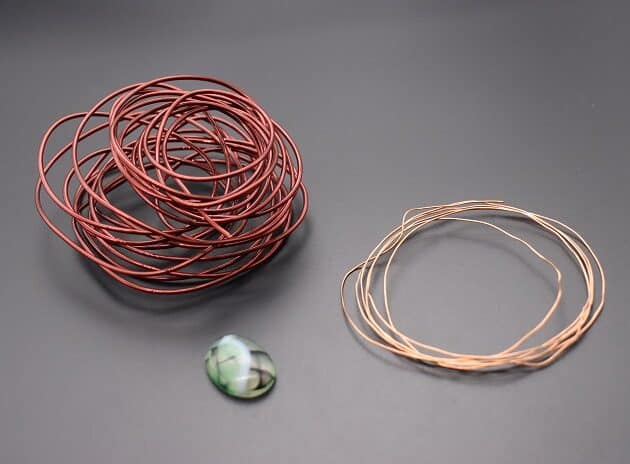
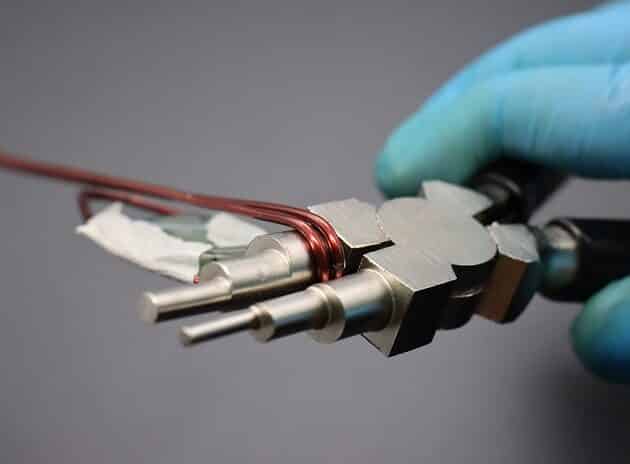
Firstly, assemble all items from the Materials and Tool list (fig. 1a).

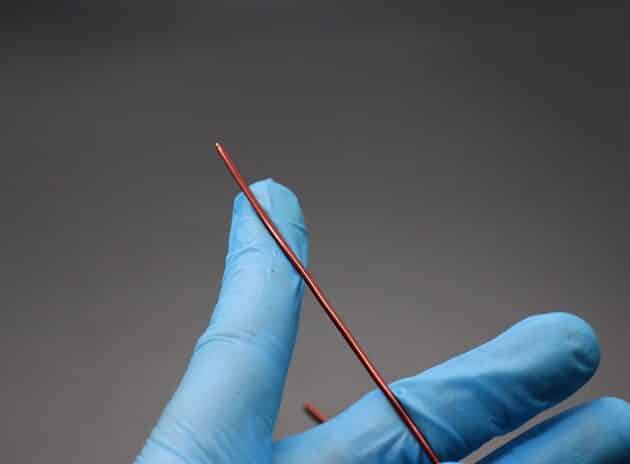
Next, use 14-gauge brown copper wire to create the pendant main frame (fig. 1b).

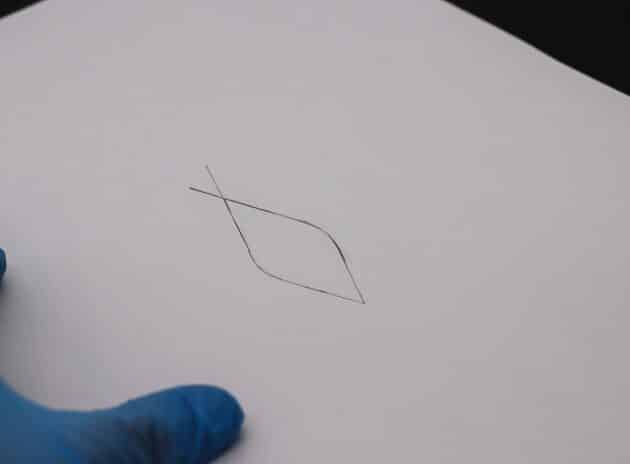
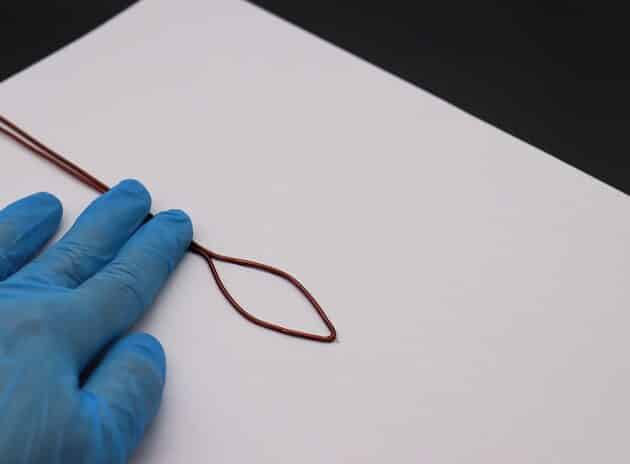
Draw the frame design template on a piece of paper as shown (fig. 1c).

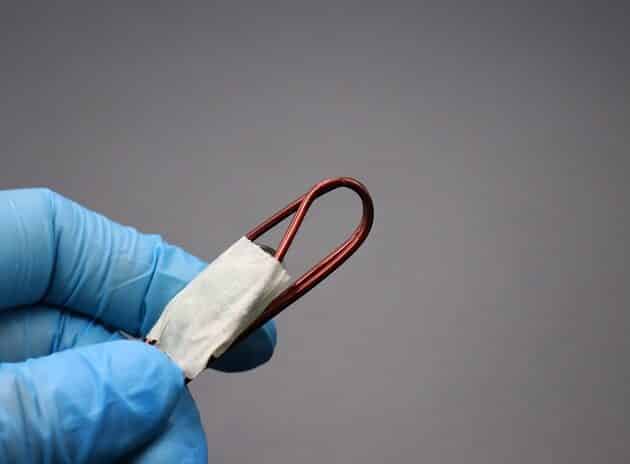
Bend the 14-gauge brown copper wire into shape (fig. 1d, 1e).

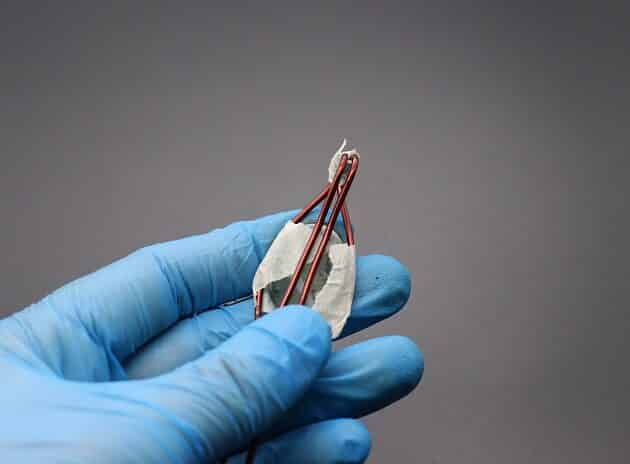
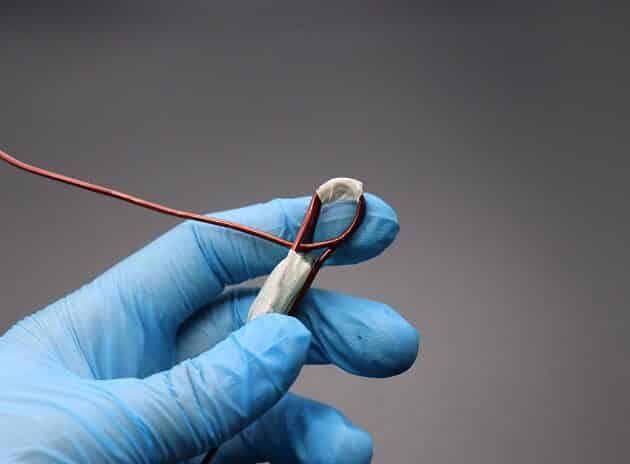
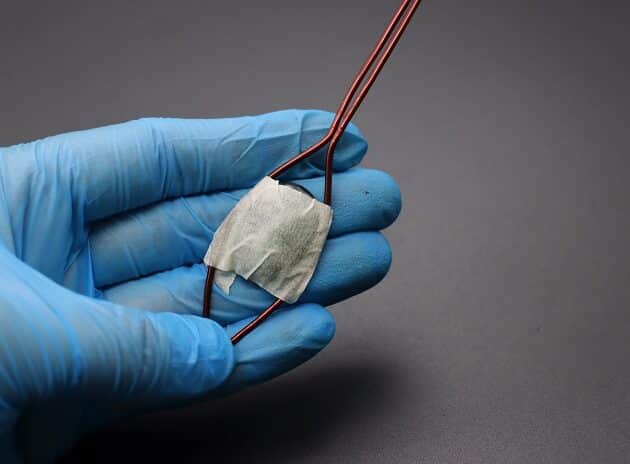
Then, tape the oval stone into the frame (fig. 1f).

Wire-Wrapping Timeless Green Oval Stone Pendant Tutorial 1
fig. 1a

Wire-Wrapping Timeless Green Oval Stone Pendant Tutorial 2
fig. 1b

Wire-Wrapping Timeless Green Oval Stone Pendant Tutorial 3
fig. 1c

Wire-Wrapping Timeless Green Oval Stone Pendant Tutorial 4
fig. 1d

Wire-Wrapping Timeless Green Oval Stone Pendant Tutorial 5
fig. 1e

Wire-Wrapping Timeless Green Oval Stone Pendant Tutorial 6
fig. 1f

Step 2 of 14

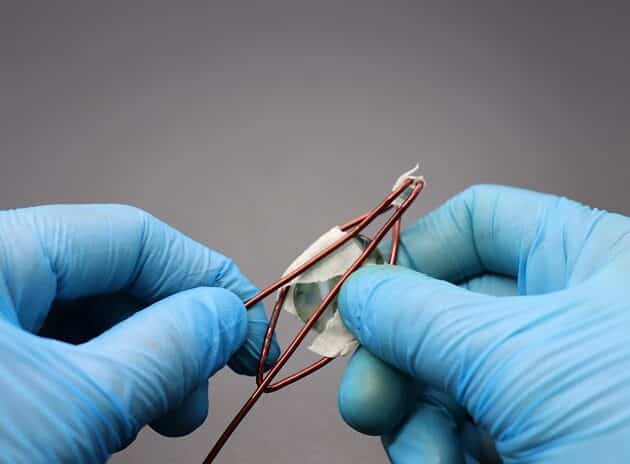
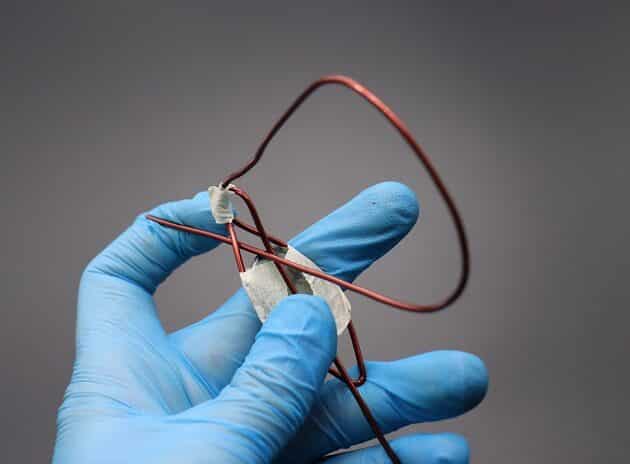
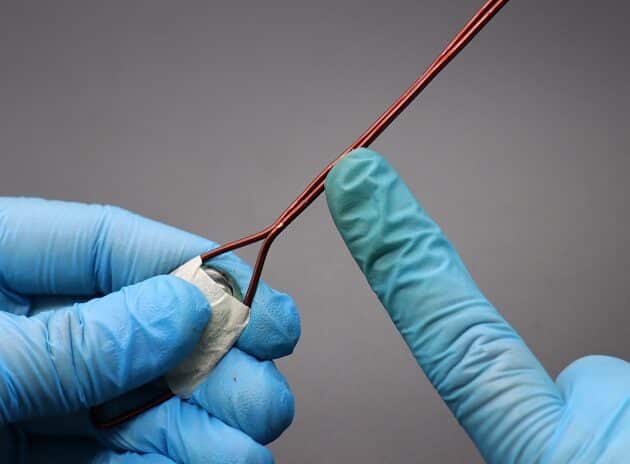
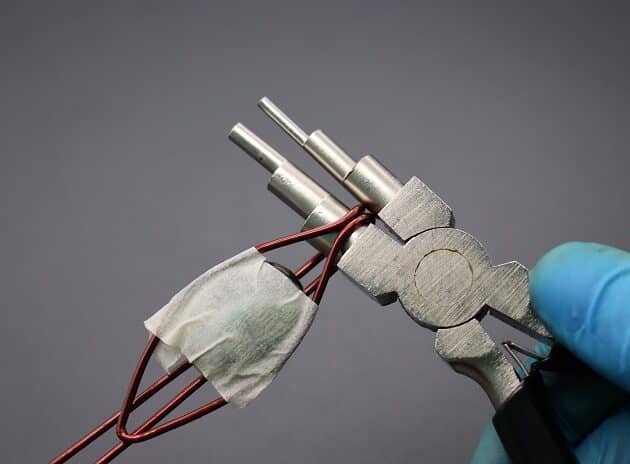
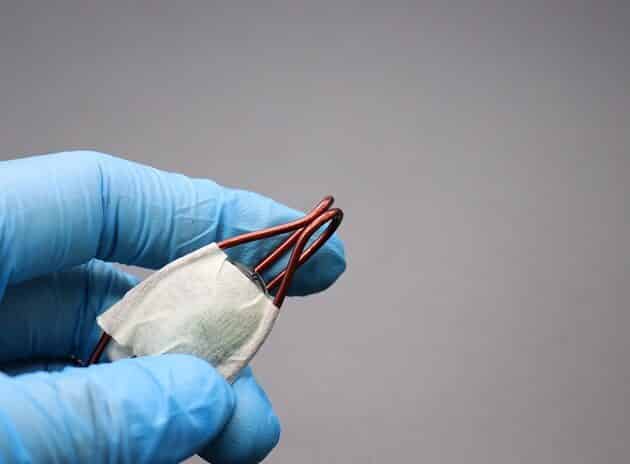
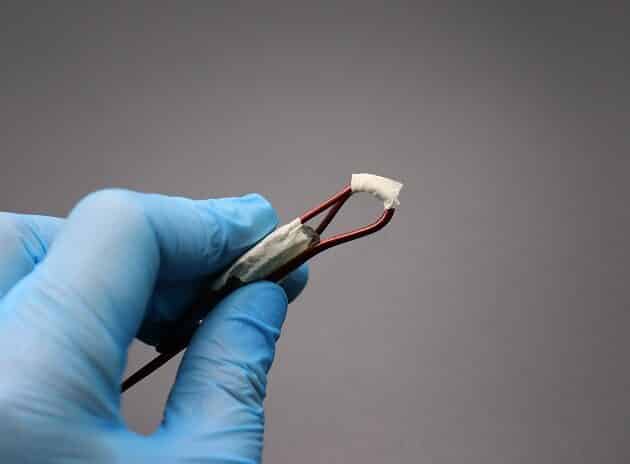
Secondly, form the pendant bail by curling the straight 14-gauge wires with a stepped bail-making pliers (fig. 2a, 2b, 2c, 2d).

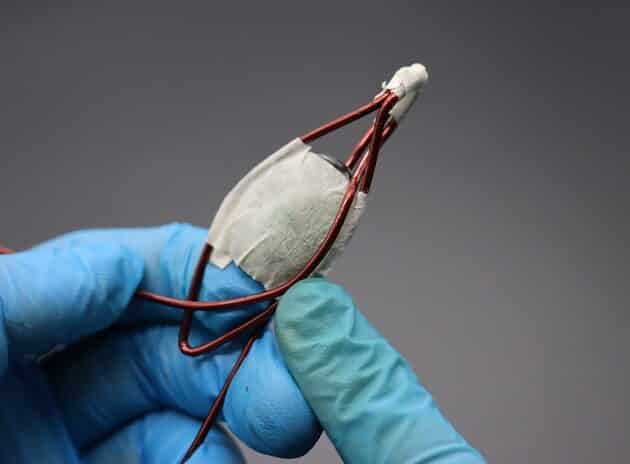
Preserve the shape of the main frame by taping the ending wires together (fig. 2e, 2f).

Wire-Wrapping Timeless Green Oval Stone Pendant Tutorial 7
fig. 2a

Wire-Wrapping Timeless Green Oval Stone Pendant Tutorial 8
fig. 2b

Wire-Wrapping Timeless Green Oval Stone Pendant Tutorial 9
fig. 2c

Wire-Wrapping Timeless Green Oval Stone Pendant Tutorial 10
fig. 2d

Wire-Wrapping Timeless Green Oval Stone Pendant Tutorial 11
fig. 2e

Wire-Wrapping Timeless Green Oval Stone Pendant Tutorial 12
fig. 2f

Step 3 of 14

We have completed the basic frame for your pendant.

Next, we will further practice the wire structuring technique for pendant detailing.

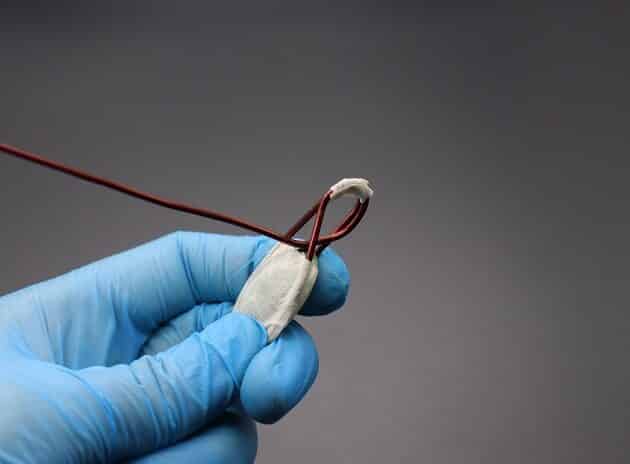
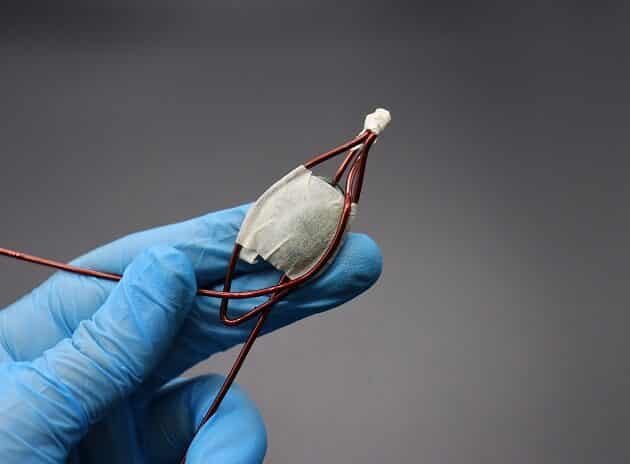
On the back side of the pendant, pull the left loose 14-gauge wire to the front through the top frame gap (fig. 3a, 3b, 3c, 3d).

Then, curve an inner wire frame along the right side of the oval stone surface (fig. 3e, 3f, 3g).

Wire-Wrapping Timeless Green Oval Stone Pendant Tutorial 13
fig. 3a

Wire-Wrapping Timeless Green Oval Stone Pendant Tutorial 14
fig. 3b

Wire-Wrapping Timeless Green Oval Stone Pendant Tutorial 15
fig. 3c

Wire-Wrapping Timeless Green Oval Stone Pendant Tutorial 16
fig. 3d

Wire-Wrapping Timeless Green Oval Stone Pendant Tutorial 17
fig. 3e

Wire-Wrapping Timeless Green Oval Stone Pendant Tutorial 18
fig. 3f

Wire-Wrapping Timeless Green Oval Stone Pendant Tutorial 19
fig. 3g

Pages: Page 1 Page 2 Page 3 Page 4 Page 5

Filed Under: Tutorials/DIY

Primary Sidebar

MadelynnHey there! Thanks for visiting 🙂

My name is Madelynn and I’m the owner of Studio 73 Designs.

Studio 73 Designs is managed by a team of wire wrapping jewelry enthusiasts 🙂 Cheers!

Follow Me

  • Facebook
  • Instagram
  • Pinterest
  • Twitter
  • YouTube

ARE YOU INTERESTED IN WIRE-WRAPPING?

Sign up below and get access to my FREE wire-wrapping guides!

Sign Up
Wire Wrapping Tutorials
Wire Wrapping for Beginners Start Here
Beginner's Guide to Jewelry Wire for Wire-Wrapping
Wire Wrapping Tools and Supplies for Beginners
How to wire wrap stones without holes wire-wrapping tutorial for beginners
Wire Wrapping Tutorials DIY Jewelry Kits

Footer

ARE YOU INTERESTED IN WIRE-WRAPPING?

Sign up below and get access to my FREE wire-wrapping guides!

Sign Up

Site Navigation

Home
About
Contact
Blog
Privacy Policy
Disclaimer
Terms & Conditions

Follow Me

  • Facebook
  • Instagram
  • Pinterest
  • Twitter
  • YouTube

© 2026 · Studio 73 Designs

wire-wrapping tutorials

Learn Wire-Wrapping

Want to create beautiful wire-wrapped jewelry? Join membership today and get access to 70+ step-by-step wire-wrapping tutorials with high-quality images

Learn More
x