• Skip to main content
  • Skip to secondary menu
  • Skip to primary sidebar
  • Skip to footer
Studio 73 Designs

Studio 73 Designs

Wire Jewelry Making & Wire Wrapping Techniques

  • Start Here!
  • FREE Wire-Wrapping Guides
  • Shop Tutorials
    • Cart
    • Checkout
  • Contact
  • Join Member
  • Member Login
Join PREMIUM MEMBERSHIP (FREE-TRIAL): 70+ Wire Wrapping Tutorials: Gain access to ALL step-by-step tutorials with high-quality images, no ads, plus all future tutorials. Check it out HERE.

Wire-Wrapping Timeless Green Oval Stone Pendant Tutorial

February 25, 2024 by Madelynn

Step 4 of 14

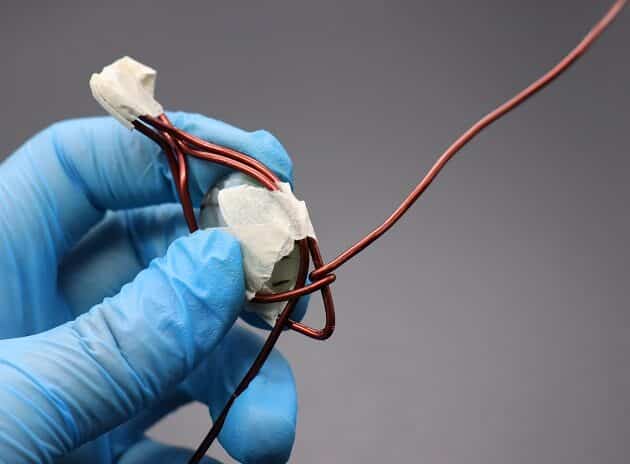
Repeat the same process from Step 3 for the other loose 14-gauge wire:

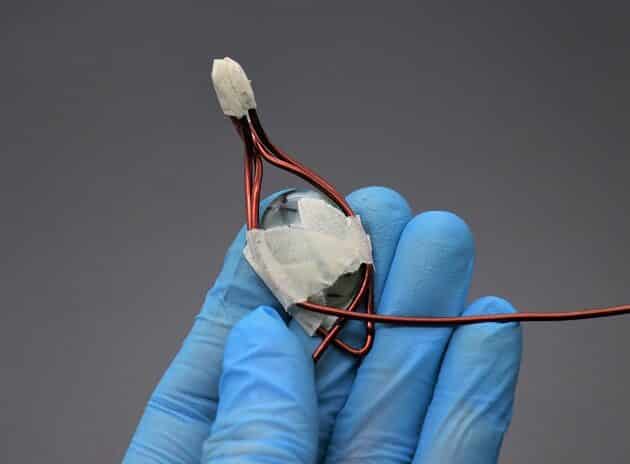
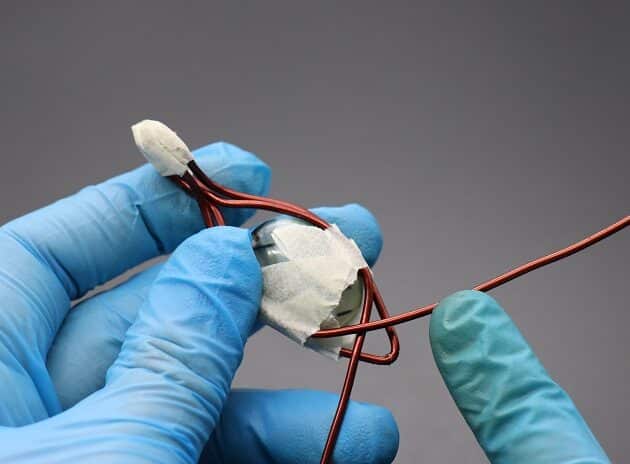
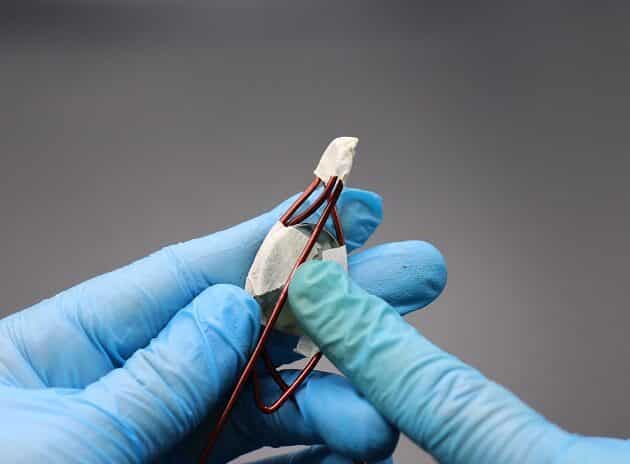
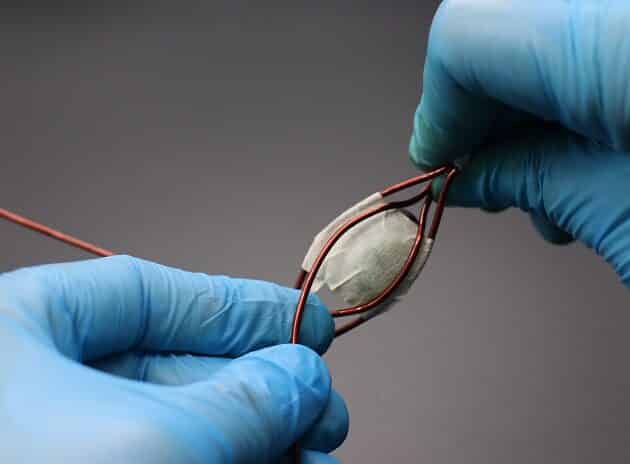
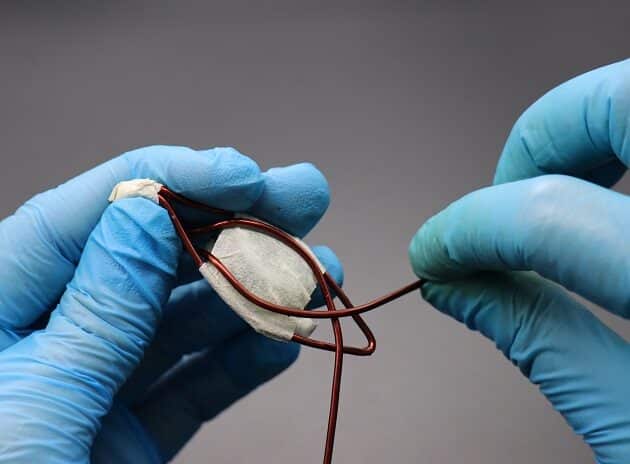
  • Pull loose wire to the front through top frame gap (fig. 4a, 4b, 4c).
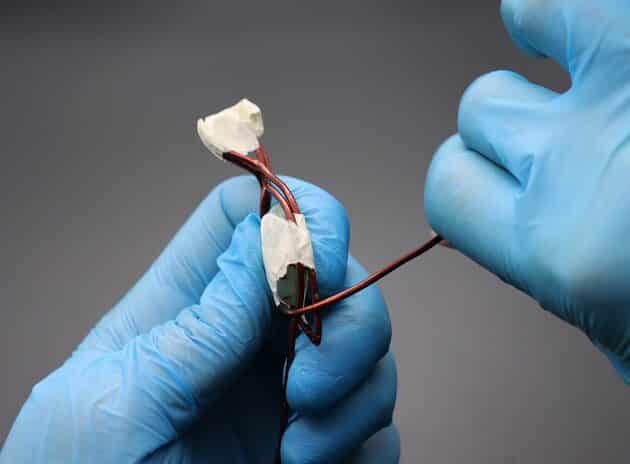
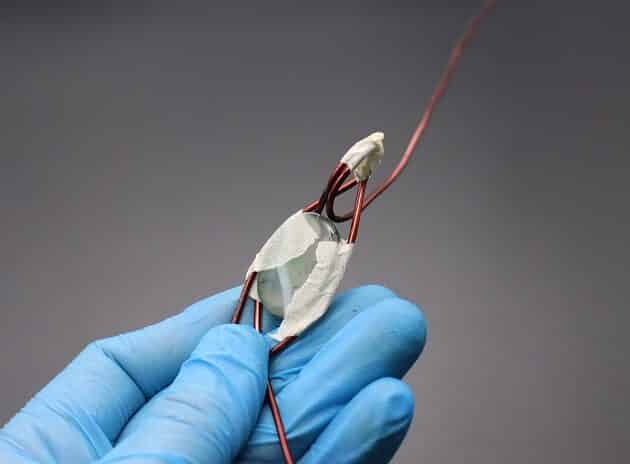
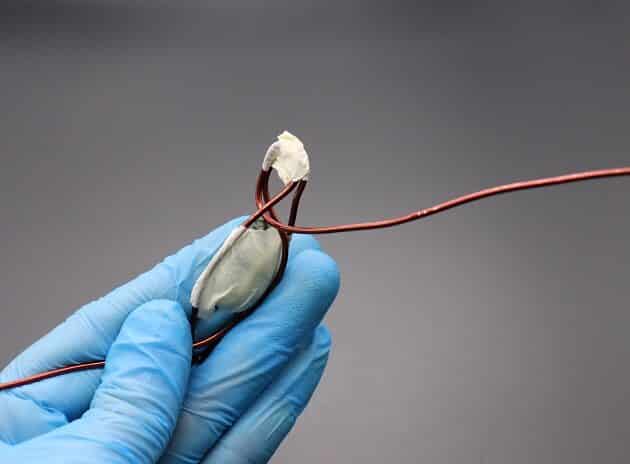
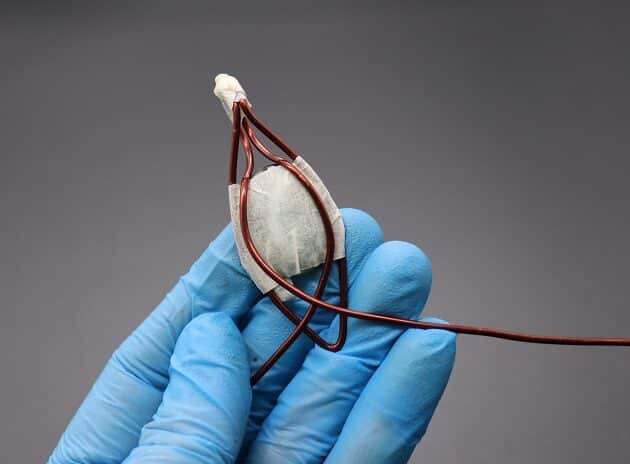
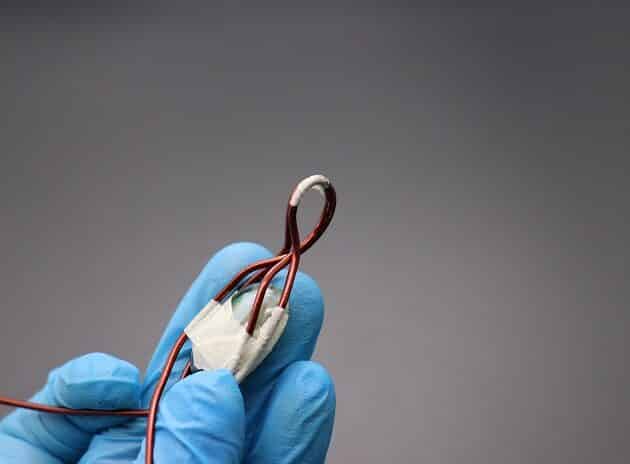
  • Curve an inner wire frame on the left side of the oval stone (fig. 4d, 4e).

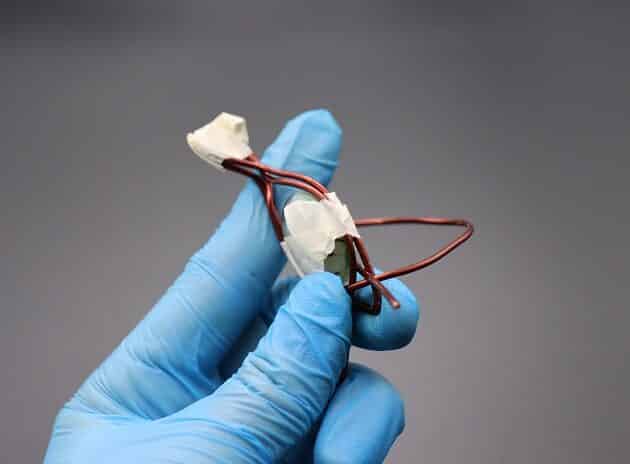
Checkpoint: Your Oval Stone Pendant front should look like (fig. 4f).

Wire-Wrapping Timeless Green Oval Stone Pendant Tutorial 20
fig. 4a

Wire-Wrapping Timeless Green Oval Stone Pendant Tutorial 21
fig. 4b

Wire-Wrapping Timeless Green Oval Stone Pendant Tutorial 22
fig. 4c

Wire-Wrapping Timeless Green Oval Stone Pendant Tutorial 23
fig. 4d

Wire-Wrapping Timeless Green Oval Stone Pendant Tutorial 24
fig. 4e

Wire-Wrapping Timeless Green Oval Stone Pendant Tutorial 25
fig. 4f

wire wrap jewelry

FREE WIRE-WRAPPING GUIDE TO YOUR EMAIL! 

JOIN NEWSLETTER

SEND GUIDE TO EMAIL

We respect your privacy. Unsubscribe at anytime.


Prefer this wire-wrapping tutorial in a PRINTABLE FORMAT? (High Resolution Photos)

Click here for the PDF version of “Wire-Wrapping Timeless Green Oval Stone Pendant Tutorial”


Step 5 of 14

Tape the curved inner wires in position (fig. 5a).

Then, readjust the pendant bail shape with a long needle nose pliers (fig. 5b, 5c, 5d).

Wire-Wrapping Timeless Green Oval Stone Pendant Tutorial 26
fig. 5a

Wire-Wrapping Timeless Green Oval Stone Pendant Tutorial 27
fig. 5b

Wire-Wrapping Timeless Green Oval Stone Pendant Tutorial 28
fig. 5c

Wire-Wrapping Timeless Green Oval Stone Pendant Tutorial 29
fig. 5d

Step 6 of 14

Face the pendant front, and work on the right loose 14-gauge wire as shown (fig. 6a, 6b).

Make an anchor on the bottom right of the main frame with a single coil (fig. 6c, 6d, 6e).

Wire-Wrapping Timeless Green Oval Stone Pendant Tutorial 30
fig. 6a

Wire-Wrapping Timeless Green Oval Stone Pendant Tutorial 31
fig. 6b

Wire-Wrapping Timeless Green Oval Stone Pendant Tutorial 32
fig. 6c

Wire-Wrapping Timeless Green Oval Stone Pendant Tutorial 33
fig. 6d

Wire-Wrapping Timeless Green Oval Stone Pendant Tutorial 34
fig. 6e

Pages: Page 1 Page 2 Page 3 Page 4 Page 5

Filed Under: Tutorials/DIY

Primary Sidebar

MadelynnHey there! Thanks for visiting 🙂

My name is Madelynn and I’m the owner of Studio 73 Designs.

Studio 73 Designs is managed by a team of wire wrapping jewelry enthusiasts 🙂 Cheers!

Follow Me

  • Facebook
  • Instagram
  • Pinterest
  • Twitter
  • YouTube

ARE YOU INTERESTED IN WIRE-WRAPPING?

Sign up below and get access to my FREE wire-wrapping guides!

Sign Up
Wire Wrapping Tutorials
Wire Wrapping for Beginners Start Here
Beginner's Guide to Jewelry Wire for Wire-Wrapping
Wire Wrapping Tools and Supplies for Beginners
How to wire wrap stones without holes wire-wrapping tutorial for beginners
Wire Wrapping Tutorials DIY Jewelry Kits

Footer

ARE YOU INTERESTED IN WIRE-WRAPPING?

Sign up below and get access to my FREE wire-wrapping guides!

Sign Up

Site Navigation

Home
About
Contact
Blog
Privacy Policy
Disclaimer
Terms & Conditions

Follow Me

  • Facebook
  • Instagram
  • Pinterest
  • Twitter
  • YouTube

© 2026 · Studio 73 Designs

wire-wrapping tutorials

Learn Wire-Wrapping

Want to create beautiful wire-wrapped jewelry? Join membership today and get access to 70+ step-by-step wire-wrapping tutorials with high-quality images

Learn More
x