Hi there my dear wire wrapper!
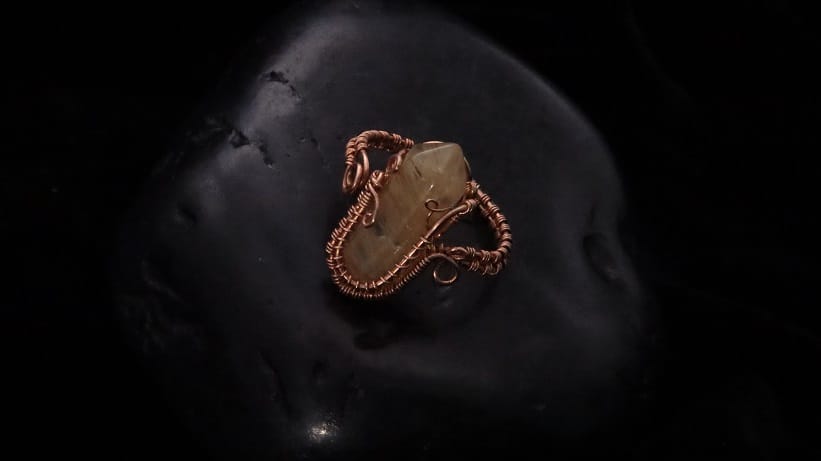
Learn how to make a crystal wire wrap ring with crystal point in woven wire texture.
In my Wire-Wrapping Nostalgic Copper Woven Crystal Point Ring Tutorial, you will practice basic wire jewelry making skills such as wire manipulation, designing, tool handling and more.
Follow along my simple step-by-step instructions and detailed progress picture guide to start your crafting project today.
FREE WIRE-WRAPPING GUIDE TO YOUR EMAIL!
JOIN NEWSLETTER
We respect your privacy. Unsubscribe at anytime.
Happy wrapping!
LEVEL: BEGINNER
MATERIALS + TOOL
- Copper Wire (20 AWG)
- Copper Wire (22 AWG)
- Copper Wire (26 AWG)
- Crystal Point (1 pc)
- Wire Cutter
- Chain Nose Pliers
- Nylon Jaw Pliers
- Round Nose Pliers
- Finest Steel Wire Wool
- Masking Tape
- Ring Sizer Stick
- Designed Template
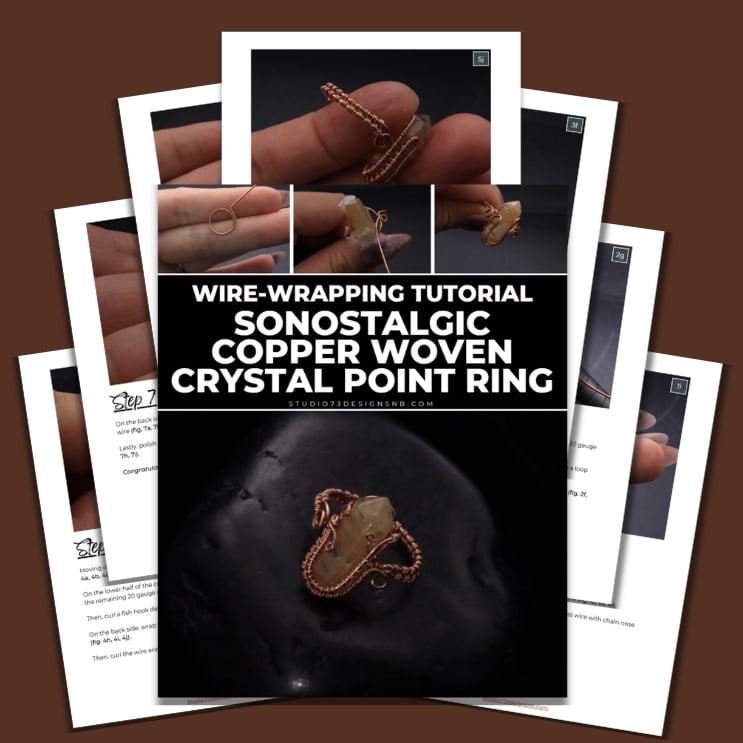
Prefer this wire-wrapping tutorial in a PRINTABLE FORMAT? (High Resolution Photos)
Click here for the PDF version of “Wire-Wrapping Nostalgic Copper Woven Crystal Point Ring Tutorial”
WIRE-WRAPPING NOSTALGIC COPPER WOVEN CRYSTAL POINT RING TUTORIAL
Step 1 of 7
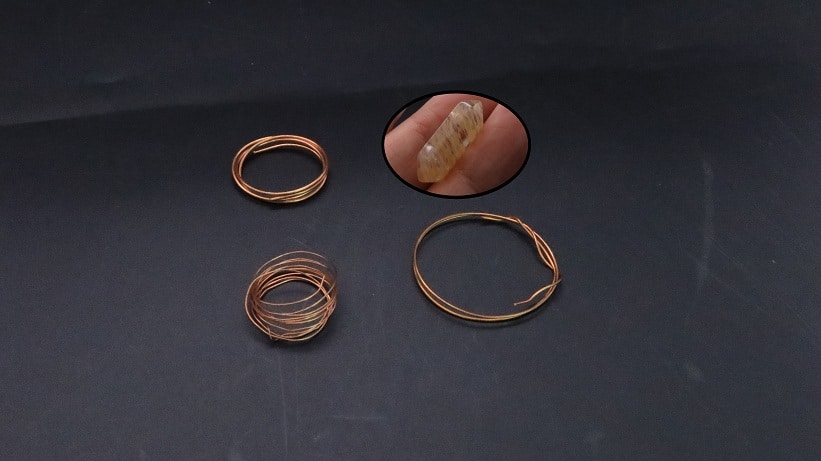
Ready all items from the Materials and Tool list (fig. 1a).
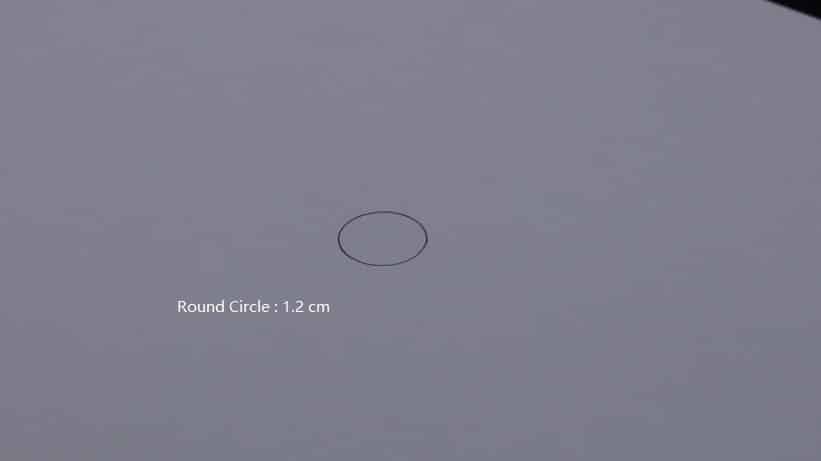
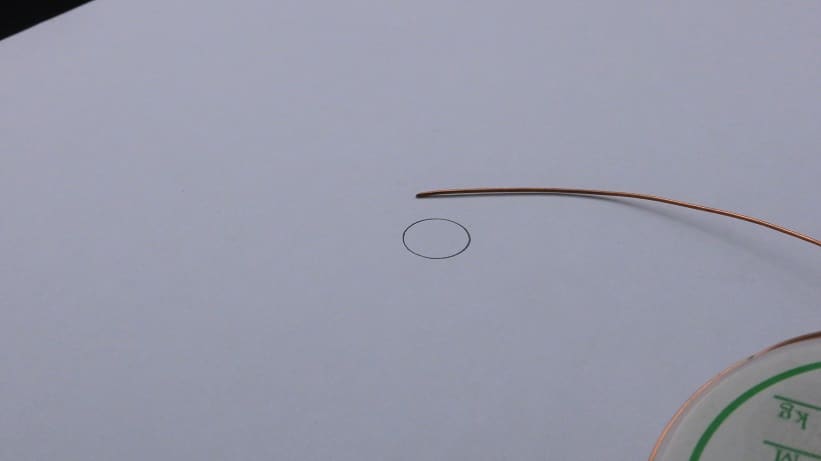
Draw a circle with 0.5 inch diameter on a piece of paper (fig. 1b).
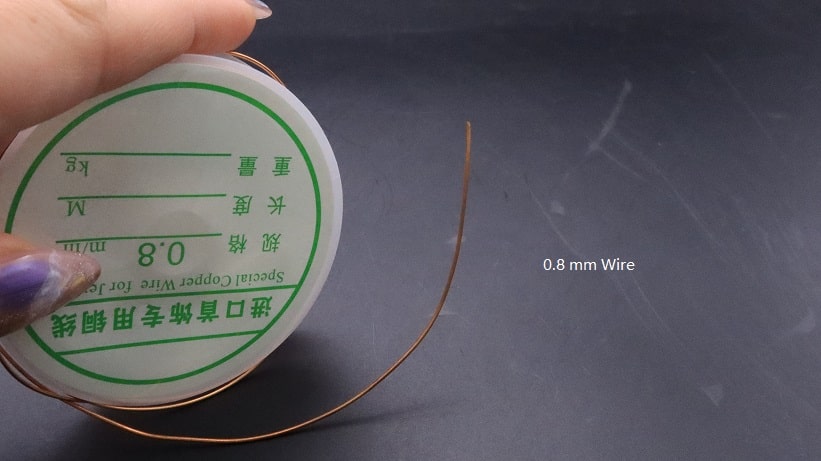
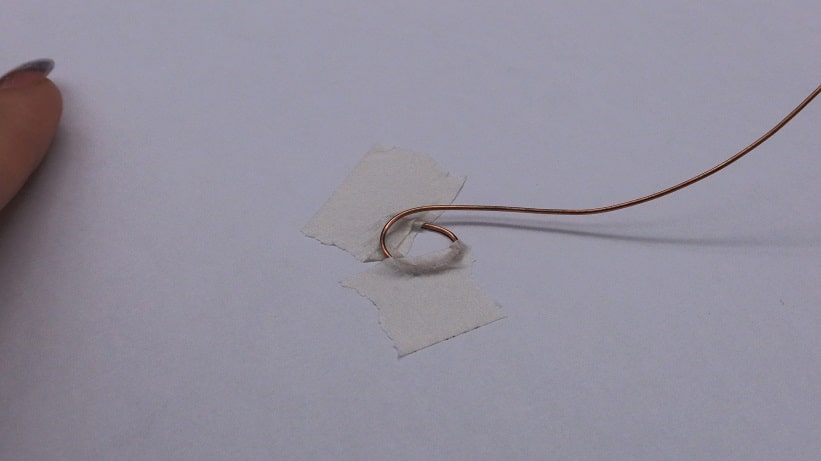
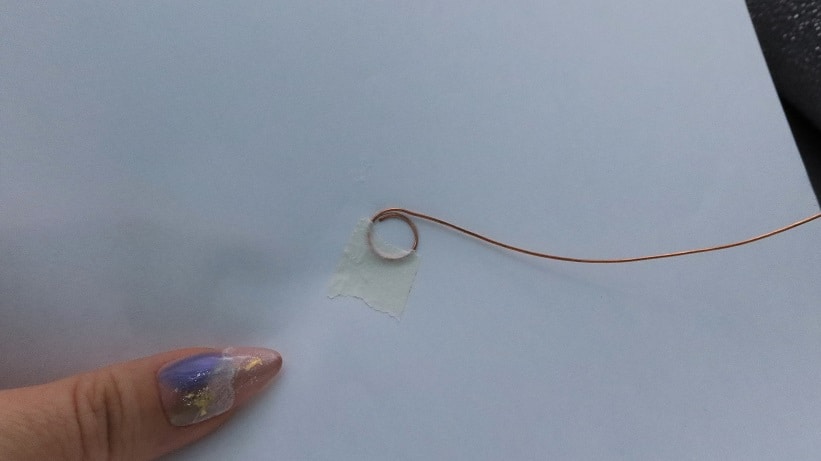
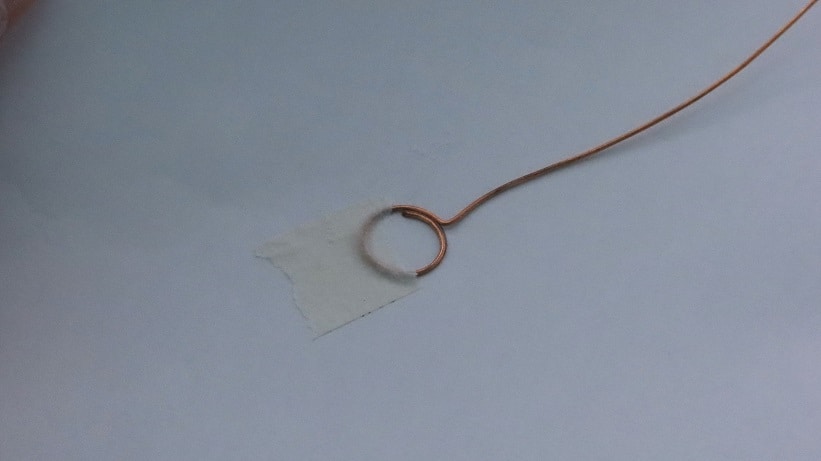
Trace the circle template using a 20 gauge copper wire (fig. 1c, 1d, 1e).
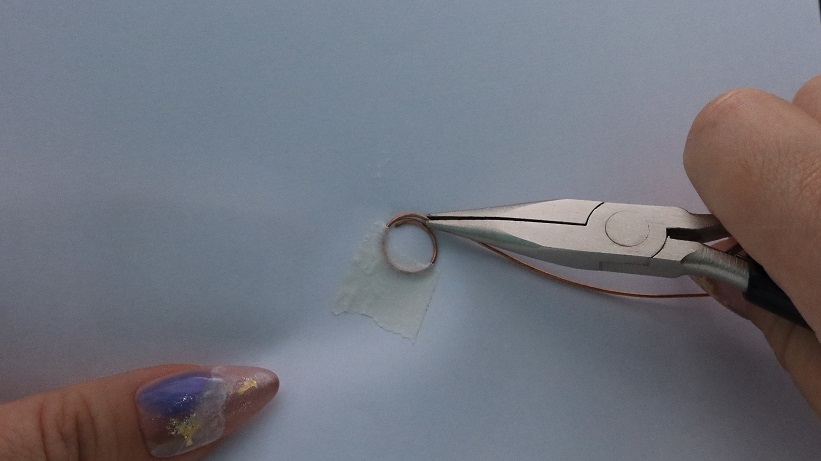
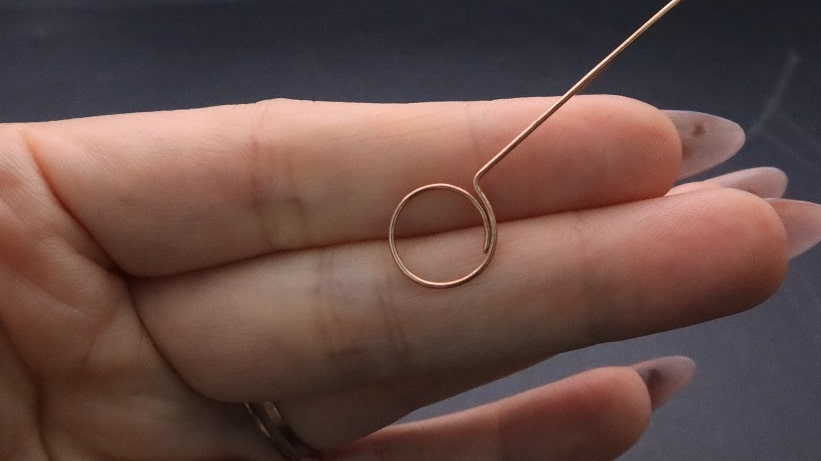
Then, overlap a short length before bending the excess wire with chain nose pliers (fig. 1f, 1g, 1h, 1i).
Step 2 of 7
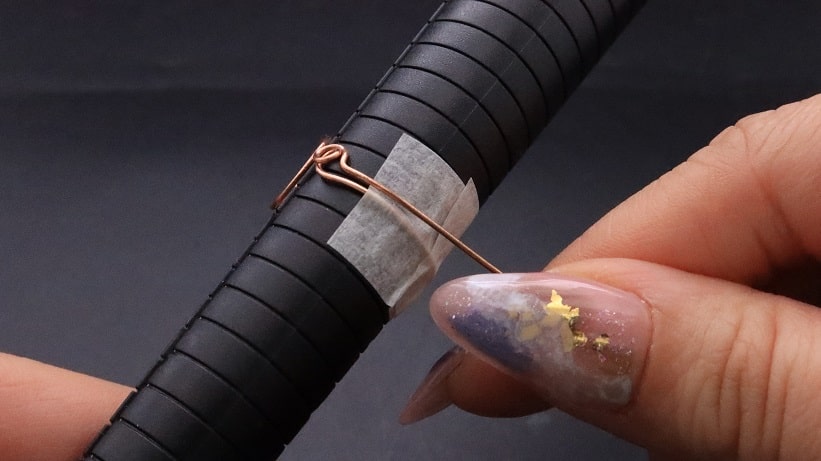
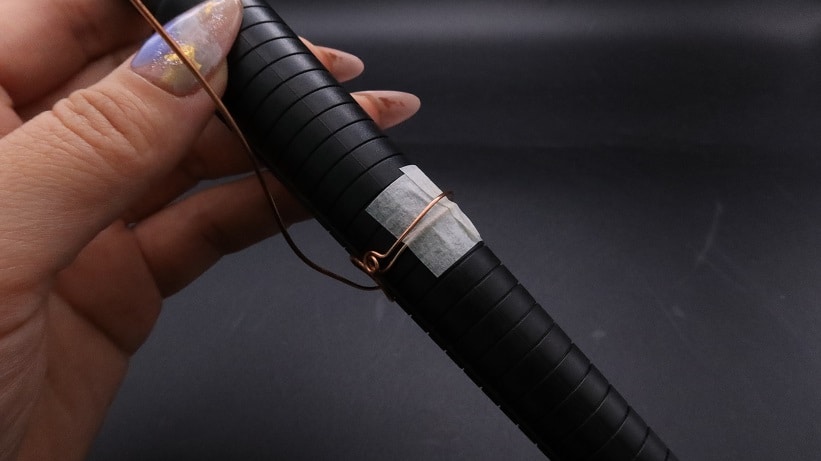
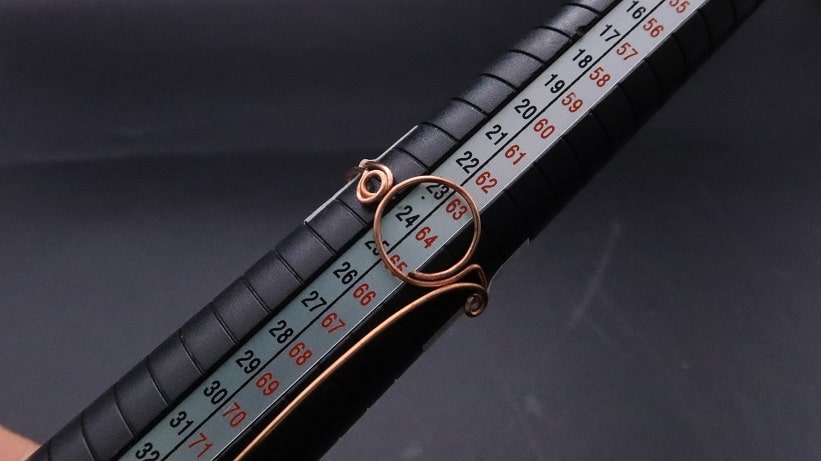
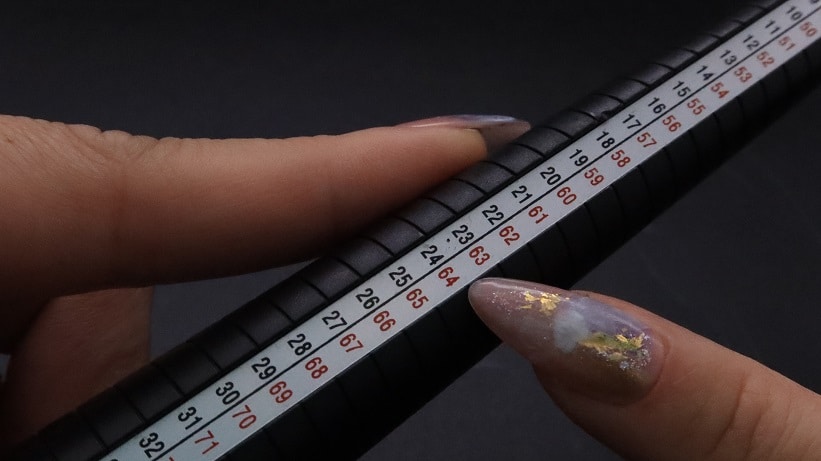
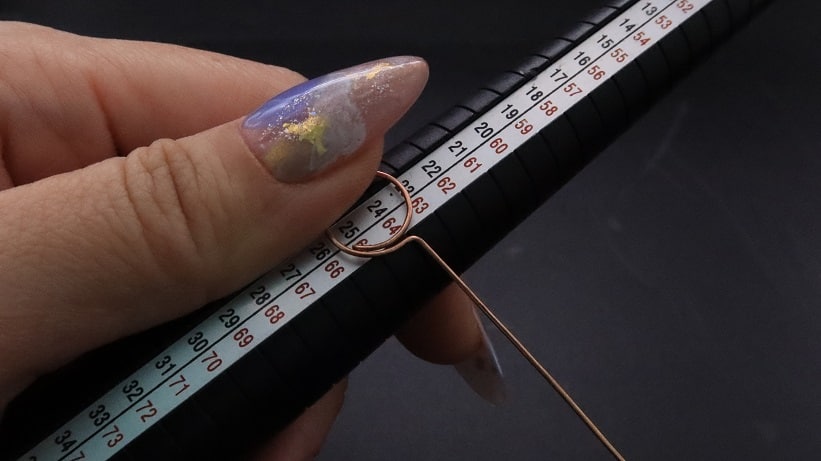
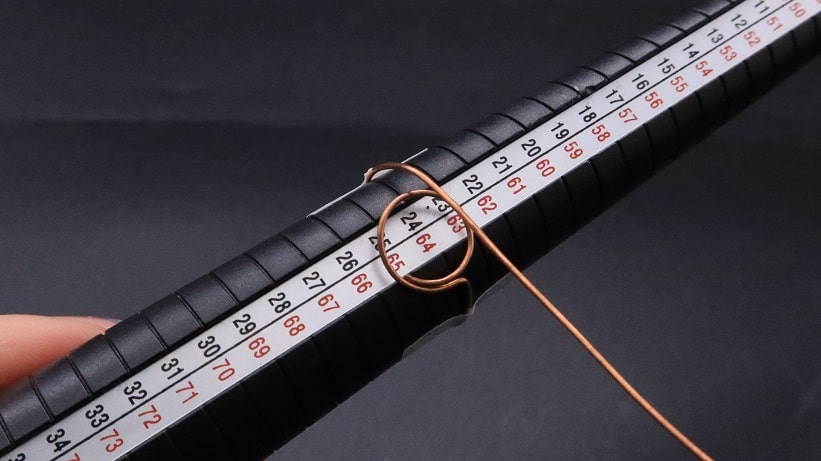
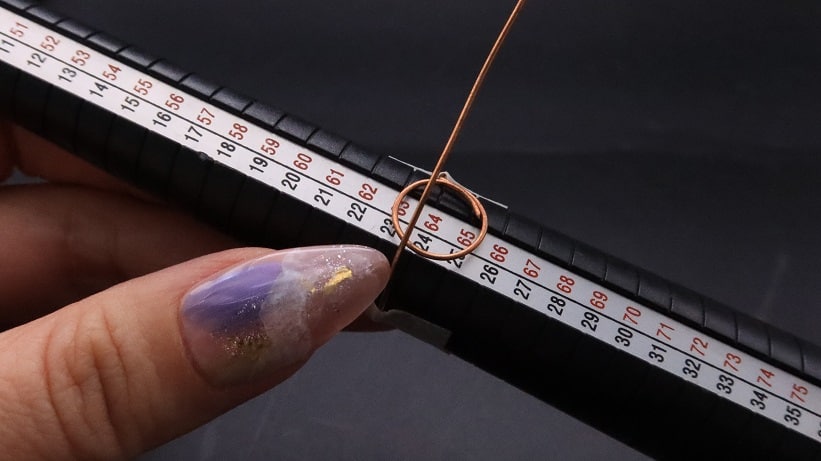
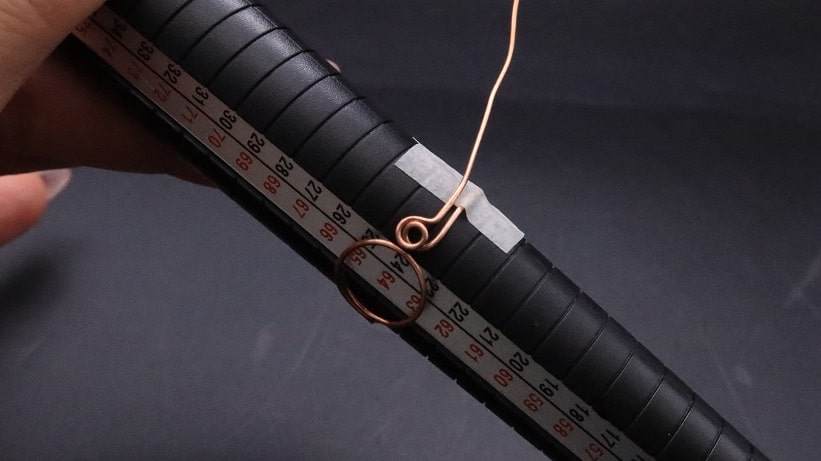
Next, find your preferred ring size on the ring sizer stick and wrap the 20 gauge copper wire around it (fig. 2a, 2b, 2c).
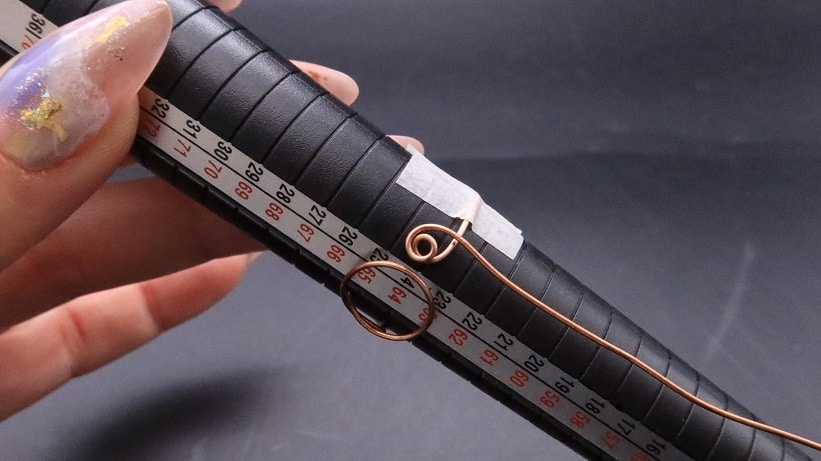
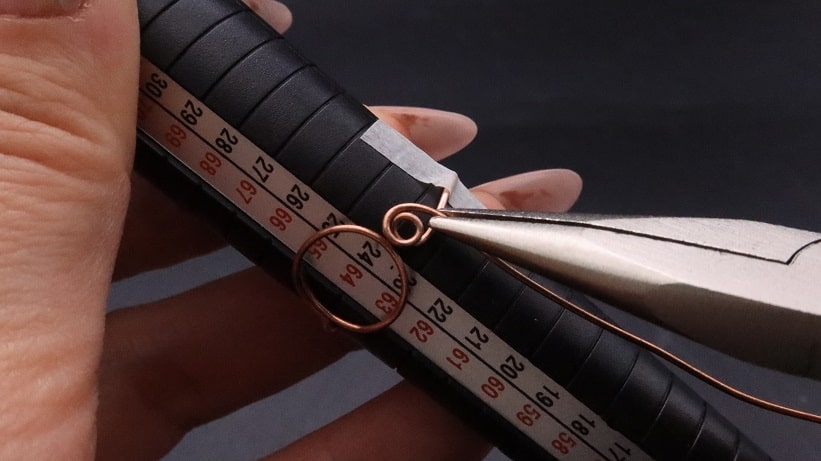
When meeting the opposite end of the circle frame, twist the wire into a loop (fig. 2d, 2e).
Then, make a parallel bend on the excess wire using a chain nose pliers (fig. 2f, 2g).
Step 3 of 7
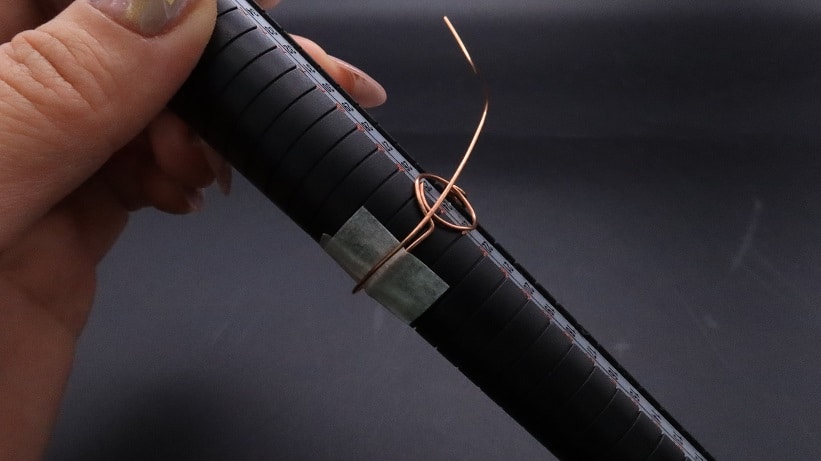
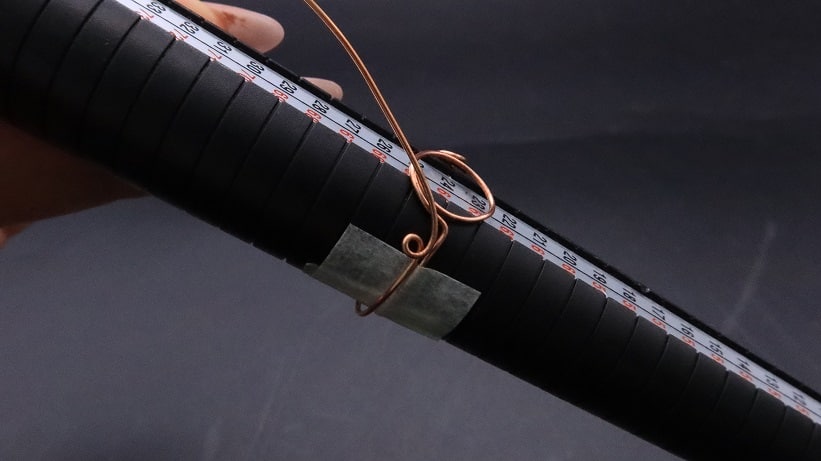
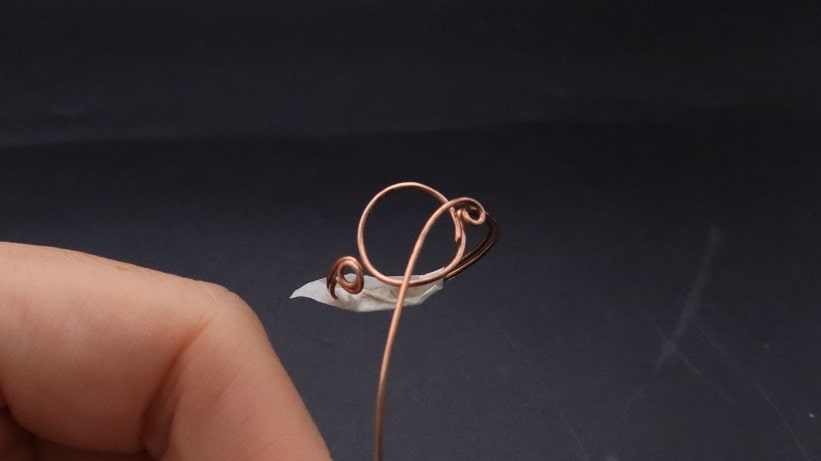
Pull the wire in the opposite direction for a double wire ring (fig. 3a, 3b, 3c).
Then, make a second wire loop that mirrors the opposite side (fig. 3d, 3e, 3f).