
Step 6 of 7
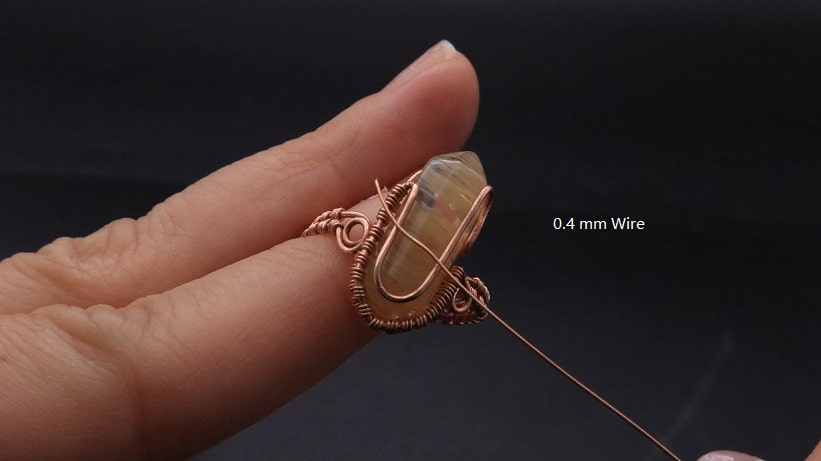
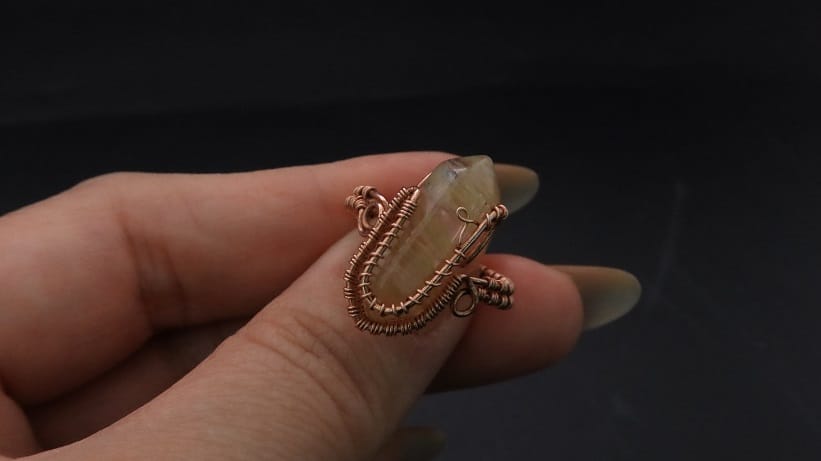
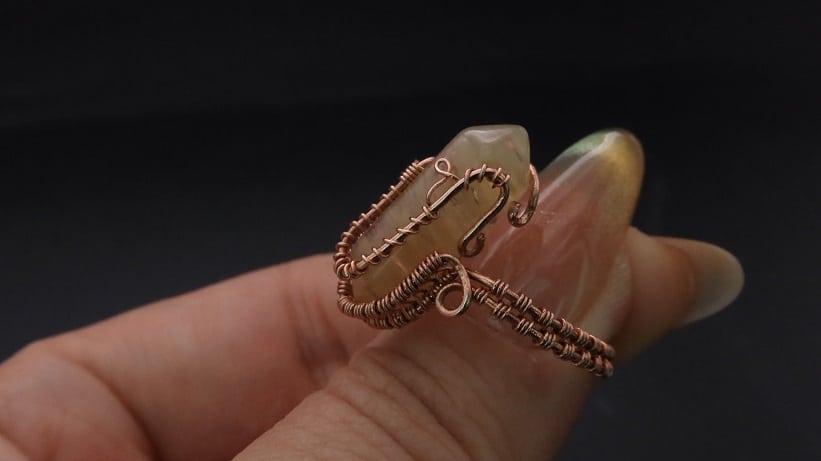
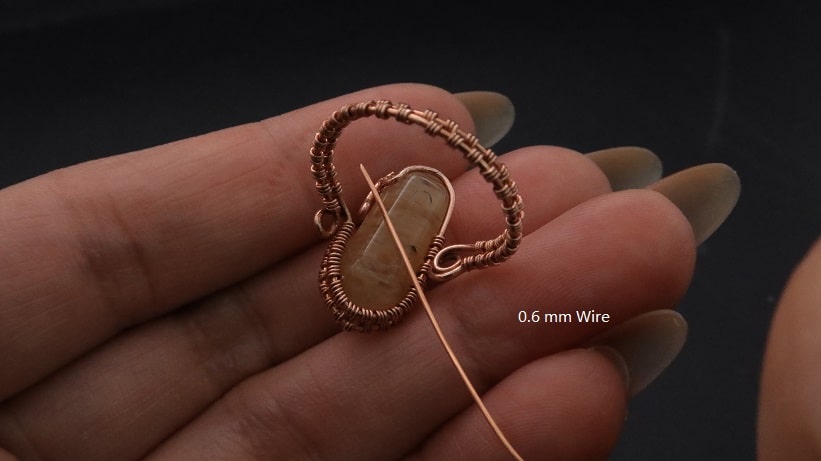
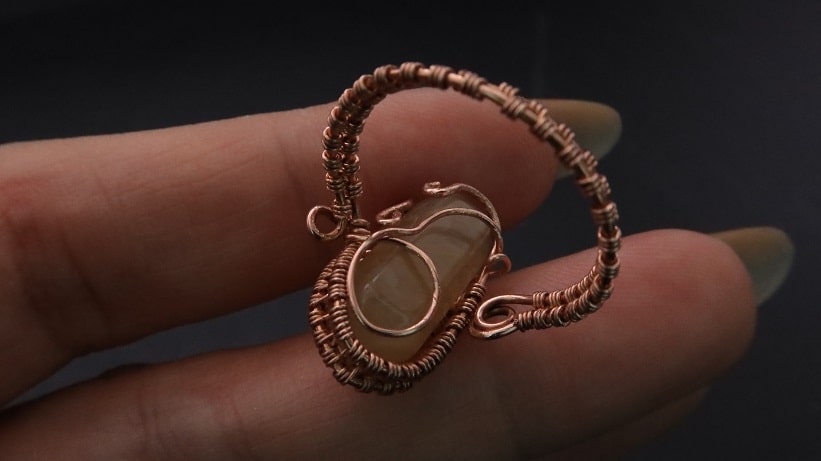
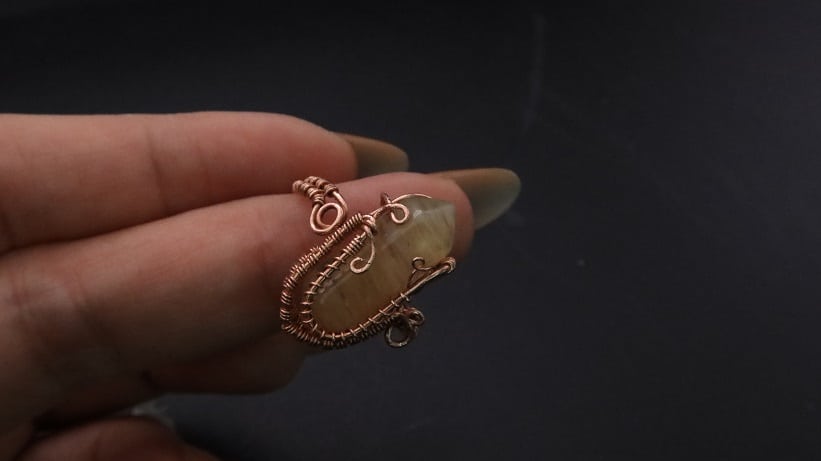
On the front side, use a new 26 gauge copper wire to design the front crystal holder frame with coils and loops (fig. 6a, 6b, 6c).
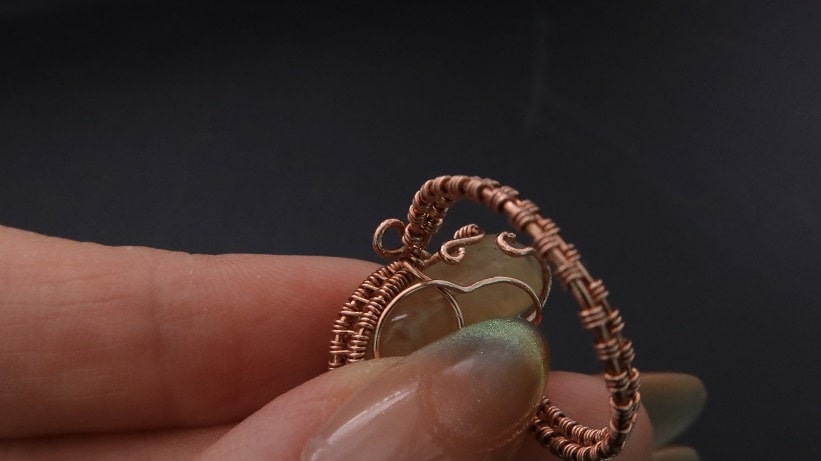
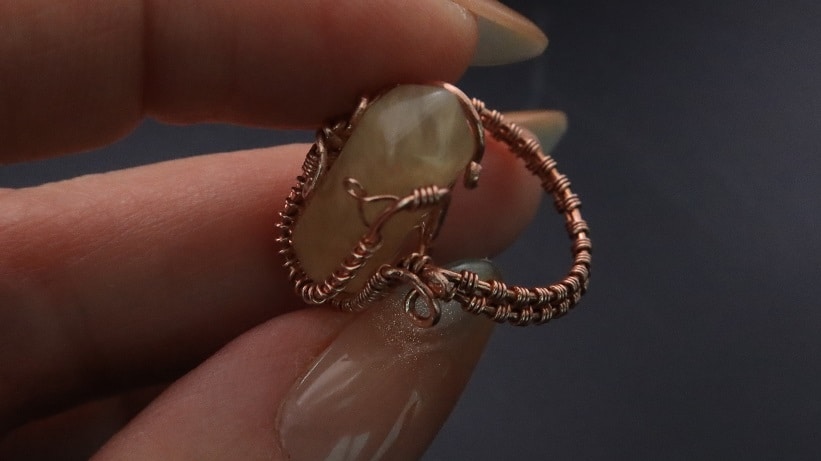
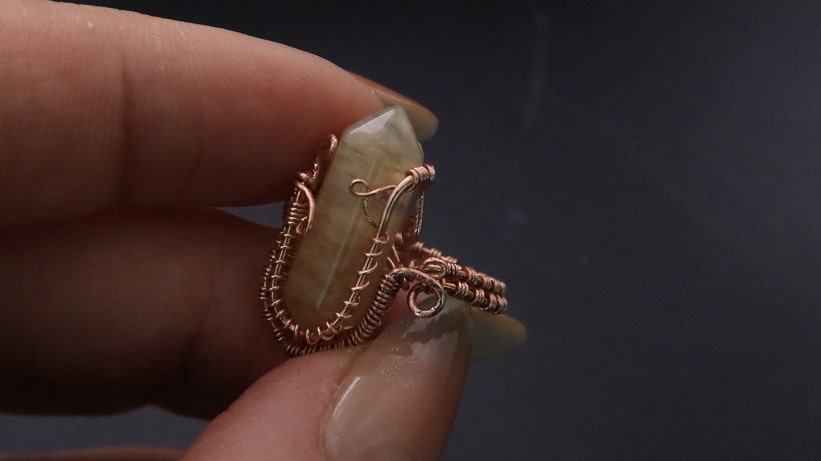
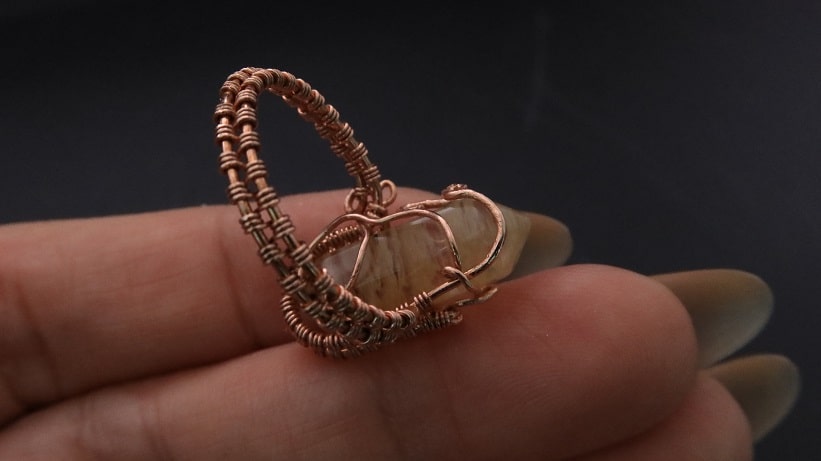
On the back side, anchor a 22 gauge copper wire to right corner of the ring (fig. 6d, 6e, 6f, 6g).
Then, design an abstract back crystal holder frame and finish with an anchor point on the left crystal frame (fig. 6h, 6i, 6j).
FREE WIRE-WRAPPING GUIDE TO YOUR EMAIL!
JOIN NEWSLETTER
We respect your privacy. Unsubscribe at anytime.
Prefer this wire-wrapping tutorial in a PRINTABLE FORMAT? (High Resolution Photos)
Click here for the PDF version of “Wire-Wrapping Nostalgic Copper Woven Crystal Point Ring Tutorial”
Step 7 of 7
On the back side, link the two ends of the crystal frame using a 26 gauge copper wire (fig. 7a, 7b, 7c, 7d).
Lastly, polish every angle of your ring with a finest steel wire wool (fig. 7e, 7f, 7g, 7h, 7i).
Congratulations! You have completed your tutorial.
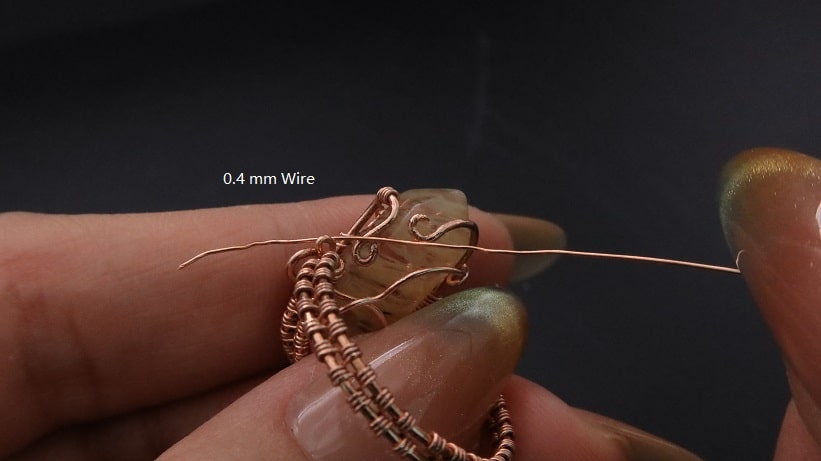
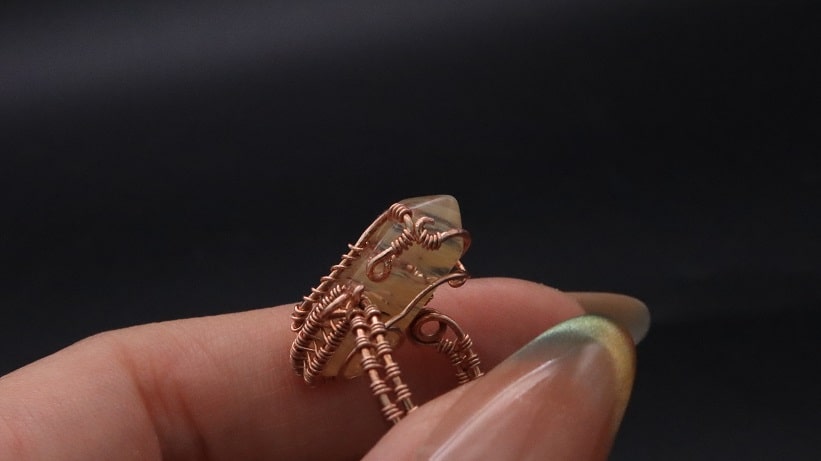
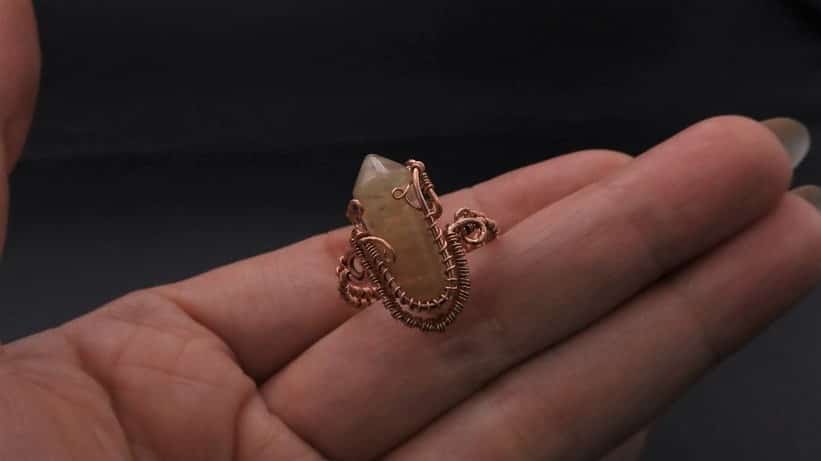
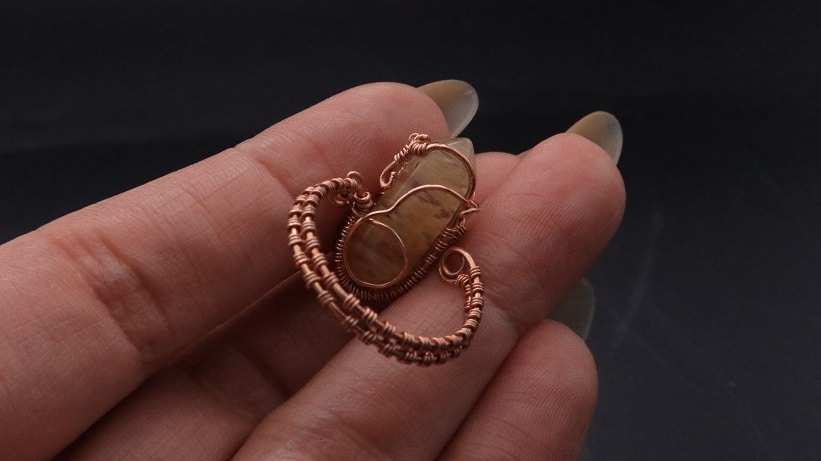
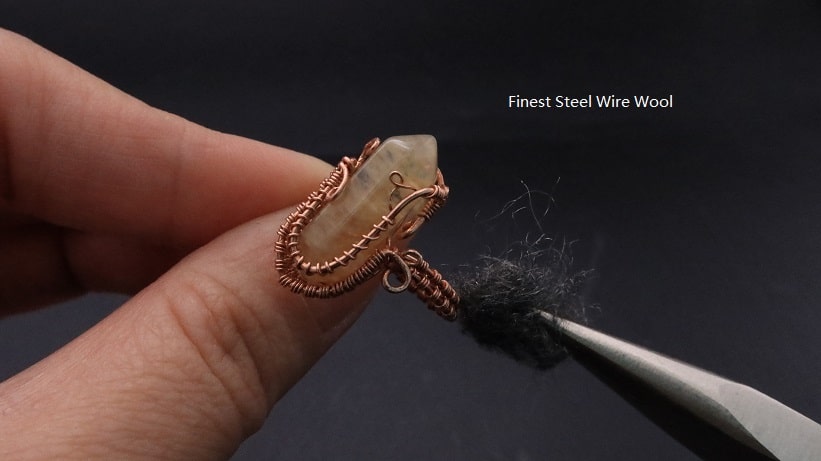
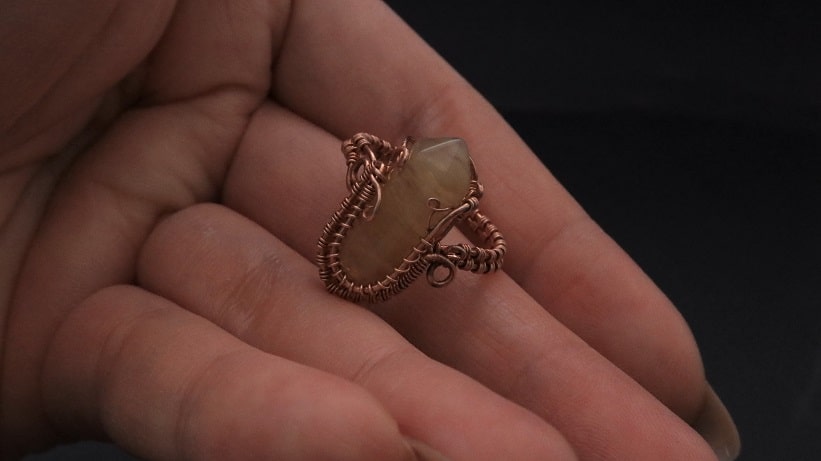
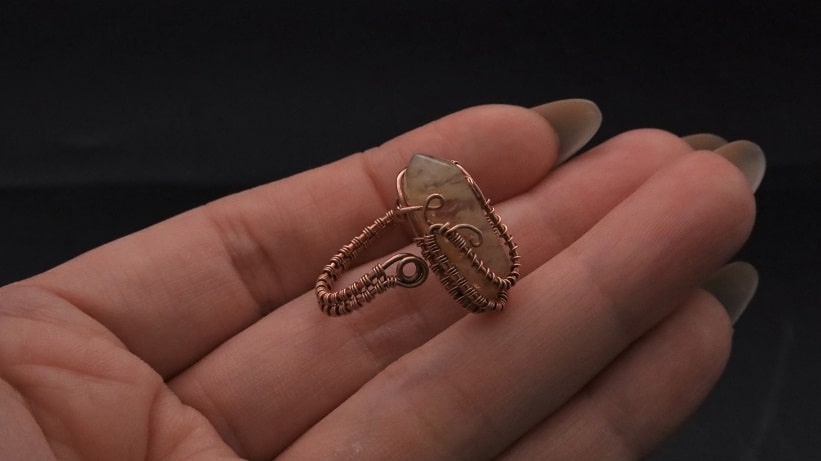
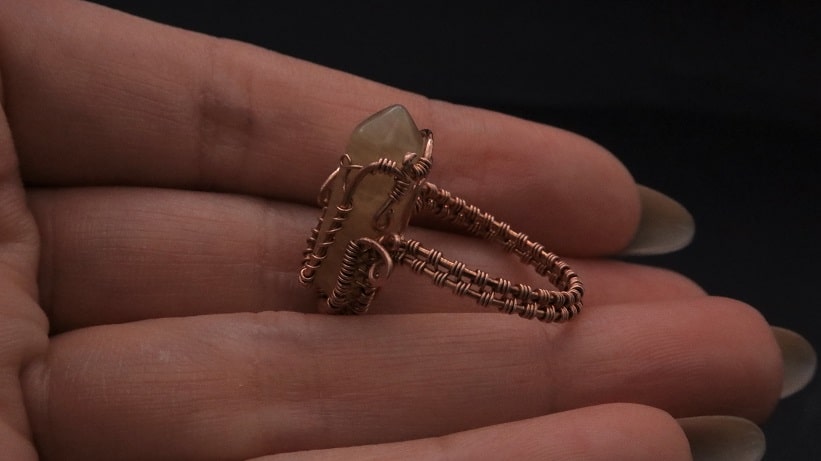
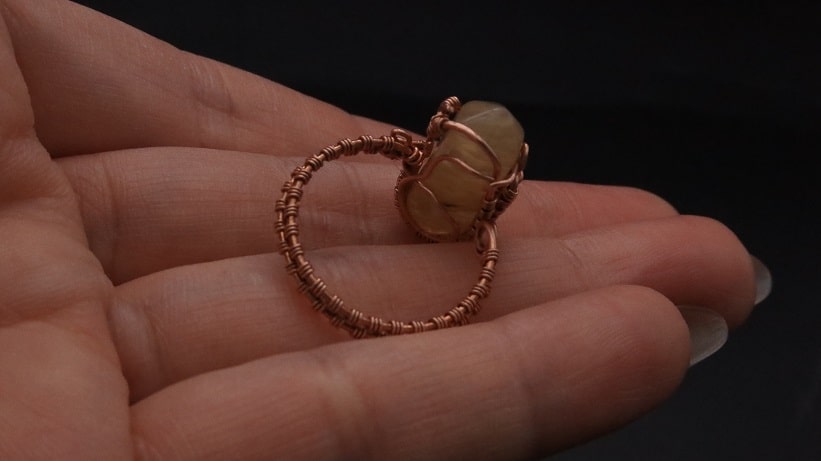
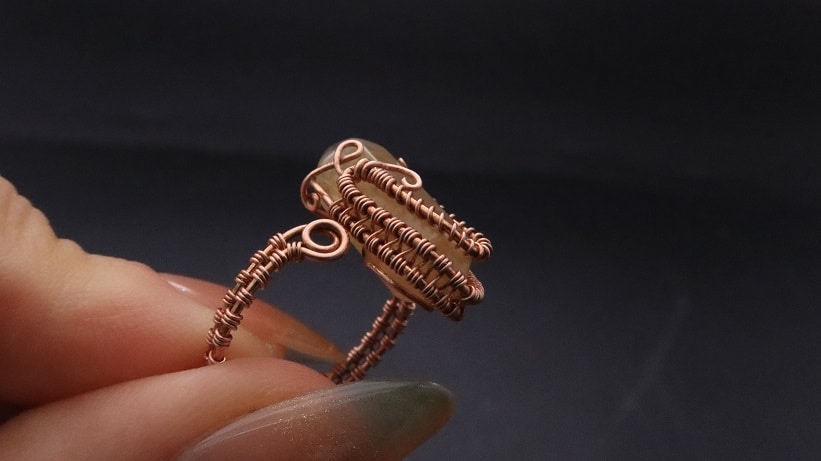
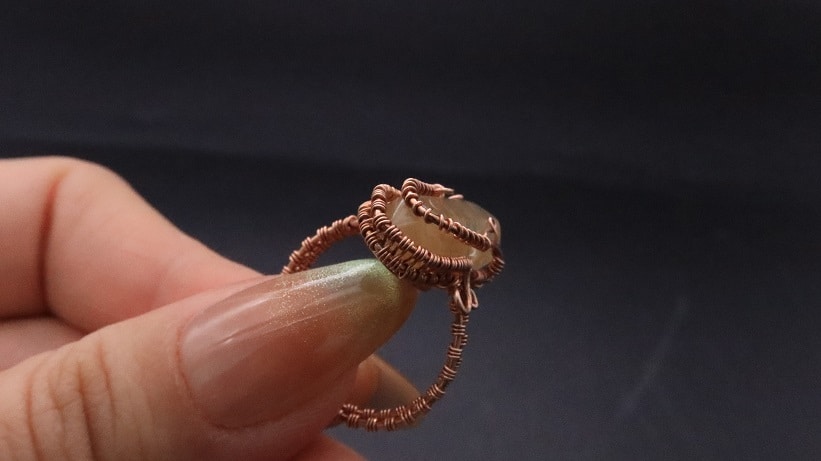
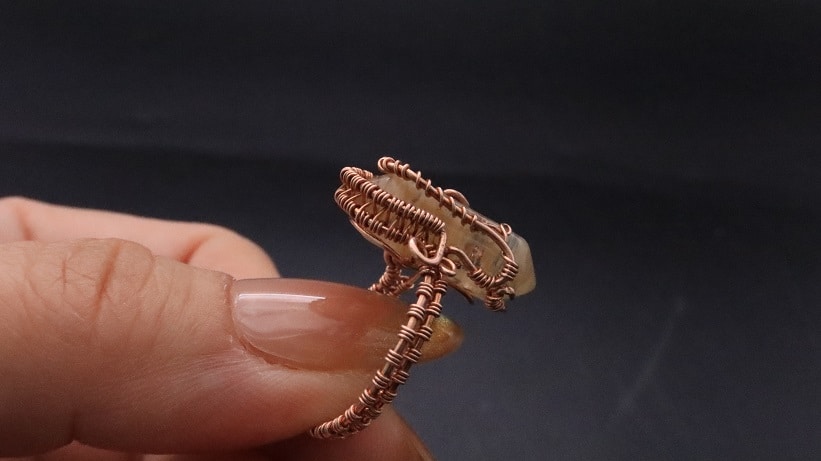
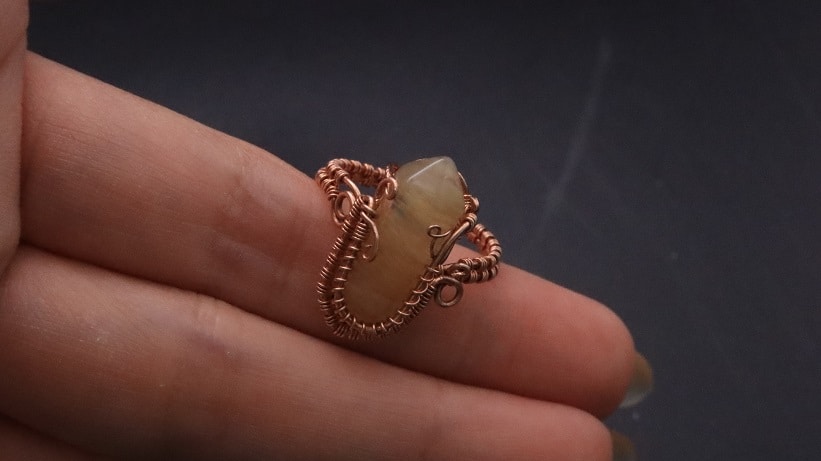
COMPLETED WIRE-WRAPPING NOSTALGIC COPPER WOVEN CRYSTAL POINT RING
Want to Support me?
If you enjoyed my content, please consider support me on Patreon:). This helps me to create more amazing free content to share with you 🙂
If you’d like to see my work and follow my wire journey, you can find me here:
Facebook Instagram Twitter Pinterest YouTube Etsy