• Skip to main content
  • Skip to secondary menu
  • Skip to primary sidebar
  • Skip to footer
Studio 73 Designs

Studio 73 Designs

Wire Jewelry Making & Wire Wrapping Techniques

  • Start Here!
  • FREE Wire-Wrapping Guides
  • Shop Tutorials
    • Cart
    • Checkout
  • Contact
  • Join Member
  • Member Login
Join PREMIUM MEMBERSHIP (FREE-TRIAL): 70+ Wire Wrapping Tutorials: Gain access to ALL step-by-step tutorials with high-quality images, no ads, plus all future tutorials. Check it out HERE.

Wire-Wrapping Hammered Copper Ocean Wave Ring Tutorial

January 17, 2026 by Madelynn

Hello there my dear wire wrapper!

Let’s learn how to wire wrap an adjustable braided ring with copper wires.

In my Wire-Wrapping Hammered Copper Ocean Wave Ring Tutorial, you will practice wire jewelry making techniques such as wire braiding, hammering and design.

Complete this project with my simple step-by-step instructions and detailed progress picture guide.

wire wrap jewelry

FREE WIRE-WRAPPING GUIDE TO YOUR EMAIL! 

JOIN NEWSLETTER

SEND GUIDE TO EMAIL

We respect your privacy. Unsubscribe at anytime.

Happy wrapping!

Wire-Wrapping Hammered Copper Ocean Wave Ring Tutorial 0
Wire-Wrapping Hammered Copper Ocean Wave Ring Tutorial


LEVEL: BEGINNER

MATERIALS + TOOL

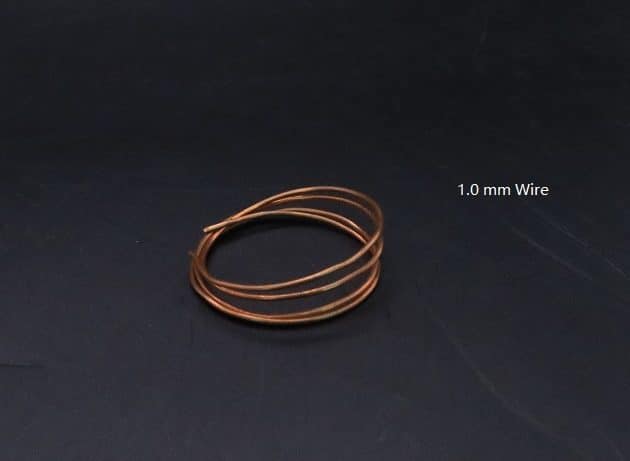
  • Copper Wire (18 AWG, Length: 6 inches x 7 strands)
  • Wire Cutter
  • Chain Nose Pliers
  • Nylon Jaw Pliers
  • Wooden Ring Mandrel
  • Ball Peen Hammer Two-sided Flat/Round Head
  • Metal Base Plate
  • Flat Needle Files
  • Finest Steel Wire Wool
  • Masking Tape

Hammered Copper Ocean Wave Ring Tutorial-Cover


Prefer this wire-wrapping tutorial in a PRINTABLE FORMAT? (High Resolution Photos)

Click here for the PDF version of “Wire-Wrapping Hammered Copper Ocean Wave Ring Tutorial”


WIRE-WRAPPING HAMMERED COPPER OCEAN WAVE RING TUTORIAL

Step 1 of 5

Ready all items from the Materials and Tool list.

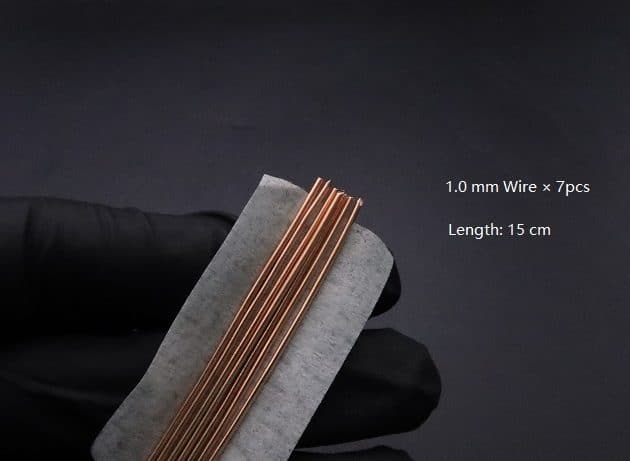
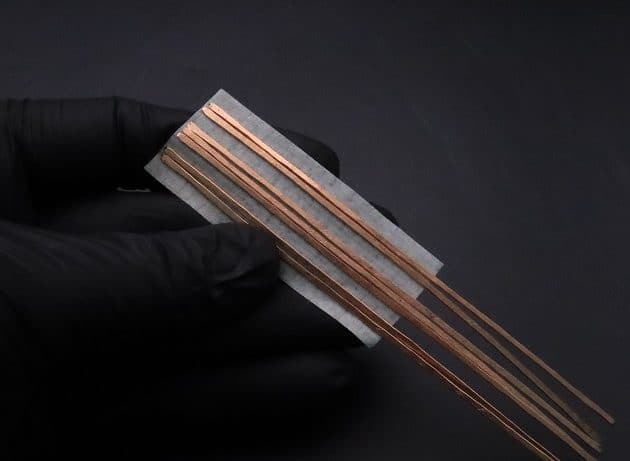
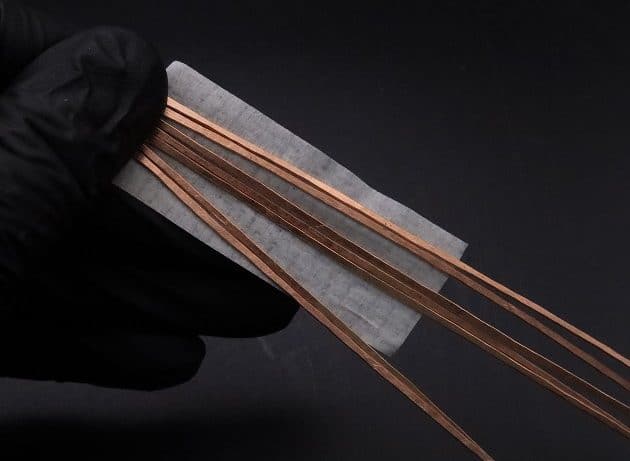
Take a 18-gauge copper wire, and prepare 7 wire strands that measure 6 inches in length (fig. 1a, 1b).

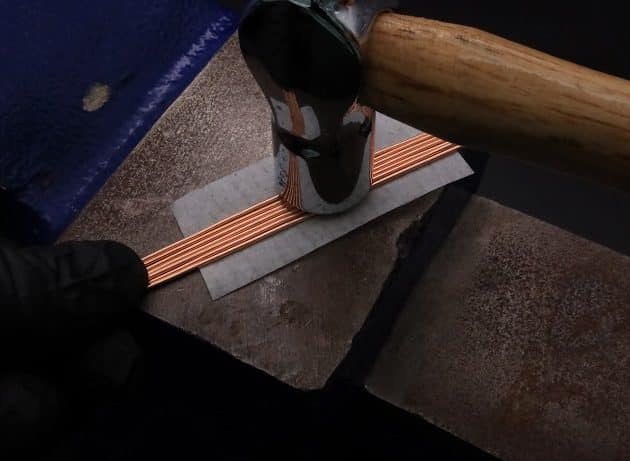
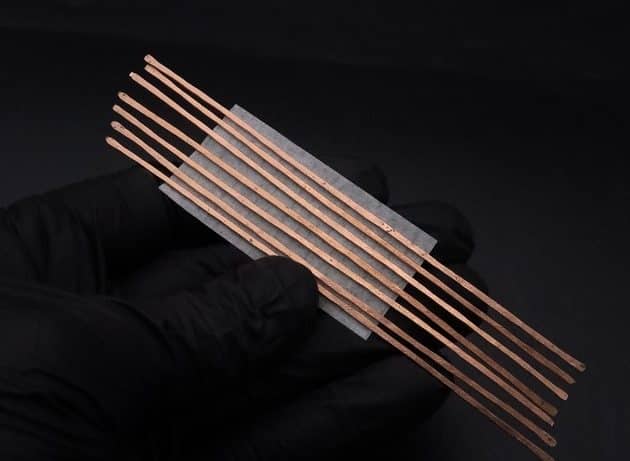
Hammer the wire strands flat on a base metal plate (fig. 1c, 1d, 1e).

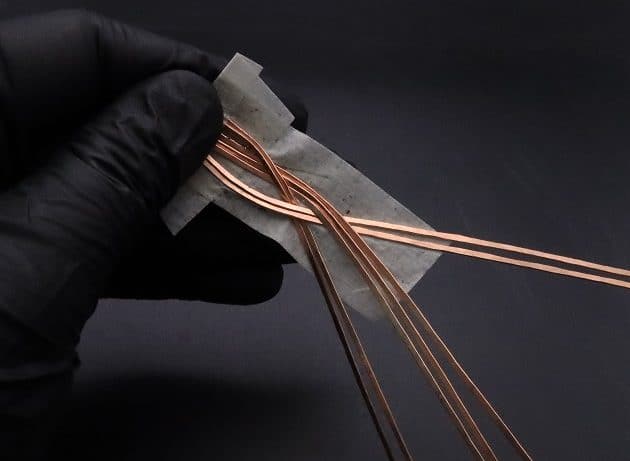
Tip: Use tape to hold your wire strands in place.
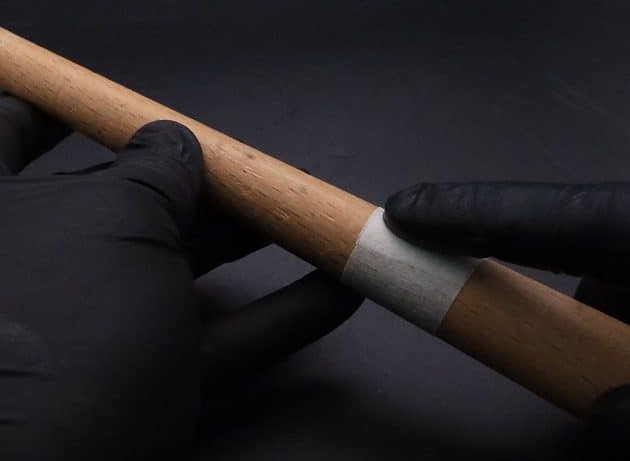
Wire-Wrapping Hammered Copper Ocean Wave Ring Tutorial 1
fig. 1a

Wire-Wrapping Hammered Copper Ocean Wave Ring Tutorial 2
fig. 1b

Wire-Wrapping Hammered Copper Ocean Wave Ring Tutorial 3
fig. 1c

Wire-Wrapping Hammered Copper Ocean Wave Ring Tutorial 4
fig. 1d

Wire-Wrapping Hammered Copper Ocean Wave Ring Tutorial 5
fig. 1e

Step 2 of 5

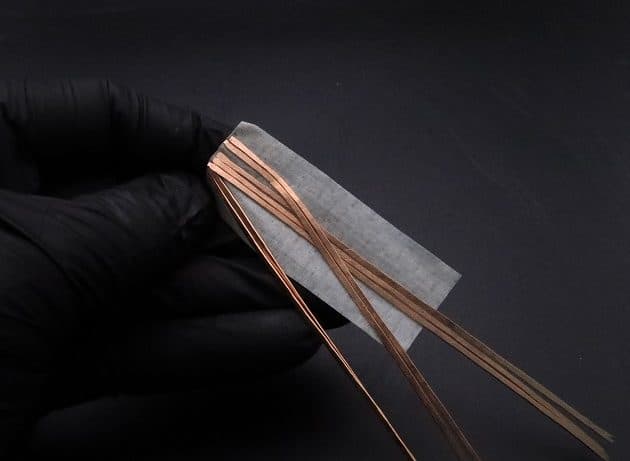
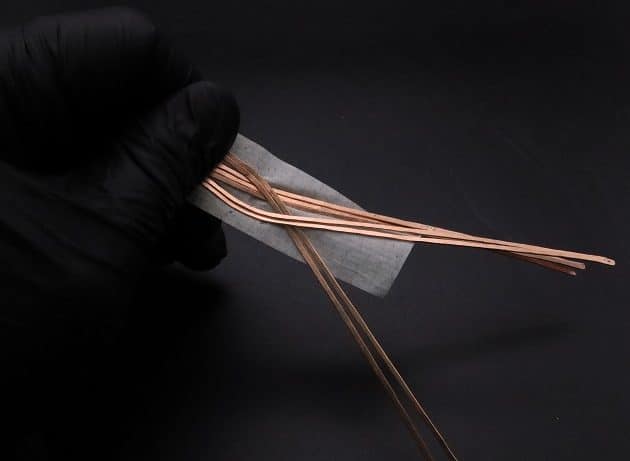
Separate the flat wires into three groups (fig. 2a):

  • 2 wires on the left.
  • 3 wires in the middle.
  • 2 wires on the right.

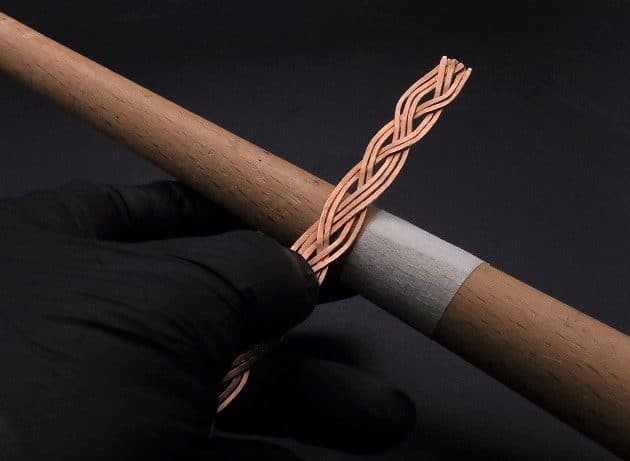
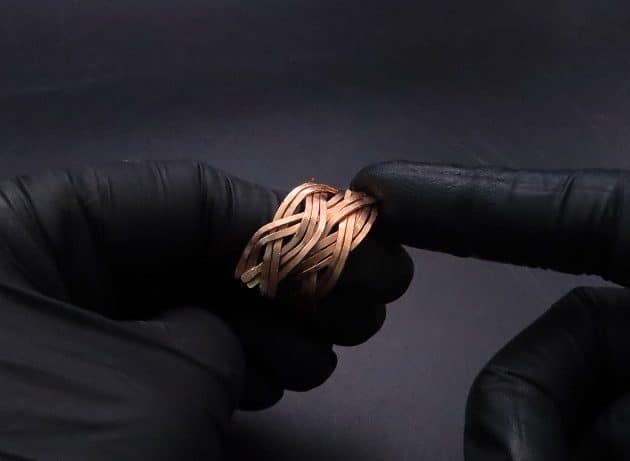
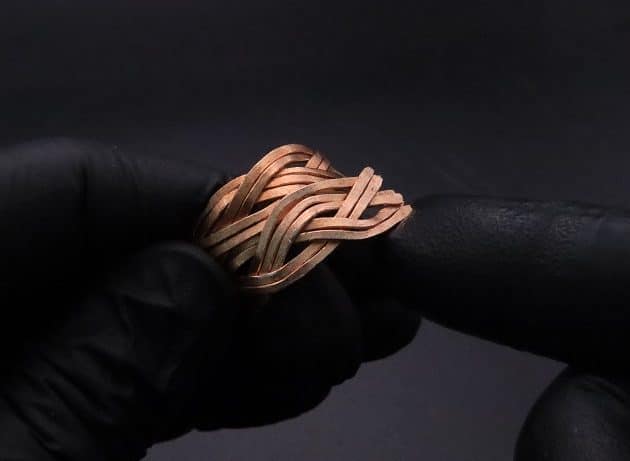
Then, braid the flat wires to create an ocean wave pattern (fig. 2b, 2c, 2d, 2e).

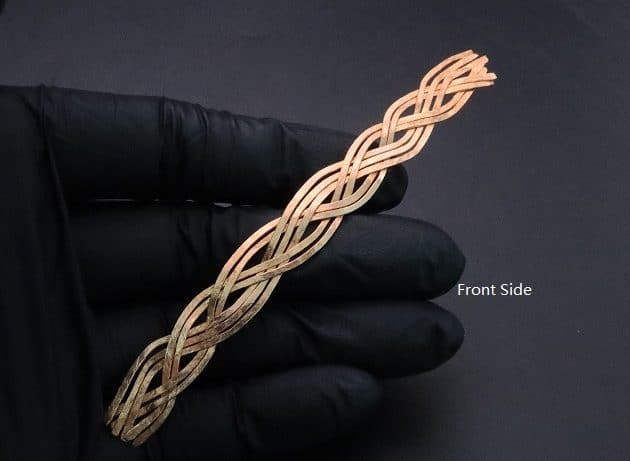
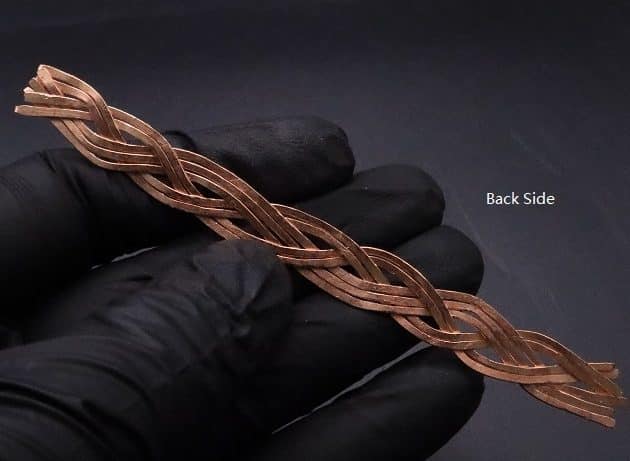
Checkpoint: This is how the front and back of your braided ocean wave wire should look (fig. 2f, 2g).
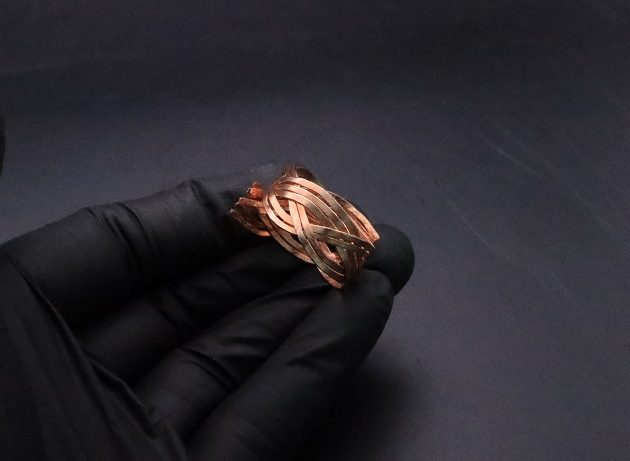
Wire-Wrapping Hammered Copper Ocean Wave Ring Tutorial 6
fig. 2a

Wire-Wrapping Hammered Copper Ocean Wave Ring Tutorial 7
fig. 2b

Wire-Wrapping Hammered Copper Ocean Wave Ring Tutorial 8
fig. 2c

Wire-Wrapping Hammered Copper Ocean Wave Ring Tutorial 9
fig. 2d

Wire-Wrapping Hammered Copper Ocean Wave Ring Tutorial 10
fig. 2e

Wire-Wrapping Hammered Copper Ocean Wave Ring Tutorial 11
fig. 2f

Wire-Wrapping Hammered Copper Ocean Wave Ring Tutorial 12
fig. 2g

Step 3 of 5

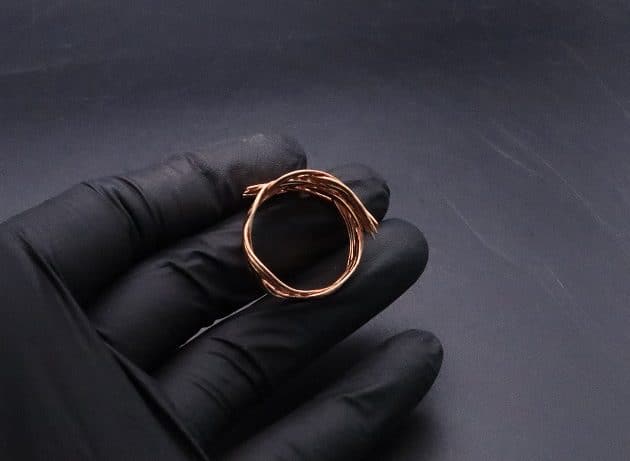
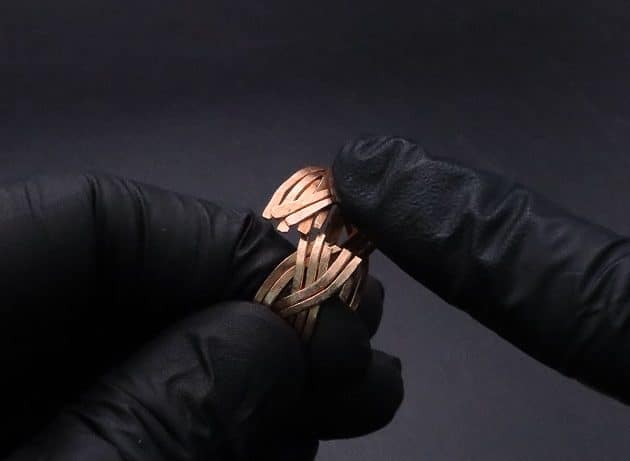
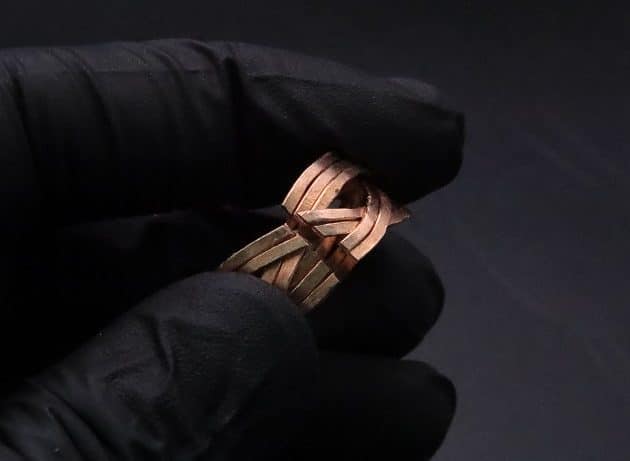
Next, take a ring mandrel and wrap your braided wire around your preferred ring size (fig. 3a, 3b, 3c, 3d, 3e).

Close the ring by making a straight cut over the excess overlapping braided wire using a wire cutter (fig. 3f, 3g, 3h, 3i).

Wire-Wrapping Hammered Copper Ocean Wave Ring Tutorial 13
fig. 3a

Wire-Wrapping Hammered Copper Ocean Wave Ring Tutorial 14
fig. 3b

Wire-Wrapping Hammered Copper Ocean Wave Ring Tutorial 15
fig. 3c

Wire-Wrapping Hammered Copper Ocean Wave Ring Tutorial 16
fig. 3d

Wire-Wrapping Hammered Copper Ocean Wave Ring Tutorial 17
fig. 3e

Wire-Wrapping Hammered Copper Ocean Wave Ring Tutorial 18
fig. 3f

Wire-Wrapping Hammered Copper Ocean Wave Ring Tutorial 19
fig. 3g

Wire-Wrapping Hammered Copper Ocean Wave Ring Tutorial 20
fig. 3h

Wire-Wrapping Hammered Copper Ocean Wave Ring Tutorial 21
fig. 3i

Pages: Page 1 Page 2

Filed Under: Tutorials/DIY

Primary Sidebar

MadelynnHey there! Thanks for visiting 🙂

My name is Madelynn and I’m the owner of Studio 73 Designs.

Studio 73 Designs is managed by a team of wire wrapping jewelry enthusiasts 🙂 Cheers!

Follow Me

  • Facebook
  • Instagram
  • Pinterest
  • Twitter
  • YouTube

ARE YOU INTERESTED IN WIRE-WRAPPING?

Sign up below and get access to my FREE wire-wrapping guides!

Sign Up
Wire Wrapping Tutorials
Wire Wrapping for Beginners Start Here
Beginner's Guide to Jewelry Wire for Wire-Wrapping
Wire Wrapping Tools and Supplies for Beginners
How to wire wrap stones without holes wire-wrapping tutorial for beginners
Wire Wrapping Tutorials DIY Jewelry Kits

Footer

ARE YOU INTERESTED IN WIRE-WRAPPING?

Sign up below and get access to my FREE wire-wrapping guides!

Sign Up

Site Navigation

Home
About
Contact
Blog
Privacy Policy
Disclaimer
Terms & Conditions

Follow Me

  • Facebook
  • Instagram
  • Pinterest
  • Twitter
  • YouTube

© 2026 · Studio 73 Designs

wire-wrapping tutorials

Learn Wire-Wrapping

Want to create beautiful wire-wrapped jewelry? Join membership today and get access to 70+ step-by-step wire-wrapping tutorials with high-quality images

Learn More
x