Hi my dear wire wrapper!
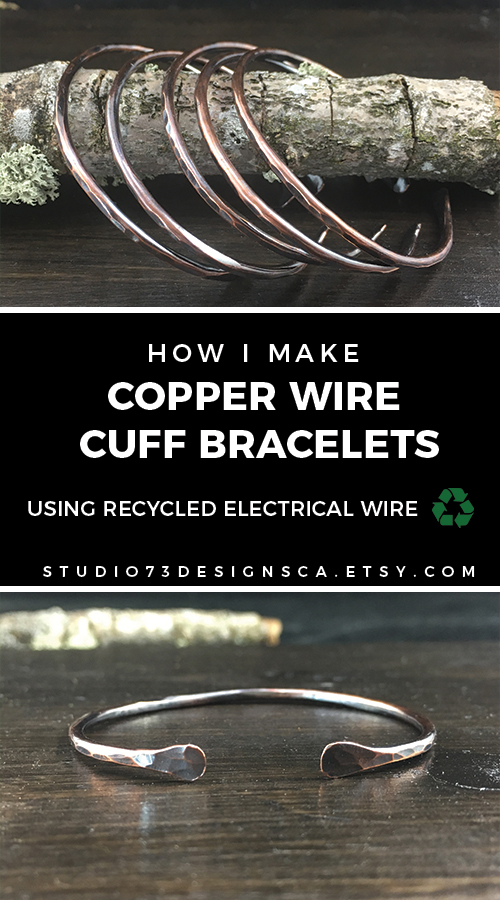
This is a quick overview of how I make copper wire cuff bracelets – from salvaged electrical wire.
If you prefer pictures or reading, I got you covered as well.
Happy crafting!

FREE WIRE-WRAPPING GUIDE TO YOUR EMAIL!
JOIN NEWSLETTER
We respect your privacy. Unsubscribe at anytime.
LEVEL: BEGINNER
MATERIALS + TOOL
- Recycled Electrical Copper Wire (14 AWG)
- Base Metal Plate
- Ruler
- Big Wire Cutter
- Rubber Mallet
- Ball-peen Hammer
- Flat File
- Torch
- Copper Tongs
- Tweezers
- Bucket of Water
- Pickle Pot
- Pickle Solution
- Bracelet Bender or Bracelet Bending Bar
- Nylon Jaw Bracelet Bending Pliers
- Jewelry Tumbler
- Liver of Sulphur
HOW I MAKE COPPER WIRE CUFF BRACELETS
Step 1 of 7
Start with one string of 14-gauge copper wire (fig. 1a).
Measure approximately 6 inches on your copper wire with a ruler (fig. 1b).
Then cut your copper wire with a heavy duty wire cutter (fig. 1c, 1d).


Step 2 of 7
Next, straighten your 6 inches 14-gauge copper wire by hitting it with a rubber mallet on a base metal plate (fig. 2a, 2b).
Then, hammer the whole copper wire surface with the round head of a ball-peen hammer to work harden it (fig. 2c, 2d, 2e).


Step 3 of 7
Moving on, flatten both ends of your copper wire using the round head of a ball-peen hammer (fig. 3a, 3b, 3c).
The flat design helps you wear your cuff bracelet in comfort and avoid skin scratch.
Then, use a rubber mallet to straighten your hammered copper wire (fig. 3d, 3e).


Step 4 of 7
After that, take a flat file and refine the rounded flatten ends of your copper wire (fig. 4a, 4b, 4c, 4d).
Checkpoint: This is how your copper wire should look after hammering (fig. 4e).


