Step 5 of 7
Now, let’s further enhance the hardness of your copper wire with heat treatment and quenching.
In layman terms, we will stiffen the copper wire with extreme heat and rapid cool down with water.
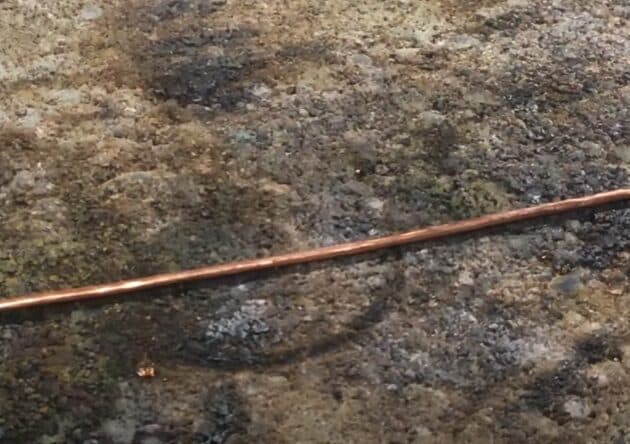
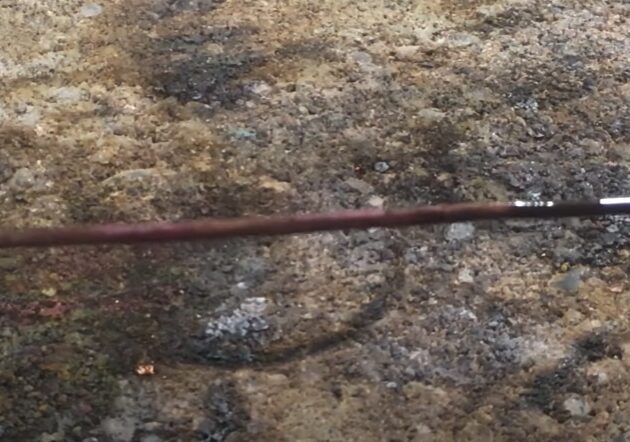
Firstly, place your copper wire on a non-flammable ground (fig. 5a).

FREE WIRE-WRAPPING GUIDE TO YOUR EMAIL!
JOIN NEWSLETTER
We respect your privacy. Unsubscribe at anytime.
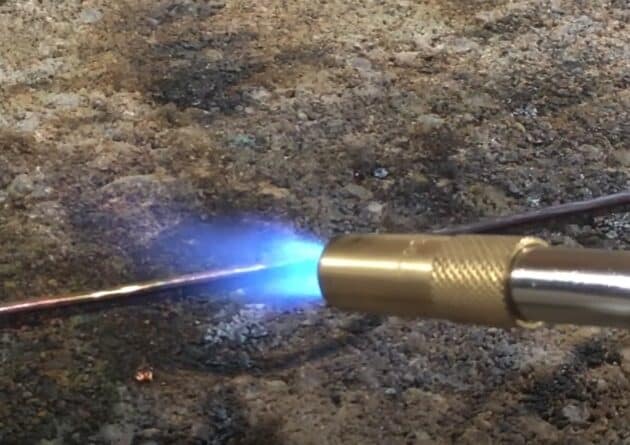
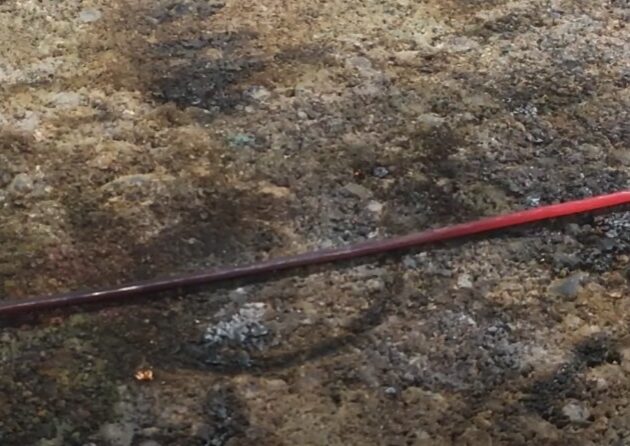
Then, use a torch to heat up your copper wire until it glows red (fig. 5b, 5c).
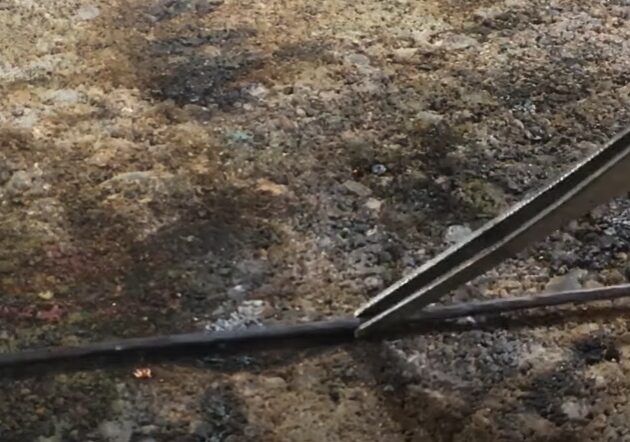
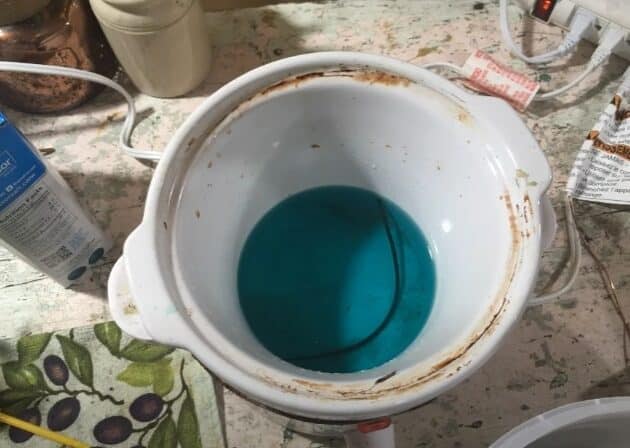
Use a tweezer to pick up the red hot copper wire and quench it in a bucket of water (fig. 5d, 5e).
After that, transfer your copper wire into the pickle pot for 15 minutes to clean off the fire scale (fig. 5f).
Note: use a copper tong when handling the pickle solution to avoid metal contamination.
Avoid direct contact with the pickle solution as it is acidic and may cause skin irritation.
Remember safety first!
Step 6 of 7
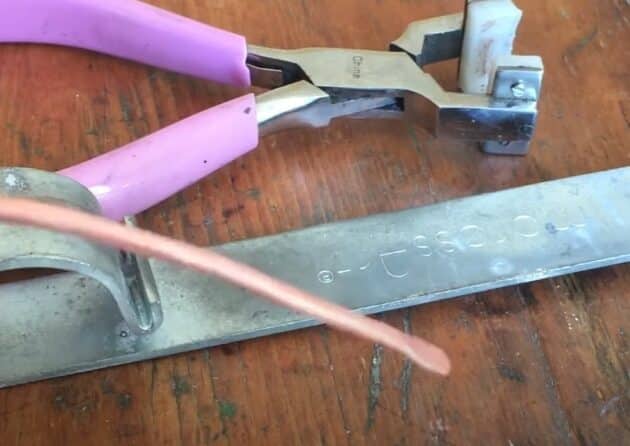
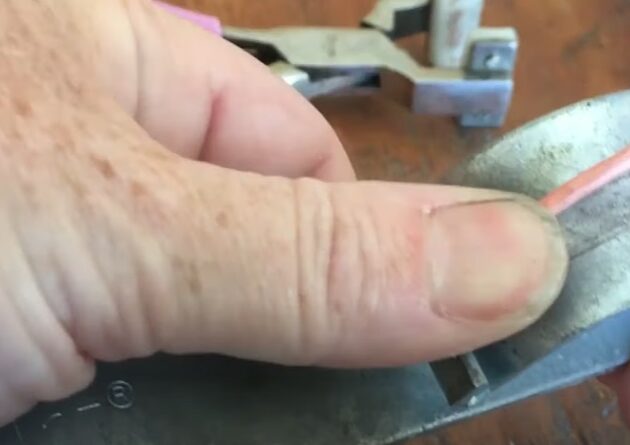
Next, ready your work table with a bracelet bender and a bracelet bending pliers (fig. 6a).
Insert one end of your copper wire into the open channel as a hook (fig. 6b).
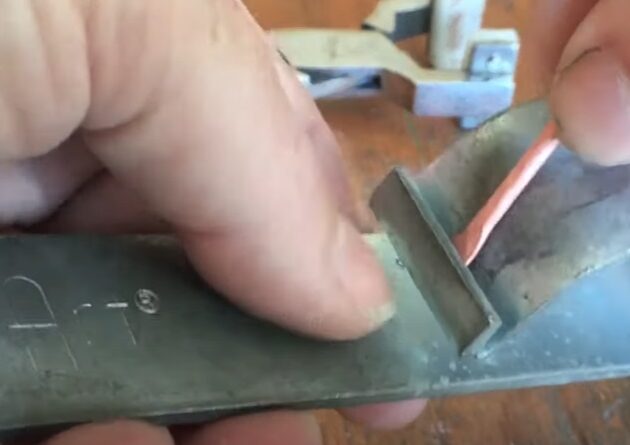
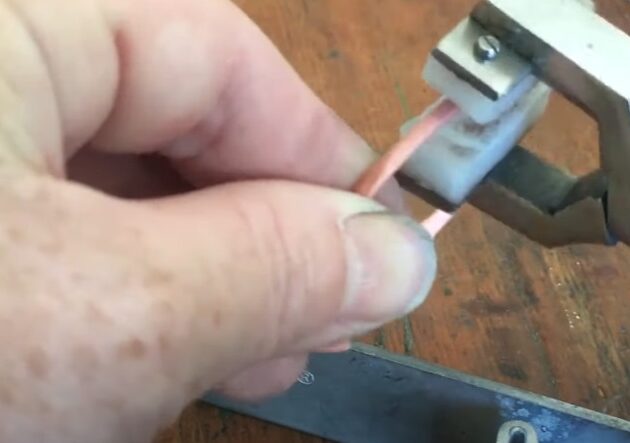
Then, bend your copper wire along the curved surface of the bracelet bender (fig. 6c, 6d).
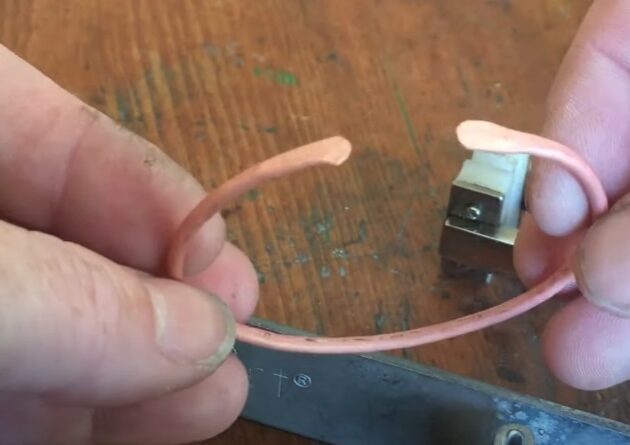
Repeat the bending process on the other end of your copper wire to create a cuff.
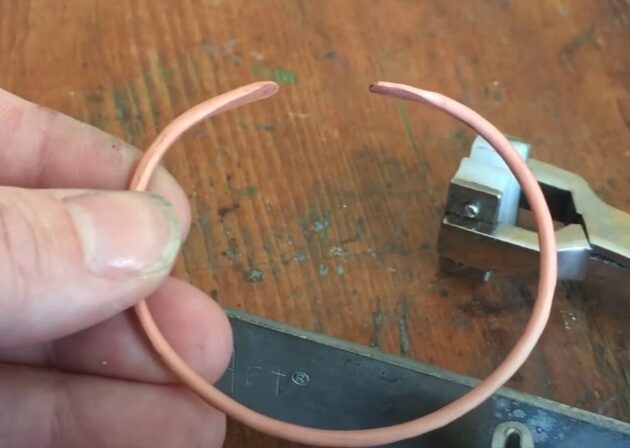
And then, use the bracelet bending pliers to adjust the curve of your cuff bracelet (fig. 6e, 6f, 6g).

Step 7 of 7
Polish your cuff bracelet using the jewelry tumbler machine for one hour (fig. 7a).
An optional step – add liver of Sulphur to oxidize or patina your cuff bracelet for an antique finish (fig. 7b).
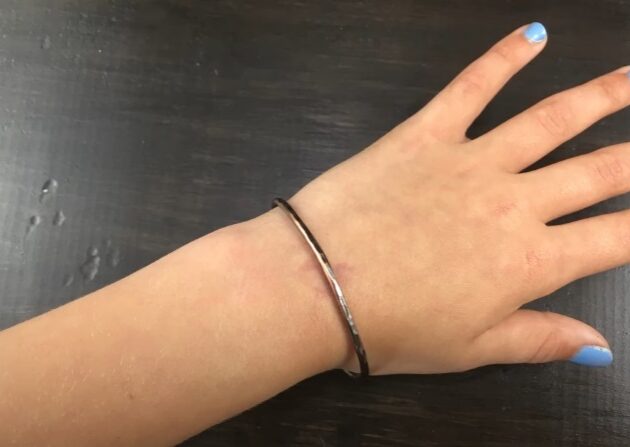
Congratulations! You have made your first cuff bracelet.

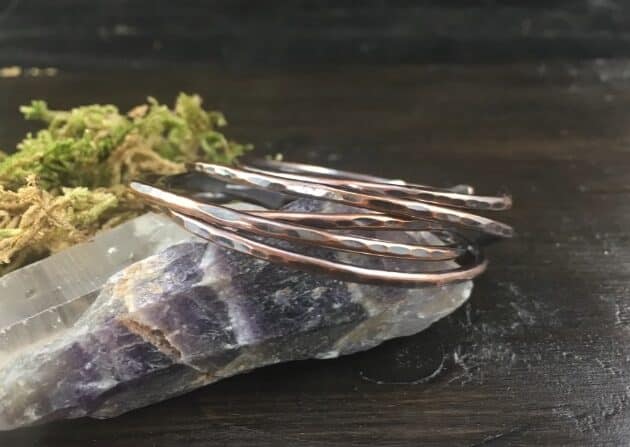
COMPLETED COPPER WIRE CUFF BRACELETS
Want to Support me?
If you enjoyed my content, please consider support me on Patreon:). This helps me to create more amazing free content to share with you 🙂
If you’d like to see my work and follow my wire journey, you can find me here:
Facebook Instagram Twitter Pinterest YouTube Etsy

