Step 4 of 14
Moving on, let’s design the pendant bail.
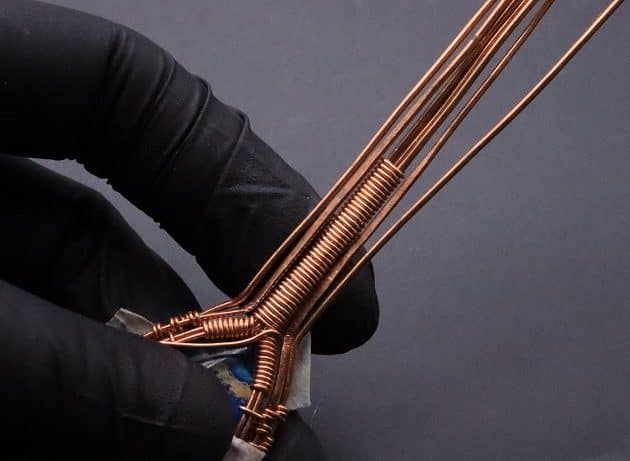
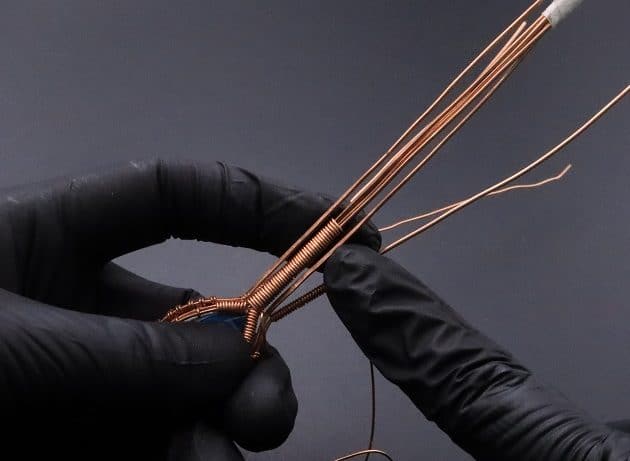
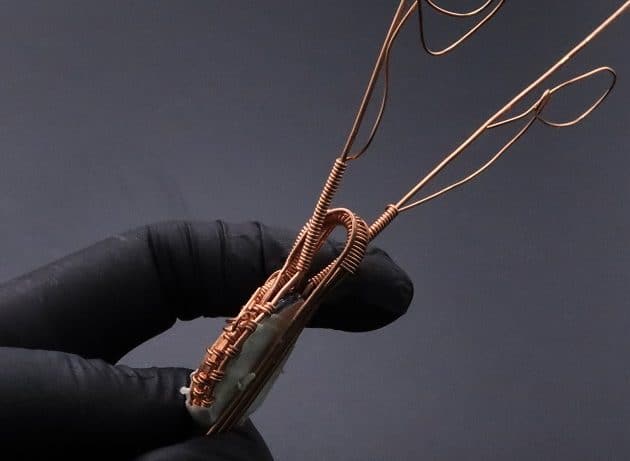
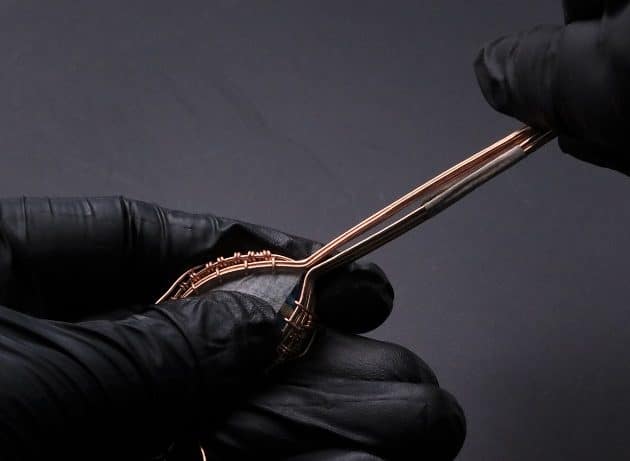
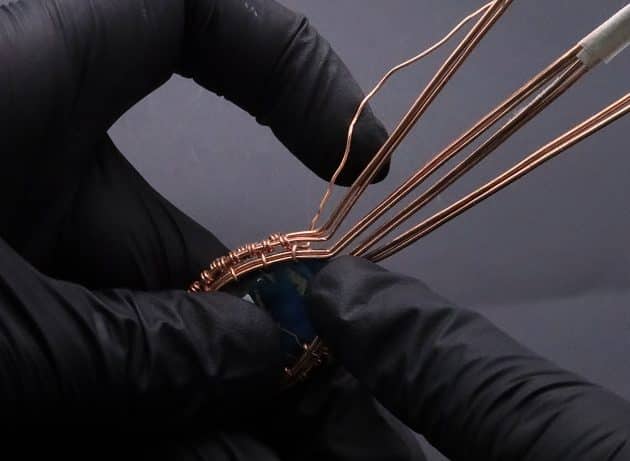
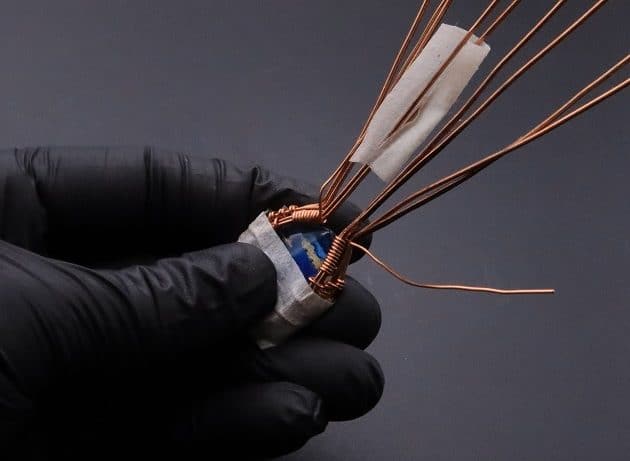
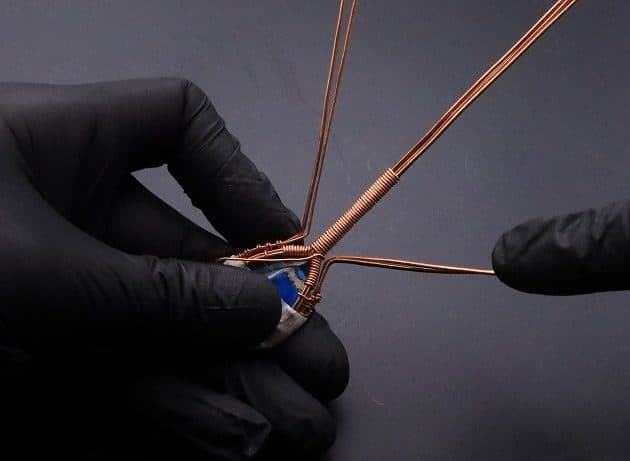
Close the top frame by straightening out the extra 18-gauge frame wires with a chain nose pliers (fig. 4a, 4b, 4c, 4d).
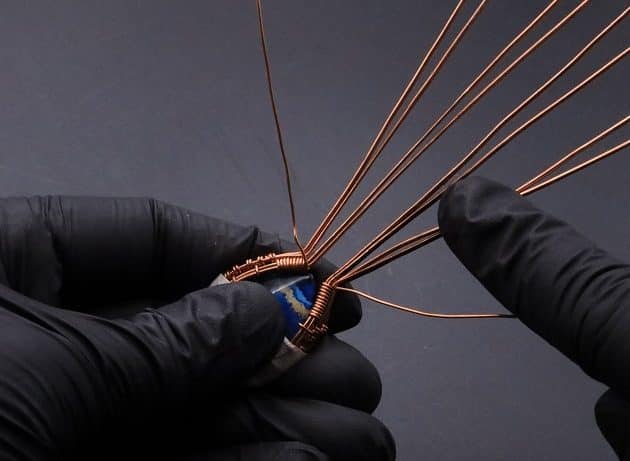
Then, make a horizontal twist at the bail neck to spread out the remaining wires (fig. 4e, 4f, 4g).

FREE WIRE-WRAPPING GUIDE TO YOUR EMAIL!
JOIN NEWSLETTER
We respect your privacy. Unsubscribe at anytime.
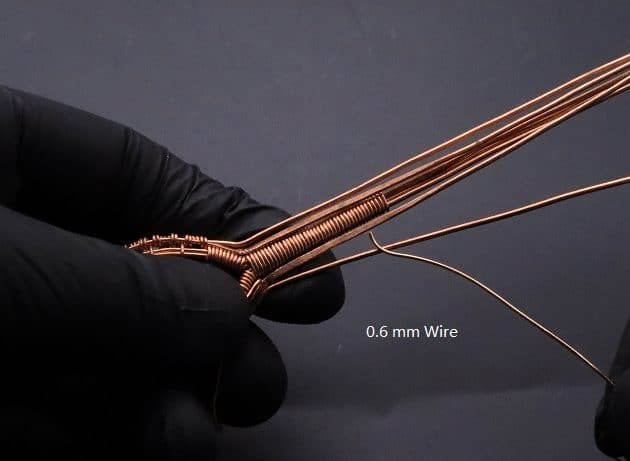
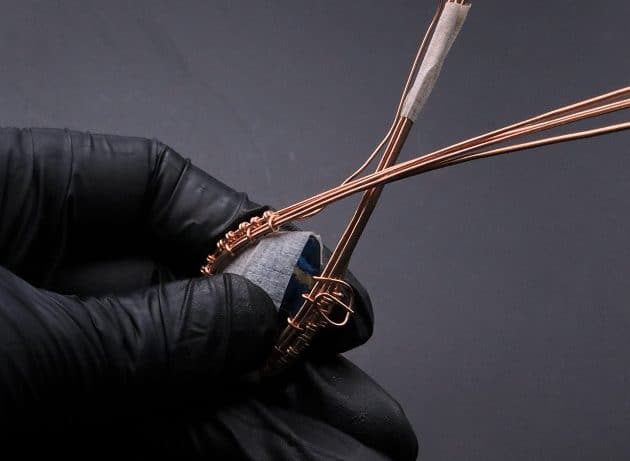
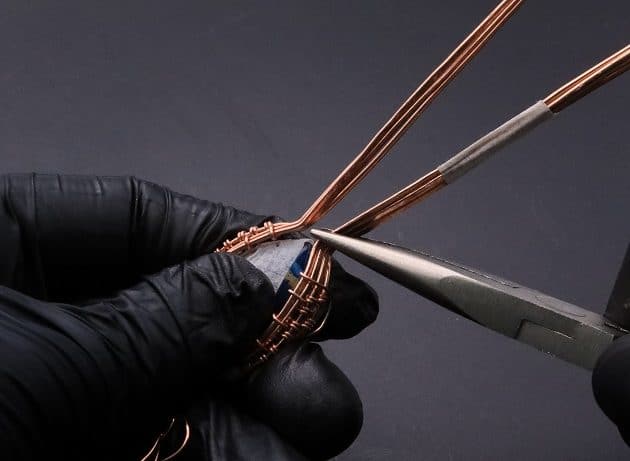
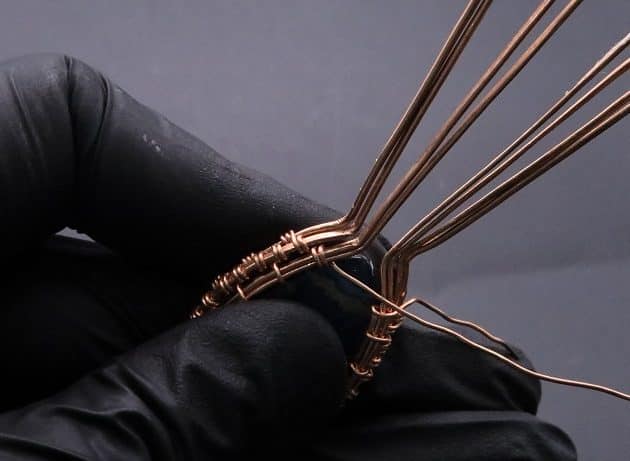
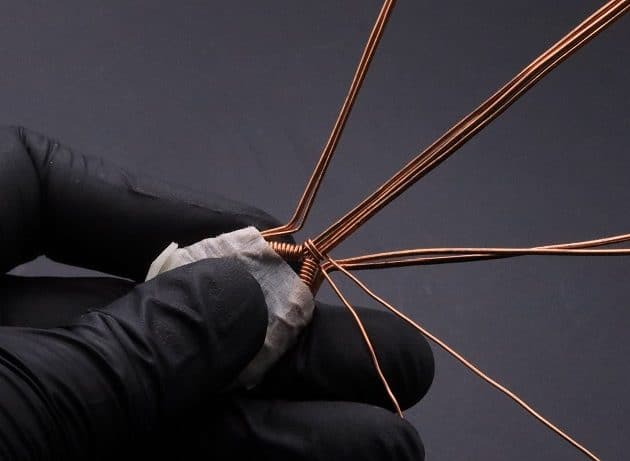
Split the remaining wires into 3 groups (fig. 4h):
- 2 wires on the left group.
- 4 wires at the middle group.
- 2 wires on the right group.

Prefer this wire-wrapping tutorial in a PRINTABLE FORMAT? (High Resolution Photos)
Step 5 of 14
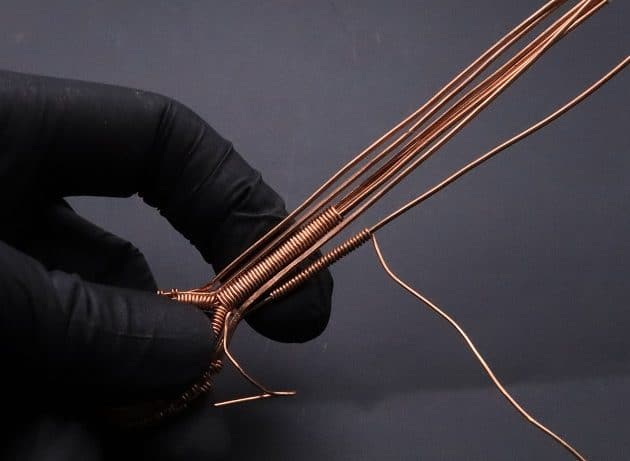
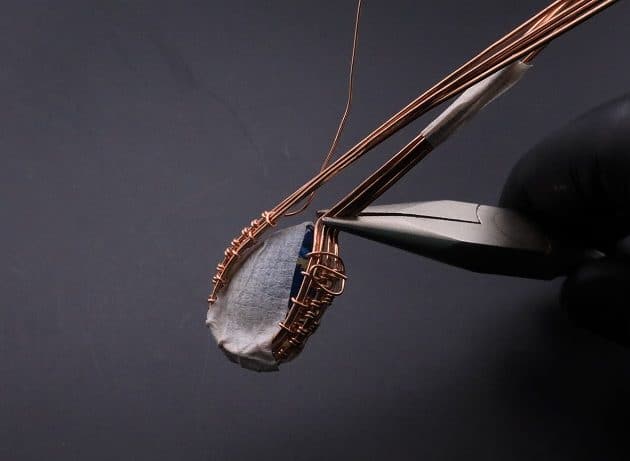
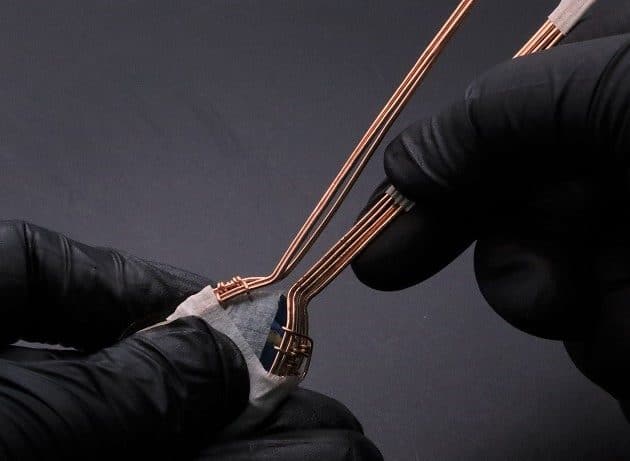
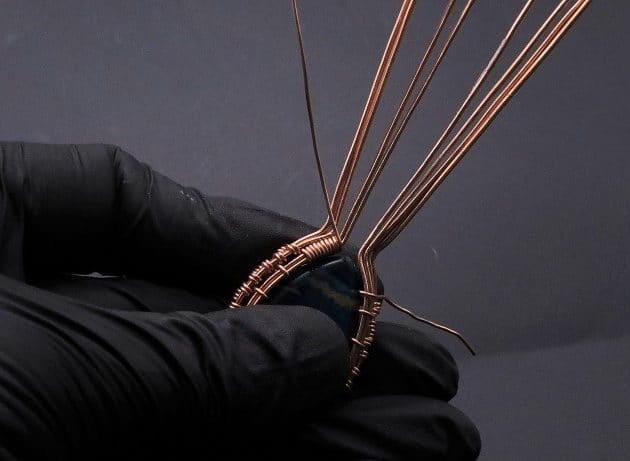
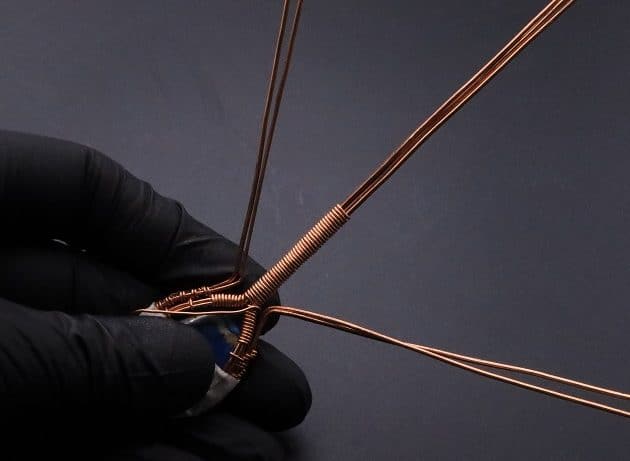
Use the remaining 22-gauge weaving wire on the left to coil the two front 18-gauge wire frame at the top (fig. 5a, 5b, 5c).
Repeat the coiling process on the opposite side (fig. 5d, 5e).
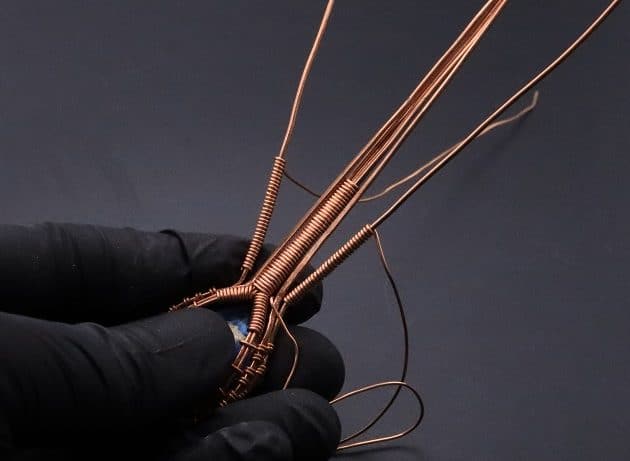
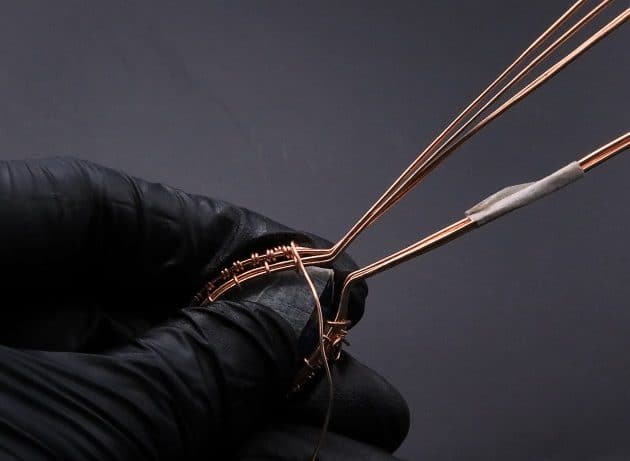
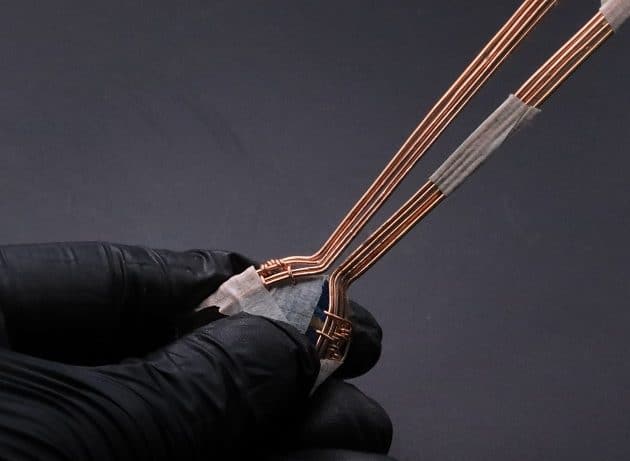
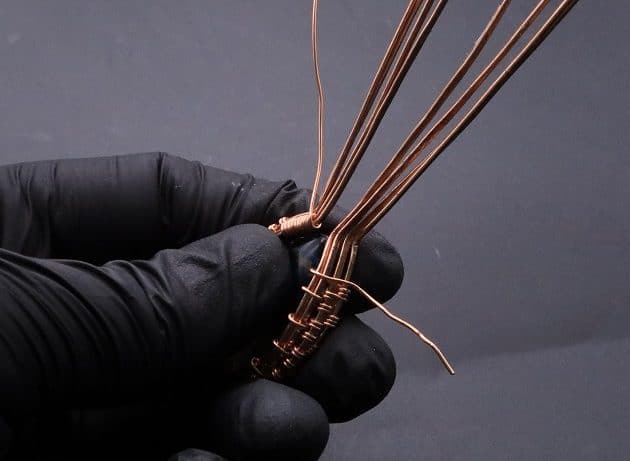
Then, coil the middle group of wires using the left 22-gauge weaving wire (fig. 5f, 5g, 5h).
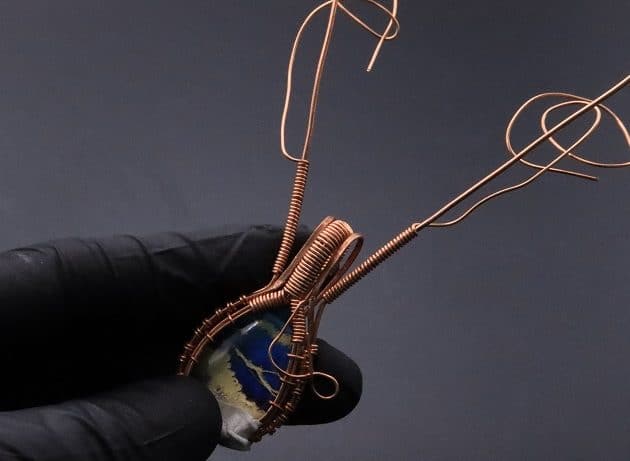
After that, line the left and right 18-gauge wire groups beside the middle coiled wire bundle (fig. 5i, 5j).

Step 6 of 14
Now, let’s add coiling onto the outer most wires using a new 22-gauge copper wire (fig. 6a, 6b):
- Right outer coiled wire (fig. 6c).
- Left outer coiled wire (fig. 6d).
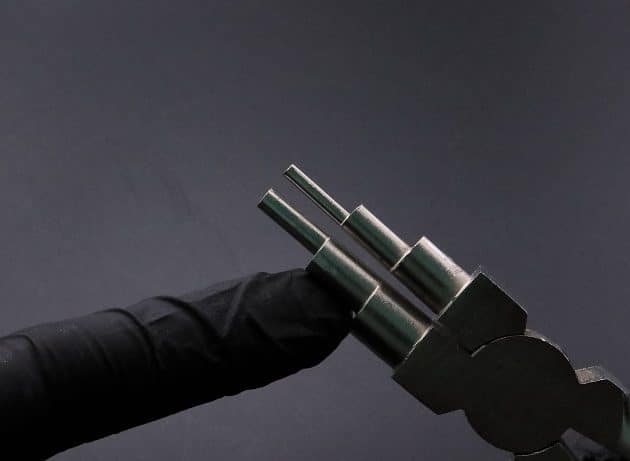
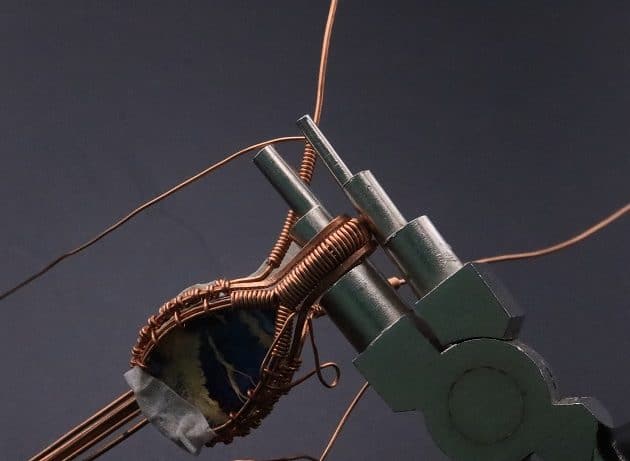
Then, curl the inner naked wires and the middle coiled wire bundle using a stepped bail-making pliers (fig. 6e, 6f, 6g, 6h, 6i).